

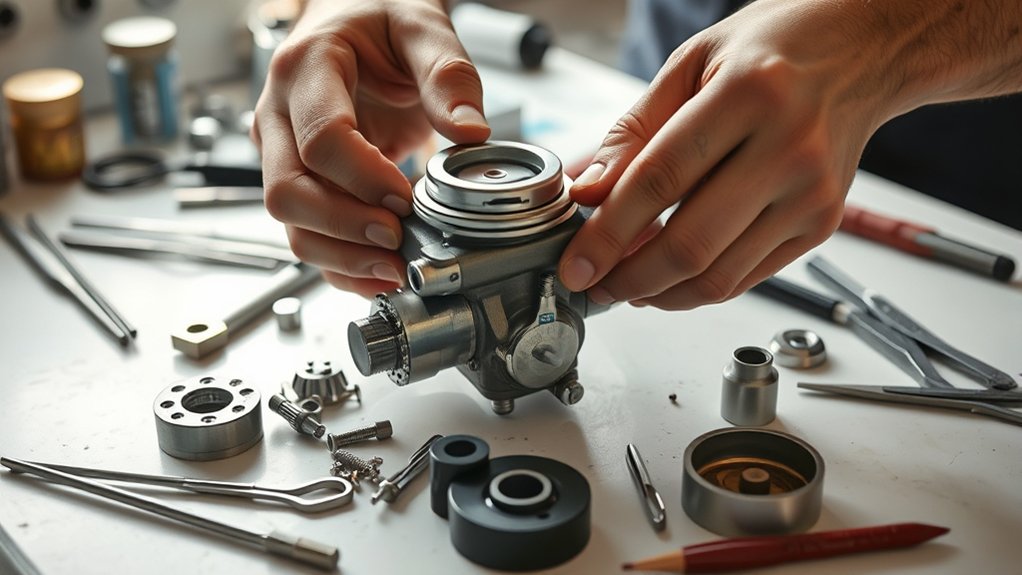
To rebuild your Kawasaki FE290 carburetor in 7 easy steps, start by identifying common signs such as rough idling, poor fuel efficiency, or difficulty starting the engine. These symptoms often indicate carburetor issues that affect overall performance.
Gathering the right tools, including screwdrivers and a specialized rebuild kit, is essential before beginning.
Carefully remove the carburetor from the engine and clean all parts thoroughly to eliminate dirt and deposits. Inspect each component for wear or damage to determine what needs replacement.
Replace any worn or damaged components with new parts from the rebuild kit.
Next, reassemble the carburetor carefully, ensuring all parts fit correctly.
Adjust the idle speed and air-fuel mixture to achieve smooth engine running.
Finally, test the carburetor for leaks and proper throttle response. Following this guide will help guarantee your Kawasaki FE290 engine runs at its best.
Key Takeaways
- Remove the carburetor by disconnecting the fuel line and loosening mounting bolts carefully.
- Clean all carburetor parts thoroughly using carburetor cleaner, compressed air, and inspect for damage.
- Replace worn components like gaskets, needle valve, float, and install new parts from the rebuild kit.
- Reassemble the carburetor carefully, ensuring proper alignment and secure mounting to the engine.
- Adjust idle speed and air-fuel mixture screws for smooth running and perform post-adjustment testing for leaks and performance.
Signs Your Kawasaki FE290 Carburetor Needs Rebuilding
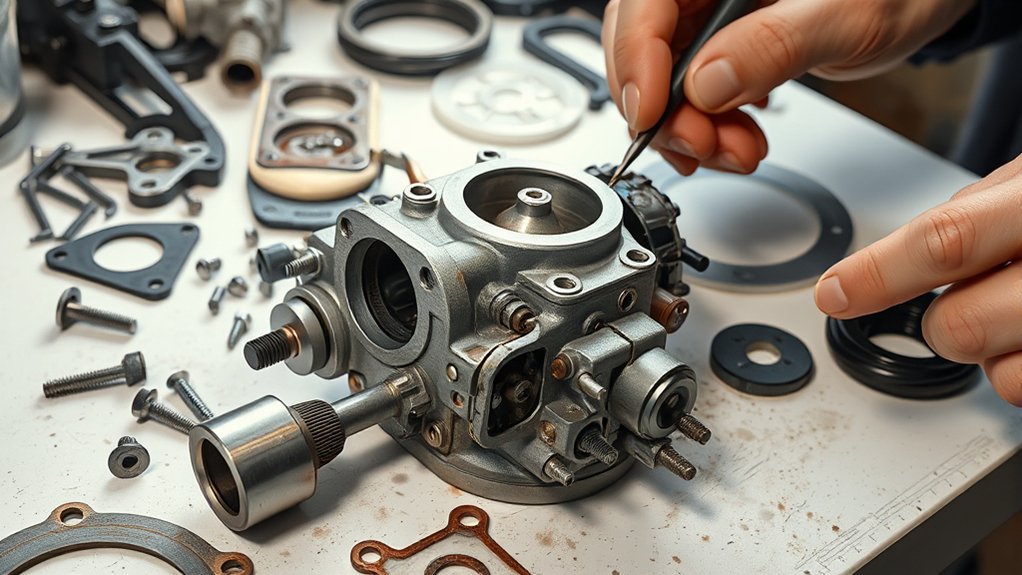
If your Kawasaki FE290 engine is running rough or struggling to start, it’s a strong sign that the carburetor may need rebuilding. You might notice the engine idling unevenly or stalling unexpectedly, especially when you’re warming it up. Fuel efficiency could drop, making your engine consume more gas than usual.
Black smoke from the exhaust is another clear indicator that your carburetor isn’t mixing air and fuel properly. You may also detect a strong fuel smell, hinting at leaks or flooding inside the carburetor. If you feel hesitation or sputtering when you accelerate, don’t ignore it.
Catching these signs early can save you time and money by preventing bigger engine problems down the line.
Tools and Parts Needed for Your Kawasaki FE290 Carburetor Rebuild
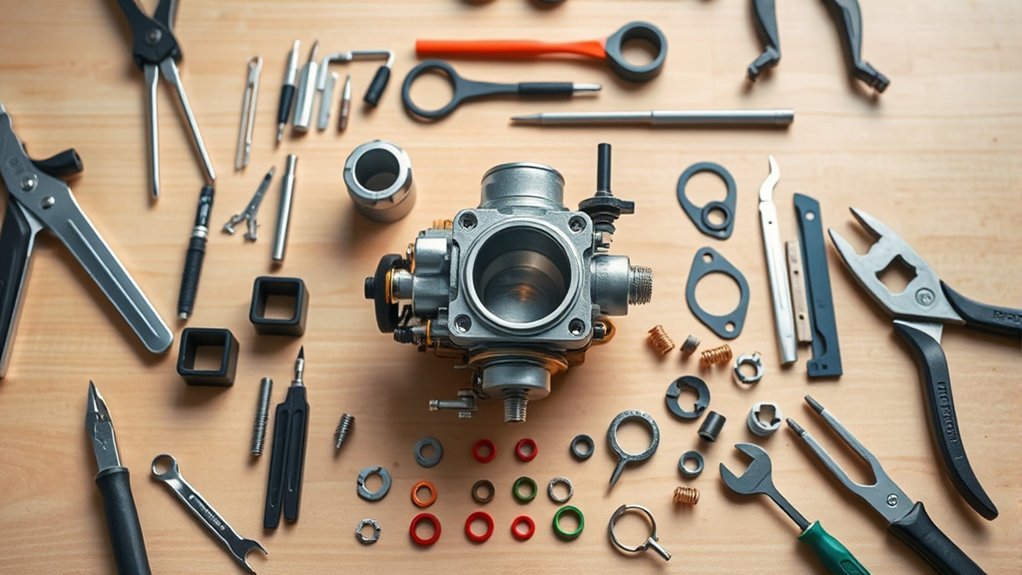
Before you start rebuilding your Kawasaki FE290 carburetor, make sure you have all the essential tools and replacement parts on hand. You’ll also want to gather the proper safety equipment to protect yourself during the process.
Let’s go over what you’ll need to get the job done right.
Essential Rebuild Tools
Gathering the right tools and parts guarantees your Kawasaki FE290 carburetor rebuild goes smoothly and efficiently. Without proper tools, you risk damaging delicate components or struggling through each step.
To get started, make sure you have these essentials on hand:
- Screwdriver Set – A variety of flathead and Phillips screwdrivers to remove screws without stripping them.
- Socket Wrench with Extensions – For loosening nuts and bolts in tight spaces.
- Small Pick and Needle-Nose Pliers – Perfect for handling tiny parts and removing jets or clips.
- Carburetor Cleaner and Compressed Air – To thoroughly clean all parts and clear passages.
Having these tools ready will help you work efficiently and avoid frustration during your rebuild process.
Required Replacement Parts
You’ll need several key replacement parts to guarantee your Kawasaki FE290 carburetor functions properly after the rebuild. Start with a carburetor rebuild kit designed specifically for the FE290 model. This kit typically includes gaskets, O-rings, needle valves, and jets.
Replace the float if it shows wear or damage to ensure proper fuel level regulation. Don’t forget the fuel inlet screen; a clogged screen can restrict fuel flow. Also, inspect the throttle shaft and replace its bushings if they’re worn to prevent air leaks.
Having these parts ready before you begin saves time and guarantees a smooth rebuild. Using genuine or high-quality aftermarket parts helps maintain performance and longevity of your carburetor. Keep all components organized to avoid mix-ups during reassembly.
Safety Equipment Checklist
How do you guarantee a safe and efficient rebuild of your Kawasaki FE290 carburetor? You start by equipping yourself with the right safety gear. Protecting yourself assures you can focus on the task without injury or distraction.
Here’s what you need:
- Safety goggles – Shield your eyes from fuel splashes and debris.
- Nitrile gloves – Keep your hands safe from chemicals and grime.
- Dust mask – Prevent inhaling harmful dust or fumes during cleaning.
- Work apron – Protect your clothes and skin from spills and stains.
Wearing this safety equipment lets you rebuild confidently and securely, making the process smoother and injury-free. Don’t skip these essentials—they’re as important as your tools and parts.
How to Safely Remove Your Kawasaki FE290 Carburetor
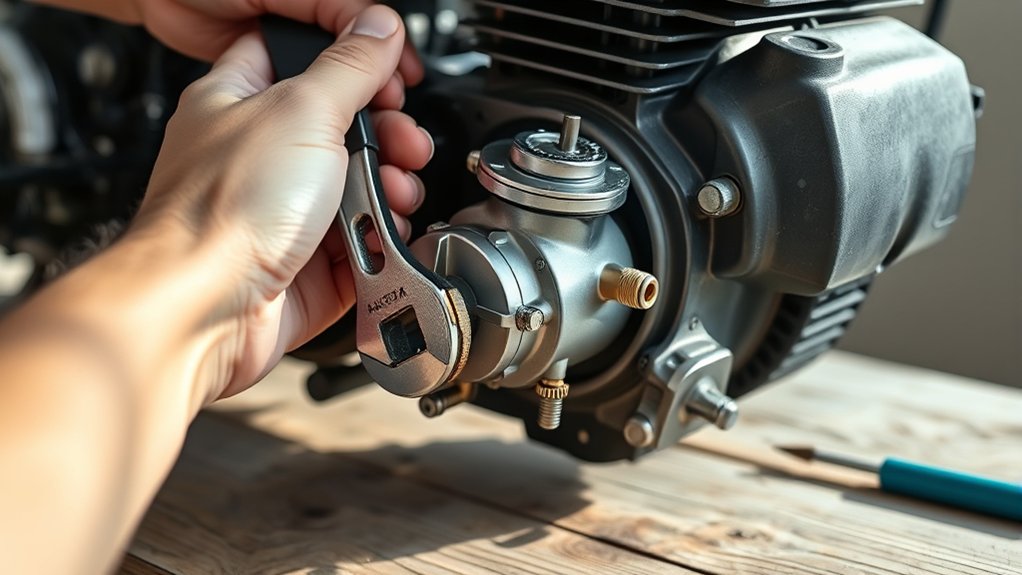
First, gather the necessary tools to make the removal process smooth. Next, disconnect the fuel line carefully to avoid spills.
Finally, remove the carburetor mounting bolts to free the unit from your Kawasaki FE290.
Prepare Necessary Tools
Before you start removing the Kawasaki FE290 carburetor, gather all the necessary tools to guarantee a smooth and safe process. Having the right equipment on hand will save you time and prevent damage to your carburetor or engine parts. Make sure your workspace is clean and well-lit to avoid losing small components.
Here are the essential tools you’ll need:
- Flathead and Phillips screwdrivers – for loosening clamps and screws.
- Socket wrench set – to remove bolts securing the carburetor.
- Needle-nose pliers – for handling clips and small parts.
- Clean rags – to wipe off dirt and catch any fuel spills.
With these tools ready, you’re set to proceed confidently in removing your carburetor.
Disconnect Fuel Line
With your tools ready and workspace organized, you can move on to disconnecting the fuel line from your Kawasaki FE290 carburetor. First, make sure the engine is cool and the fuel valve is off to prevent any fuel spills. Place a small container or rag under the fuel line connection to catch any residual gas.
Gently loosen the clamp securing the fuel line using a screwdriver or pliers, depending on the clamp type. Carefully pull the fuel line off the carburetor’s inlet; avoid twisting or forcing it to prevent damage. If the line feels stuck, wiggle it slightly while applying steady pressure.
Once disconnected, inspect the fuel line for cracks or wear—replace it if necessary before reassembling to guarantee proper fuel flow and safety.
Remove Carburetor Mounting Bolts
Once you’ve disconnected the fuel line, you can start removing the carburetor mounting bolts to free the carburetor from the engine. Make sure the engine is cool to avoid burns. Use the right size wrench or socket to prevent stripping the bolts.
Keep track of each bolt as you remove it to avoid losing any.
Follow these steps:
- Position your tool on the first mounting bolt firmly.
- Turn counterclockwise to loosen the bolt gently.
- Repeat for all mounting bolts holding the carburetor.
- Carefully pull the carburetor away from the engine once all bolts are removed.
Handle the carburetor carefully to avoid damaging any attached linkages or seals.
Cleaning and Inspecting Kawasaki FE290 Carburetor Parts
As you dismantle the carburetor, you’ll need to clean each part thoroughly to guarantee proper function. Use a carburetor cleaner spray to remove dirt, varnish, and debris from the jets, float bowl, needle valve, and throttle body. A soft brush or compressed air helps clear tiny passages without causing damage.
Inspect all parts closely for cracks, corrosion, or wear—pay special attention to the float and needle valve, as these affect fuel flow. Check the gasket surfaces for nicks or residue that could cause leaks. Make sure the throttle shaft moves smoothly without excessive play.
Taking the time to clean and inspect carefully ensures your carburetor will perform well once rebuilt, preventing future issues related to clogged or damaged components.
Replacing Worn Parts and Reassembling Your Kawasaki FE290 Carburetor
Before you reassemble the carburetor, replace any worn or damaged parts to guarantee peak performance. Inspect the gasket, diaphragm, needle valve, and float closely. These parts wear out over time and can cause leaks or poor fuel flow.
Check and replace worn carburetor parts to prevent leaks and ensure optimal fuel flow.
Follow these steps:
- Install a new gasket to ensure a tight seal between parts.
- Replace the diaphragm to maintain proper fuel pressure.
- Swap out the needle valve to control fuel flow accurately.
- Fit a new float to regulate the fuel level inside the bowl.
Once all new parts are in place, carefully reassemble the carburetor, aligning each piece properly. Tighten screws evenly to avoid warping and ensure everything fits snugly. Your Kawasaki FE290 carburetor is now ready for the next step.
Adjusting Your Kawasaki FE290 Carburetor Settings for Best Performance
Although you’ve rebuilt your Kawasaki FE290 carburetor with new parts, it won’t run ideally until you adjust its settings correctly. Start by setting the idle speed screw so the engine runs smoothly without stalling.
Then, fine-tune the air-fuel mixture screw to get a balanced mixture for maximum combustion. Adjust slowly and listen for changes in engine sound. Use the table below as a quick reference:
| Adjustment | Recommended Setting |
|---|---|
| Idle Speed Screw | Engine runs at 1700-2000 RPM |
| Air-Fuel Mixture Screw | Turn in slowly until engine smooths out |
| Throttle Valve Position | Fully closed at idle |
Make small adjustments and wait a few seconds to hear the engine’s response before changing again. This guarantees you get the best performance from your Kawasaki FE290.
Testing Your Kawasaki FE290 After the Carburetor Rebuild
Once you’ve adjusted the carburetor settings, you can start testing your Kawasaki FE290 to guarantee it runs smoothly and efficiently. Begin by inspecting for fuel leaks around the carburetor. Next, start the engine and listen for a steady idle without sputtering.
Then, rev the throttle gently to check for smooth acceleration and no hesitation. Finally, let the engine run for a few minutes to ensure it maintains consistent power without stalling.
- Check for fuel leaks around the carburetor.
- Start the engine and listen for a steady idle.
- Gently rev the throttle to test acceleration.
- Run the engine for several minutes to confirm stability.
Following these steps helps verify your rebuild was successful.
Frequently Asked Questions
Can I Use Aftermarket Parts for My Kawasaki FE290 Carburetor?
Yes, you can use aftermarket parts for your Kawasaki FE290 carburetor, but make certain they’re high quality and compatible. Using reliable parts guarantees proper performance and longevity, so don’t settle for cheap or unverified options.
How Often Should I Rebuild the Carburetor on My Kawasaki FE290?
You should rebuild your Kawasaki FE290 carburetor every 1-2 years or after 100 hours of use.
If you notice rough idling, poor fuel efficiency, or starting issues, don’t wait—clean it up right away.
What Fuel Type Is Best for the Kawasaki FE290 Carburetor?
You should use fresh, unleaded gasoline with an octane rating of 87 or higher for your Kawasaki FE290. Avoid ethanol blends above 10% to prevent carburetor issues and keep your engine running smoothly.
Can a Dirty Air Filter Affect Carburetor Performance?
Can you guess what happens if your air filter’s dirty? Yes, it restricts airflow, making your carburetor work harder and run poorly.
You’ll notice reduced power and rough idling, so keep that filter clean to perform best.
Is It Necessary to Drain Fuel Before Storing the Kawasaki FE290?
Yes, you should drain the fuel before storing your Kawasaki FE290. It prevents fuel from gumming up the carburetor and fuel lines, ensuring smoother starts and avoiding costly repairs when you use it again.
Draining the fuel helps maintain the engine’s performance over time. It also reduces the risk of stale fuel causing damage. This simple step can save you from future headaches.
Conclusion
Now that you’ve tackled the tricky task of rebuilding your Kawasaki FE290 carburetor, you’re set to savor smooth, strong performance. By carefully cleaning, checking, and calibrating each essential component, you’ve conquered clogs and corrected carburetor chaos.
Keep keenly keeping an eye on your equipment to guarantee enduring efficiency. With these simple steps, you’ll confidently conquer carburetor challenges, crafting a consistently crisp and controlled engine experience every time you start up.
Regular maintenance and timely rebuilding of your Kawasaki FE290 carburetor are key to lasting performance. Following this easy rebuild guide ensures your carburetor functions at its best, providing reliable power and efficiency every time.

