

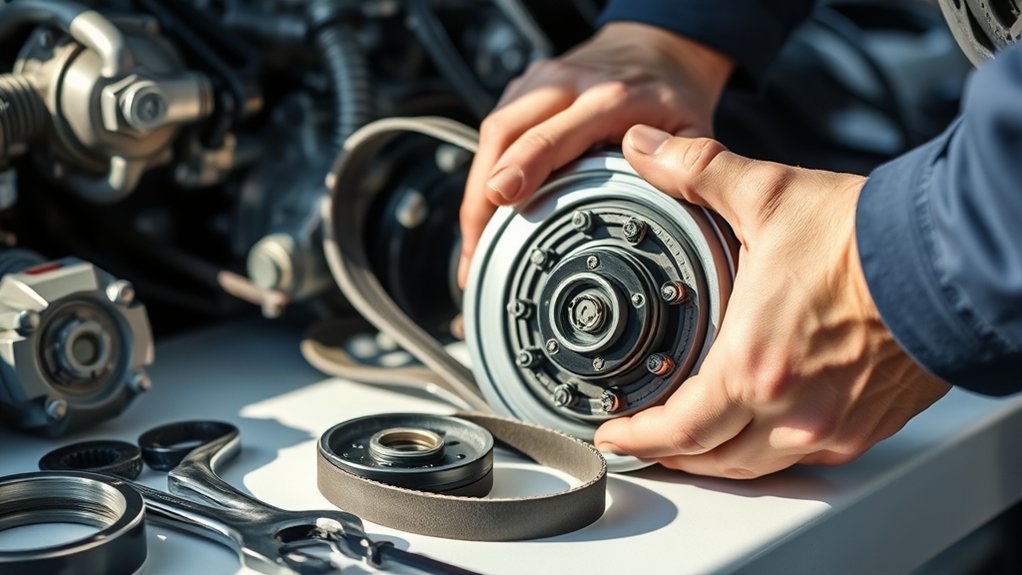
To change your AC compressor clutch in 7 easy steps, start by recognizing common signs such as no cooling, strange noises, or a slipping clutch. These symptoms often indicate a faulty compressor clutch that needs replacement.
Before diving in, gather essential tools like socket sets, a pulley puller, and safety gloves to ensure a smooth process.
Next, safely disconnect your car battery to avoid any electrical hazards.
Remove the old clutch by loosening bolts and carefully pulling off the clutch plate. Take care during this step to prevent damage to the compressor or other components.
After removing the faulty part, install the new clutch, making sure it is properly aligned and the air gap is correctly set.
Reassemble all components and verify the system pressure to confirm everything is functioning correctly.
For those wanting to troubleshoot further or perfect their setup, additional detailed guidance is available.
Key Takeaways
- Disconnect the car battery, removing the negative terminal first to ensure safety before starting clutch replacement.
- Remove the clutch coil connector and use a pulley puller to detach the clutch plate and pulley assembly from the compressor.
- Clean the compressor shaft, install the new clutch pulley and plate, and tighten bolts to manufacturer torque specifications.
- Reconnect the clutch coil wiring, set the correct air gap, and ensure all components are properly aligned.
- Verify system pressure with a manifold gauge set and confirm the compressor clutch engages and cools effectively before finalizing.
How to Identify a Faulty AC Compressor Clutch
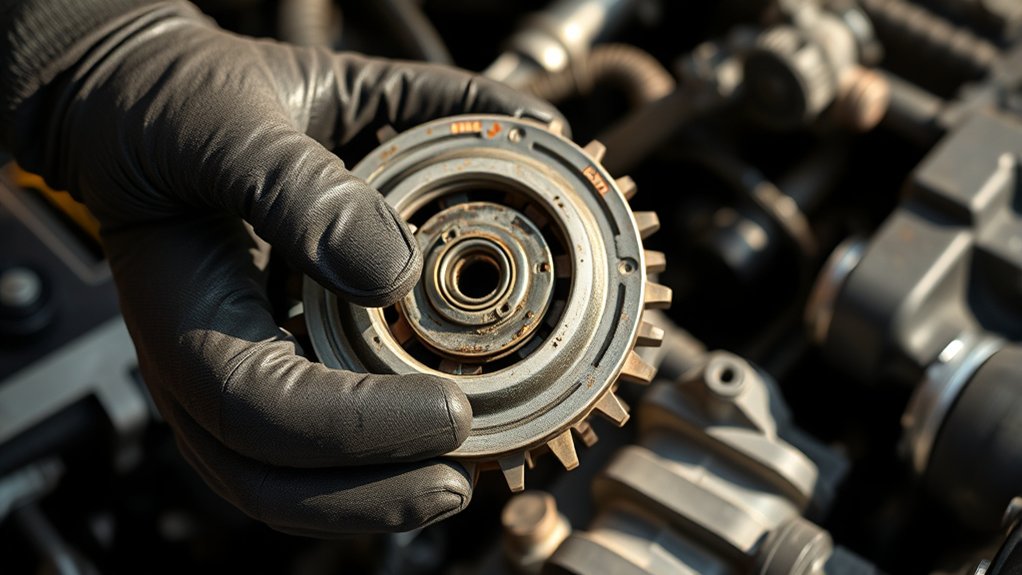
Before you replace an AC compressor clutch, you need to know how to spot the signs of a faulty one. If your AC isn’t cooling as it should, that’s a clear red flag. Listen for unusual noises like grinding or squealing when the AC kicks on—these sounds often mean the clutch is slipping or worn out.
You might also notice the clutch doesn’t engage at all, which prevents the compressor from running. Another sign is a burnt smell, indicating overheating or electrical issues. If the clutch spins freely without resistance, it’s likely damaged.
Checking these symptoms early saves you from bigger repairs. Keep an eye on these signs to know exactly when your AC compressor clutch needs replacing.
Tools You’ll Need to Change the AC Compressor Clutch
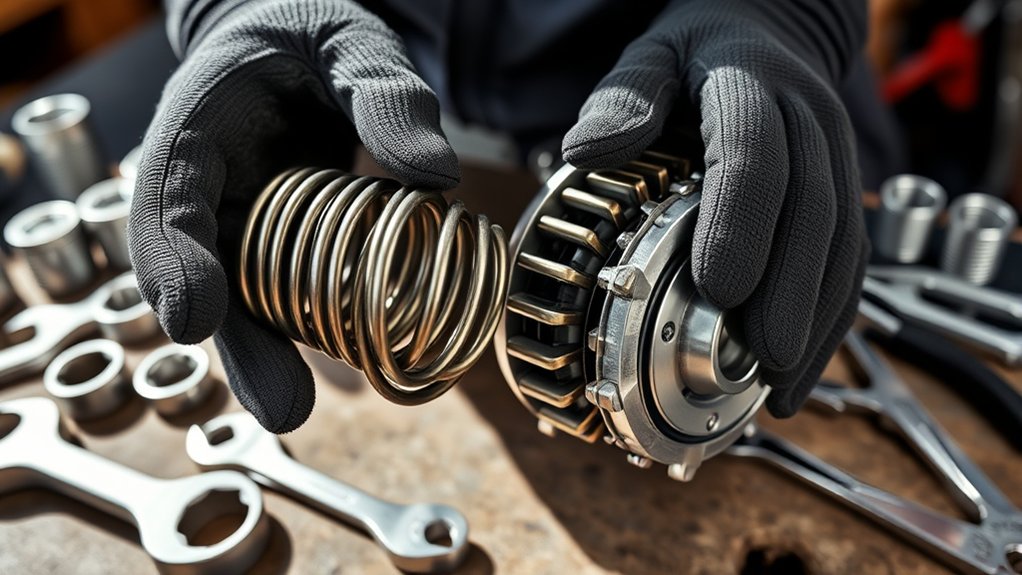
Although changing an AC compressor clutch can seem intimidating, having the right tools on hand makes the job much easier and safer. You’ll need a socket set with various sizes to remove bolts and nuts securing the clutch. A pulley puller tool is essential for safely removing the clutch without damaging the compressor.
Also, get a clutch hub puller, which helps detach the clutch plate from the compressor shaft. A snap ring plier is necessary to remove and install retaining rings. Don’t forget a torque wrench to tighten bolts to the manufacturer’s specifications accurately.
Finally, a multimeter can help you test the coil’s electrical resistance before and after replacement. Having these tools ready will streamline the process and reduce the risk of errors.
Disconnecting Your Car Battery Before Changing the AC Clutch
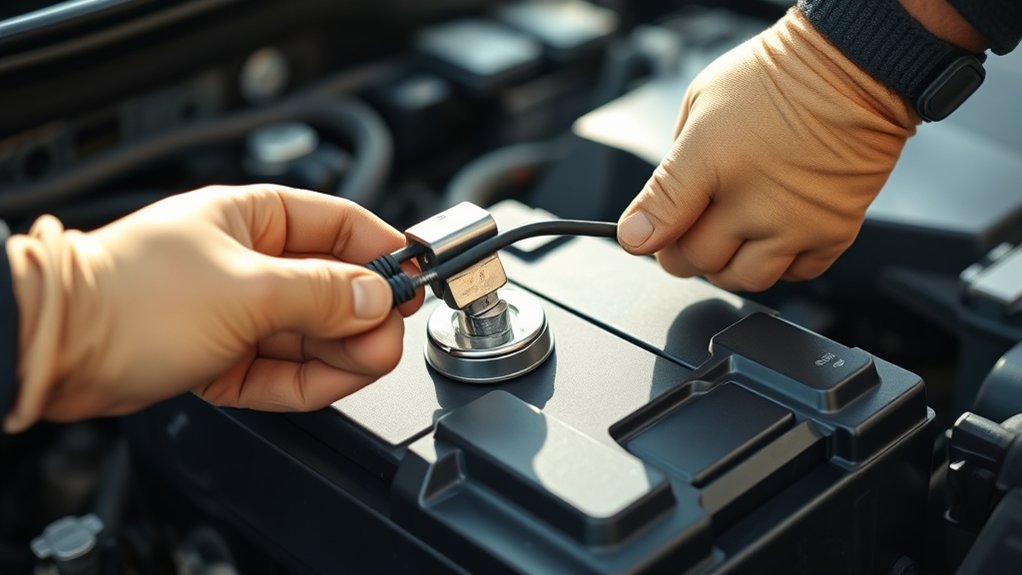
Before you start working on the AC clutch, make sure to disconnect your car battery to stay safe and avoid electrical damage. Always remove the negative terminal first to prevent sparks or shorts.
Taking this simple step protects both you and your vehicle’s electrical system.
Safety Precautions Importance
Since working with your car’s electrical components can be risky, you should always disconnect the battery before changing the AC compressor clutch. This simple step prevents accidental electrical shorts or shocks while you work, protecting both you and your vehicle. It also stops the compressor from engaging unexpectedly, which could cause injury or damage.
By ensuring the power is completely cut, you reduce the risk of sparks that might ignite flammable materials nearby. Taking this precaution helps maintain a safe working environment and prevents costly repairs caused by electrical mishaps. Remember, safety isn’t just about protecting your car—it’s about protecting yourself.
Never skip disconnecting the battery, as it’s a vital step to work confidently and safely on your AC system.
Battery Terminal Removal
How do you safely disconnect your car battery to begin changing the AC compressor clutch? First, locate the battery and prepare the right tools, usually a wrench or socket set. Always disconnect the negative terminal (-) first to prevent shorts, then the positive (+).
Keep terminals clear of metal objects during removal.
| Step | Action | Tip |
|---|---|---|
| 1 | Turn off ignition | Remove keys from ignition |
| 2 | Identify battery terminals | Negative is usually black |
| 3 | Loosen negative terminal | Use wrench, remove cable |
| 4 | Loosen positive terminal | Remove cable carefully |
Following this order ensures safety and prevents accidental electrical issues while working on your AC clutch.
Preventing Electrical Damage
After safely removing the battery terminals, you protect your vehicle’s electrical system from potential damage while working on the AC compressor clutch. Disconnecting the battery prevents accidental shorts and electrical shocks that can harm both you and your car.
Follow these steps to avoid electrical damage:
- Always disconnect the negative terminal first to reduce the risk of sparks.
- Use insulated tools to prevent accidental contact with metal parts.
- Wait at least 10 minutes after disconnecting to allow the system to fully power down.
- Keep the battery terminals away from metal surfaces to avoid unintentional grounding.
Removing the AC Compressor Clutch
Where do you start when removing the AC compressor clutch? First, disconnect the battery to avoid electrical shocks. Locate the clutch on the front of the compressor.
Remove the clutch coil connector carefully. Next, use a clutch holding tool to keep the pulley from spinning. Remove the center bolt securing the clutch plate with a socket wrench.
Once the bolt is out, gently pull off the clutch plate by hand or with a puller tool if it’s tight. Afterward, slide off the pulley assembly along with the clutch bearing. Be sure to keep track of all components and note their order for reassembly.
Finally, inspect the compressor shaft and surrounding parts for wear or damage before proceeding to the next step.
Installing the New AC Compressor Clutch
Once you’ve removed the old clutch and inspected the compressor shaft, you’re ready to install the new AC compressor clutch. First, make sure the shaft and clutch components are clean and free of debris.
Next, follow these steps:
- Align the new clutch pulley on the compressor shaft carefully.
- Secure the pulley with the proper bolt, tightening it to the manufacturer’s torque specifications.
- Position the clutch plate over the pulley, ensuring the air gap is set correctly between the plate and pulley.
- Attach the clutch coil and connect its wiring harness firmly.
Take your time with each step to ensure a proper fit and avoid damaging components. This will set the stage for a smooth reassembly and reliable AC operation.
Reassembling and Testing Your AC System
Now that the new clutch is installed, you’ll want to carefully align all components before securing the electrical connections. Confirm everything fits snugly to avoid leaks or malfunctions.
Finally, verify the system pressure to ensure your AC runs smoothly and efficiently.
Proper Component Alignment
Although reassembling the AC system might seem straightforward, ensuring proper component alignment is essential to avoid premature wear and functional issues. Misaligned parts can cause noise, reduce efficiency, and lead to costly repairs.
To align components correctly, follow these steps:
- Center the clutch plate on the compressor shaft before tightening bolts.
- Check pulley alignment with a straightedge or laser tool to prevent belt slippage.
- Ensure the air gap between the clutch plate and pulley matches the manufacturer’s specifications.
- Rotate the pulley manually after assembly to confirm smooth, unobstructed movement.
Taking these precautions guarantees your AC system runs efficiently and extends the lifespan of your new compressor clutch.
Securing Electrical Connections
Before you fully reassemble the AC system, you’ll need to secure all electrical connections to guarantee reliable operation. Start by reconnecting the clutch coil wires firmly to their terminals, ensuring no corrosion or damage is present. Use dielectric grease to protect the connectors from moisture and prevent future corrosion.
Double-check that each connector is seated properly and locked in place to avoid loose contacts. If any wiring harnesses were disturbed, route them back carefully to avoid interference with moving parts or heat sources. Finally, inspect the wiring for any frays or exposed areas and repair them with electrical tape or heat shrink tubing.
Properly secured electrical connections ensure your AC compressor clutch engages smoothly when the system powers up.
Verifying System Pressure
Once you’ve secured all electrical connections, you need to verify the system pressure to assure your AC compressor clutch and the entire system function correctly. Proper pressure ensures the compressor engages smoothly and the cooling performance meets expectations.
To check the system pressure:
- Connect a manifold gauge set to the high and low-pressure service ports.
- Start the engine and turn the AC to maximum cool with the fan on high.
- Compare the readings on both gauges to the manufacturer’s recommended pressure range.
- Watch for any unusual pressure drops or spikes, which could indicate leaks or blockages.
If pressures fall outside the specified range, address leaks or component issues before finalizing the repair. This step confirms your clutch replacement works and your AC system is ready for reliable operation.
Troubleshooting AC Compressor Clutch Problems
When your AC compressor clutch isn’t engaging properly, it can prevent your air conditioning system from cooling effectively. To troubleshoot, start by checking the electrical connections and fuses.
If everything looks fine, test the clutch coil for continuity with a multimeter. Also, inspect the clutch air gap; if it’s too wide, the clutch won’t engage.
Here’s a quick guide to common clutch issues:
| Symptom | Possible Cause | Solution |
|---|---|---|
| Clutch won’t engage | Blown fuse or bad relay | Replace fuse/relay |
| Clutch spins freely | Worn clutch or air gap too wide | Adjust gap or replace clutch |
| Clicking noise | Weak coil or wiring issue | Test coil, repair wiring |
Follow these steps to pinpoint and fix your clutch problems efficiently.
Frequently Asked Questions
How Often Should I Replace My AC Compressor Clutch?
You should replace your AC compressor clutch when you notice slipping, noise, or it stops engaging properly. Typically, it lasts 70,000 to 100,000 miles, but always check your vehicle’s manual and inspect regularly for issues.
Can a Faulty Clutch Damage Other AC Components?
Yes, a faulty clutch can damage other AC components. It can cause the compressor to overwork or seize, leading to belt damage or electrical issues.
You’ll want to fix it quickly to avoid costly repairs.
What Are the Signs of a Slipping AC Compressor Clutch?
You’ll notice a slipping AC compressor clutch if your AC blows warm air, you hear a squealing noise, or the clutch struggles to engage.
It might also cause your engine to stall or the belt to wear prematurely.
Is It Safe to Drive With a Bad AC Compressor Clutch?
Driving with a bad AC compressor clutch is like sailing with a torn sail—it’s risky. You shouldn’t, as it can cause engine strain or overheating.
Get it fixed soon to keep your ride smooth and safe.
How Much Does Professional AC Compressor Clutch Replacement Cost?
You’ll typically pay between $300 and $700 for a professional AC compressor clutch replacement. Prices vary based on your vehicle’s make, labor rates, and parts quality. Getting a detailed quote beforehand helps avoid surprises.
Conclusion
Changing your AC compressor clutch might seem intimidating, but with the right steps, it’s like tuning a finely crafted instrument—each move matters. By following these simple steps, you’ll restore your car’s cooling power and enjoy a smooth, invigorating ride again.
Remember, patience and attention to detail are your best tools. If issues persist, don’t hesitate to troubleshoot or seek help. You’ve got this—cool comfort is just a clutch away!
By changing the AC compressor clutch properly, you ensure efficient air conditioning and extend the life of your vehicle’s AC system. Follow these guidelines carefully to achieve the best results with your AC compressor clutch replacement.

