

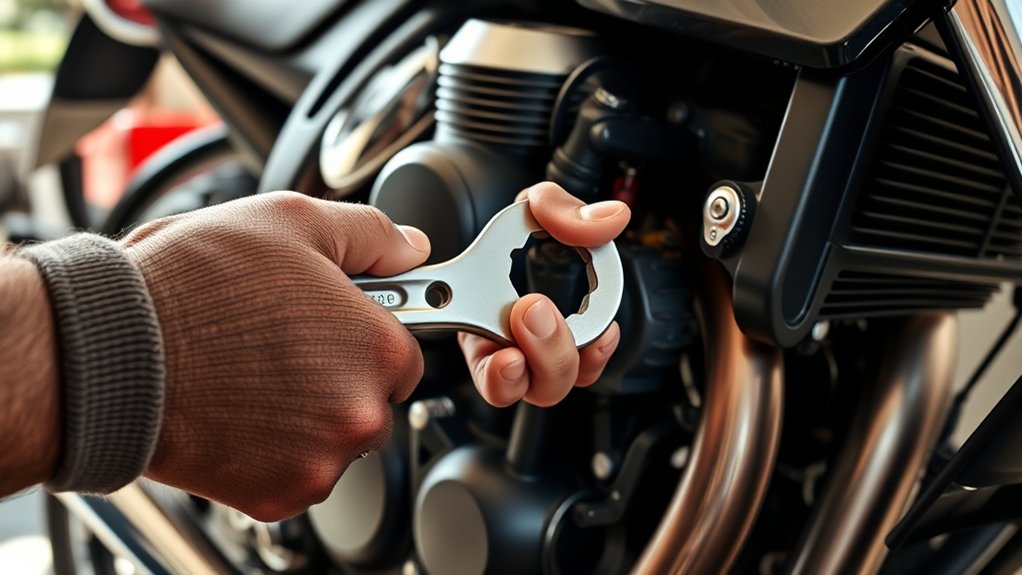
To tighten your motorcycle clutch effectively, start by inspecting the clutch lever for any loose free play or slipping issues. Proper clutch adjustment is essential for smooth gear shifting and overall bike performance. Gather the necessary tools such as screwdrivers, wrenches, and pliers before you begin.
Locate the barrel adjuster near the handlebar or along the clutch cable. Loosen the lock nut on the adjuster carefully. Then, turn the adjuster to reduce the free play to about 10-20mm, which is the ideal range for most motorcycles.
Once adjusted, tighten the lock nut securely to hold the settings in place. Test the clutch engagement by shifting gears smoothly to ensure proper function. Make small incremental adjustments as needed and avoid over-tightening to prevent cable or clutch damage.
Follow these steps confidently, and you’ll soon have your clutch working smoothly and reliably, enhancing your riding experience.
Key Takeaways
- Locate the clutch cable adjuster near the handlebar or along the cable and loosen the locknut using a wrench or spanner.
- Measure the clutch lever free play, aiming for an ideal range of 10-20 mm before making adjustments.
- Turn the adjuster barrel slowly to tighten the cable, reducing free play without over-tightening or causing clutch drag.
- Retighten the locknut securely after adjustment and recheck the free play to ensure it remains within the optimal range.
- Test the clutch by shifting gears at low speed, ensuring smooth engagement and no slipping, then fine-tune if necessary.
Signs Your Motorcycle Clutch Needs Tightening
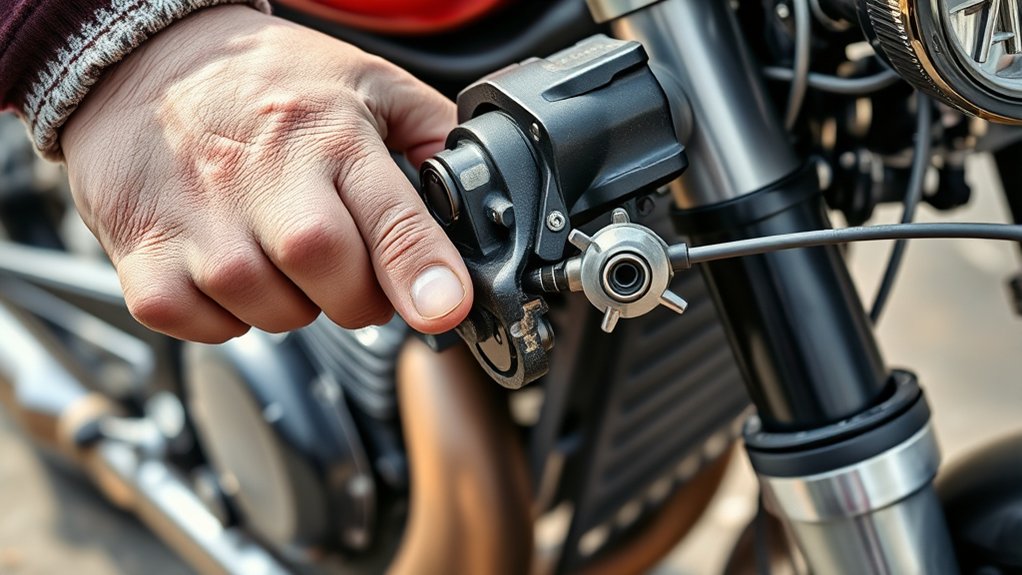
Although you might not notice it immediately, your motorcycle clutch will show clear signs when it needs tightening. You’ll feel the clutch lever become loose or have excessive free play, making it harder to engage gears smoothly.
If you notice the bike slipping while accelerating, where the engine revs but the bike doesn’t respond as expected, it’s a sign the clutch isn’t fully engaging. You might also experience difficulty shifting gears or hear unusual noises when you pull the clutch lever.
These symptoms indicate the clutch cable or mechanism has stretched or loosened over time. Paying attention to these signs helps you avoid further damage and maintain safe, smooth riding. Tightening the clutch promptly keeps your bike performing at its best.
Tools Needed for Motorcycle Clutch Adjustment
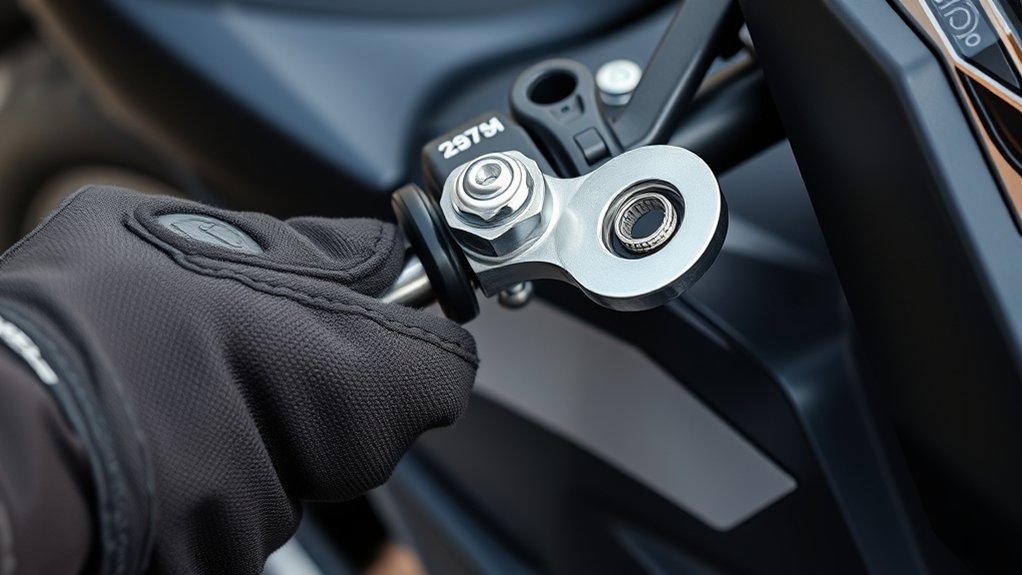
Before you start tightening your motorcycle clutch, you’ll need a few essential tools to make the adjustment smooth and accurate. Grab a set of screwdrivers—both flathead and Phillips—since you’ll likely encounter different screw types. A wrench or adjustable spanner is vital for loosening and tightening nuts on the clutch cable or lever.
You’ll also want a pair of pliers to hold or adjust small parts securely. If your motorcycle uses locknuts, a socket set will come in handy for better grip and torque. Finally, keep a clean rag nearby to wipe grease or dirt off components, ensuring a clear view and preventing contamination.
Having these tools ready will save time and frustration during the clutch adjustment process.
Locating the Motorcycle Clutch Adjustment Mechanism
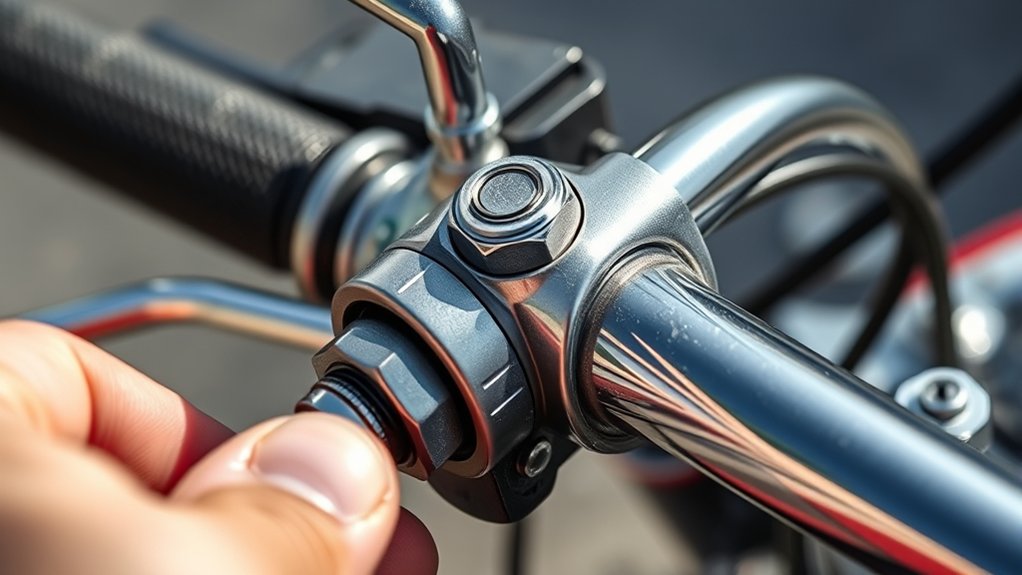
Since the clutch adjustment mechanism can vary between motorcycle models, you’ll want to start by identifying its exact location on your bike. Typically, you’ll find the adjustment point near the clutch lever on the handlebar or along the clutch cable itself. On many bikes, there’s a threaded barrel adjuster close to the lever, allowing easy access for fine-tuning cable tension.
Alternatively, some motorcycles place the adjuster near the engine clutch cover, where the cable connects to the clutch arm. Take a close look along the cable for any threaded sections with locknuts—these are usually the adjustment points. If you’re unsure, consult your owner’s manual or search online for your specific model.
Locating this mechanism correctly guarantees you can proceed with tightening the clutch efficiently.
Measuring Motorcycle Clutch Cable Free Play
When you adjust your motorcycle clutch, measuring the cable free play is essential to guarantee smooth operation and prevent premature wear. Free play is the slight movement in the clutch lever before the cable starts to engage the clutch plates.
To measure it accurately, follow these steps:
- Locate the clutch lever on your handlebar and gently pull it until you feel resistance.
- Use a ruler or caliper to measure the distance between the lever at rest and the point where resistance begins; this is your free play.
- Check your motorcycle manual or use a general guideline—typically 10-20 mm of free play is ideal.
Knowing this measurement helps you adjust the clutch cable precisely for better control and longer clutch life.
Loosening the Lock Nut Before Adjustment
Before you adjust the clutch cable, locate the lock nut securing the adjustment barrel on the cable. You’ll need a wrench or spanner that fits the lock nut snugly to loosen it without damaging the threads.
Loosening this nut is essential to make smooth and accurate adjustments.
Identifying The Lock Nut
How do you spot the lock nut on your motorcycle’s clutch cable? It’s a vital step before you adjust the clutch tension. The lock nut is a small, usually hexagonal nut that secures the adjuster in place, preventing it from moving on its own.
Here’s how to identify it quickly:
- Location: Find the clutch cable near the lever or at the engine end—look for a pair of nuts close together.
- Size and Shape: The lock nut is often the smaller or tighter nut that sits directly against the adjuster screw.
- Position: It’s the nut you’ll need to loosen first to allow the adjuster to turn freely.
Recognizing the lock nut guarantees you loosen the right part without damaging your clutch system.
Tools Needed For Loosening
Although loosening the lock nut might seem straightforward, having the right tools makes the process much easier and prevents damage. You’ll need sturdy, precise tools to avoid rounding off the nut or slipping. Typically, a combination wrench or socket set works best, depending on your motorcycle’s lock nut size.
A pair of locking pliers can help hold the adjustment nut steady while you loosen the lock nut.
Here’s a quick rundown of essential tools:
| Tool | Purpose |
|---|---|
| Combination Wrench | Loosen the lock nut |
| Socket Set | Alternative for tight spaces |
| Locking Pliers | Hold adjustment nut in place |
With these tools, you’ll loosen the lock nut safely and get ready to adjust your clutch cable.
Tightening the Clutch Cable for Optimal Performance
When you tighten the clutch cable properly, you’ll guarantee smoother gear shifts and better control over your motorcycle. Start by loosening the lock nut on the clutch cable adjuster. Then, turn the adjuster to pull the cable tighter, but don’t overtighten—it should allow the clutch to fully disengage.
Properly tightening the clutch cable ensures smooth gear shifts and full clutch disengagement for better control.
Finally, retighten the lock nut to secure the adjuster in place.
Follow these key steps for ideal performance:
- Adjust gradually—turn the adjuster in small increments to avoid overtightening.
- Keep the cable taut—ensure there’s no slack but the clutch lever isn’t too tight.
- Test the clutch lever—make sure it moves smoothly and the clutch fully engages and disengages.
This approach will keep your clutch responsive and your ride smooth.
Checking Clutch Lever Free Play After Adjustment
Now that you’ve tightened the clutch cable, it’s important to check the clutch lever free play. You’ll want to measure the gap to verify it falls within the ideal range, usually around 10 to 20 millimeters.
If it’s off, adjust the cable until the lever moves smoothly without too much slack or tightness.
Measuring Lever Free Play
After adjusting your motorcycle clutch, you should measure the lever free play to make certain proper tension and smooth operation. This step ensures your clutch engages and disengages correctly, preventing premature wear or slippage.
To measure the lever free play:
- Locate the clutch lever and identify the free play zone where there’s slight movement before resistance.
- Use a ruler or caliper to measure the distance the lever moves freely from its resting position until you feel resistance.
- Compare the measurement to what feels comfortable and functional for your riding style, noting any adjustments needed.
Checking the free play regularly keeps your clutch responsive and extends its lifespan.
Ideal Free Play Range
How much free play should your clutch lever have for ideal performance? Typically, you want about 10 to 20 millimeters (around 0.4 to 0.8 inches) of free play at the lever’s tip. This range ensures the clutch fully disengages without dragging while preventing excessive lever slack that can cause slipping or difficulty shifting.
After tightening your clutch, check the free play by gently pulling the lever until you feel resistance—this initial movement is your free play. If it’s outside the ideal range, the clutch might not operate smoothly, leading to premature wear or poor control. Keeping the free play within this range allows for smooth gear changes and better overall riding feel.
Always double-check this after any adjustment to maintain consistent clutch performance.
Adjusting For Optimal Play
Keeping your clutch lever free play within the ideal 10 to 20 millimeter range guarantees smooth operation, but it’s important to verify this after making any adjustments.
To maximize play, you’ll want to:
- Measure the free play by squeezing the clutch lever and using a ruler or caliper to check the movement before resistance is felt.
- Fine-tune the adjuster if the free play isn’t within range. Turn the adjuster barrel in small increments to increase or decrease play.
- Test ride your motorcycle to confirm the clutch engages smoothly without slipping or dragging.
Testing Your Motorcycle Clutch for Proper Engagement
Before adjusting your motorcycle clutch, you’ll want to test its current engagement to identify any issues. Start by pulling the clutch lever slowly and notice when the clutch begins to engage. If it grabs too early or too late, it’s a sign the adjustment needs work.
Next, try shifting through the gears while the bike is stationary with the clutch pulled in—if the gears grind or you hear unusual noises, the clutch may be slipping or not fully disengaging. Also, check if the bike moves smoothly when you release the clutch slowly in first gear. If the bike jerks or stalls, your clutch engagement isn’t right.
These tests help you pinpoint whether tightening or loosening is necessary before making adjustments.
Fine-Tuning Motorcycle Clutch Adjustment for Smooth Shifts
To get smooth shifts, you’ll need to fine-tune your clutch cable free play and adjust the lever carefully. Start by checking the cable slack, then use the lever adjuster to find the right tension.
After that, test your shifts to make sure everything feels smooth and responsive.
Clutch Cable Free Play
Although adjusting the clutch cable might seem straightforward, fine-tuning the free play is essential for smooth gear shifts and preventing premature wear. Free play is the small amount of lever movement before the clutch starts to disengage. Too little or too much can cause clutch slippage or difficulty shifting.
To check and adjust free play:
- Measure the lever’s free play at the handlebar — it’s usually about 10-20mm.
- Use the adjuster barrel near the lever or along the cable to increase or decrease free play.
- Recheck by pulling the lever; you should feel slight resistance before the clutch engages.
Getting this right ensures your clutch responds properly, making rides smoother and extending clutch life.
Lever Adjustment Techniques
When you fine-tune your clutch lever adjustment, you gain better control over gear engagement and reduce wear on transmission components. Start by locating the adjuster near the lever or along the clutch cable. Turn the adjuster to reduce free play, but leave a small gap—usually about 2-3mm—between the lever and the handlebar for maximum response.
If your bike has a secondary adjuster near the engine, use it to make finer tweaks after the main adjuster. Always tighten the locknut to secure your settings. Avoid over-tightening, which can cause the clutch to slip or drag.
Regularly check the lever’s feel; a smooth, consistent resistance means your clutch is properly adjusted and ready for smooth, reliable shifting.
Testing Shift Smoothness
How smoothly does your motorcycle shift gears after adjusting the clutch lever? Testing shift smoothness ensures your clutch is finely tuned for optimal performance.
Here’s how to check and fine-tune it:
- Ride at Low Speed: Shift through all gears while riding slowly. Notice if any gear feels rough, sticky, or if the bike jerks.
- Clutch Lever Feel: Pull the clutch lever gently during shifts. It should engage and disengage smoothly without grabbing or slipping.
- Adjust and Retest: If shifting feels off, slightly adjust the clutch cable tension and repeat the test until shifts are smooth and consistent.
Avoid These Common Motorcycle Clutch Adjustment Mistakes
Even if you’ve adjusted a clutch before, it’s easy to make mistakes that can harm your motorcycle’s performance or safety. One common error is over-tightening the clutch cable, which can cause premature wear or even clutch slippage. Avoid setting the cable too tight—allow for the recommended free play to ensure smooth engagement.
Another mistake is neglecting to check the cable condition; a frayed or rusted cable can snap unexpectedly. Don’t forget to recheck the clutch lever’s free play after adjustments since it can change once the bike’s running. Lastly, avoid rushing the process—take your time to adjust incrementally and test frequently.
Frequently Asked Questions
Can I Tighten My Clutch Without Any Mechanical Experience?
You can try tightening your clutch without experience, but it’s risky. You might damage parts or worsen the issue.
It’s best to watch tutorials carefully or ask a mechanic for guidance to avoid mistakes.
How Often Should I Adjust My Motorcycle Clutch?
Think of your clutch like a pair of shoes—when they start feeling loose, it’s time for adjustment.
You should check and adjust your motorcycle clutch every 3,000 to 6,000 miles to keep it running smoothly.
Will Tightening the Clutch Affect My Bike’s Warranty?
Tightening your clutch usually won’t void your bike’s warranty if you follow the manufacturer’s guidelines. Just make sure you use proper tools and techniques, and avoid unauthorized modifications to keep your warranty intact.
Can a Worn Clutch Cable Cause Slipping?
Yes, a worn clutch cable can cause slipping because it won’t fully engage or disengage the clutch. You’ll notice reduced control and increased wear, so it’s smart to replace or adjust it promptly to avoid further damage.
Is It Safe to Ride Immediately After Clutch Adjustment?
You wouldn’t want to ride a rocket with loose bolts, right? It’s safer to test your clutch gently after adjustment.
Don’t jump on it full throttle—give it a few smooth pulls to make sure it’s right.
Conclusion
Now that you know how to tighten your motorcycle clutch, you’re ready to ride with confidence. Think of your clutch adjustment like tuning a musical instrument—when it’s just right, every shift sings smoothly. Don’t rush the process; take your time to measure, adjust, and test carefully.
With these steps, you’ll avoid common mistakes and keep your bike performing at its best. Enjoy the ride, knowing your clutch is perfectly in tune! Proper motorcycle clutch adjustment ensures smooth gear shifts, better control, and extended clutch life.
By following this guide to tighten your motorcycle clutch, you’ll maintain optimal bike performance and enjoy a safer, more comfortable ride every time.

