


To install your Duralast Fuel Filter FF831DL correctly, start by relieving the fuel system pressure. This can be done by removing the fuel pump fuse and running the engine until it stalls. Doing this step ensures safety and prevents fuel spray during the installation process.
Next, disconnect the negative battery terminal to avoid any electrical hazards. Locate the old fuel filter near the fuel lines under your vehicle or hood. Carefully remove the old filter, noting the orientation for proper installation of the new one.
Position the new Duralast Fuel Filter FF831DL with the correct flow direction. Reconnect the fuel lines securely and tighten the fittings, but avoid overtightening to prevent damage.
Finally, start the engine and check for any leaks and smooth operation to confirm a flawless install.
Key Takeaways
- Relieve fuel system pressure by removing the fuel pump fuse, running the engine until it stalls, and disconnecting the battery’s negative terminal.
- Locate the old fuel filter, identify inlet/outlet lines, and carefully disconnect fuel lines using appropriate tools without damaging fittings.
- Remove the old filter from its bracket, noting its orientation for proper installation of the new Duralast FF831DL filter.
- Install the new FF831DL filter securely in the bracket, connect fuel lines firmly, and tighten fittings without overtightening.
- Start the engine, check for leaks, listen for irregular sounds, and perform a test drive to ensure proper fuel flow and performance.
Understand Why and When to Replace Your Fuel Filter
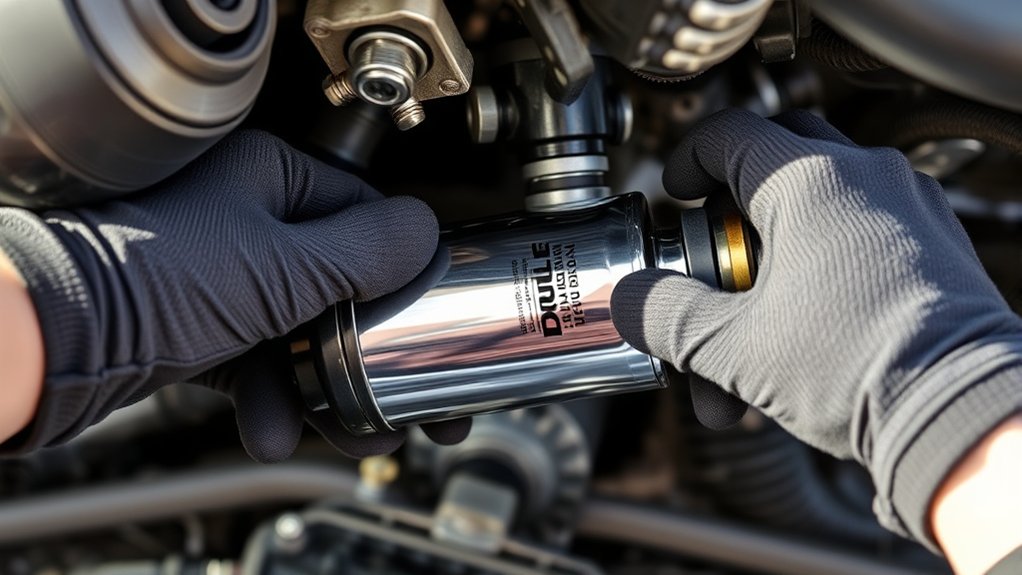
Although you might not notice it right away, a clogged fuel filter can seriously affect your engine’s performance. When contaminants build up, your engine struggles to get a steady fuel flow, causing hesitation, reduced power, and poor fuel efficiency. You’ll want to replace the fuel filter regularly to keep everything running smoothly.
Most manufacturers recommend changing it every 20,000 to 40,000 miles, but check your vehicle’s manual for specifics. If you experience symptoms like engine misfires, stalling, or difficulty starting, it’s a good sign your fuel filter needs attention. Staying proactive prevents damage to fuel injectors and the engine itself.
Understanding why and when to replace your fuel filter saves you from costly repairs and keeps your ride reliable.
Gather Tools Needed for Duralast FF831DL Installation
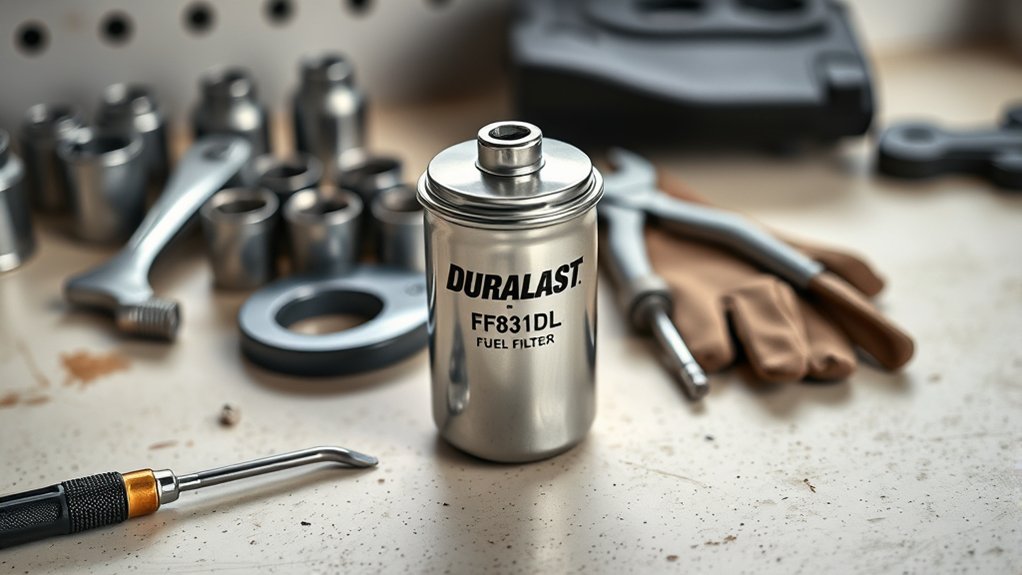
Before you start, make sure you have all the essential tools and safety gear ready. You’ll need items like wrenches, gloves, and eye protection to keep things safe and smooth.
Also, prepare your workspace by clearing the area and ensuring good lighting.
Essential Tools Overview
To install the Duralast FF831DL fuel filter properly, you’ll need to gather a specific set of tools that guarantee a smooth and safe process. Having the right tools on hand helps you avoid delays and potential damage to your vehicle’s fuel system.
Below is a quick overview of the essential tools you’ll need:
| Tool | Purpose | Notes |
|---|---|---|
| Wrench Set | Loosening and tightening bolts | Metric sizes preferred |
| Fuel Line Disconnect Tool | Detaching fuel lines safely | Specific to your vehicle model |
| Screwdriver Set | Removing clamps or covers | Both flathead and Phillips |
| Container for Fuel | Catching any spilled fuel | Use a safe, sealed container |
Make sure each tool is in good condition before starting your installation.
Safety Equipment Checklist
Along with the right tools, having proper safety equipment protects you during the installation of your Duralast FF831DL fuel filter. First, grab safety goggles to shield your eyes from fuel splashes and debris. Next, wear nitrile gloves to keep your hands safe and clean while handling fuel lines and the filter itself.
It’s also wise to have a long-sleeve shirt to protect your skin from accidental spills. Don’t forget a fire-resistant apron or clothing since fuel is highly flammable. Finally, keep a fire extinguisher nearby for emergencies.
Having these safety essentials ready guarantees you can work confidently and reduce risks during the installation process. Safety isn’t just a precaution—it’s a must.
Preparing Your Workspace
Where should you start when preparing to install your Duralast FF831DL fuel filter? Begin by gathering all the necessary tools to make the process smooth and efficient. You’ll need a wrench set, screwdrivers, pliers, and a container to catch any fuel spills.
Don’t forget gloves and safety glasses to protect yourself. Clear your workspace of any clutter and verify you have good lighting to see all components clearly. Having a clean, organized area will help you work faster and avoid mistakes.
Double-check that you’ve got the replacement fuel filter FF831DL on hand before you begin. By preparing your workspace thoughtfully, you’ll save time and reduce stress during the installation, making the entire job safer and more straightforward.
Locate the Duralast FF831DL Fuel Filter on Your Vehicle
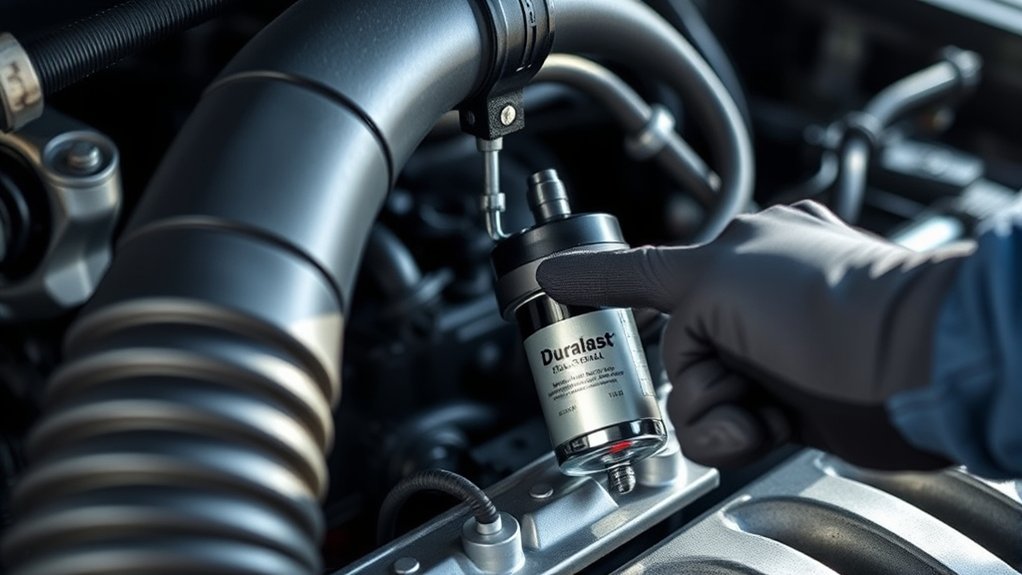
You’ll usually find the Duralast FF831DL fuel filter along the fuel lines, often near the fuel tank or engine. Look for metal or rubber fuel lines connected to a small cylindrical filter. Keep your tools handy, as some filters are tucked in tight spots that require wrenches or screwdrivers to access.
Common Filter Locations
Finding the Duralast FF831DL fuel filter on your vehicle can be straightforward once you know what to look for. Fuel filters are usually placed where they’re easily accessible for maintenance.
Common locations include:
- Along the fuel line near the fuel tank
- Underneath the vehicle, close to the frame rail
- In the engine bay, often near the firewall
- Inside the engine compartment, mounted on the fuel rail or near the carburetor
Identifying Fuel Lines
Once you’ve checked the common areas for your Duralast FF831DL fuel filter, the next step is to identify the fuel lines connected to it. These lines carry fuel from the tank to the engine and back.
Typically, the fuel filter has an inlet line (bringing fuel in) and an outlet line (sending filtered fuel out). Knowing which is which helps prevent mistakes during installation.
Here’s a quick guide to help you distinguish the fuel lines:
| Fuel Line Type | Description |
|---|---|
| Inlet Line | Connects to the fuel tank, usually thicker |
| Outlet Line | Leads to the engine, often thinner |
| Return Line (if any) | Sends excess fuel back to the tank |
Always trace the lines carefully to verify proper connection to your Duralast FF831DL filter.
Tools for Access
How do you gain proper access to the Duralast FF831DL fuel filter on your vehicle? First, you need the right tools to reach and remove the filter safely. Depending on your car’s make and model, the fuel filter might be under the hood or along the fuel line beneath the vehicle.
To get started, gather these essentials:
- A jack and jack stands to lift and secure your vehicle
- A wrench set or socket set for loosening fuel line fittings
- Safety gloves and goggles to protect yourself from fuel spills
- A clean container or rag to catch any leaking fuel
Having these tools ready will make locating and accessing the fuel filter straightforward and safe.
How to Relieve Fuel Pressure Before Removing the Filter
Before you remove the fuel filter, you’ll need to relieve the fuel pressure to prevent fuel from spraying and causing injury. Start by locating the fuel pump fuse or relay in your vehicle’s fuse box. Remove it to disable the fuel pump.
Next, start the engine and let it run until it stalls—this uses up the remaining fuel pressure in the lines. Turn the ignition off once the engine stops. For extra safety, disconnect the negative battery terminal to avoid sparks.
You can also press the fuel rail’s Schrader valve (if equipped) with a rag to release any remaining pressure. Taking these steps guarantees the system is depressurized, making your fuel filter replacement safer and cleaner.
Remove the Old Fuel Filter and Install the New One
After ensuring the fuel system is depressurized, you can safely disconnect the old fuel filter. First, use a wrench to loosen the fittings on both ends of the filter. Be ready with a rag to catch any residual fuel.
Next, carefully remove the filter from its bracket. Now, get your new Duralast FF831DL ready for installation. Follow these essential steps:
- Align the new filter’s inlet and outlet correctly.
- Slide the filter into the bracket securely.
- Tighten the fittings by hand, then snug with a wrench—don’t overtighten.
- Double-check the orientation; the arrow should point in the fuel flow direction.
Completing these steps properly ensures your fuel system stays clean and efficient.
Check Fuel Filter Connections for Leaks and Secure Them
Why should you carefully check the fuel filter connections for leaks once installed? Because any leak can cause fuel loss, reduce engine performance, or create a fire hazard.
After securing the new Duralast fuel filter FF831DL, inspect each connection point closely. Look for any signs of dripping fuel or wetness around the fittings and clamps.
Gently tug on the fuel lines to ensure they’re firmly attached and won’t slip off under pressure. Tighten any loose clamps or fittings, but avoid over-tightening, which might damage the connections.
Confirm that the fuel filter sits properly in its bracket without movement. Taking these steps prevents potential leaks and keeps your fuel system reliable and safe.
Now that everything’s tight and leak-free, you’re ready to proceed confidently.
Test Your Vehicle After Installing the Duralast Fuel Filter
Once you’ve verified all connections are secure and leak-free, it’s time to test your vehicle to confirm the new Duralast fuel filter FF831DL is working properly. Start your engine and let it idle for a few minutes, watching for any irregular noises or stalls.
Pay attention to how the vehicle accelerates and responds. Here’s what to do next:
- Check for smooth engine performance without hesitation
- Listen for any unusual sounds that might indicate fuel flow issues
- Monitor the fuel pressure if you have a gauge available
- Take a short test drive to ensure consistent power delivery
If everything feels right, your new fuel filter is installed correctly. If not, double-check connections or consult a professional.
Frequently Asked Questions
What Are the Benefits of Using a Duralast Fuel Filter?
You’ll benefit from Duralast fuel filters because they trap contaminants effectively, protect your engine, improve fuel efficiency, and guarantee reliable performance.
They’re built tough to last, giving you peace of mind on every drive.
How Often Should I Replace My Fuel Filter for Optimal Performance?
A stitch in time saves nine, so you should replace your fuel filter every 20,000 to 30,000 miles or as recommended by your vehicle’s manual. This keeps your engine running smoothly and prevents costly repairs.
Can I Reuse the Old Fuel Filter if It Looks Clean?
You shouldn’t reuse the old fuel filter, even if it looks clean. It can still have contaminants or internal damage.
Replacing it guarantees your engine runs smoothly and prevents potential fuel system issues down the road.
Are Duralast Fuel Filters Compatible With All Vehicle Makes and Models?
No, Duralast fuel filters aren’t compatible with all vehicle makes and models.
You’ll need to check your vehicle’s specifications and choose the correct filter size and type to guarantee proper fit and function.
What Symptoms Indicate a Clogged or Failing Fuel Filter?
Wondering why your car hesitates or stalls? You’ll notice poor acceleration, engine misfires, or trouble starting when your fuel filter’s clogged.
Don’t ignore reduced fuel efficiency and strange engine noises—they’re clear warning signs.
Conclusion
Replacing your Duralast FF831DL fuel filter might seem tricky, but with the right steps, it’s a breeze. Remember, “a stitch in time saves nine”—changing your filter now prevents bigger engine issues later. By following these easy steps, you’ll guarantee your vehicle runs smoothly and efficiently.
Keep an eye out for leaks, tighten connections, and take your car for a test drive. You’ve got this—your engine will thank you! Installing the Duralast Fuel Filter FF831DL properly ensures optimal fuel flow and long-lasting engine performance.

