

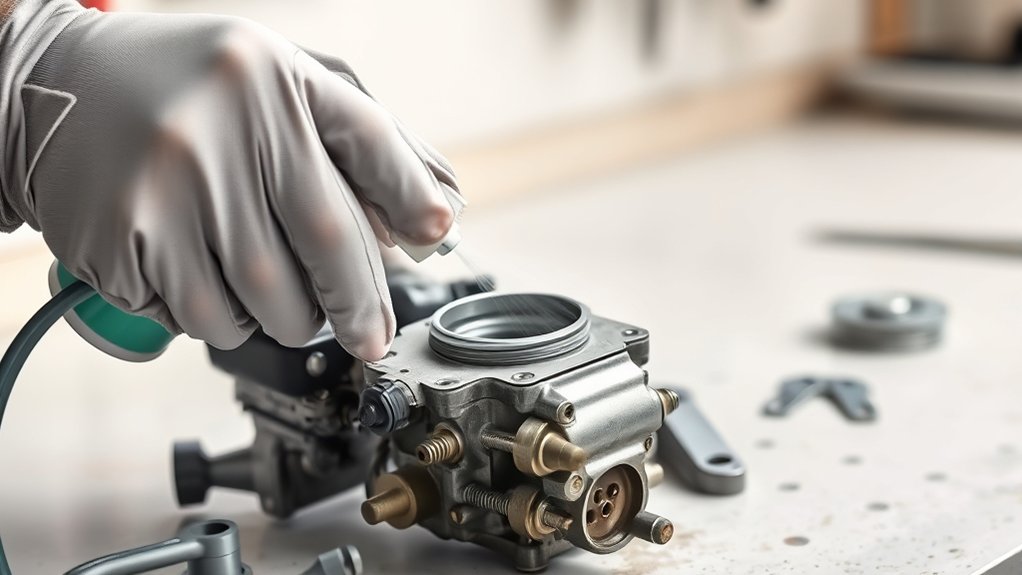
To spray carburetor cleaner correctly, it is essential to follow a safe and effective process. Start by preparing a well-ventilated workspace and wearing safety gear such as gloves and goggles to protect yourself from harmful fumes.
Choosing the right carburetor cleaner for your specific engine type ensures optimal cleaning performance.
Next, shake the can well to mix the contents thoroughly. Access your carburetor carefully, then test spray the cleaner on a rag to verify proper flow and spray pattern.
Target stubborn grime by spraying jets and throttle plates directly.
Allow the cleaner to soak for 10-15 minutes to loosen deposits effectively.
Finally, reassemble the carburetor components carefully and test your engine for smooth running.
Stick around to uncover more detailed tips on using carburetor cleaner efficiently.
Key Takeaways
- Shake the carburetor cleaner can thoroughly for 20-30 seconds before use to ensure proper mixing.
- Test spray on a rag or cardboard to check nozzle function and spray pattern.
- Spray directly onto carburetor deposits like grime, varnish, and carbon using short bursts.
- Focus cleaning on jets, throttle plates, and choke valves for effective buildup removal.
- Allow the cleaner to soak for 10-15 minutes to break down and loosen deposits before wiping or reassembling.
Why and When to Clean Your Carburetor
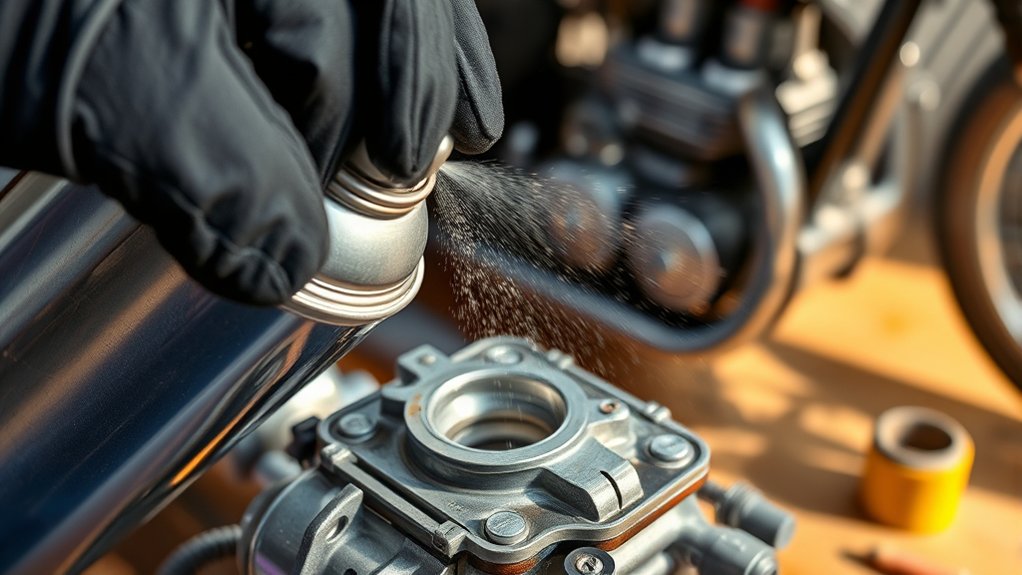
Although your engine might run smoothly most of the time, you’ll need to clean your carburetor when you notice signs like rough idling, poor acceleration, or increased fuel consumption. These symptoms often indicate that dirt, varnish, or debris has built up inside, restricting fuel and air flow. When your carburetor gets clogged, your engine struggles to run efficiently, causing performance issues and higher emissions.
You might also experience trouble starting the engine or hear unusual noises. Regular maintenance helps prevent these problems, but if your vehicle or equipment has been sitting unused for a while, a carburetor cleaning becomes even more important. By addressing these issues promptly, you’ll keep your engine running smoothly and extend its lifespan, saving you from costly repairs down the line.
Prepare Your Workspace and Safety Gear
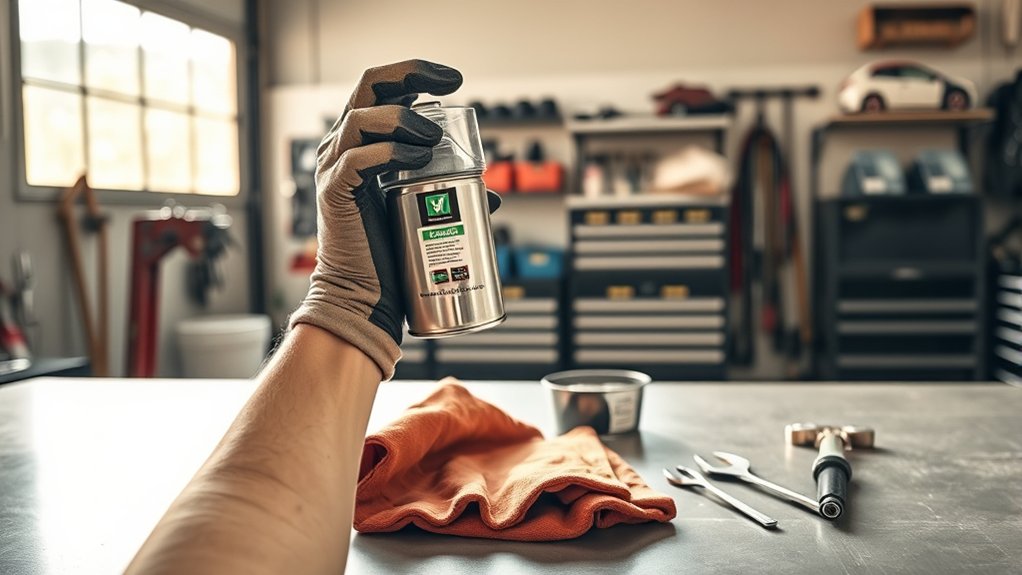
Before you start spraying carburetor cleaner, set up your workspace in a well-ventilated area to avoid inhaling harmful fumes. Open windows or work outside if possible. Lay down a protective covering like old newspapers or a plastic sheet to catch any drips.
Wear safety gloves to protect your skin from the chemicals, and put on safety goggles to shield your eyes from splashes. It’s also smart to wear a long-sleeved shirt to minimize skin exposure. Keep a fire extinguisher nearby since carburetor cleaner is flammable.
Confirm your workspace is free from open flames or sparks. Finally, have a clean rag or shop towels ready to wipe off excess cleaner and spills immediately. Preparing properly helps keep you safe and the job efficient.
Choose the Right Carburetor Cleaner for Your Engine
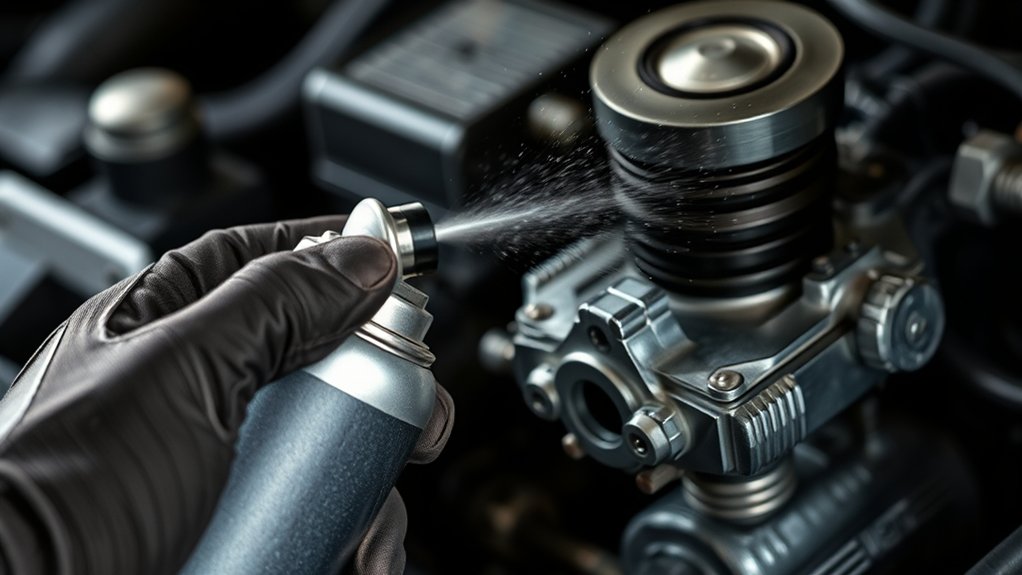
When you pick a carburetor cleaner, you need to take into account your engine type and the cleaner’s formulation to guarantee compatibility and effectiveness. Different engines, like two-stroke or four-stroke, may require specific cleaners.
Also, some formulations are better at dissolving varnish, while others excel at removing gum or carbon deposits. Choosing the right one helps avoid damage and assures a thorough clean.
| Cleaner Type | Best For |
|---|---|
| Solvent-based | Heavy carbon buildup |
| Detergent-based | Regular maintenance |
| Citrus-based | Environmentally friendly |
| Foaming cleaners | Hard-to-reach areas |
| Multi-purpose | Various engine types |
Check product labels carefully to match your engine’s needs.
Access or Remove the Carburetor for Cleaning
Choosing the right carburetor cleaner sets the stage for effective maintenance, but getting to the carburetor itself is your next step. First, verify your engine is off and cool to avoid burns. Locate the carburetor, usually found between the air filter and the intake manifold.
You might need to remove the air filter housing or ductwork for better access. Take note of how linkages and hoses connect to the carburetor—photos can help during reassembly. If deep cleaning is necessary, carefully disconnect fuel lines, throttle linkages, and mounting bolts to remove the carburetor.
Handle the carburetor gently to avoid damaging gaskets or seals. Once removed or fully accessible, you’re ready to proceed with spraying the cleaner confidently and effectively.
Shake and Test Spray Your Carburetor Cleaner
Since carburetor cleaner contains strong chemicals, you’ll want to shake the can well to guarantee the ingredients mix thoroughly. Give it a good shake for about 20-30 seconds before you use it. This assures the solution sprays evenly and works effectively.
Next, perform a test spray away from your carburetor, ideally onto a rag or a piece of cardboard. This helps you check the spray pattern and pressure, so you don’t accidentally flood delicate parts. Make sure the nozzle isn’t clogged and the spray comes out in a steady, controlled stream.
If the spray is weak or irregular, shake the can again or clear the nozzle. Once you’re confident the spray is consistent, you’re ready to apply the cleaner to your carburetor.
Spray and Let the Cleaner Soak to Break Down Deposits
Spray the cleaner directly onto the carburetor’s deposits to target buildup effectively. Then, let it sit for a few minutes so it can break down grime thoroughly.
Giving the cleaner enough time to soak makes the cleaning process much easier.
Allow Adequate Soaking Time
Once you’ve applied the carburetor cleaner, you’ll need to give it time to penetrate and dissolve the stubborn deposits. Rushing this step can reduce the cleaner’s effectiveness, so be patient. Let the solution soak for at least 10-15 minutes, allowing it to break down varnish, gum, and grime inside the carburetor.
During this time, the cleaner softens deposits, making them easier to remove when you proceed.
Here’s a quick guide to soaking time and effects:
| Soaking Time | Effect on Deposits |
|---|---|
| 5-10 minutes | Starts softening buildup |
| 10-15 minutes | Breaks down stubborn grime |
| 15+ minutes | Deep cleans and loosens |
Allowing adequate soaking ensures a thorough clean and peak carburetor performance.
Target Deposits Effectively
Giving the cleaner enough time to soak is just the start—you’ll want to make sure you aim it directly at the toughest deposits. Focus on areas where grime, varnish, and carbon build up the most, such as jets, throttle plates, and choke valves. Hold the spray nozzle close to these spots to maximize the cleaner’s impact.
Spray in short bursts rather than a continuous stream to avoid oversaturation and waste. After spraying, let the cleaner sit for a few minutes to soften the deposits thoroughly. This soaking time allows the chemicals to break down stubborn residues, making them easier to wipe away or flush out.
Reassemble and Test Your Carburetor and Engine
Before you can enjoy a smoothly running engine, you need to carefully reassemble your carburetor, ensuring all parts fit correctly and securely. Take your time to align gaskets, screws, and linkages as they were before.
Once reassembled, it’s crucial to test the carburetor and engine to confirm everything works perfectly.
Follow these steps to test your carburetor and engine:
- Inspect for leaks: Check all seals and connections for fuel or air leaks before starting the engine.
- Start the engine: Turn on the engine and listen for smooth operation without unusual noises or sputtering.
- Adjust settings: If needed, fine-tune the idle speed and mixture screws to achieve optimal performance.
Frequently Asked Questions
Can Carburetor Cleaner Damage Rubber or Plastic Parts?
Yes, carburetor cleaner can damage rubber or plastic parts. You should avoid spraying it directly on these materials, as it may cause them to crack or degrade.
Always protect sensitive components during cleaning.
How Often Should I Clean My Carburetor for Optimal Performance?
You don’t need to clean your carburetor every day—unless you want a hobby! Typically, clean it every 20,000 miles or if you notice rough idling or poor fuel efficiency.
That’ll keep it running smoothly.
Is It Safe to Use Carburetor Cleaner Indoors With Ventilation?
You shouldn’t use carburetor cleaner indoors, even with ventilation. The fumes are toxic and flammable, so it’s safer to spray outside or in a well-ventilated area with protective gear to avoid inhaling harmful chemicals.
Can Carburetor Cleaner Remove Rust Buildup Inside the Carburetor?
Can rust buildup inside your carburetor really stand up to carburetor cleaner? Yes, it can dissolve light rust and grime, but for heavy rust, you’ll need mechanical cleaning or specialized rust removers to fully restore it.
What Should I Do if the Carburetor Cleaner Causes Engine Stalling?
If carburetor cleaner causes engine stalling, stop spraying immediately. Let the engine cool down, check for excessive cleaner buildup, and guarantee proper ventilation.
You might need to adjust the idle or clean the carburetor more carefully.
Conclusion
You might think spraying carburetor cleaner is as simple as pulling the trigger and calling it a day, but if you skip these steps, you’ll likely be stuck with a clogged engine and a bigger headache.
Following these seven essential steps guarantees your carburetor actually gets clean—shocking, right? So, take your time, suit up, and spray wisely.
Your engine will thank you, even if it can’t say it out loud. Remember, proper use of carburetor cleaner is key to maintaining engine performance and avoiding costly repairs.

