

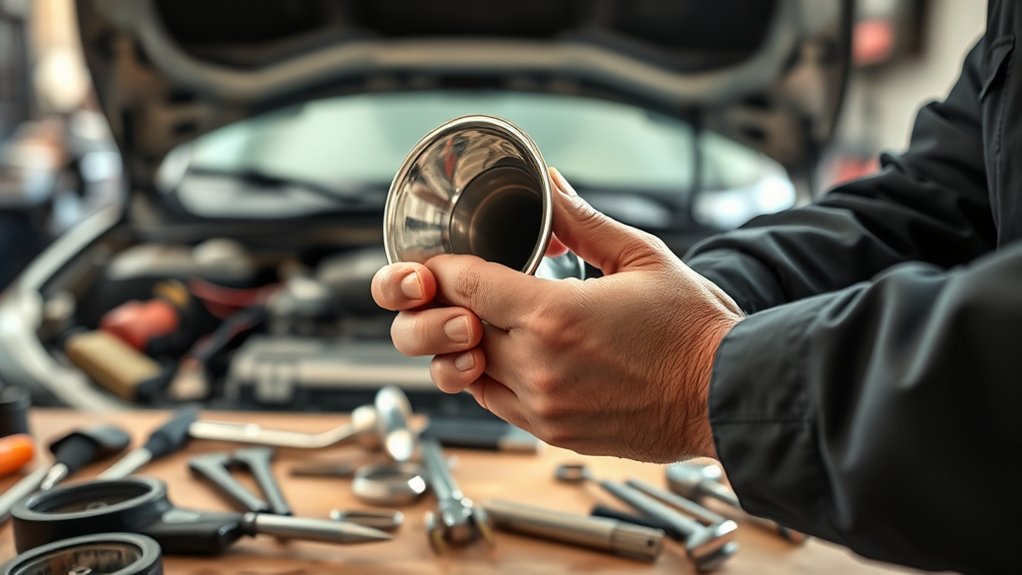
To fix your car horn in 10 easy steps, start by checking the fuse and replacing it if blown. This is a common issue that can easily disable your horn.
Next, test the horn relay to ensure it is functioning properly.
Inspect the horn button and steering wheel connections for any faults that might prevent the horn from working.
Then, locate the horn itself, clean, and tighten all electrical connections.
Testing wiring continuity is important to identify any breaks or shorts in the circuit.
If the horn is faulty, replace it promptly.
Address any grounding issues that could affect performance.
Finally, adjust the horn mounting to achieve a clearer, louder sound.
If your car horn still doesn’t work, you’ll find more helpful tips ahead.
Key Takeaways
- Check and replace the fuse labeled “horn” if it’s blown or damaged.
- Test the horn relay for clicking sound and proper coil resistance.
- Inspect and clean horn wiring connections to ensure no corrosion or damage.
- Verify the horn’s power supply, mounting, and replace the horn if it’s faulty.
- Inspect and secure ground connections for proper electrical grounding and continuity.
How to Check If Your Car Horn Fuse Is Blown
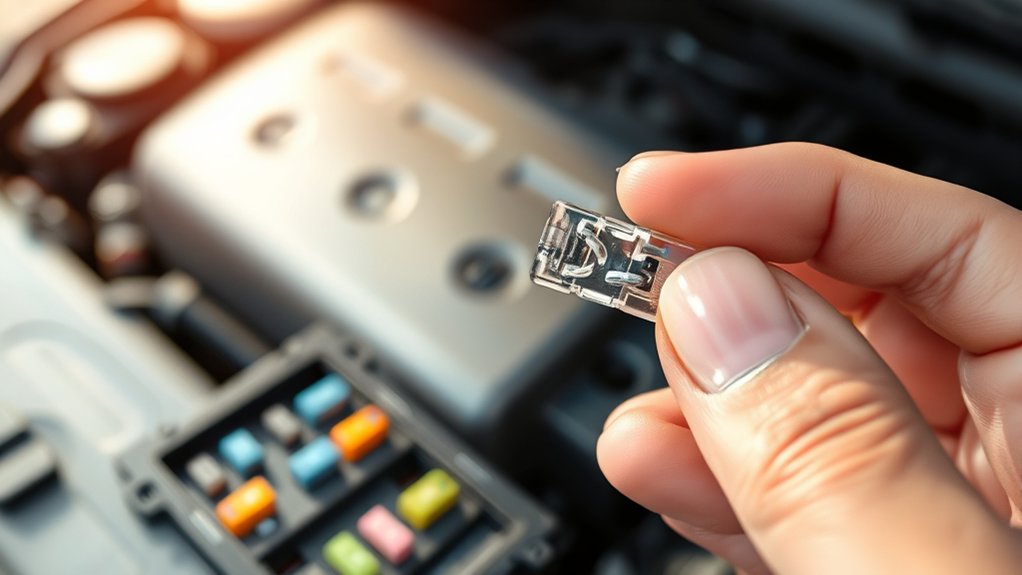
Wondering how to tell if your car horn fuse is blown? Start by locating the fuse box, usually found under the dashboard or in the engine compartment. Check your owner’s manual for the exact location and fuse diagram.
Once you find it, look for the fuse labeled “horn” or something similar. Pull the fuse out using a fuse puller or tweezers. Inspect the metal strip inside the fuse: if it’s broken or burnt, the fuse is blown.
You can also test it with a multimeter set to continuity mode. If the fuse is faulty, replace it with one of the same amperage rating. After swapping the fuse, test your horn to see if it works again.
This simple check often solves horn issues quickly.
How to Test Your Car Horn Relay
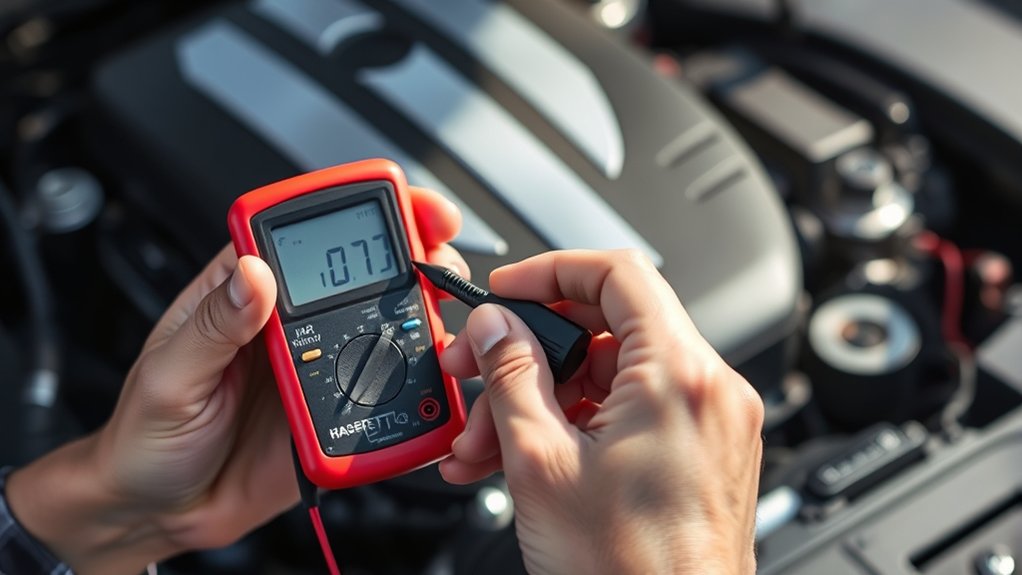
To test your car horn relay, first locate it in your vehicle’s fuse box or under the hood. Then, use a multimeter to check for continuity and proper voltage. This simple test will help you determine if the relay is functioning correctly.
Relay Location Identification
Although the relay might seem tricky to find at first, you can locate it by checking your car’s fuse box or relay panel, usually found under the hood or beneath the dashboard. To identify the horn relay quickly, follow these tips:
- Look for a label or diagram on the fuse box cover indicating relay positions.
- Refer to your car’s owner manual for exact relay location and description.
- Identify a small, square or rectangular relay marked as “horn” or “HORN RELAY.”
- If relays aren’t labeled, compare the relay layout with online resources specific to your car model.
Once you find the relay, you can proceed to test or replace it if needed, ensuring your horn works properly again.
Using A Multimeter Test
After locating the horn relay, the next step is to verify its functionality using a multimeter. First, set your multimeter to the continuity or resistance mode. Remove the relay from its socket to access the terminals.
Identify the relay’s coil terminals and place the multimeter probes on them. A good relay coil should show low resistance, typically between 50 to 120 ohms. Next, test for continuity between the relay’s switch terminals; there should be no continuity without power.
To check the relay operation, apply 12V power to the coil terminals and listen for a clicking sound, indicating activation. While powered, measure continuity between the switch terminals again; this time, it should show continuity. If any test fails, the relay is faulty and needs replacement.
How to Inspect the Horn Button and Steering Wheel Connections

Start by checking the horn button and the connections inside the steering wheel, as these are common points of failure. First, disconnect the car battery to avoid accidental airbag deployment. Then, carefully remove the steering wheel cover or horn pad to access the horn button and wiring.
Inspect the following:
- Look for loose or corroded wires on the horn button.
- Check the horn button for physical damage or wear.
- Make certain the clock spring (spiral cable) inside the steering wheel is intact and functioning.
- Test the continuity of the horn button using a multimeter.
If you find damaged wires or a faulty clock spring, those parts may need repair or replacement. Proper inspection here can save you time before moving on to other horn components.
How to Locate and Examine the Car Horn
First, locate your car horn, usually found behind the front grille or near the radiator. Next, check the wiring connections for any signs of damage or corrosion.
Finally, make sure the horn is securely mounted to avoid any loose parts affecting its function.
Find Horn Location
Although car horns are essential for safety, many drivers don’t know where to find them when issues arise. To fix your horn, you first need to locate it. Most car horns are mounted under the hood, near the front grille or radiator.
In some vehicles, they may be behind the front bumper or inside the engine compartment. Here’s how to find your horn quickly:
- Pop the hood and look near the radiator support.
- Check behind the front grille or bumper.
- Listen for a small, round, or oval metal device.
- Refer to your vehicle’s manual for exact location.
Once you’ve found the horn, you can examine it for obvious damage or looseness before moving on to repairs.
Inspect Wiring Connections
Once you’ve located the horn, check the wiring connections carefully, as loose or corroded wires often cause horn malfunctions. Start by visually inspecting the wires for any signs of damage or corrosion.
Use a multimeter to test for continuity and verify the wires carry power. If you spot any frayed wires or rusted connectors, clean or replace them promptly to restore a solid connection.
| Step | What to Check | Action Needed |
|---|---|---|
| Visual Inspection | Frayed wires, corrosion | Clean or replace wires |
| Connector Check | Loose or damaged plugs | Tighten or swap connectors |
| Continuity Test | Wire integrity | Use multimeter to verify |
| Power Supply Test | Voltage presence | Confirm with multimeter |
Check Horn Mounting
After verifying the wiring connections are intact, you should locate the car horn to check its mounting. The horn is usually found behind the grille, near the radiator, or under the hood on the driver’s side. Once located, examine if the horn is securely fastened to its bracket.
A loose horn can cause it to malfunction or produce a weak sound. Here’s how to check it effectively:
- Look for any loose bolts or screws holding the horn.
- Inspect the mounting bracket for rust or damage.
- Gently shake the horn to see if it moves excessively.
- Ensure the horn is properly aligned and not obstructed by other components.
Tighten any loose parts, and replace damaged brackets to restore proper function.
How to Clean and Tighten Horn Electrical Connections
Before you can guarantee your car horn works reliably, you need to clean and tighten its electrical connections. Start by disconnecting the car battery to avoid any shocks. Locate the horn’s wiring harness and carefully unplug it.
Use a wire brush or sandpaper to remove any corrosion or dirt from the connectors and terminals. If the terminals look damaged or heavily corroded, consider replacing them. After cleaning, reconnect the wiring harness, ensuring it fits snugly.
Next, check the horn’s mounting bolts and tighten them if they’re loose to maintain a solid ground connection. Finally, reconnect the battery and test the horn. Cleaning and securing these connections prevents electrical resistance and ensures your horn sounds loud and clear every time.
How to Use a Multimeter to Test Horn Wiring Continuity
To test your horn wiring continuity, start by setting your multimeter to the continuity or resistance mode.
Next, locate the horn wires, usually found near the horn assembly or fuse box.
Finally, use the multimeter probes to check for continuity signals, ensuring the wiring is intact and functioning properly.
Preparing Multimeter Settings
When testing your car horn wiring for continuity, you’ll want to set your multimeter correctly to get accurate results. First, turn the multimeter on and select the continuity mode, usually indicated by a diode symbol or sound wave icon. If your multimeter doesn’t have a dedicated continuity mode, set it to the lowest resistance (ohms) setting.
Before testing, touch the two probes together—your multimeter should beep or show zero resistance, confirming it’s ready.
Here’s how to prepare your multimeter:
- Power on and select continuity or lowest ohms setting
- Check the probes by touching them to hear a beep
- Use the black probe in the COM port and red in the VΩ port
- Ensure the multimeter’s battery is charged for reliable readings
Locating Horn Wiring
After setting your multimeter for continuity testing, you’ll need to locate the horn wiring under your car’s hood or steering column. Start by consulting your vehicle’s manual to identify the horn’s connector and wiring colors. Typically, the horn wires run from the horn relay or fuse box to the horn itself.
Carefully remove any covers or panels that block access to these wires. Once located, visually inspect the wires for damage or corrosion. Then, disconnect the horn connector to isolate the circuit.
Attach the multimeter probes to the horn wiring terminals—one on the positive wire and one on the ground wire. This setup lets you check if the wiring is continuous and intact before moving on to further testing or repairs.
Checking Continuity Signals
A reliable multimeter is essential for checking the continuity of your horn wiring. First, set your multimeter to the continuity or resistance mode. Then, disconnect the horn connector to avoid false readings.
Touch one probe to the horn terminal and the other to the corresponding wire end. A beep or low resistance reading means the wire is intact.
Remember to:
- Test both horn wires individually
- Inspect the wiring harness for damage
- Check continuity from the horn to the relay
- Verify ground wire connection continuity
If you don’t get a beep or the reading shows infinite resistance, the wire is broken or corroded. Fix or replace the damaged wire before testing the horn again. This guarantees your horn wiring is sound and ready to work.
How to Replace a Faulty Car Horn Safely
Although replacing a faulty car horn might seem intimidating, you can handle it safely by following some simple steps. First, disconnect your car battery to avoid electrical shocks. Locate the horn, usually near the front grille or behind the bumper.
Remove the mounting bolts and disconnect the wiring harness carefully. Install the new horn by connecting the wires and securing it with bolts. Finally, reconnect the battery and test the horn.
| Step | Action | Tip |
|---|---|---|
| Disconnect | Unplug battery | Prevents electrical shock |
| Remove | Detach horn and wires | Handle wires gently |
| Install & Test | Attach new horn, test | Ensure secure connection |
Stay safe and take your time!
How to Fix Car Horn Grounding Issues
When your car horn doesn’t work despite checking the battery and wiring, the issue might lie with poor grounding. A bad ground prevents the horn from completing the electrical circuit, so you’ll want to inspect the ground connection carefully. Start by locating the ground wire connected to the horn or chassis.
Next, follow these steps:
- Clean the ground connection with sandpaper or a wire brush to remove rust or paint.
- Tighten the ground wire bolt to ensure a secure connection.
- Use a multimeter to test for continuity between the ground wire and the chassis.
If corrosion is severe, replace the ground wire or relocate it to a cleaner grounding point.
Fixing grounding issues often restores your horn’s function without extra parts or expense.
How to Adjust Horn Mounting for Better Sound
If you want your car horn to sound louder and clearer, adjusting its mounting position can make a big difference. Start by locating the horn on your vehicle—usually near the front grill or behind the bumper. Loosen the mounting bolt enough to reposition the horn without removing it completely.
Tilt or rotate the horn slightly so the sound directs outward, not toward the engine or firewall, which can muffle it. Avoid mounting it too close to metal surfaces that can absorb or distort sound. Once positioned, tighten the bolt securely to prevent vibrations that affect tone quality.
Test the horn after adjustment to ensure improved clarity and volume. Fine-tune the angle if necessary until you get a strong, clear sound that stands out.
When Your Car Horn Still Doesn’t Work: Next Steps
Even after adjusting the mounting, your car horn might still refuse to work. Don’t worry; there are a few more things you can check before seeking professional help.
First, inspect the fuse related to the horn in your car’s fuse box—replace it if it’s blown. Next, test the horn relay; a faulty relay can prevent the horn from sounding. Also, examine the wiring connections for any corrosion or loose ends.
Lastly, check the horn button on your steering wheel; sometimes it wears out or gets stuck. Here’s what to do next:
- Replace a blown fuse
- Test and swap the horn relay
- Inspect and clean wiring connections
- Check and fix the horn button
Following these steps should help you pinpoint the issue.
Frequently Asked Questions
What Types of Car Horns Are Available on the Market?
You’ll find electric, air, and magnetic car horns on the market. Electric horns are most common, air horns offer louder sound, and magnetic horns combine both.
Choose based on your car and sound preference.
Can a Car Horn Drain My Battery if Left On?
Of course, leaving your car horn blaring won’t magically recharge your battery—it’ll drain it fast!
Are There Legal Restrictions on Car Horn Volume?
Yes, you’ve got to follow legal limits on car horn volume. Many places restrict how loud your horn can be to avoid noise pollution.
Check local laws so your horn stays within allowed decibel levels.
How Often Should a Car Horn Be Tested or Maintained?
You should test your car horn every month to guarantee it works properly, and maintain it during regular vehicle check-ups. This helps catch issues early, keeping you safe and avoiding unexpected horn failures when you need it most.
Can Weather Conditions Affect Car Horn Performance?
You might think weather won’t affect your car horn, but it can. Moisture and extreme temperatures can dampen sound or cause corrosion.
Conclusion
By following these easy steps, you’ll have your car horn sounding loud and clear in no time. Don’t let a faulty horn leave you in a jam—tackling the issue yourself saves time and money.
Remember, a little elbow grease goes a long way when fixing your car’s horn. If you’ve tried everything and it’s still silent, it might be time to call in a pro.
Keep at it, and you’ll be back on the road with confidence! Fixing your car horn not only ensures your safety but also helps maintain your vehicle’s functionality. With these simple tips, your car horn repair will be quick and effective.

