

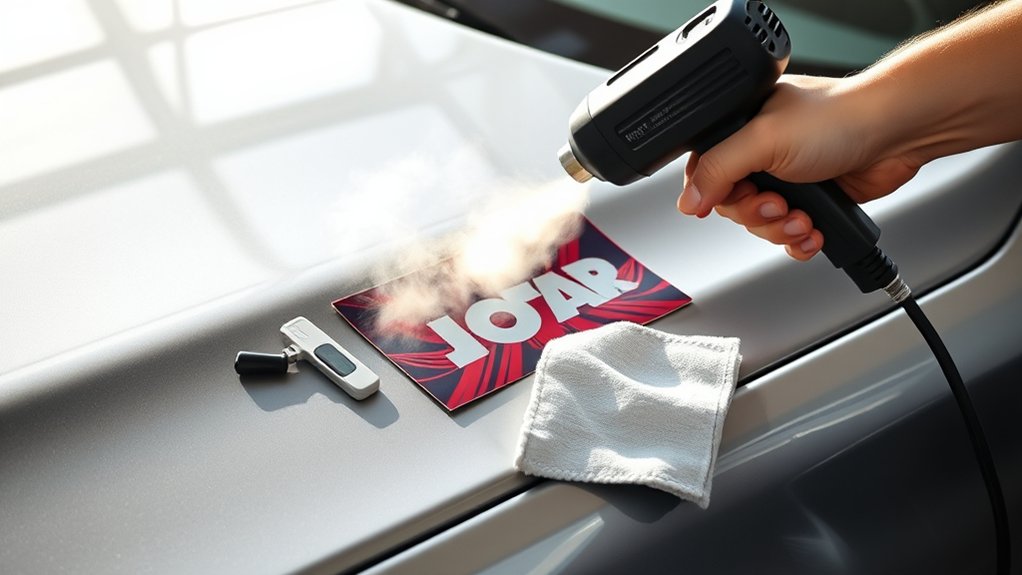
To remove car decals in 10 easy steps, start by gathering plastic tools and cleaning the surface with soap and water. Proper preparation is key for effective decal removal without damaging your paint.
Dry the area completely, then gently heat the decal using a hairdryer to soften the adhesive.
Peel the decal slowly at a low angle, using a plastic scraper if needed. This careful approach helps prevent tearing and reduces residue.
Remove any sticky residue with an adhesive remover, then wash and dry the area again.
Finish by polishing or waxing to restore shine and protect the paint. Following these steps ensures a smooth, flawless removal process.
Keep going to discover detailed tips for a flawless removal.
Key Takeaways
- Thoroughly clean and dry the decal area using mild soap and a microfiber cloth to prepare the surface for removal.
- Warm the decal gently with a hairdryer or heat gun to soften the adhesive and ease peeling.
- Carefully lift a decal corner with a plastic scraper or fingernail, peeling slowly at a low angle to avoid paint damage.
- Remove any adhesive residue using adhesive remover or rubbing alcohol, rubbing gently in circular motions until clean.
- Finish by washing, drying, and applying automotive polish or wax to restore shine and protect the paint.
Choose the Best Tools for Removing Car Decals Safely
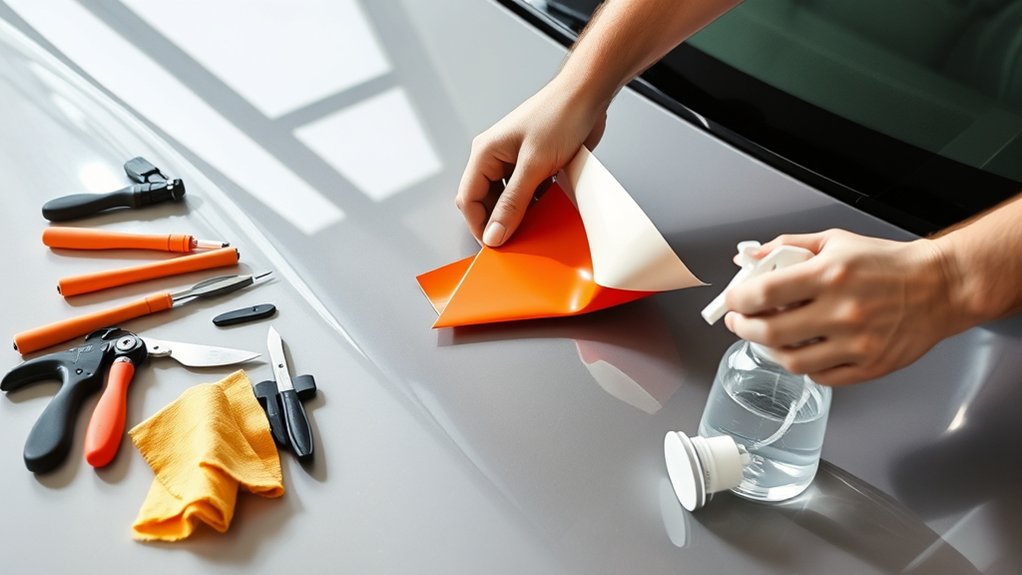
Before you begin removing car decals, you’ll want to gather the right tools to guarantee the process is safe and effective. Start with a plastic scraper or credit card to gently lift the decal without scratching your car’s paint. Next, grab a hairdryer or heat gun to warm the adhesive, making it easier to peel off the decal.
You’ll also need adhesive remover or rubbing alcohol to clean off any sticky residue left behind. Have microfiber cloths on hand to wipe surfaces clean without causing damage. Avoid metal tools, which can harm your car’s finish.
With these tools ready, you’ll save time and prevent unwanted scratches or marks, ensuring your car looks pristine after the decal removal.
Clean the Car Surface Around the Decal Thoroughly
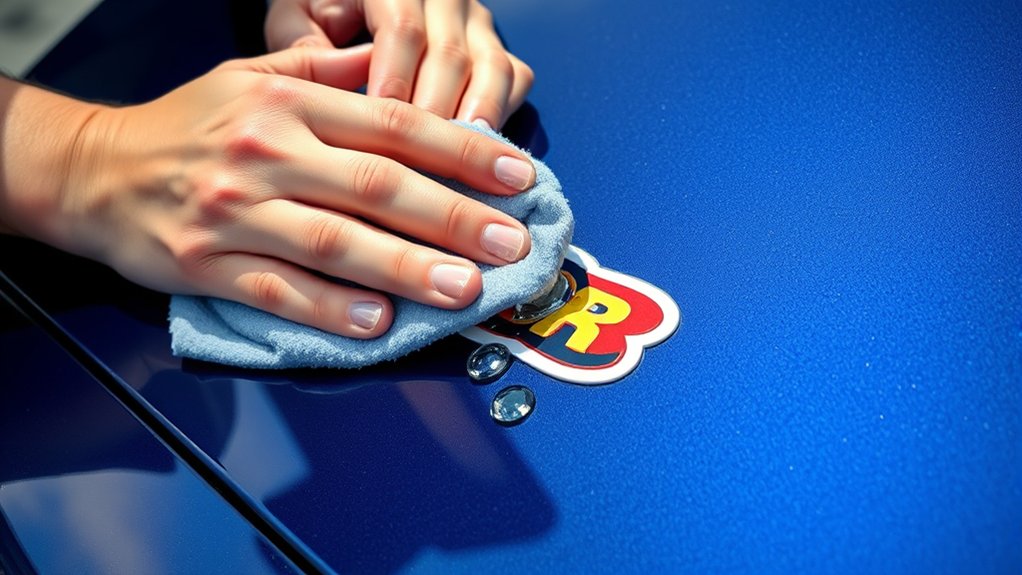
Before you start removing the decal, make sure to clear away any dirt and debris around it. Use a gentle cleaning solution that won’t damage your car’s paint.
This step helps prevent scratches and guarantees a smoother removal process.
Remove Dirt And Debris
Since dirt and debris can interfere with decal removal, you’ll want to clean the area around the decal thoroughly. Start by rinsing the surface with water to loosen loose particles. Use a soft cloth or sponge to gently wipe away dirt, dust, and grime.
Avoid scrubbing too hard, as this might scratch your paint. Pay close attention to edges where dirt tends to gather. Removing debris ensures the decal lifts cleanly without catching on particles that can cause tearing or residue.
Taking this simple step saves you time and frustration later on. Once the surface is free of dirt, dry it with a microfiber towel to prevent water spots. A clean, debris-free surface makes the entire removal process smoother and protects your car’s finish.
Use Appropriate Cleaning Solutions
After clearing away dirt and debris, you’ll want to clean the car surface around the decal with the right solutions to break down any oils or residues. This step guarantees better decal removal and prevents damage to your paint. Use gentle cleaners designed for automotive surfaces.
Avoid harsh chemicals that could strip wax or dull the finish. Test any cleaner on a small, hidden area first. Apply the solution with a soft cloth, gently scrubbing until the surface feels clean and smooth.
| Cleaning Solution | Best Use |
|---|---|
| Soapy Water | Mild dirt and dust removal |
| Rubbing Alcohol | Oil and adhesive residue |
| Vinegar Solution | Sticky residue removal |
| Commercial Car Cleaner | General surface cleaning |
| WD-40 | Tough adhesive softening |
Heat the Car Decal to Soften the Adhesive
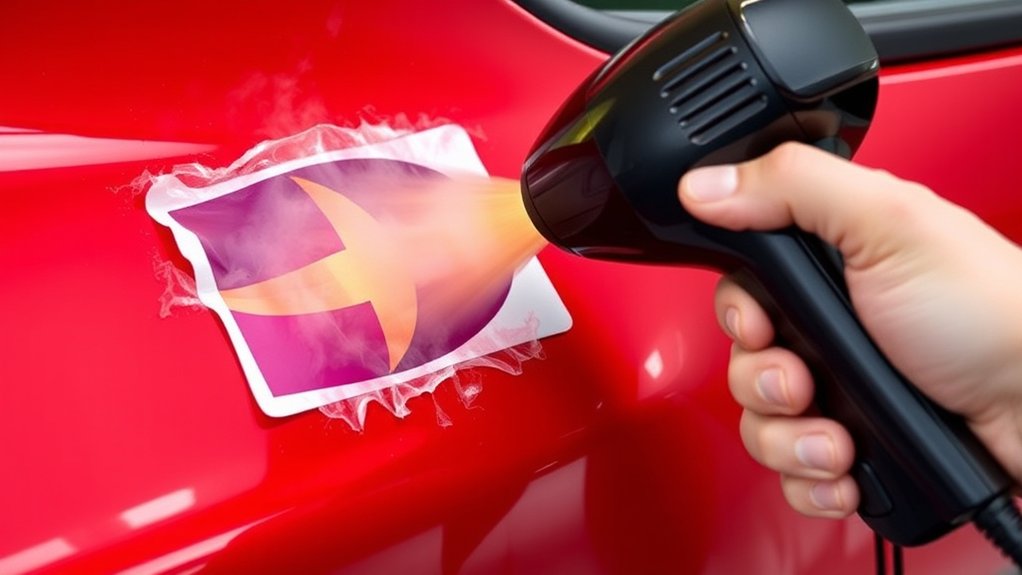
You’ll want to use a heat gun or a hairdryer to warm the decal and soften the adhesive underneath. Keep the heat moving to avoid damaging your car’s paint, and don’t hold it too close.
Always wear gloves and work in a well-ventilated area to stay safe.
Best Heat Sources
How do you effectively soften the adhesive beneath a car decal? Using the right heat source is key. You want something that gently warms the decal without damaging your car’s paint.
Common tools include a hairdryer, heat gun, or even a warm towel. Each has its pros and cons depending on your comfort and what’s available.
| Heat Source | Best For |
|---|---|
| Hairdryer | Easy to control, safe for paint |
| Heat Gun | Quick heating, use cautiously |
| Warm Towel | Gentle warmth, slower process |
Try starting with a hairdryer for gradual heat. If the decal’s stubborn, a heat gun works faster but keep it moving to avoid spots.
A warm towel is the gentlest but requires patience.
Safety Precautions
When heating a car decal to soften the adhesive, always prioritize safety to protect both yourself and your vehicle. Use a heat source like a hairdryer or heat gun on a low setting to prevent damaging the paint. Keep the heat moving continuously over the decal instead of focusing on one spot to avoid overheating or warping the surface.
Wear heat-resistant gloves to protect your hands from burns. Work in a well-ventilated area, especially if the adhesive gives off fumes. Avoid using open flames or excessively high temperatures, as these can cause serious damage.
Take breaks to check the decal’s temperature and avoid overheating. Following these precautions ensures a safer, more effective decal removal process without harming your car.
Peel Off the Car Decal Gently by Hand or With a Plastic Scraper
Although removing a car decal might seem straightforward, doing it gently guarantees you won’t damage your paint. Start by lifting one corner of the decal slowly using your fingernail or a plastic scraper. Avoid metal tools, as they can scratch the surface.
If the edge lifts easily, continue peeling the decal back at a low angle, pulling steadily but gently. If you feel resistance, pause and try softening the adhesive with warm air from a hairdryer before continuing. Keep the scraper flat and glide it under the decal’s edge to help loosen stubborn spots without gouging the paint.
Taking your time during this step prevents chipping or peeling your car’s finish. Patience here sets you up for a clean, damage-free removal.
Remove Sticky Residue With Adhesive Remover
Once you’ve carefully peeled off the decal, you’ll likely notice some sticky residue left behind on your car’s surface. To remove it, grab an adhesive remover specifically designed for automotive use. Apply a small amount onto a clean cloth or directly on the residue, allowing it to sit for a minute or two to soften the sticky material.
Then, gently rub the area in circular motions, loosening the residue without damaging your car’s paint. Avoid using harsh chemicals or abrasive tools, as they can cause scratches or discoloration. If needed, reapply the adhesive remover and repeat the process until all residue disappears.
Taking your time here guarantees a smooth, residue-free finish, preparing the surface perfectly for the next step.
Wash the Area With Soap and Water to Remove Chemicals
After using adhesive remover, you’ll want to wash the area with soap and water to get rid of any leftover chemicals. Make sure to pick a mild soap that won’t damage your car’s paint.
Use a soft cloth and gentle technique to clean thoroughly without scratching the surface.
Importance of Cleaning
Before you start removing car decals, you need to clean the area thoroughly with soap and water. This step is vital because dirt, grease, and residues can interfere with the decal removal process. When the surface isn’t clean, adhesives may stick more firmly, making it harder to peel the decal off smoothly.
Cleaning also removes chemicals or waxes that can react poorly with removal products, potentially damaging your car’s paint. By washing the area, you create a fresh, uncontaminated surface that allows tools or solvents to work effectively. Taking the time to clean properly ensures you avoid scratches, sticky residue, or uneven removal.
Choosing the Right Soap
How do you pick the best soap for cleaning your car before decal removal? Choose a mild, car-specific soap designed to lift dirt and grime without harming the paint or leaving residues. Avoid harsh detergents, household cleaners, or abrasive soaps—they can strip wax or damage the surface, making decal removal harder.
Opt for a pH-balanced soap that gently breaks down oils, road grime, and any chemicals around the decal area. This *guarantees* the surface is clean and ready for the next step without causing damage. Using the right soap helps you remove substances that could interfere with decal removal products or adhesives.
Proper Washing Technique
Once you’ve chosen the right soap, it’s time to wash the area around the decal thoroughly. Use warm water and a mild soap to create a gentle lather. Scrub the surface with a soft sponge or microfiber cloth, focusing on removing any dirt, grime, or leftover adhesive chemicals.
This step guarantees no residues interfere with the decal removal process. Rinse the area well to wash away soap and loosened debris. Avoid harsh scrubbers that could damage your car’s paint.
After rinsing, dry the surface with a clean, soft towel to prevent water spots. Proper washing not only prepares the surface but also protects your car’s finish, making decal removal smoother and safer. Taking this step seriously will save you time and effort later on.
Dry the Car Surface Completely Before Proceeding
Although it might seem like a small step, drying your car’s surface completely is essential for effective decal removal. Water left on the surface can interfere with adhesive softening techniques and make it harder to peel the decal cleanly. Use a clean, absorbent microfiber towel to gently pat dry the area where the decal is located.
Avoid rubbing harshly, as this can cause scratches or swirl marks on your paint. Make certain you dry both the decal and the surrounding surface thoroughly to prevent moisture from trapping under the decal during removal. Taking this extra time ensures better grip and control when you start peeling, reducing the risk of damaging your car’s paint or leaving behind stubborn adhesive residue.
Inspect for Any Paint Damage or Remaining Residue
After drying the car surface thoroughly, take a close look at the decal area to check for any paint damage or leftover adhesive. Run your fingers gently over the surface to feel for sticky patches or rough spots where residue might remain. If you spot any adhesive, don’t worry—there are safe ways to remove it without harming your paint.
Also, inspect for any discoloration, scratches, or peeling paint caused during decal removal. Catching these issues early helps you decide if further treatment is needed before finishing. Use a soft cloth and mild cleaner to wipe the area and see if residue loosens.
This step ensures your car’s finish is clean and ready for the next phase, preventing any problems down the road.
Apply Polish or Wax to Restore Your Car’s Paint Shine
Even if your car’s paint looks good after decal removal, applying polish or wax will bring back its full shine and protect the surface. Start by choosing a quality automotive polish or wax designed for your paint type. Use a clean, soft cloth or applicator pad to apply a thin, even layer in circular motions.
Let it haze slightly before buffing it off with a microfiber towel. This process not only enhances the gloss but also fills minor imperfections left by decal removal. Wax creates a protective barrier against dirt, UV rays, and moisture, preserving your finish longer.
Make sure to work in a shaded, cool area to avoid streaks or uneven drying. Regular polish or wax application keeps your paint looking fresh and vibrant.
Protect Your Paint When Removing Decals Next Time
To protect your paint when removing decals next time, you’ll want to prepare the surface and use the right techniques from the start. Begin by washing the area thoroughly to remove dirt and debris that could scratch the paint. Use a heat gun or hairdryer to soften the decal adhesive, making removal easier and reducing the risk of peeling paint.
Gently peel the decal at a low angle, applying consistent heat as needed. Avoid using sharp tools that can damage the paint. After removal, clean off any leftover adhesive with a mild solvent safe for automotive paint.
Finally, apply a layer of polish or wax to restore the paint’s protective barrier. Taking these steps guarantees your car’s finish stays smooth and damage-free.
Frequently Asked Questions
Can Removing Decals Affect My Car’s Warranty?
Removing decals usually won’t affect your car’s warranty, but if the process damages the paint or body, the warranty might not cover those repairs.
Always check your warranty terms and use gentle removal methods to stay safe.
Are There Any Eco-Friendly Adhesive Removers?
Did you know over 60% of adhesive removers contain harmful chemicals? You can choose eco-friendly options like citrus-based or soy-based removers—they’re effective, biodegradable, and safe for your car and the environment, so you don’t have to worry about toxins.
How Long Does the Decal Removal Process Usually Take?
The decal removal process usually takes about 30 minutes to an hour, depending on the decal size and adhesive strength.
You’ll want to be patient, applying heat and adhesive remover carefully for the best results.
Can I Reuse a Decal After Removal?
Think of your decal like a sticker on a treasure map—once peeled off, it usually loses its stickiness and can’t be reused.
Will Decal Removal Damage Tinted Windows?
No, decal removal won’t damage your tinted windows if you’re careful. Use gentle adhesive removers and avoid harsh scrapers.
Taking your time guarantees the tint stays intact while the decal comes off cleanly without harm.
Conclusion
Now that you’ve learned the 10 easy steps to remove car decals safely, you can refresh your ride like a pro. For example, Sarah removed her old racing stripes without damaging her paint by patiently heating and peeling the decal, then finishing with polish.
By following these tips, you’ll protect your car’s finish and keep it looking sharp. Next time, you’ll know exactly how to handle decal removal with care and confidence. Using the right tools and techniques ensures a smooth and damage-free process every time.

