

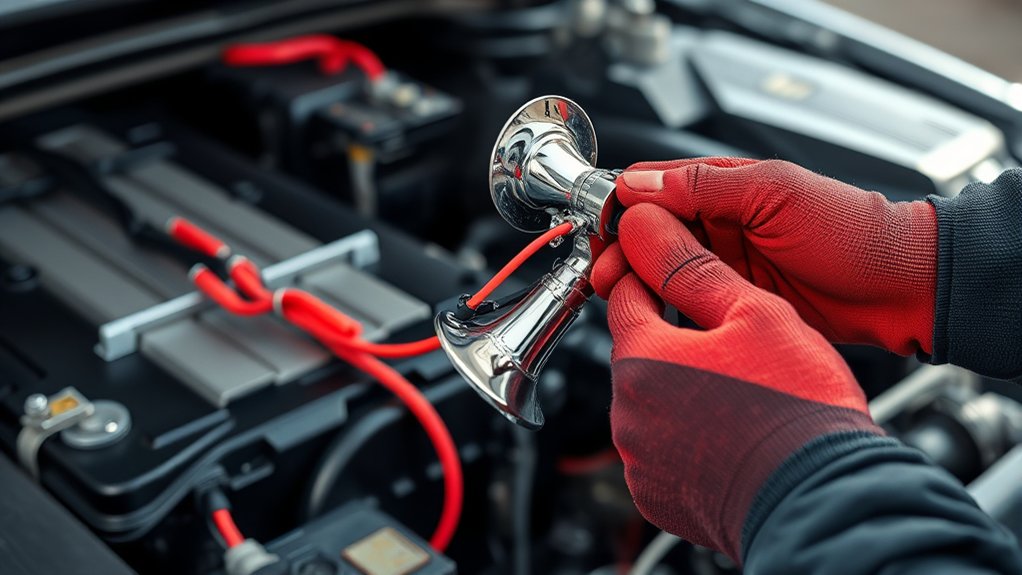
To wire a car horn in 10 easy steps, start by gathering your tools and selecting a compatible horn that matches your vehicle’s voltage and specifications. Proper wiring of a car horn is essential for ensuring it functions reliably when needed.
Before you begin, make sure to disconnect the battery to avoid any electrical hazards.
Locate and remove the old horn carefully. Mount the new horn securely in a protected spot near the grille or radiator, where it is safe from dirt and moisture.
Connect the wiring, optionally adding a relay and fuse for enhanced performance and safety.
Reconnect the battery, then test the horn to verify it works correctly.
If you want to master each step perfectly, keep exploring the details to ensure a safe and effective installation.
Key Takeaways
- Disconnect the car battery negative terminal to ensure safety before starting any wiring work.
- Identify the existing horn wires and determine if the vehicle uses single or dual horns for correct wiring.
- Connect the horn’s positive wire to the relay’s pin 87 and the relay’s pin 30 to the battery’s positive terminal with a fuse.
- Attach the relay’s pin 85 to ground and pin 86 to the horn button wire from the steering wheel.
- Test the horn by reconnecting the battery, pressing the horn button, and verifying it sounds clearly; troubleshoot if needed.
Gather the Tools and Materials You’ll Need
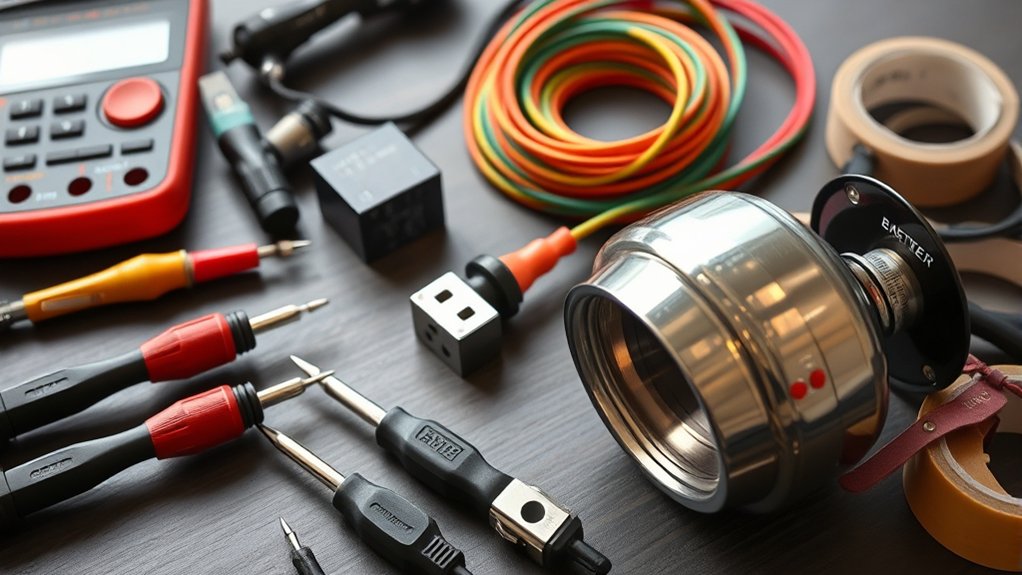
Before you begin wiring your car horn, make sure you have all the necessary tools and materials on hand. You’ll need a new car horn, obviously, plus a wiring harness compatible with your model. Grab a wire stripper and crimping tool to handle the connections easily.
Electrical tape or heat shrink tubing will help you secure and protect the wires. Don’t forget a multimeter to test your connections and ensure everything’s working properly. You’ll also want a set of screwdrivers and pliers for removing panels or mounting the horn.
Finally, keep some zip ties handy to organize the wires neatly. Having these tools ready will make the entire process smoother and prevent unnecessary frustration.
Locate and Identify Your Existing Car Horn
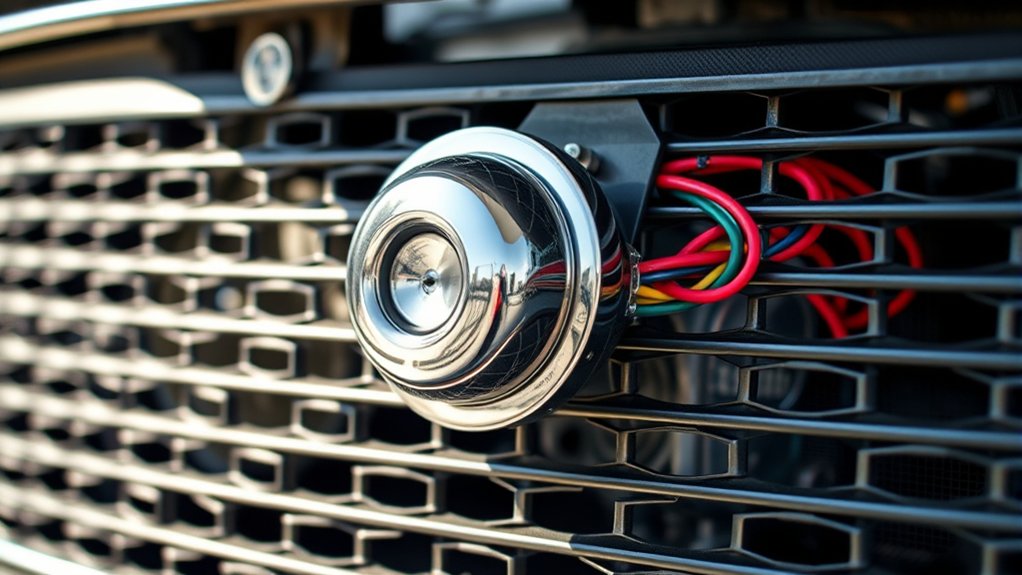
Once you open the hood, you’ll usually find the car horn mounted near the front grille or behind the radiator. Look for a round, metal device with wires connected to it. Most car horns have a trumpet-like shape or resemble a small speaker.
If you can’t spot it right away, trace the wires from the horn button on your steering wheel; they’ll lead you directly to the horn. Pay attention to whether your vehicle has one or two horns—some models use dual horns for a louder sound. Identifying the existing horn correctly is vital because it helps you understand the wiring setup and guarantees you don’t confuse it with other components like the relay or fuse box.
This step sets you up for smooth installation.
Choose a Compatible and Effective Car Horn for Your Vehicle

You’ll want to pick a horn that matches your vehicle’s voltage and fits your wiring setup. Consider different horn types and how loud you want your horn to be for safety and effectiveness.
Checking these details guarantees your new horn works properly without causing electrical issues.
Horn Types Overview
How do you pick the right car horn among the many options available? Start by understanding the two main types: electric and air horns. Electric horns are common, compact, and easy to install, producing a sharp, consistent sound.
Air horns use compressed air to deliver a louder, more attention-grabbing blast, ideal for larger vehicles or when maximum volume is needed. Within electric horns, you’ll find single-note and dual-note options; dual-note horns create a richer, more pleasing sound.
Consider the horn’s size and mounting style to guarantee it fits your vehicle’s space and setup. Also, check the sound level measured in decibels to match your preference and local regulations. Knowing these basics helps you choose a horn that’s both compatible and effective for your car.
Voltage Compatibility Check
Why is checking voltage compatibility vital when wiring a car horn? Using a horn that matches your vehicle’s voltage prevents electrical issues and guarantees reliable performance. Most cars use a 12-volt system, so selecting a 12V horn is essential.
Installing a horn with the wrong voltage can cause it to fail or even damage your vehicle’s electrical system.
Here’s a quick guide to voltage compatibility:
| Vehicle Type | Common Voltage | Horn Compatibility | Notes |
|---|---|---|---|
| Standard Cars | 12V | 12V Horn | Most common setup |
| Heavy-Duty Trucks | 24V | 24V Horn | Requires special horns |
| Motorcycles | 12V | 12V Horn | Compact, low power |
| Classic Cars | 6V or 12V | Match Vehicle | Check original specs |
Always match your horn voltage to your vehicle’s system for best results.
Sound Level Considerations
Matching your horn’s voltage to your vehicle guarantees it works properly, but you also need to take into account how loud the horn should be. A horn that’s too quiet might not alert others effectively, while one that’s too loud can be distracting or even illegal in some areas. Check your local regulations to confirm your chosen horn meets sound level limits.
Typically, car horns range between 100 and 110 decibels, which balances audibility and safety. Also, think about your environment; if you drive mostly in noisy urban areas, a louder horn might be necessary. Ultimately, pick a horn that complements your vehicle’s electrical system and provides clear, attention-grabbing sound without causing discomfort or violating laws.
This approach guarantees your horn is both compatible and effective.
Disconnect the Battery for Safety
Before you start working on your car’s horn wiring, disconnect the battery to prevent any accidental electrical shocks or short circuits. This simple step guarantees your safety and protects your vehicle’s electrical system.
Here’s how to do it properly:
- Locate the battery, usually under the hood or in the trunk.
- Use a wrench to loosen the negative terminal clamp first.
- Remove the negative cable and secure it away from the battery.
- Repeat the process for the positive terminal if needed.
Remove the Old Horn Without Damage
Before you remove the old horn, make sure the battery is disconnected to avoid any electrical issues.
Next, carefully detach the horn mounting bolts without bending or damaging the bracket.
Taking these steps will help you remove the horn cleanly and prepare for the new installation.
Disconnect Battery Safely
How do you safely disconnect your car’s battery to remove the old horn without causing damage? First, locate the battery under your hood and identify the negative terminal, usually marked with a minus (-) sign. Disconnecting the battery prevents accidental short circuits and protects you from electrical shocks.
Follow these steps:
- Turn off your car and remove the key from the ignition.
- Use a wrench to loosen the nut on the negative terminal clamp.
- Carefully lift the negative cable off the terminal and secure it away from the battery.
- Avoid touching the positive terminal or any metal parts while working.
Detach Horn Mounting Bolts
Once you’ve disconnected the battery, you can safely remove the old horn by detaching its mounting bolts. Locate the horn, usually found near the front grille or behind the bumper. Use a wrench or socket set to loosen and remove the bolts securing the horn to the vehicle’s frame.
Keep a firm grip on the horn as you remove the last bolt to prevent it from falling. Be careful not to damage the mounting bracket or surrounding components, as you’ll need these for installing the new horn. Once the bolts are off, gently pull the horn away from its position, exposing the wiring connections.
Now, you’re ready to proceed with wiring your new horn without risking any damage to your car.
Connect the New Horn’s Wires Correctly
When you connect the new horn’s wires, make sure to match each wire to its corresponding terminal carefully. This guarantees the horn functions properly without short circuits or damage.
First, identify the positive and negative terminals on the horn. Then, connect the wires accordingly. If the wires aren’t color-coded, use a multimeter to verify polarity.
Identify the horn’s positive and negative terminals, and use a multimeter to check polarity if wires lack color coding.
Follow these steps:
- Attach the positive wire to the horn’s positive terminal.
- Connect the ground wire to the horn’s negative terminal or chassis ground.
- Secure connections with insulated connectors to prevent corrosion.
- Double-check all connections for tightness and correct placement.
Proper wiring ensures your horn will sound reliably every time you press the button. Avoid forcing wires, and always ensure a snug fit for safety and performance.
Mount the New Car Horn Securely in the Best Spot
You’ll want to find an ideal spot to mount your new horn where it stays dry and clear of moving parts. Make sure to secure it tightly to prevent vibrations that could damage the horn or affect its sound.
Proper placement and a firm mount will keep your horn working reliably for a long time.
Ideal Horn Mount Locations
Although choosing the right horn is important, mounting it securely in an ideal location guarantees it works effectively and lasts longer. You want to pick a spot that keeps your horn protected while allowing sound to project clearly.
Here are some ideal locations to contemplate:
- Behind the front grille, where it’s shielded from debris but still projects sound well
- Near the radiator support, offering solid mounting and good sound projection
- On the inner fender, protected from road splash and easy to access for wiring
- Under the hood, close to the battery for simpler wiring but away from high heat areas
Choosing one of these spots ensures your horn remains functional and audible, giving you peace of mind every time you hit the button.
Securing Horn For Durability
Selecting the ideal location for your car horn is just the start; securing it firmly is what keeps it functioning reliably over time. Begin by using a sturdy mounting bracket designed for your horn model. Attach the horn tightly with bolts or screws, ensuring there’s no wiggle room.
If the included hardware isn’t robust, consider replacing it with stronger fasteners to prevent vibrations from loosening the horn. Position the horn away from excessive heat or moisture to prolong its life. After mounting, give the horn a gentle shake to check for stability.
A solid, vibration-free mount reduces wear and ensures consistent sound output. Taking these steps helps your horn stay secure and durable, so it performs well whenever you need it.
Reconnect the Battery and Test Your Horn
Once you’ve securely wired the horn, reconnect the car battery to restore power. This step is essential to check if your wiring job was successful. Before you test the horn, make sure the area around the battery is clear and tools are put away for safety.
To properly test your horn:
- Turn on the vehicle’s ignition without starting the engine.
- Press the horn button on the steering wheel.
- Listen for a clear, loud sound indicating proper function.
If the horn doesn’t sound, double-check your connections and wiring for any loose or incorrect setup.
Testing now guarantees you catch any issues early and prevents surprises later on the road.
(Optional) Install a Relay and Fuse for Better Performance
If your horn works after testing, you might want to enhance its reliability and longevity by installing a relay and fuse. A relay reduces voltage drop and prevents your horn switch from handling high current. A fuse protects your wiring from damage caused by electrical faults.
Here’s a quick overview to help you install them correctly:
| Component | Purpose |
|---|---|
| Relay | Handles high current load |
| Fuse | Protects wiring from shorts |
| Fuse Rating | Usually 10-15 amps |
| Relay Pins | 30, 85, 86, 87 (standard) |
| Location | Close to battery or horn |
Make sure to connect the fuse near the battery’s positive terminal and the relay between the horn and power source. This setup ensures better performance and safety.
Troubleshoot Common Horn Wiring Problems
Although wiring your car horn correctly is essential, problems can still arise from common issues like loose connections, blown fuses, or faulty switches. When your horn doesn’t work, start by checking these areas carefully. Inspect the wiring for any signs of damage or corrosion.
Verify that all connectors are tight and secure. Don’t forget to test the fuse related to the horn circuit and replace it if blown. Finally, examine the horn switch on your steering wheel for proper operation.
- Check wiring for breaks or corrosion
- Ensure connectors are firmly attached
- Test and replace blown fuses
- Inspect the horn switch for faults
Frequently Asked Questions
Can I Use a Universal Car Horn for Any Vehicle?
Yes, you can use a universal car horn for most vehicles, but you’ll need to check compatibility with your car’s voltage and mounting options.
Make sure it matches your vehicle’s electrical system to avoid issues.
How Loud Should a Car Horn Be for Safety?
Your car horn should be loud enough—usually around 100 to 110 decibels—to grab attention without causing hearing damage.
It guarantees safety by alerting others effectively in noisy or emergency situations.
Are Wireless Car Horns Available and Effective?
Yes, wireless car horns are available and can be effective for convenience and quick installation. However, their reliability depends on signal strength and battery life, so you should consider these factors before choosing one for your vehicle.
What Are the Legal Restrictions on Car Horn Sounds?
Think of your car horn as your voice—many places restrict loud, prolonged, or unusual sounds. You can’t just blare like a foghorn; laws keep it reasonable to avoid disturbing the peace or causing confusion.
How Often Should a Car Horn Be Tested or Replaced?
You should test your car horn monthly to guarantee it’s working properly. Replace it if the sound weakens, becomes distorted, or stops altogether.
Regular checks keep you safe and avoid unexpected failures while driving.
Conclusion
By following these steps, you’ll not only have your new horn wired correctly but also guarantee safety and reliability. It’s no coincidence that a properly installed horn signals both alertness and care—qualities your car deserves. When you hear that clear, loud sound, you’ll know your effort paid off.
So take your time, double-check each connection, and enjoy the confidence that comes with a horn that works perfectly every time. Wiring a car horn correctly ensures your vehicle is equipped with a dependable alert system. Remember, a well-wired horn is key to both safety and functionality on the road.

