

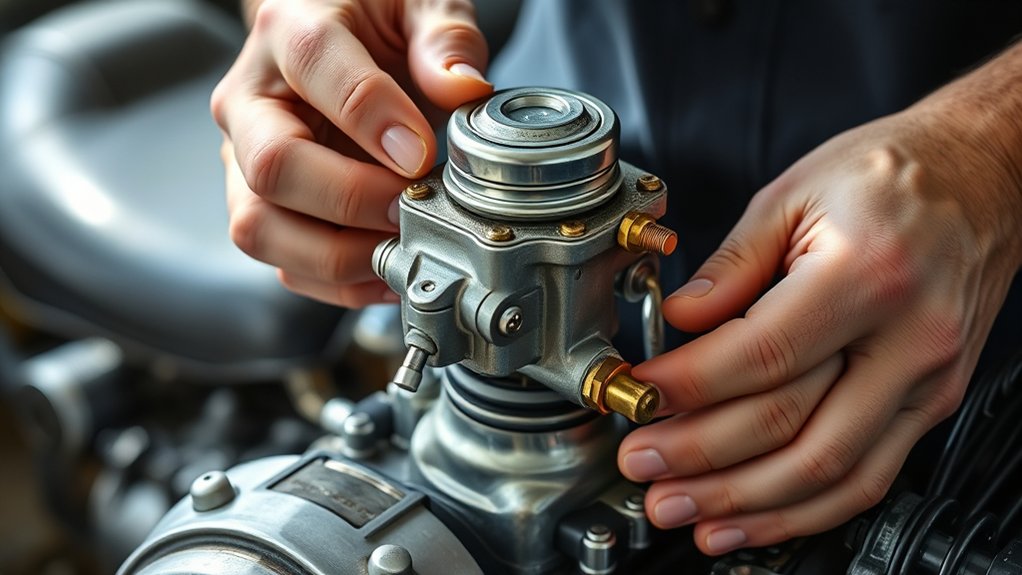
To prime your carburetor in 7 easy steps, it’s important to understand the basics of carburetor priming and gather the necessary tools. Proper priming ensures your engine starts smoothly and runs efficiently.
Before you begin, wear safety gear and carefully inspect the fuel lines and spark plugs for any issues.
Next, locate the primer bulb and choke lever on your carburetor. Press the primer bulb 3-5 times to inject fuel into the carburetor.
Then, pull the choke on and open the fuel valve to allow fuel flow.
Start the engine and wait for it to fire. Once it does, push the choke back to the off position.
Follow these simple steps, and you’ll be ready to troubleshoot and maintain your carburetor effectively.
Key Takeaways
- Identify carburetor type by checking for a fuel bowl or primer bulb to ensure proper priming method.
- Locate the primer bulb near the carburetor or fuel line for easy access during priming.
- Press the primer bulb 3-5 times to inject fuel into the carburetor.
- Set the choke lever to “on” to enrich the fuel mixture before starting the engine.
- Open the fuel valve, start the engine, then gradually move the choke to “off” as it runs smoothly.
Identify Your Carburetor Type for Priming
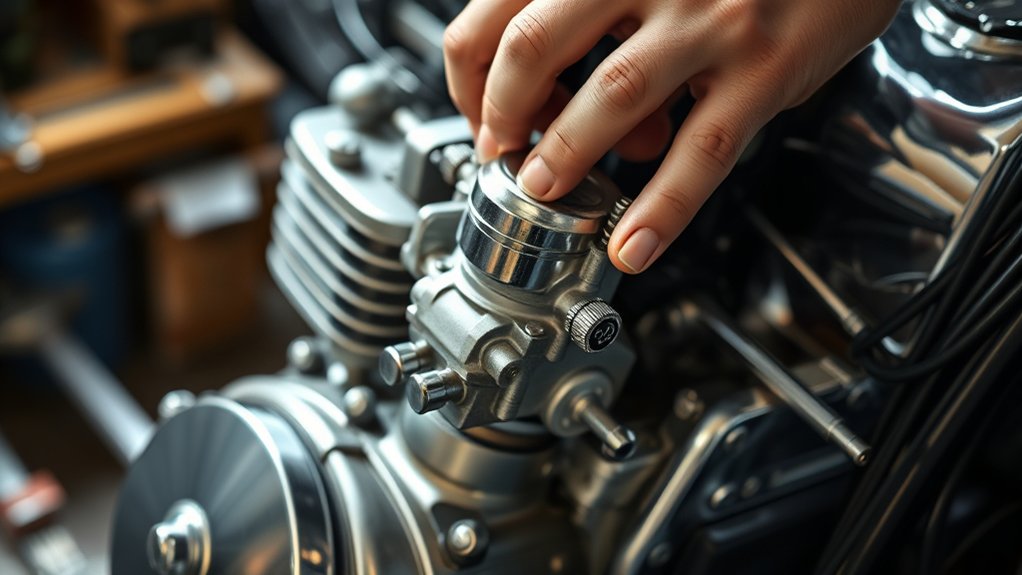
How do you know which carburetor type you have before priming it? First, check your engine’s manual or look for a label on the carburetor body that indicates the model or type. Most small engines use either float-type or diaphragm-type carburetors.
Float-type carburetors have a visible bowl at the bottom that holds fuel, while diaphragm types use a flexible membrane and don’t have a fuel bowl. You can also identify your carburetor by its fuel line connections and the presence of a primer bulb. If there’s a small rubber bulb on the carburetor, it’s likely a diaphragm type.
Knowing your carburetor type helps you follow the correct priming steps and avoid damage. Take a moment to identify it before you start priming.
Gather Tools Needed to Prime Your Carburetor
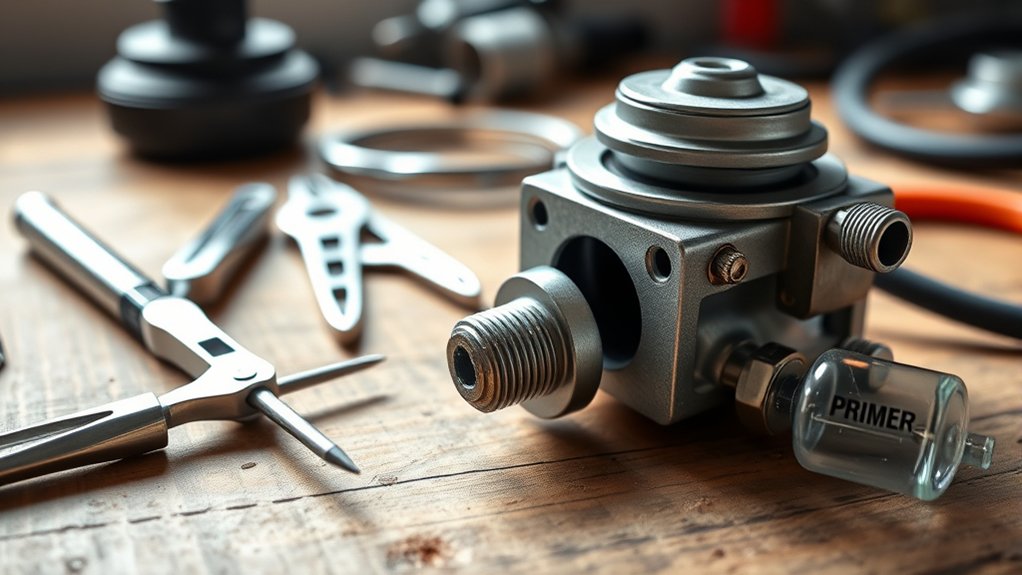
Before you begin priming your carburetor, gather all the necessary tools to make the process smooth and efficient. You’ll need a basic toolkit including screwdrivers (both flathead and Phillips), wrenches or socket sets, and pliers to handle screws, bolts, and clamps. A clean rag or shop towels are essential for wiping away dirt and fuel spills.
Have a fuel primer bulb or a hand pump handy if your carburetor requires manual fuel priming. Don’t forget safety gloves and eye protection to keep yourself safe from fuel splashes. Additionally, a small container to catch any fuel drips and a flashlight for better visibility can be very helpful.
Having these tools ready guarantees you won’t interrupt your work searching for items.
Prepare Your Engine and Stay Safe Before Priming
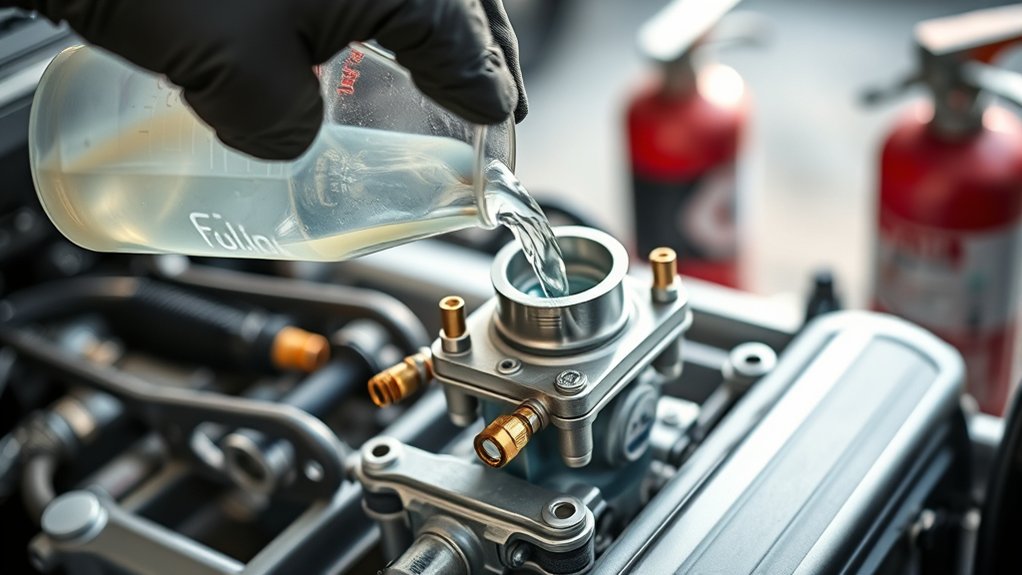
Before you start priming, make sure you’re wearing the right safety gear like gloves and eye protection. Check your engine thoroughly for leaks, loose parts, or damage that could cause problems later.
Taking these precautions will keep you safe and help your priming go smoothly.
Safety Gear Essentials
Although priming a carburetor may seem straightforward, wearing the right safety gear is essential to protect yourself from fuel spills, fumes, and potential sparks.
Before you start, make sure you gear up properly to reduce any risk of injury.
Here’s what you should wear:
- Safety goggles – Shield your eyes from fuel splashes and airborne debris.
- Gloves – Use chemical-resistant gloves to prevent skin contact with gasoline and other harmful substances.
- Long sleeves and pants – Protect your skin from accidental fuel sprays and minor burns.
Engine Inspection Checklist
Wearing the right safety gear sets the stage for a smooth priming process, but your engine itself needs a thorough check to make certain everything is in good working order. Start by inspecting the fuel lines for cracks or leaks—any damage can cause fuel to spill, creating a fire hazard.
Next, check the air filter; a dirty or clogged filter restricts airflow and affects performance. Make sure the spark plug is clean and properly gapped, as a faulty spark can prevent the engine from firing. Look over the carburetor for signs of wear or buildup, and verify all bolts and connections are tight.
Taking these steps prepares your engine for priming and helps keep you safe throughout the process.
Locate the Primer Bulb or Choke for Priming
Where do you find the primer bulb or choke when prepping your carburetor? These components are usually easy to spot once you know where to look. First, check near the carburetor itself, often attached to the fuel line or nearby.
Second, look for a small, round rubber bulb—the primer bulb—that you can press to inject fuel directly into the carburetor. Third, locate the choke lever or knob, which controls the air-fuel mixture by restricting airflow for easier starting. It’s typically positioned on the carburetor body or close to the throttle control.
Knowing the exact location of these parts helps you prepare the carburetor effectively before starting the priming process, ensuring your engine gets the fuel it needs to run smoothly.
Prime the Carburetor in 7 Easy Steps
After locating the primer bulb or choke, you’re ready to start priming the carburetor. First, press the primer bulb firmly 3 to 5 times to push fuel into the carburetor. If your engine uses a choke, pull the choke lever to the “on” position.
Next, make certain the fuel valve is open so fuel can flow freely. Turn the ignition key or pull the starter rope to begin the engine’s ignition process. If the engine doesn’t start immediately, repeat pressing the primer bulb a few more times.
Once the engine fires up, gradually push the choke back to the “off” position to allow normal air and fuel mixture. These steps help guarantee the carburetor is properly primed for smooth engine operation.
Troubleshoot When Your Engine Won’t Start After Priming
If your engine won’t start even after priming the carburetor, don’t worry—you can troubleshoot the issue by checking a few common problem areas. First, verify that the fuel is reaching the carburetor. A clogged fuel line or filter can block flow.
Second, inspect the spark plug for fouling or damage; a bad spark plug won’t ignite the fuel-air mixture. Third, make sure the choke is functioning properly—if it’s stuck open or closed, the engine might struggle to start.
Maintain Your Carburetor for Long-Term Performance
To keep your carburetor working smoothly, you’ll want to clean it regularly and follow proper storage practices. This helps prevent buildup and damage that can affect performance.
Let’s look at some simple steps you can take to maintain it for the long haul.
Regular Cleaning Tips
Although regular cleaning might seem like a simple task, it plays a crucial role in keeping your carburetor running smoothly and preventing costly repairs. To maintain peak performance, follow these key steps:
- Remove Debris: Use compressed air or a soft brush to clear dirt and dust from the exterior and inside the fuel bowl.
- Clean Jets and Passages: Soak removable parts in carburetor cleaner, then carefully clear jets and fuel passages with a fine wire or needle.
- Inspect Gaskets and Seals: Check for cracks or wear, replacing any damaged parts to prevent leaks and guarantee proper sealing.
Proper Storage Practices
Keeping your carburetor clean is important, but how you store it can have an even bigger impact on its long-term performance. When you’re not using your equipment for a while, drain all the fuel from the carburetor to prevent varnish buildup. Store it in a dry, cool place to avoid moisture, which can cause corrosion.
If you remove the carburetor, keep it in a sealed container or plastic bag with a desiccant packet to absorb any humidity. Avoid leaving fuel in the carburetor for extended periods, as stale fuel can gum up internal parts.
Frequently Asked Questions
Can I Prime a Carburetor on Any Type of Engine?
You can prime most small engines’ carburetors, like lawnmowers or chainsaws, but some engines, especially fuel-injected ones, don’t need it. Always check your engine type before priming to avoid damage or improper function.
How Often Should I Prime My Carburetor for Optimal Performance?
You shouldn’t prime your carburetor too often; doing it only before starting a cold engine guarantees ideal performance. Over-priming can flood the engine, so stick to priming just when necessary to avoid problems.
What Causes My Carburetor to Flood While Priming?
Your carburetor floods while priming because the float valve sticks or the needle seat wears out, letting too much fuel in.
Also, over-priming or a clogged fuel return can cause excess fuel buildup.
Is Priming Necessary for Fuel-Injected Engines?
Fuel-injected engines don’t demand deliberate priming. You’ll find their fuel flow finely fashioned and fast-acting, fueling your engine flawlessly without fuss.
Can Using the Wrong Fuel Damage the Carburetor?
Yes, using the wrong fuel can damage your carburetor by causing clogs, corrosion, or poor combustion.
You’ll want to stick to the recommended fuel type to keep it running smoothly and avoid costly repairs.
Conclusion
Now that you know how to prime your carburetor in just 7 easy steps, you’re set to keep your engine running smoothly. Did you know that nearly 30% of small engine failures come from improper carburetor maintenance? Taking these simple steps not only helps you start your engine faster but also extends its lifespan.
Stay consistent with priming and maintenance, and you’ll avoid common issues that slow you down. Proper carburetor priming ensures efficient fuel delivery and optimal engine performance. Keep your engine happy and reliable by following these essential carburetor maintenance tips regularly!

