

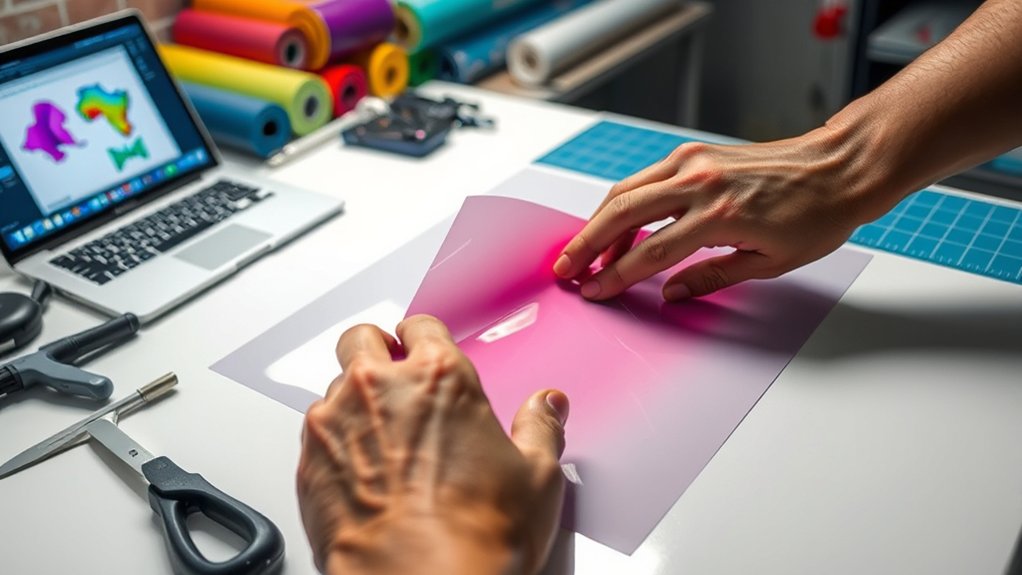
To make car decals in seven easy steps, start by choosing durable, weather-resistant vinyl with outdoor adhesive. Selecting the right materials ensures your decals withstand sun, rain, and wind.
Designing your decal using simple shapes and clear fonts enhances visibility on your vehicle.
Prepare your car surface by cleaning it thoroughly and drying well. This step allows the decal to adhere properly without peeling.
Cut your design precisely with sharp tools, then apply transfer tape to guarantee smooth installation.
Position your decal carefully to avoid bubbles.
Finally, seal it with a clear protector for longevity.
Keep going to uncover detailed tips for each step.
Key Takeaways
- Choose durable, weather-resistant vinyl and outdoor-grade adhesive for long-lasting car decals.
- Design simple, bold graphics using user-friendly software with clear fonts and contrasting colors.
- Thoroughly clean and dry the car surface to ensure strong decal adhesion.
- Cut the decal carefully on a flat surface using sharp tools and follow the design outline precisely.
- Apply transfer tape smoothly, position the decal without bubbles, and seal with a clear protective layer.
Choose the Right Materials for Your Car Decals
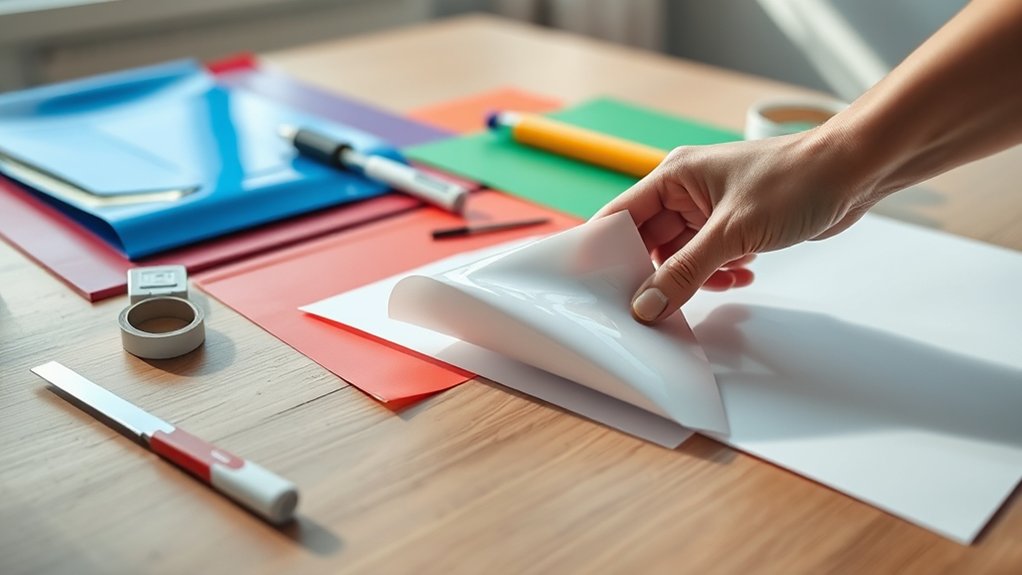
Before you start designing, you need to choose the right materials for your car decals. You’ll want to pick vinyl that’s durable and weather-resistant since your decal will face sun, rain, and car washes. Look for outdoor-grade adhesive vinyl; it sticks well but won’t damage your paint when removed.
You might also consider clear or matte laminate to protect your design from scratches and fading. Don’t forget to get transfer tape—it helps you apply your decal smoothly without bubbles or wrinkles. Choosing high-quality materials upfront saves you time and frustration later.
If you want your decal to last, avoid cheap paper or non-adhesive options. Getting the right supplies sets you up for a successful, long-lasting car decal.
Design Your Custom Decal Using Easy Tools
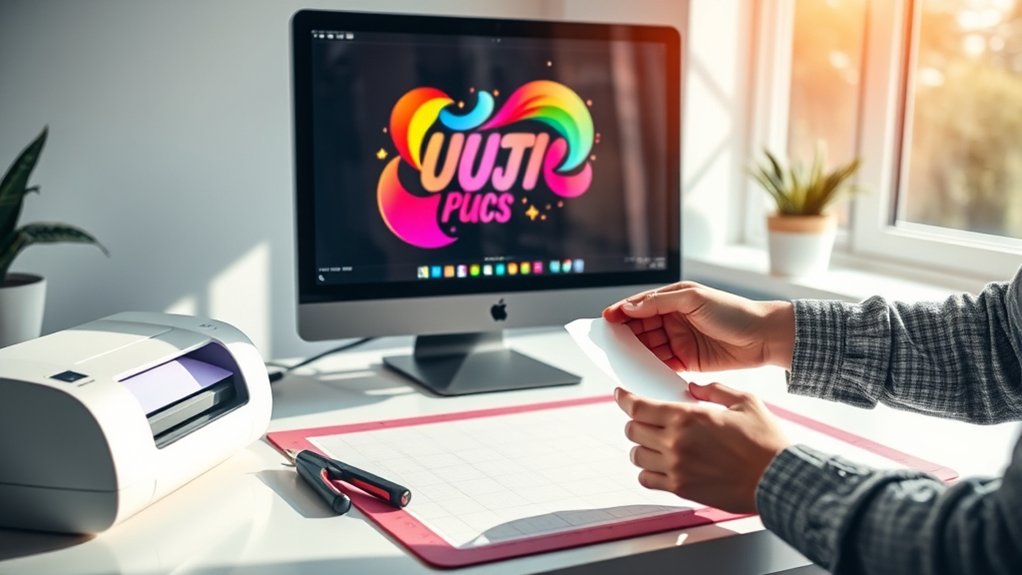
You’ll want to pick user-friendly software that makes designing your decal simple and fun. Focus on selecting design elements that fit your style and stand out on your car.
With the right tools and choices, your custom decal will look professional and unique.
Choosing User-Friendly Software
When designing your custom decal, selecting user-friendly software can make the process much smoother and more enjoyable. You want a tool that’s intuitive, offers essential features, and doesn’t overwhelm you with complexity.
Look for software with clear menus, drag-and-drop options, and simple editing tools so you can focus on creativity, not technical hurdles.
Here’s a quick comparison to help you choose:
| Software | Key Benefit |
|---|---|
| Canva | Easy drag-and-drop design |
| Inkscape | Free and versatile |
| Cricut Design | Perfect for cutting files |
Choosing the right software means you’ll spend less time learning and more time crafting a decal you love. Keep it simple and get ready to create!
Selecting Ideal Design Elements
Although selecting the right design elements might seem tricky, choosing simple shapes, clear fonts, and bold colors will bring your decal to life. You want your design to be eye-catching yet easy to read from a distance. Focus on elements that enhance visibility and express your style without clutter.
Keep these tips in mind when designing:
- Use geometric shapes like circles or triangles for a clean look
- Pick sans-serif fonts for better readability
- Choose contrasting colors to make your decal pop
- Incorporate minimal details to avoid overcrowding
Prepare Your Car Surface for Decal Application
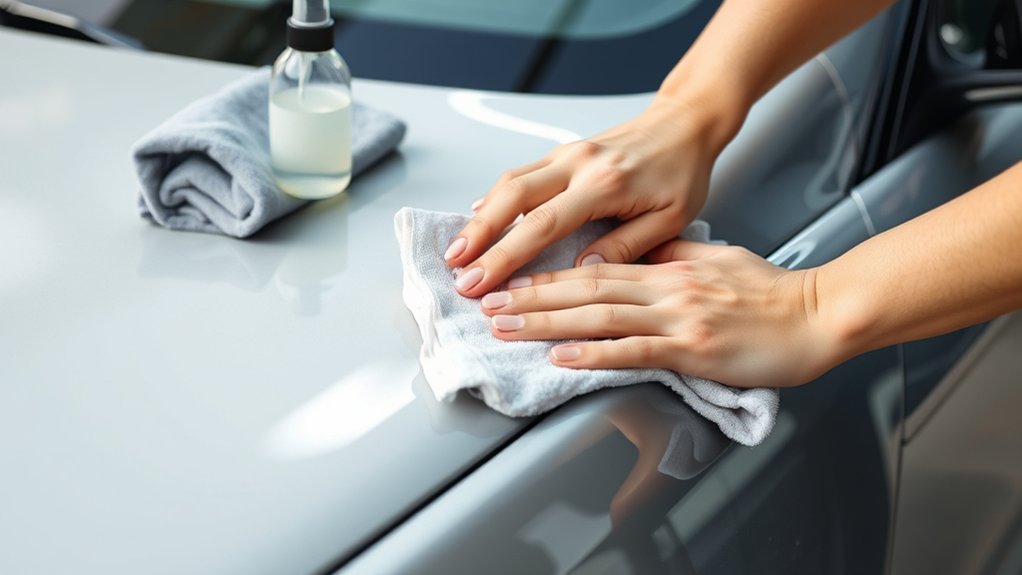
Before applying your decal, make sure to clean your car’s surface thoroughly to remove dirt and oils. Use a mild cleaner and a lint-free cloth for the best results.
Once the surface is spotless, let it dry completely to guarantee strong adhesion.
Clean Surface Thoroughly
To make sure your car decal sticks properly and lasts long, you need to clean the surface thoroughly. Any dirt, grease, or residue can prevent the decal from adhering well. Start by rinsing the area with water to remove loose debris.
Then, use a mild soap or car cleaner to scrub away stubborn grime. Don’t forget to address:
- Fingerprints and smudges
- Road tar and bugs
- Wax or polish buildup
- Dust settled in crevices
Use a soft cloth or sponge to avoid scratching the paint. Cleaning this way ensures the surface is free of contaminants, giving your decal the best chance to stick firmly. Taking this step seriously will pay off with a smooth, durable finish.
Dry Surface Completely
How do you guarantee your decal sticks perfectly after cleaning? You dry the surface completely. Any moisture left on your car’s paint can prevent the adhesive from bonding properly, causing bubbles or peeling later.
After washing and wiping the area, use a clean microfiber cloth to absorb every drop of water. Don’t rush this step—take your time to make sure no damp spots remain. If you’re in a hurry, a gentle blow-dry with cool air can speed up drying without damaging the paint.
Cut Your Decal Precisely and Cleanly
When you cut your decal precisely and cleanly, it guarantees a professional look and makes application easier. Use a sharp craft knife or precision scissors to avoid jagged edges. Work on a clean, flat surface to maintain control and accuracy.
Take your time to follow the design’s outline carefully, avoiding rushing through the process.
Keep these tips in mind:
- Use a cutting mat to protect your workspace and keep cuts smooth.
- Cut slowly along the edges to prevent tearing or lifting.
- Remove excess vinyl around the design for a neat finish.
- Regularly replace dull blades to assure clean cuts every time.
Apply Transfer Tape to Your Decal for Easy Installation
Although your decal is perfectly cut, applying transfer tape is essential for a smooth and accurate installation. First, cut a piece of transfer tape slightly larger than your decal. Peel the backing off the transfer tape carefully, avoiding any dust or debris.
Lay the sticky side of the tape onto the front of your decal, starting from one edge and smoothing it down slowly to prevent wrinkles or air pockets. Use a squeegee or a credit card to firmly press the tape onto the decal, ensuring it adheres evenly. Once the tape is securely in place, flip the decal over and gently peel away the original backing paper.
Now, your decal is ready to be positioned and applied without losing any detail or alignment.
Apply Your Decal Smoothly Without Bubbles
With the transfer tape securely holding your decal, you can now focus on applying it smoothly to your surface. Start by positioning the decal carefully, then press down one edge firmly. Use a squeegee or a credit card to slowly work across the decal, pushing out air bubbles as you go.
Make sure to:
- Apply even pressure from the center outward
- Move slowly to avoid trapping air
- Peel the transfer tape back at a sharp angle
- Stop and smooth any bubbles with a pin or needle
If small bubbles remain, gently lift the decal and reapply, or use a pin to pop them and press flat. This careful technique ensures a clean, bubble-free finish you’ll be proud of.
Seal Your Car Decal to Make It Last Longer
How can you guarantee your car decal withstands the elements and stays vibrant over time? The key is sealing it properly. After applying your decal, wait for it to fully adhere and dry.
Then, choose a clear vinyl sealer or a spray-on clear coat designed for outdoor use. Apply an even, thin layer over the entire decal surface, making sure not to oversaturate it. This protective layer shields your decal from UV rays, rain, and dirt, preventing fading and peeling.
Let the sealer dry completely before touching or washing the area. By sealing your decal, you extend its lifespan and keep it looking fresh, no matter what weather it faces. It’s a simple step that makes a big difference in durability.
Frequently Asked Questions
Can Car Decals Damage My Vehicle’s Paint?
Car decals usually won’t damage your vehicle’s paint if you apply and remove them carefully. Just avoid leaving them on too long or using harsh adhesives, and your paint should stay safe and intact.
How Do I Remove Old Decals Without Residue?
Picture warm sunlight softening the decal’s grip. You’ll heat the sticker with a hairdryer, gently peel it off, then rub away residue with soapy water or rubbing alcohol.
This leaves your paint smooth and clean.
Are Custom Car Decals Weatherproof?
Yes, custom car decals are weatherproof if you choose high-quality vinyl and laminate them. This protects your design from rain, sun, and dirt, so your decals stay vibrant and intact no matter the weather conditions.
Can I Reuse a Decal After Removal?
You can’t usually reuse a decal after removal because it loses its adhesive and shape. If you try, it won’t stick well or look right.
For best results, use a fresh decal each time you apply one.
What’s the Best Time of Year to Apply Decals?
You’ll want to pick the “golden window” of spring or fall when temperatures are mild and humidity’s low.
This way, your decals stick perfectly and avoid any unwanted peeling or bubbling under harsh weather conditions.
Conclusion
Creating your car decal is like planting a seed in a garden—you start with the right soil (materials), nurture it carefully (design and preparation), and watch it grow beautifully on your vehicle. Each step you take guarantees your decal not only looks great but stands the test of time.
Just as a gardener tends to their plants, your attention to detail helps your car’s personality bloom, making every drive a little more unique and vibrant.
By following these steps to make car decals, you ensure a high-quality finish that lasts. Proper design, careful preparation, and precise application are key to successful car decals. This process makes your vehicle stand out with a personalized touch that reflects your style.

