

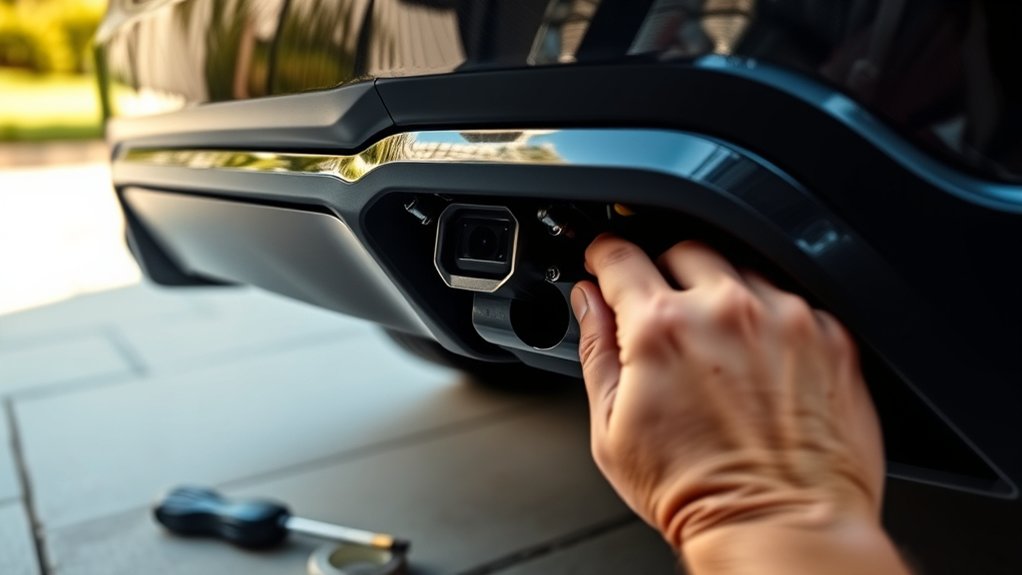
To install a backup camera on your car, start by choosing the right backup camera that suits your vehicle and environment. Selecting a reliable and compatible backup camera ensures clear visibility and safety while reversing. This essential car accessory enhances your driving experience by reducing blind spots.
Mount the camera near the license plate, aiming the lens slightly downward for a clear view. Route wiring carefully to connect the camera’s power to the reverse light circuit and run the video cable to the monitor on your dashboard.
Test the system by shifting into reverse, adjusting the angle as needed.
Following these basics will set you up well, and there’s plenty more to guarantee a perfect setup. Proper installation is key to maximizing the camera’s effectiveness and durability.
Key Takeaways
- Choose a backup camera compatible with your vehicle type, display, and power system, considering features like night vision and wide-angle lenses.
- Mount the camera near the license plate, centered and angled downward, ensuring no obstructions block the view.
- Connect the camera’s power wires to the reverse light circuit and ground, and route the video cable securely to the monitor.
- Test the camera by shifting into reverse, adjusting the angle for a clear, unobstructed view in various lighting conditions.
- Regularly clean the lens, inspect wiring for damage, and secure connections to maintain optimal camera performance and longevity.
How To Choose The Right Backup Camera For Your Car Model And Needs
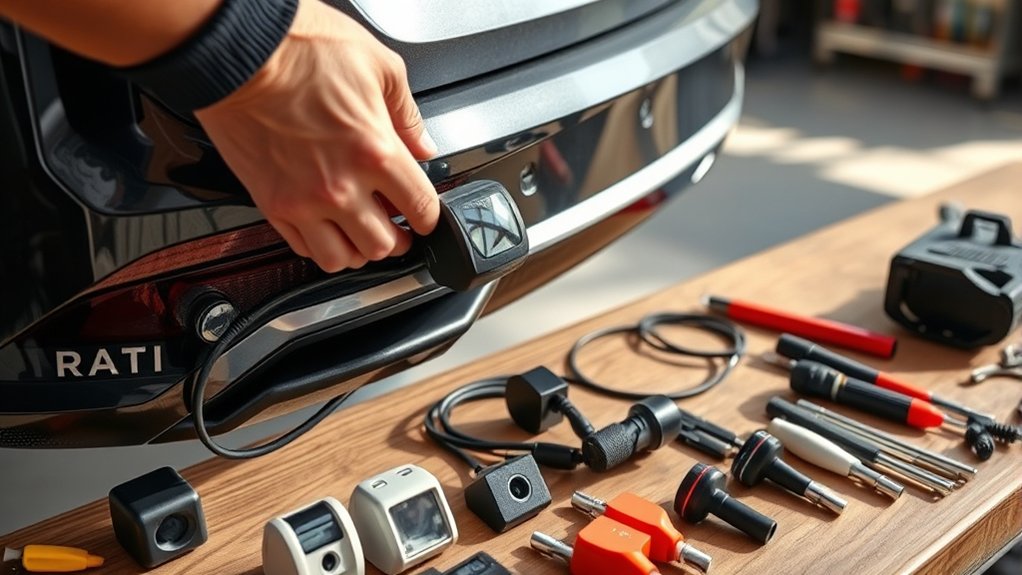
How do you find the perfect backup camera that fits your car and driving habits? Start by considering your vehicle type—sedans, trucks, and SUVs have different mounting options.
Next, think about your typical driving environment. Do you often navigate tight city streets or park in dimly lit areas? Choose a camera with wide-angle lenses for better visibility in crowded spaces or one with night vision for low-light conditions.
Also, check if the camera integrates smoothly with your car’s existing display or if you’ll need an aftermarket monitor. Don’t forget to match the camera’s power requirements with your vehicle’s electrical system.
Tools And Materials Needed For Backup Camera Installation
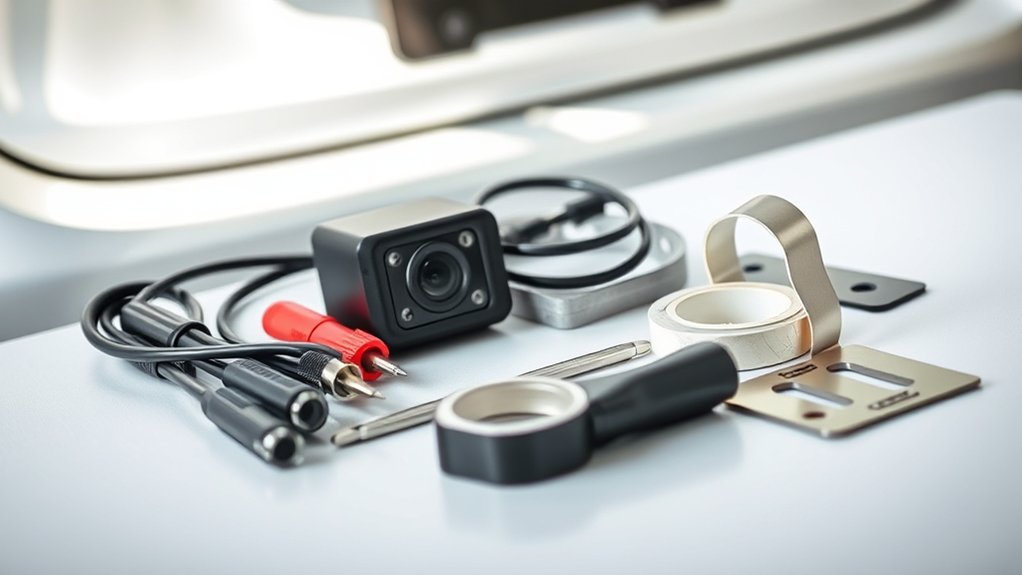
Before you start, make sure you have the essential tools like screwdrivers, wire strippers, and a multimeter. You’ll also want to review the types of backup cameras to pick the right one for your setup.
Finally, gather the necessary wiring and connectors to guarantee a smooth installation process.
Essential Tools Checklist
Although installing a backup camera might seem straightforward, gathering the right tools and materials will make the process much smoother. You’ll need a few essentials: a screwdriver set (both flathead and Phillips), wire strippers, electrical tape, and a power drill with various bits. Don’t forget a voltage tester to safely identify power sources.
Having zip ties and cable clips helps secure wiring neatly. Depending on your camera model, you might also need a panel removal tool to access interior trim without damage. Additionally, keep your car’s manual handy for wiring diagrams and component locations.
With this checklist ready, you’ll avoid interruptions and complete your backup camera installation efficiently and safely.
Camera Types Overview
Which type of backup camera suits your car best? You’ll find three main types: wired, wireless, and flush-mount cameras. Wired cameras offer a stable connection but require more installation effort.
Wireless cameras are easier to install since they don’t need running wires through your car, but they might face interference. Flush-mount cameras sit discreetly in your bumper or license plate frame, giving a sleek look, while surface-mount cameras attach visibly to the vehicle’s exterior.
When choosing, consider your vehicle’s design, your comfort with installation, and whether you want a visible or hidden camera. Also, check if the camera includes night vision or wide-angle lenses for better rear visibility. Picking the right type upfront makes your installation smoother and improves safety.
Wiring And Connectors
Since your backup camera relies on a reliable power source and clear signal transmission, you’ll need the right wiring and connectors to guarantee everything works smoothly. Start with a power wire—usually red—that connects to your car’s reverse light circuit, so the camera activates only when you shift into reverse. Use a ground wire to prevent electrical issues.
For video, you’ll need a coaxial cable with RCA connectors to link the camera to your monitor or head unit. Make sure the connectors fit securely to avoid signal loss or interference. Also, consider weatherproof connectors if your wiring runs outside.
Having electrical tape, zip ties, and wire crimpers on hand will help you secure and protect all connections during installation.
Where To Mount The Backup Camera On Your Vehicle
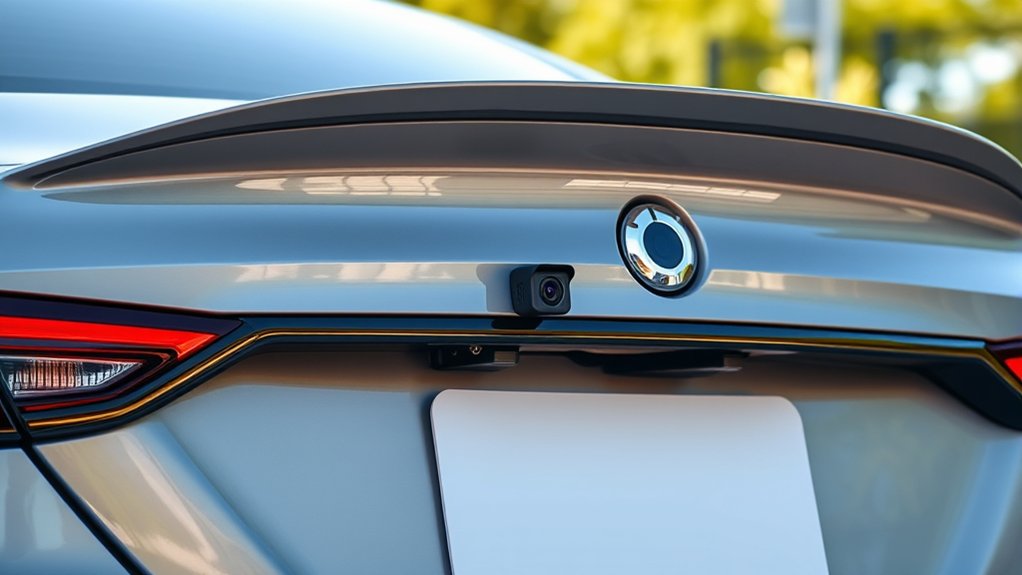
You’ll want to mount your backup camera in a spot that gives you a clear, wide view behind your vehicle. Consider the height carefully to avoid blind spots and guarantee the camera isn’t blocked by bumpers or license plates.
Finding the right position helps you get the most accurate and useful image when reversing.
Ideal Camera Placement
Although mounting the backup camera may seem straightforward, choosing the ideal location is crucial for clear visibility and safety. You want to place the camera where it captures a wide, unobstructed view directly behind your vehicle. Typically, the best spot is near the license plate, centered horizontally to provide a balanced perspective.
This position helps you see obstacles and pedestrians effectively. Make sure the lens isn’t blocked by parts of your car like the bumper or trunk handle. Also, avoid areas prone to dirt or water spray that can obscure the lens.
Position the camera so it points slightly downward, giving you a good view of the ground and any hazards. Taking time to find the perfect spot ensures your backup camera works reliably every time.
Height Considerations
Where should you mount your backup camera to get the clearest view? The ideal height is usually around the license plate level or slightly above it. Mounting the camera too low might expose it to dirt, water, or damage from curbs, while placing it too high can limit your view of the immediate area behind the vehicle.
Aim for a height that captures both the ground close to your bumper and the road behind you. This balance helps you spot obstacles and navigate tight spaces. Additionally, make certain the camera’s angle is adjustable so you can fine-tune the view after installation.
Avoiding Obstructions
Once you’ve chosen the right height for your backup camera, the next step is to guarantee it has a clear, unobstructed view. Avoid mounting it behind license plate frames, tow hitches, or any part of the bumper that could block the lens. Check for items like spare tires or cargo racks if you have an SUV or truck—they can easily hide the camera’s view.
Make sure the camera isn’t too close to the ground, where dirt, water, or debris might obscure the lens. Also, avoid placing it under ledges or overhangs that can cast shadows or collect rain. By carefully selecting a spot free from obstructions, you’ll ensure your backup camera delivers a reliable, wide-angle view to keep your reversing safe and stress-free.
How To Install The Monitor Or Display Inside Your Car
Before you connect the backup camera to your car’s electrical system, you’ll need to install the monitor or display inside the vehicle. Choose a location with clear visibility, like the dashboard or rearview mirror area. Most monitors come with mounting brackets or adhesive pads—use these to secure the display firmly.
Make certain the screen doesn’t obstruct your view or interfere with vehicle controls. Run the monitor’s video cable toward the camera’s location, keeping it hidden under trim panels or carpets for a clean look. If your monitor plugs into a cigarette lighter or USB port, position it so the cable won’t interfere with driving.
Take your time to ensure the monitor is stable and easily accessible for safe, effective use.
How To Wire And Power Your Backup Camera
Although installing the monitor is an important step, wiring and powering your backup camera guarantees it functions correctly. Start by locating the reverse light wires in your vehicle’s tail light assembly. These wires will supply power to the camera only when you shift into reverse.
Use a test light or multimeter to identify the positive and negative reverse light wires. Next, connect the camera’s power wires: attach the red wire to the positive reverse light wire and the black wire to a good ground point or the negative wire. Run the video cable from the camera to the monitor, securing it neatly along the car’s frame.
Finally, double-check all connections to verify a solid, secure setup before moving on.
How To Test Your Backup Camera To Ensure It Works Properly
After securing all the wiring and connections, you’ll want to verify that your backup camera operates correctly. Start by turning on your car and shifting into reverse; this should automatically activate the camera feed on your monitor or display. Check the image clarity, making sure it’s sharp and free from static or flickering.
Confirm that the camera displays the correct field of view behind your vehicle. Test the camera in different lighting conditions, such as daylight and low light, to guarantee consistent performance. If your camera has guidelines, verify they appear correctly on the screen.
Finally, inspect all cables and connectors for any signs of loose connections or damage during testing. Address any issues immediately before driving to ensure safety and reliability.
How To Adjust The Backup Camera Angle For The Best View
When you want to get the clearest and most useful view from your backup camera, adjusting its angle properly is essential. Start by positioning the camera so it captures the area directly behind your vehicle, including the ground just a few feet away. Slightly tilt the camera downward to see obstacles close to the bumper without losing sight of the wider surroundings.
Use your vehicle’s display while slowly moving the camera to find the most effective angle. Make sure the horizon line is visible but not dominating the view, and avoid pointing the camera too high or too low. Once satisfied, tighten the mounting screws securely to keep the angle fixed.
Regularly check and readjust if needed, especially after rough drives or impacts.
How To Avoid Common Backup Camera Installation Mistakes
To get your backup camera working smoothly, you need to avoid some common mistakes. Make sure your wiring connections are correct, place the camera where it has a clear view, and don’t forget to connect it to a reliable power source.
Taking care of these details will save you time and frustration during installation.
Incorrect Wiring Connections
Because wiring mistakes can cause your backup camera to malfunction or not work at all, you need to double-check each connection carefully. Start by identifying the correct wires for power, ground, and video signal. Use a wiring diagram specific to your vehicle and camera model to prevent confusion.
Make certain all connections are secure and insulated to avoid shorts or disconnections, especially in areas exposed to moisture. Avoid splicing wires without proper connectors or soldering, as poor connections often lead to intermittent issues. Test the camera before finalizing the installation so you can quickly troubleshoot any wiring errors.
Taking these steps ensures your backup camera functions reliably and saves you from frustrating troubleshooting later on.
Poor Camera Placement
Although installing the camera correctly is essential, placing it in the right spot is just as important for peak performance. If you position your backup camera poorly, you risk blind spots, distorted views, or even damage from road debris.
To avoid these issues, consider mounting the camera at a height that captures the full rear view without obstruction. Avoid placement near reflective surfaces, which can cause glare and reduce image clarity. Ensure the lens faces straight back rather than angled too high or low, which can distort distance perception.
Neglecting Power Source
Even the best backup camera won’t work if you neglect the power source. Before you start, identify a reliable power source, usually the reverse light circuit. Tapping into this guarantees the camera only powers on when you’re backing up, preventing battery drain.
Use a multimeter to confirm voltage and avoid wiring mistakes that could cause shorts or damage. Secure all connections with proper connectors or soldering, then insulate them with electrical tape or heat shrink tubing. Don’t overlook grounding; a poor ground can cause flickering or no image.
Double-check your wiring against your vehicle’s manual. Taking these steps ensures your camera gets steady power, so it functions reliably every time you reverse. Neglecting this essential step could leave you with a useless camera and wasted effort.
How To Troubleshoot Common Backup Camera Problems After Installation
When your backup camera doesn’t display correctly or shows a distorted image, you’ll want to quickly identify the cause to fix it. First, check the wiring connections to make sure nothing is loose or damaged.
If your backup camera image is distorted, first check for loose or damaged wiring connections.
Next, inspect the camera lens for dirt or moisture that could blur the image. Finally, verify that the power source is providing consistent voltage to the camera.
Here are three key troubleshooting steps:
- Confirm all cables are securely connected and free from damage.
- Clean the camera lens gently with a soft cloth to remove debris.
- Test the power supply with a multimeter to ensure proper voltage.
Tips For Maintaining Your Backup Camera For Long-Term Use
To keep your backup camera working smoothly over time, you need to perform regular maintenance and handle it with care. Clean the lens often with a soft cloth to remove dirt and water spots. Check wiring connections periodically to prevent loose or corroded contacts.
Avoid using harsh chemicals on the camera to protect its coating. Also, park your car in shaded areas when possible to reduce sun damage. Finally, inspect the camera housing for cracks or damage after rough drives.
| Maintenance Task | Frequency | Tips |
|---|---|---|
| Clean Lens | Weekly | Use microfiber cloth |
| Inspect Wiring | Monthly | Look for wear or corrosion |
| Check Camera Housing | Quarterly | Fix cracks immediately |
| Avoid Harsh Chemicals | Always | Use mild soap if needed |
| Protect from Sun | Daily (if possible) | Park in shade or garage |
Frequently Asked Questions
Can a Backup Camera Improve My Car’s Resale Value?
Yes, a backup camera can boost your car’s resale value by making it safer and more appealing. Buyers appreciate modern features, so installing one can give you an edge when selling your vehicle quickly and at a better price.
Are Backup Cameras Legal in All States or Countries?
You’ll find backup cameras are legal in most U.S. states, thanks to a 2018 federal mandate requiring them in new cars. However, some countries have varying rules, so always check local laws before installing one.
How Do Backup Cameras Affect Nighttime Driving Safety?
Backup cameras improve nighttime driving safety by giving you a clearer, wider view behind your car, especially in low light. They help you spot obstacles and pedestrians more easily, reducing the risk of accidents when reversing.
Can I Install a Backup Camera on an Older Car Model?
You can definitely install a backup camera on an older car. Picture a clear screen lighting up your dashboard, making reversing safer and easier.
With the right kit and a bit of patience, it fits just fine!
Do Backup Cameras Work in Extreme Weather Conditions?
Yes, backup cameras generally work in extreme weather, but heavy rain, snow, or fog can reduce visibility.
You’ll want to choose a weatherproof camera and keep the lens clean for the best performance in tough conditions.
Conclusion
Installing a backup camera is like planting a tree in your car’s garden—it starts with choosing the right spot and tools, then carefully wiring and adjusting for the best view. Just as a gardener tends to their plants, you’ll maintain and troubleshoot your camera to keep it thriving.
With patience and care, your new backup camera will grow into a reliable guardian, watching your every move and keeping your journeys safe and worry-free.
By following these installation steps and performing regular maintenance, you ensure your backup camera remains a trusted safety feature. Proper installation and care will maximize your camera’s effectiveness, providing peace of mind on every drive. Remember, a well-installed backup camera is key to enhancing your vehicle’s safety and protecting your investment.

