

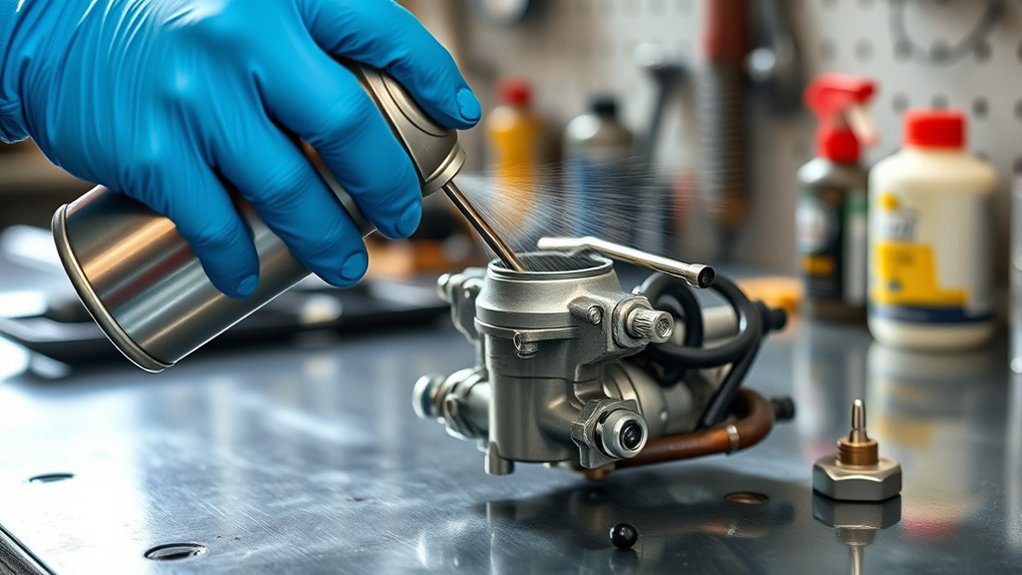
To use carburetor cleaner effectively, follow these 7 easy steps to ensure your engine runs smoothly and efficiently. Carburetor cleaner is essential for removing buildup and grime that can affect performance. Proper use of this cleaner can help maintain optimal fuel flow and prevent engine issues.
Start by wearing gloves and goggles for safety. Locate and access your carburetor by removing any obstructing parts. Confirm the engine is cool and the battery is disconnected.
Decide if you need to remove carburetor parts based on the severity of the buildup. Shake the cleaner well, then spray it on dirty areas while avoiding plastics. Use a brush to wipe away grime thoroughly.
Once the carburetor is dry, reassemble it carefully. Test your engine’s performance to ensure everything is functioning correctly. Keep following these steps to master fine-tuning and maintenance for smooth running.
Key Takeaways
- Ensure the engine is off, cool, and work in a well-ventilated area before applying carburetor cleaner.
- Shake the carburetor cleaner can well and spray short bursts directly onto dirty carburetor parts.
- Avoid spraying rubber and plastic components to prevent damage during cleaning.
- Use a small brush or toothbrush to loosen grime after spraying, then wipe away residue with a clean cloth.
- Allow all cleaned parts to dry completely before reassembling the carburetor for proper function.
Gather the Right Tools and Safety Gear
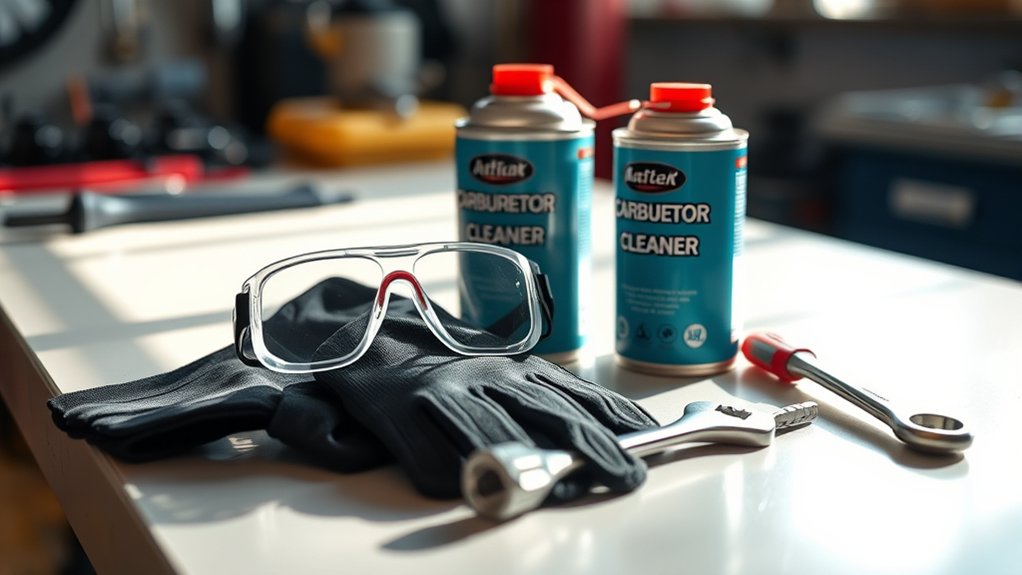
Before you begin cleaning your carburetor, make sure you have the right tools and safety gear on hand. You’ll need gloves to protect your hands from harsh chemicals and goggles to shield your eyes. A well-ventilated area is essential because carburetor cleaner fumes can be harmful.
Grab a clean cloth or rag to wipe off dirt and residue. A small brush or toothbrush helps reach tight spots, while a screwdriver set allows you to remove parts if needed. Have a container ready to catch any drips or small components you remove.
Find and Access Your Carburetor
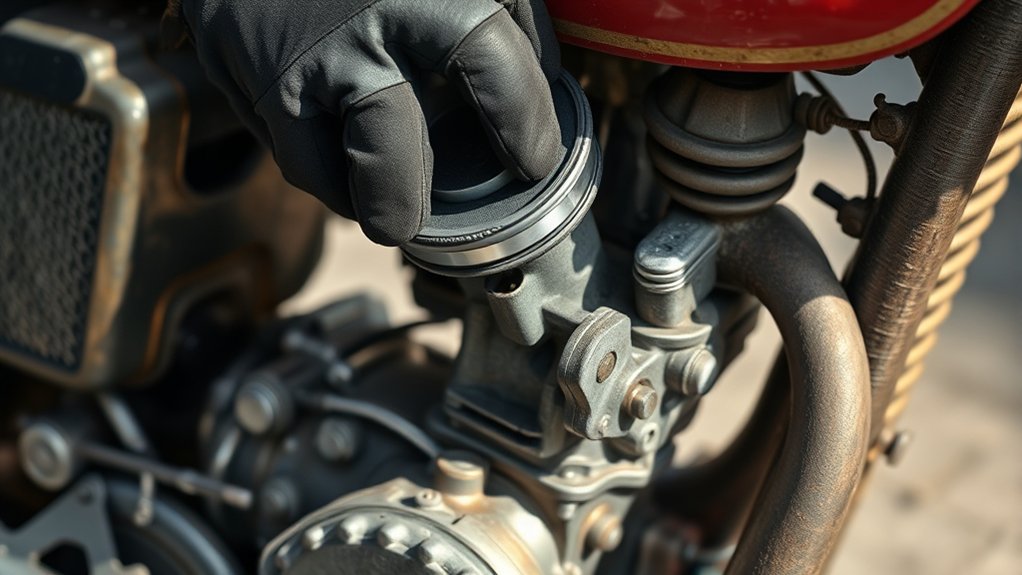
First, locate where your carburetor sits, usually between the air filter and the engine.
Next, remove any protective covers or components blocking access.
Make sure the engine is completely cool before you start working.
Locate Carburetor Position
Where exactly is your carburetor located? Typically, it’s mounted on top of the engine, between the air filter and the intake manifold. To spot it, open your vehicle’s hood and look for a metal or plastic component with fuel lines and linkages attached.
Here’s a quick guide to help you visualize:
| Location Detail | Description |
|---|---|
| Position | Top-center of the engine |
| Appearance | Rounded or rectangular housing |
| Connected Parts | Air filter, fuel lines, throttle linkage |
| Accessibility | Usually visible after lifting the air filter |
Knowing your carburetor’s exact spot helps you clean it efficiently without confusion or damage. Take a close look, and you’ll be ready for the next steps.
Remove Protective Covers
Although your carburetor is often visible once the air filter is lifted, you’ll usually need to remove some protective covers to access it fully. First, locate any screws or clips holding down these covers. Use the appropriate screwdriver or tool to carefully loosen them, setting the hardware aside so you don’t lose it.
Gently lift off the covers, revealing the carburetor beneath. Avoid forcing anything, as these parts can be fragile. If you encounter resistance, double-check for hidden fasteners you might have missed.
Removing these protective covers is essential for cleaning since they shield the carburetor from dirt and debris. Once removed, you’ll have clear access to all carburetor components, making your cleaning process easier and more effective. Keep track of everything for smooth reassembly later.
Ensure Engine Is Cool
Before you start working on the carburetor, make sure the engine has completely cooled down to prevent burns and other injuries. Touch the engine carefully to confirm it’s cool. If it still feels warm, give it more time to cool off.
Working on a hot engine is dangerous and can damage parts. Once cooled, you’ll have easier access to the carburetor without risking injury. Remember, safety comes first.
After confirming the engine is cool, locate the carburetor by following the air filter housing, which usually sits on top of the engine. Removing any remaining protective covers will expose the carburetor fully. Now you’re ready to clean it safely without rushing or risking harm.
Prepare Your Engine for Cleaning
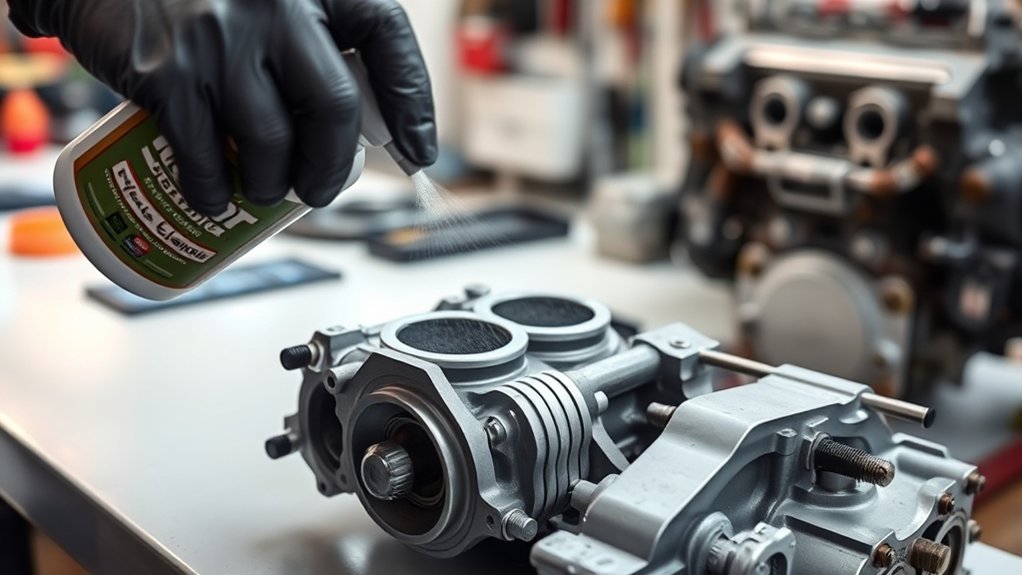
Since carburetor cleaner can be harsh on engine components, you’ll want to confirm your engine is cool and turned off before you start. Next, disconnect the battery to prevent accidental sparks or electrical shorts. Remove any protective covers, air filters, or hoses that block access to the carburetor.
Lay down a clean cloth or drip tray under the engine to catch any drips and protect your workspace. Make certain you have proper ventilation by opening doors or working outdoors, as fumes can be harmful. Wear gloves and safety glasses to protect your skin and eyes.
Finally, gather all necessary tools and the carburetor cleaner so you’re ready to work efficiently without interruptions. Taking these steps will ensure a safe and effective cleaning process.
Decide When to Remove Carburetor Parts
With your engine prepped and safety measures in place, it’s time to determine whether you need to remove any carburetor parts for cleaning. If your carburetor shows heavy buildup, sticky components, or poor performance despite surface cleaning, removing parts can help you reach stubborn grime. Focus on removable sections like the float bowl, jets, and throttle plates.
However, if the deposits are light and reachable, you might skip disassembly to save time. Be cautious not to force parts off; consult your carburetor’s manual to avoid damage. Removing parts also allows you to inspect for wear or damage that might need repair.
Taking this step ensures a thorough clean, improving your engine’s efficiency and longevity without unnecessary hassle.
How to Use Carburetor Cleaner Properly
Although using carburetor cleaner might seem straightforward, applying it correctly guarantees you get the best results without damaging components. First, verify the engine is off and cool to prevent accidents. Shake the can well before use to mix the cleaning solution thoroughly.
Spray the cleaner directly onto the carburetor’s dirty areas, focusing on jets, throttle plates, and linkages. Avoid soaking rubber or plastic parts, as the cleaner can cause deterioration. Use short bursts rather than continuous spraying to control the amount applied.
Let the cleaner sit for a few minutes to break down grime, then wipe away loosened deposits with a clean cloth or soft brush. Finally, allow the carburetor to dry completely before reassembling or starting the engine.
Clean Removed Carburetor Parts Thoroughly
After applying carburetor cleaner to loosen grime, you’ll want to give the removed parts a thorough cleaning to guarantee every component functions smoothly. Use a soft brush or toothbrush to scrub away remaining dirt and deposits, paying close attention to jets, passages, and small crevices. Rinse parts with fresh carburetor cleaner or compressed air to remove loosened debris.
Avoid using metal tools that could damage delicate surfaces. Inspect each component carefully for wear or damage while cleaning. If stubborn buildup remains, soak the parts in carburetor cleaner for a short time before scrubbing again.
Thorough cleaning prevents blockages and assures efficient fuel flow, improving engine performance and reliability. Take your time during this step—it’s crucial for proper carburetor function.
Reassemble, Test, and Adjust Your Carburetor
Now that your carburetor parts are clean, you’ll want to reassemble them carefully to avoid any leaks or misalignments.
Once reassembled, test your carburetor to verify it’s functioning properly and adjust the settings for peak performance.
Taking the time to fine-tune will help your engine run smoothly and efficiently.
Proper Carburetor Reassembly
Once you’ve thoroughly cleaned your carburetor, you’ll need to carefully reassemble it to guarantee everything functions smoothly. Start by inspecting each part for damage or wear before putting them back together. Follow the reverse order of disassembly, assuring gaskets and seals sit perfectly to prevent leaks.
Tighten screws and bolts evenly but avoid over-tightening, which can cause damage. Reinstall the float and needle valve precisely, as their alignment affects fuel flow. Attach linkages and springs exactly as they were originally positioned.
Double-check that the throttle plate moves freely without binding. Finally, reconnect the carburetor to the intake manifold and fuel lines securely. Taking your time during reassembly ensures your carburetor will operate efficiently and reliably when it’s time to test and adjust.
Testing And Fine-Tuning
Carefully reassembling your carburetor sets the stage for testing and fine-tuning its performance. Start by reconnecting all hoses and linkages, then turn on your engine. Listen for smooth idling and responsive throttle action.
If the engine stalls or hesitates, you’ll need to adjust the idle mixture and speed screws. Use a screwdriver to make small adjustments, then test again. Keep tuning until the engine runs steadily without sputtering or stalling.
| Issue | Adjustment Tip |
|---|---|
| Rough idle | Adjust idle mixture screw |
| Engine stalls | Increase idle speed slightly |
| Hesitation during acceleration | Clean throttle plate or modify linkage |
| High RPM issues | Check for air leaks or incorrect jetting |
Fine-tuning guarantees your carburetor performs at its best.
Frequently Asked Questions
Can Carburetor Cleaner Damage Rubber or Plastic Components?
Yes, carburetor cleaner can damage rubber or plastic components if you’re not careful. You’ll want to avoid prolonged contact to prevent deterioration, cracking, or melting.
Always check the cleaner’s label for compatibility before use.
How Often Should I Clean My Carburetor for Optimal Performance?
Like clockwork, you should clean your carburetor every 12,000 miles or once a year to keep it humming smoothly. Regular maintenance prevents clogs, ensuring your engine runs efficiently without unexpected sputters or stalls.
Cleaning your carburetor on this schedule helps maintain optimal performance. It also extends the life of your engine by preventing buildup that can cause damage.
Stay ahead of potential issues by sticking to this routine. Your vehicle will thank you with reliable starts and smooth operation all year long.
What Are the Signs of a Failing Carburetor?
You’ll notice rough idling, stalling, poor acceleration, black smoke from the exhaust, or fuel leaks if your carburetor’s failing. If your engine’s hard to start or runs unevenly, it’s time to check the carburetor.
Is It Safe to Use Carburetor Cleaner Indoors?
You shouldn’t use carburetor cleaner indoors because it can be a ticking time bomb—its fumes are toxic and flammable. Always work in a well-ventilated area or outside to keep yourself safe and avoid any accidents.
Can Carburetor Cleaner Improve Fuel Efficiency?
Yes, using carburetor cleaner can improve fuel efficiency by removing deposits that clog the carburetor, helping your engine run smoother and burn fuel more effectively.
Just make sure you follow instructions carefully.
Conclusion
Now that you know how to use carburetor cleaner step-by-step, you’re ready to keep your engine running smoothly. Remember, “a stitch in time saves nine”—regular cleaning prevents bigger problems down the road. Always wear safety gear, follow the steps carefully, and don’t rush the process.
With a little patience and care, your carburetor will perform like new, giving your engine the boost it needs every time you hit the road. Using carburetor cleaner regularly is key to maintaining optimal engine performance. Proper carburetor maintenance ensures your vehicle runs efficiently and reliably.

