

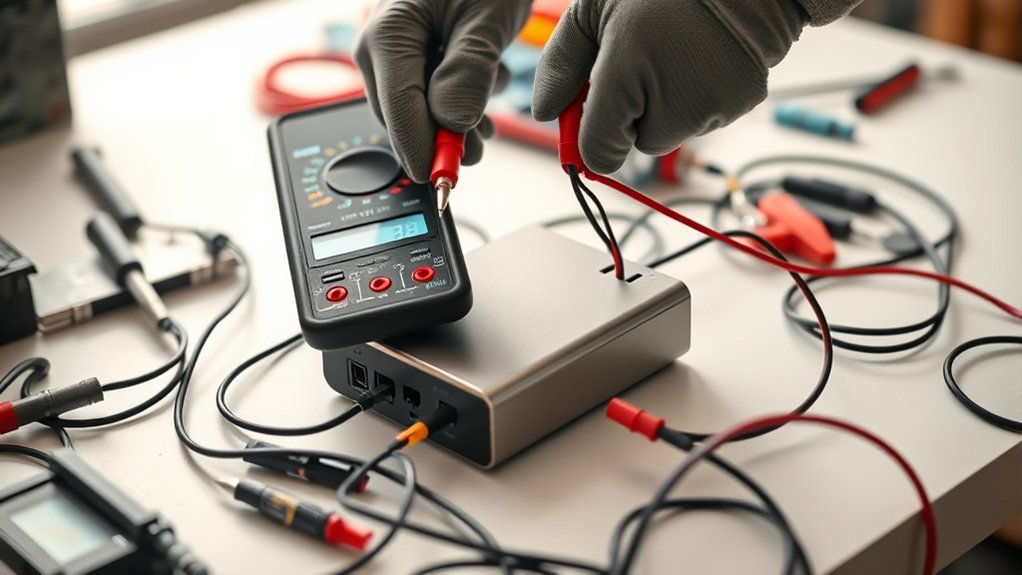
To test your battery charger in 10 easy steps, start by unplugging it and placing it on a stable surface. Inspect the charger carefully for any visible damage such as frayed cords or corrosion. Ensuring the charger is in good condition is essential for accurate testing and safety.
Next, use a multimeter to check the output voltage of the charger. Measure the charging current while the charger is properly connected to the battery. Monitoring these electrical parameters helps verify the charger’s performance.
Watch the indicator lights on the charger to understand the charging status. If you notice any issues, troubleshoot by inspecting cables and connections for faults.
Always follow safety precautions throughout the testing process.
By following these simple steps, you can easily keep your battery charger running smoothly and efficiently. This guide provides everything you need to maintain and test your charger confidently.
Key Takeaways
- Unplug the charger and inspect for visible damage or corrosion before testing.
- Use a multimeter set to DC voltage to measure charger output against specifications.
- Measure charging current by connecting the multimeter in series with the charger’s positive lead.
- Observe indicator lights to confirm charging status and troubleshoot common issues.
- Regularly clean terminals, inspect cables, and store the charger properly to maintain longevity.
Getting Your Battery Charger Ready for Testing
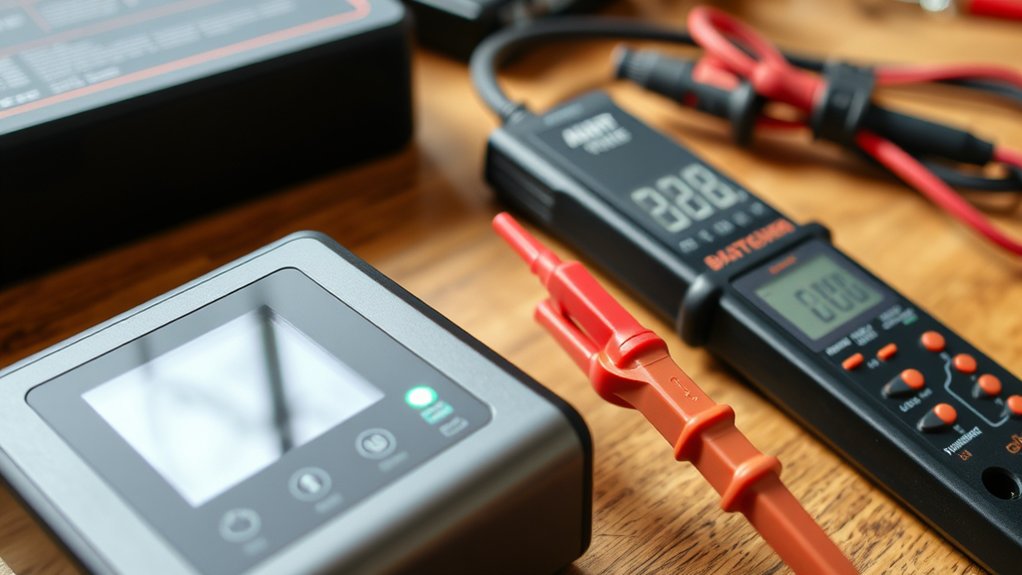
Before you start testing your battery charger, make sure it’s unplugged and disconnected from any batteries. This prevents any electrical hazards and guarantees accurate testing. Next, inspect the charger for visible damage—check the cord, plug, and casing for cracks, frays, or corrosion.
Clean any dust or debris off the terminals to ensure good contact during testing. Place your charger on a stable, non-conductive surface to avoid accidental shorts. Confirm you have a clear workspace to avoid distractions or accidents while testing.
Finally, review the charger’s specifications, like voltage output and current rating, so you know what to expect during the test. Getting your charger ready this way helps protect you and guarantees reliable results.
Essential Tools You Need to Test a Battery Charger
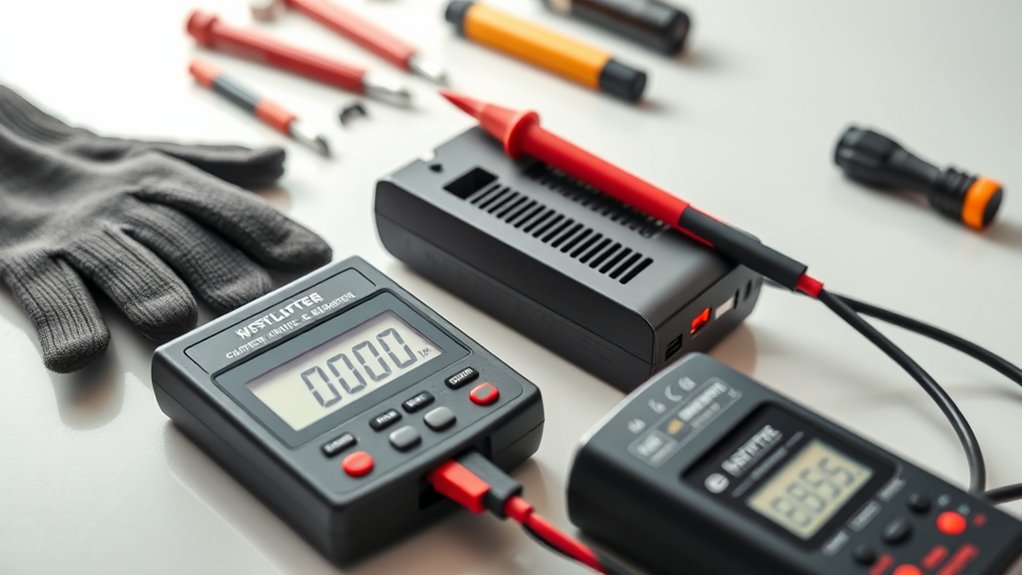
To test your battery charger effectively, you’ll need the right tools starting with a reliable multimeter and understanding its types. Don’t forget safety gear to protect yourself during testing.
You’ll also want some additional accessories to make the process smoother and more accurate.
Multimeter Types Explained
Although many tools can help you test a battery charger, a multimeter stands out as one of the most essential. You’ll find two main types: analog and digital. Analog multimeters have a needle display, giving a classic feel but less precision.
Digital multimeters offer clear numeric readings, making them easier to use and more accurate. When choosing, consider what fits your comfort and needs.
| Type | Accuracy | User Experience |
|---|---|---|
| Analog | Moderate | Nostalgic, manual |
| Digital | High | Clear, user-friendly |
| Auto-ranging | Very High | Convenient, fast |
With the right multimeter, you’ll confidently measure voltage, current, and resistance to test your battery charger effectively.
Safety Gear Importance
Why should you never overlook safety gear when testing a battery charger? Because working with electrical devices and batteries involves risks like electric shock, acid spills, and sparks. You need to protect yourself every step of the way.
Always wear safety goggles to shield your eyes from acid splashes or debris. Use insulated gloves to prevent electric shocks and avoid direct skin contact with battery acid. Wearing long sleeves and closed-toe shoes adds an extra layer of protection against accidental spills.
Make sure your workspace is well-ventilated to avoid inhaling harmful fumes. By gearing up properly, you reduce the chances of injury and create a safer environment to test your battery charger confidently. Never skip this vital step—it’s your first line of defense.
Additional Testing Accessories
Before you start testing your battery charger, gather a few essential tools that will make the process accurate and efficient. Besides safety gear, these accessories help you measure voltage, current, and resistance accurately, ensuring your charger works properly.
| Tool | Purpose |
|---|---|
| Multimeter | Measures voltage, current, and resistance |
| Test Leads | Connects charger to the multimeter |
| Load Tester | Simulates battery load for realistic testing |
| Battery Holder | Secures the battery during tests |
With these tools, you can quickly identify issues like faulty outputs or weak charging. Having them ready means you won’t waste time guessing or repeating tests. Always double-check connections and tool settings before you proceed to get reliable results.
Inspecting Your Charger for Visible Damage
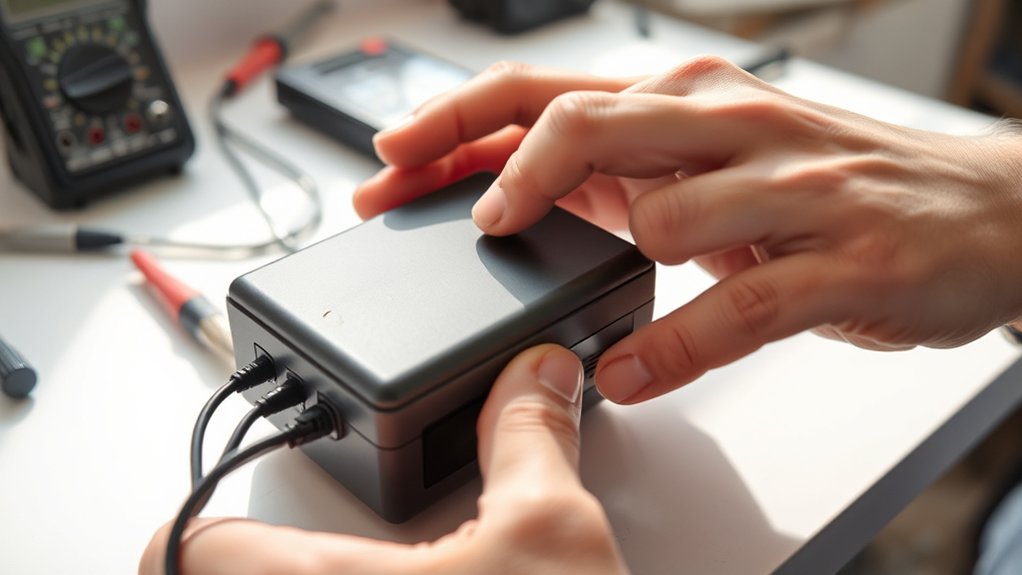
When you start inspecting your charger for visible damage, focus on any cracks, exposed wires, or scorch marks that could indicate a safety risk or malfunction. Check the power cord carefully for fraying or cuts, especially near the plug and where it connects to the charger body. Look over the charger’s casing for any dents or warping that might affect internal components.
Examine the plug pins to ensure they aren’t bent or corroded. If you spot any discoloration or melted plastic, stop using the charger immediately, as these are signs of overheating or electrical failure. Keeping your charger in good physical condition helps prevent hazards and guarantees it performs reliably when you need it.
Regularly inspecting your charger is a simple yet essential safety step.
How to Safely Check Your Battery Charger’s Output Voltage
After confirming your charger shows no visible damage, the next step is to verify that it delivers the correct output voltage. Use a multimeter set to DC voltage, connect the probes to the charger’s output terminals, and carefully observe the reading.
This simple check ensures your charger is safe and effective.
| Step | Emotion to Feel |
|---|---|
| Inspect connections | Confidence |
| Set multimeter | Preparedness |
| Measure voltage | Assurance |
| Compare to specs | Relief or caution |
If the voltage matches the charger’s specifications, you can trust it’s working properly. If not, stop using the charger to avoid damaging your battery or risking safety.
This quick test gives you peace of mind before charging.
Measuring Your Battery Charger’s Charging Current
Although measuring voltage tells you if your charger is functioning, checking the charging current reveals how effectively it delivers power to your battery. To measure current, you’ll need a multimeter set to the appropriate current range. First, disconnect the charger from the battery and verify the charger is powered off.
Then, connect the multimeter in series with the charger’s positive lead, allowing current to flow through the meter. Power on the charger and observe the reading. This value indicates the charging current output.
Keep in mind, some chargers may have built-in current limiting, so compare your reading to the charger’s specifications. Measuring current helps confirm your charger delivers the right amount of power without overloading or undercharging, ensuring better battery health.
Testing Your Battery Charger With a Battery Connected
Now that you’ve measured the charging current, it’s important to test your charger with a battery connected. You’ll want to measure the voltage output while monitoring the charging current to make certain of proper operation.
This helps confirm that the charger delivers the right voltage and current under real conditions.
Measuring Voltage Output
When you connect a battery to your charger, measuring the voltage output becomes essential to guarantee the charger is working correctly under load. To do this, use a digital multimeter set to measure DC voltage. Attach the positive and negative probes to the charger’s output terminals while the battery is connected.
This method helps you verify the charger’s real-world performance.
Here’s what to keep in mind:
- Ensure the battery is fully connected and secure before measuring.
- Confirm the multimeter is correctly set to the voltage range expected.
- Look for a stable voltage reading that aligns with the charger’s specifications.
- Watch for any sudden voltage drops or fluctuations, which could indicate a problem.
This step confirms if the charger maintains proper voltage during charging.
Monitoring Charging Current
After confirming the voltage output holds steady, the next step is to monitor the charging current while the battery remains connected. This assures your charger delivers the right amount of current to safely charge the battery. Use a multimeter set to the appropriate current range, and connect it in series between the charger’s positive output and the battery terminal.
Turn on the charger and observe the current reading. A healthy charger will show a higher current initially, which gradually decreases as the battery nears full charge. If the current stays too low or zero, the charger may be faulty or the battery might be disconnected internally.
Monitoring the charging current helps you verify that the charger properly regulates the energy flow, protecting both the charger and battery during the charging process.
Understanding Your Charger’s Indicator Lights
Although battery chargers vary, their indicator lights usually serve as your primary guide to understanding the device’s status. You’ll want to pay close attention to these lights as they quickly tell you what’s happening without any guesswork.
Here’s what the common indicator lights mean:
- Red light: Charging in progress – your battery is gaining power.
- Green light: Charging complete – your battery is fully charged and ready.
- Flashing red or orange light: Warning or error – there might be a problem with the battery or charger.
- No light: Power off or connection issue – check your plug or power source.
Troubleshooting Common Battery Charger Problems
If your charger isn’t working as expected, don’t worry—you can often fix common issues with a few simple checks. First, make sure the outlet is functioning by plugging in another device. Check the charger’s cables for frays or damage; a faulty cable often causes charging problems.
Inspect the charger’s connectors for dirt or corrosion, and clean them gently if needed. If the charger has indicator lights, confirm they’re displaying the correct status according to your charger’s manual. Sometimes, resetting the charger by unplugging it for a minute helps.
Also, ensure the battery is properly connected and compatible with the charger. By systematically checking these areas, you can troubleshoot most common problems and get your charger working again without hassle.
Signs It’s Time to Replace Your Battery Charger
If your charger won’t power on, it’s a clear sign something’s wrong. You should also watch for overheating or strange smells during use. When charging takes much longer than usual, it’s time to contemplate a replacement.
Charger Fails To Power
When your battery charger fails to power on, it usually signals a deeper issue that you shouldn’t ignore. This problem often indicates internal damage or a faulty component that prevents the charger from functioning correctly. If your charger won’t turn on, you can check a few things before deciding to replace it.
Look for:
- A broken power cord or plug
- A blown fuse inside the charger
- Loose or damaged internal wiring
- Signs of corrosion or moisture damage
If you’ve ruled out external issues and the charger still won’t power up, it’s time to consider replacing it. Continuing to use a non-functional charger can lead to further damage or unsafe conditions. Always prioritize safety and reliability when dealing with battery chargers.
Overheating Or Strange Smells
Although battery chargers often operate quietly, you should never ignore overheating or strange smells during use. These signs indicate internal damage or electrical faults, which can be hazardous.
If your charger feels unusually hot or emits burning odors, stop using it immediately to avoid risks like fire or battery damage.
Here’s what to watch for and what it means:
| Warning Sign | Possible Cause |
|---|---|
| Excessive heat | Faulty components or ventilation |
| Burning smell | Electrical short or melting wires |
| Plastic melting smell | Overloaded circuits |
| Smoke | Severe electrical failure |
| Charger shuts off unexpectedly | Safety mechanism triggered |
If you notice any of these, replace your charger promptly for safety.
Charging Time Increases
As your battery charger ages, you might notice it takes longer to fully charge your devices. This increase in charging time is a clear sign your charger may be losing efficiency. When your charger struggles, it can affect your routine and device readiness.
Watch for these signs:
- Your phone or gadget stays at a low battery percentage for hours.
- Charging sessions that once took an hour now stretch to two or more.
- You frequently have to recharge devices multiple times a day.
- The charger heats up more than usual during longer charging periods.
If you spot these issues, it’s a good idea to test your charger or consider replacing it before it fails completely.
Maintenance Tips to Extend Your Battery Charger’s Life
To keep your battery charger working efficiently, you should perform regular maintenance and handle it with care. First, always unplug the charger when it’s not in use to prevent overheating. Keep the charging ports clean by gently wiping them with a dry cloth to avoid dust buildup, which can affect connections.
Inspect the cables and plugs regularly for any signs of wear or damage, and replace them if needed to avoid short circuits. Store your charger in a cool, dry place to prevent moisture damage. Avoid exposing it to extreme temperatures or direct sunlight, which can degrade its components.
Frequently Asked Questions
Can I Use Any Battery Charger for All Battery Types?
You can’t use any battery charger for all battery types because different batteries have specific voltage and charging requirements. Always check your battery’s specifications and use a compatible charger to avoid damage or reduced battery life.
How Long Does It Take to Fully Charge a Typical Car Battery?
It usually takes about 4 to 24 hours to fully charge a typical car battery, depending on its size and the charger’s output. You’ll want to monitor it to avoid overcharging and guarantee safety.
Is It Safe to Use a Battery Charger in Rainy Conditions?
You shouldn’t dance with lightning—using a battery charger in rainy conditions isn’t safe. Water can cause short circuits or shocks.
Always keep your charger dry and sheltered, protecting both you and your equipment from harm.
What Are the Differences Between Smart and Traditional Battery Chargers?
Smart chargers adjust charging based on battery condition, preventing overcharge, while traditional chargers provide constant current. You’ll find smart ones safer and more efficient, especially for modern batteries, whereas traditional chargers are simpler and cheaper.
Can a Battery Charger Repair a Dead or Sulfated Battery?
Like a doctor treating a patient, a battery charger can sometimes revive a dead or sulfated battery, but it’s not guaranteed. You’ll need a smart charger with a desulfation mode to have the best chance.
Conclusion
Now that you’ve mastered these 10 simple steps, testing your battery charger will feel like a breeze—almost like having superhero powers in your toolbox! No more guessing games or unexpected dead batteries ruining your day.
With just a few quick checks, you’re basically a charger whisperer, ensuring your devices get the perfect zap every time. Keep practicing, and soon you’ll be the go-to guru for all things battery charging!
By following this easy battery charger testing guide, you can confidently maintain your devices and avoid common charging problems. Remember, regular battery charger testing is key to extending battery life and performance. Stay sharp and keep your battery charger in top shape!

