

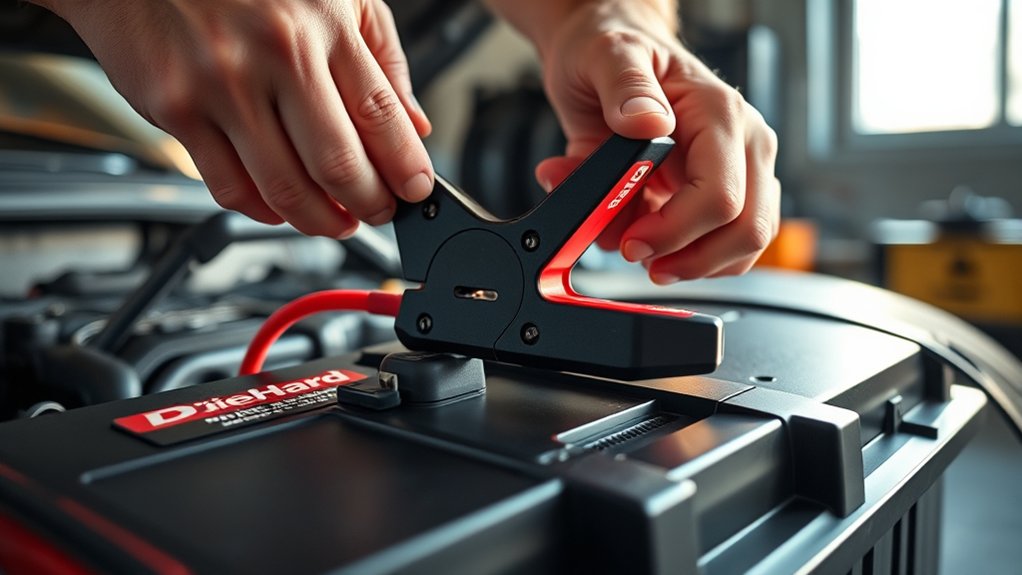
To use your DieHard battery charger effectively, start by ensuring your car battery is compatible with the charger. Make sure the battery is clean, and wear gloves for safety before handling the clamps. Proper preparation helps prevent damage and ensures a smooth charging process.
Connect the red clamp to the positive terminal of the battery. Attach the black clamp to the negative terminal or a grounded metal surface, securing both clamps tightly. This step is crucial for a stable and safe connection.
Next, plug in the charger and select the appropriate charging mode based on your battery type. Turn the charger on and monitor the charging progress carefully, keeping an eye on the battery’s temperature to avoid overheating.
Once the battery is fully charged, switch off the charger. Disconnect the clamps starting with the negative clamp first, followed by the positive.
Regular maintenance of both your DieHard battery charger and battery will help ensure optimal performance and longevity.
If you want to get the most from your charger, you’ll find helpful tips ahead.
Key Takeaways
- Ensure the charger is unplugged, clean battery terminals, and wear protective gear before connecting clamps.
- Attach the red clamp to the positive terminal and the black clamp to the negative terminal or grounded metal.
- Plug in the charger, select the correct charging mode based on battery type, and turn on the charger.
- Monitor charging progress, check battery temperature, and avoid overcharging by following recommended times.
- Turn off the charger before disconnecting clamps—remove the negative clamp first, then the positive—and store the charger properly.
Prepare Your Vehicle and DieHard Charger Safely
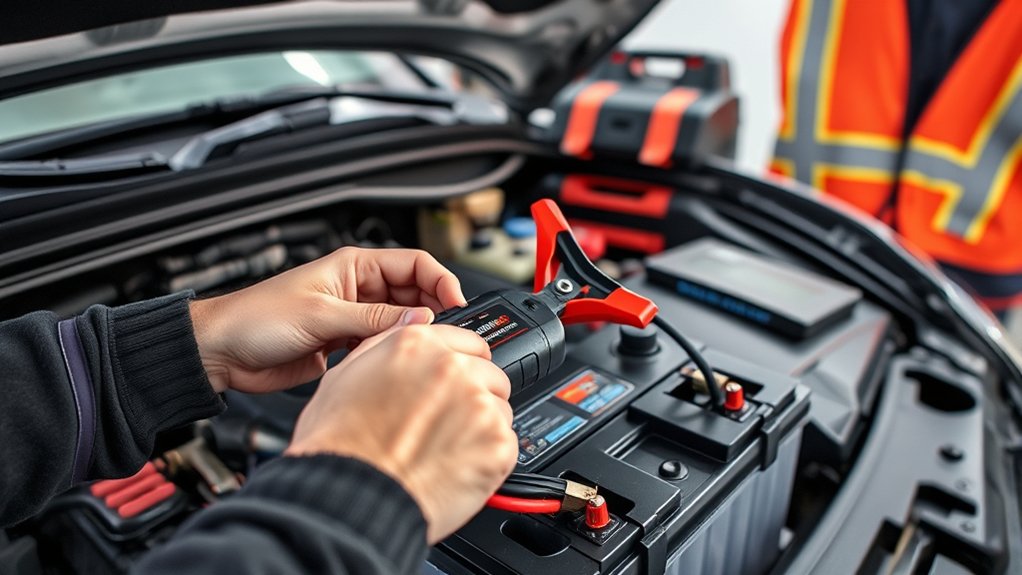
Before you begin, make sure your vehicle is turned off and parked in a well-ventilated area. This helps prevent any harmful gas buildup while you’re working.
Always turn off your vehicle and work in a well-ventilated area to avoid harmful gas buildup.
Next, open the hood and locate the battery. Check the battery terminals for corrosion or damage—if you spot any, clean them with a wire brush or a battery terminal cleaner before proceeding.
Make sure you wear protective gloves and safety glasses to shield yourself from acid or sparks. Also, keep the DieHard charger close but away from any flammable materials. Inspect the charger’s cables and connectors for any signs of wear or damage.
Ensuring both your vehicle and charger are in good condition sets the stage for a safe and effective battery charging process.
Connect the DieHard Charger to Your Car Battery Correctly
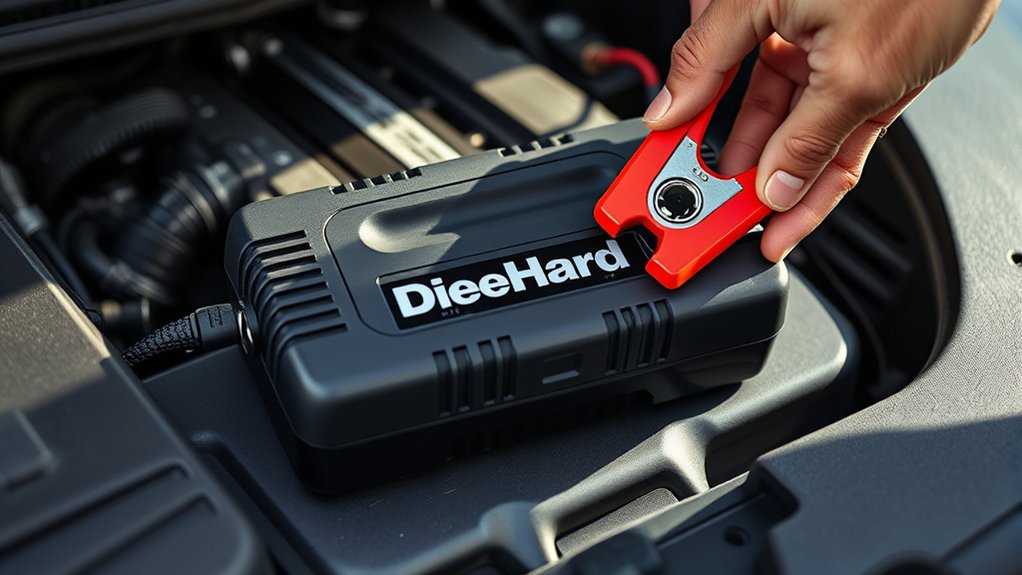
Now that your vehicle and charger are ready, it’s time to connect the DieHard charger to your battery. First, identify the positive and negative terminals on your car battery.
Then, secure the charger clamps firmly to the correct terminals to guarantee a safe and effective charge.
Identify Battery Terminals
Although connecting the DieHard charger might seem straightforward, you need to correctly identify your car battery’s terminals to avoid damage. First, locate the positive terminal marked with a plus sign (+) or a red cover. This terminal connects to the positive (red) clamp on your charger.
Next, find the negative terminal, usually marked with a minus sign (–) or a black cover, where you’ll attach the negative (black) clamp. If your battery terminals are dirty or corroded, clean them carefully before attaching the clamps to guarantee a secure connection. Be sure not to confuse the terminals; reversing the clamps can cause sparks, damage your battery, or harm the charger.
Identifying the terminals correctly sets you up for a safe and effective charging process.
Secure Charger Connections
Once you’ve identified the battery terminals, connect the DieHard charger clamps securely to guarantee a stable electrical connection. Attach the red clamp to the positive terminal marked with a plus (+) sign, and the black clamp to the negative terminal marked with a minus (–) sign. Make sure the clamps grip the terminals firmly without slipping or touching each other, which could cause sparks or damage.
Avoid connecting the negative clamp to painted or corroded surfaces, as this can interfere with charging. Double-check the clamps before powering on the charger to verify they’re firmly attached and safe. Following these steps will help the charger work efficiently and protect both you and your vehicle from electrical hazards.
Choose the Right Charging Mode on Your DieHard Charger
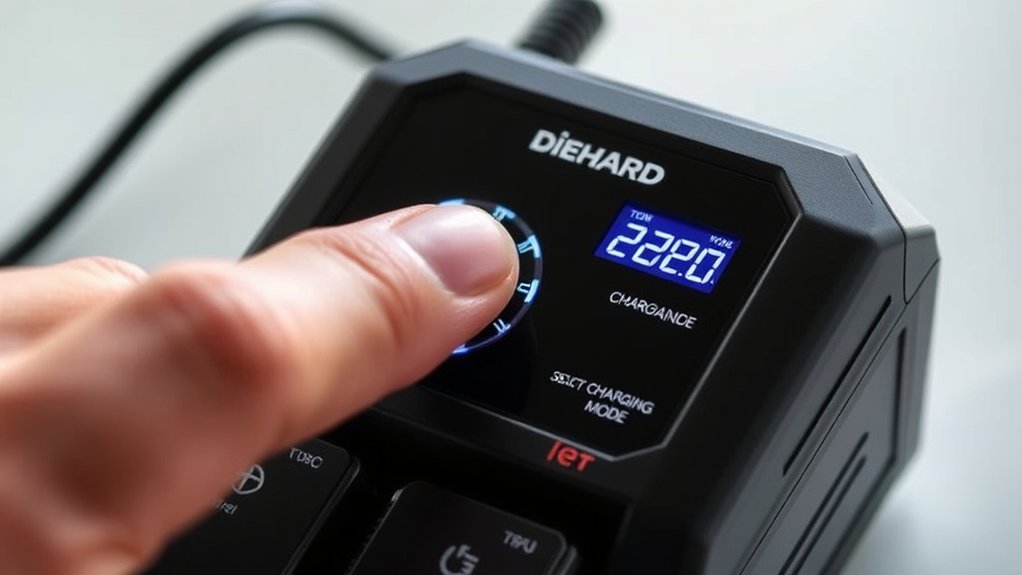
How do you know which charging mode suits your DieHard battery best? First, identify your battery type—standard lead-acid, AGM, or gel—to select the appropriate mode. Your DieHard charger typically offers several options like trickle, fast, or maintenance charging.
Use trickle mode for slow, steady charging that prevents overcharging, ideal for batteries needing gentle care. Fast mode works when you need a quick boost but be cautious not to overdo it, as it can stress the battery if used excessively. Maintenance mode keeps your battery topped off during long periods of inactivity, perfect for seasonal vehicles.
Check your charger’s instructions to match these modes with your battery’s condition and needs. Choosing the right mode guarantees efficient charging and prolongs battery life.
Start Charging and Monitor Your Battery’s Status
Once you’ve selected the right mode, connect the charger clamps securely to your battery terminals. Turn on the charger and keep an eye on the display to track the charging progress.
This helps you guarantee the battery is charging correctly and safely.
Connecting the Charger Properly
Where should you start when connecting your DieHard battery charger? First, verify your vehicle and charger are off. Locate the battery terminals—positive is marked with a plus (+) and usually red, negative with a minus (–) and often black.
Attach the red clamp to the positive terminal securely, then connect the black clamp to the negative terminal or a solid metal ground away from the battery. Avoid touching clamps together or letting them contact other metal surfaces.
Once connected, plug the charger into a power outlet. Double-check all connections are tight and correct to prevent sparks or damage. Only after these steps should you turn on the charger to begin charging safely and effectively.
Monitoring Charging Progress
Why should you keep a close eye on your battery charger while it’s running? Monitoring the charging progress helps you verify the battery is charging correctly and safely. Once you connect the DieHard charger and switch it on, watch the indicator lights or digital display closely.
These indicators show the charging status, letting you know if the battery is charging, fully charged, or if there’s an issue. Don’t forget to check the battery’s temperature occasionally—overheating can damage it. If the charger signals a fault or the battery feels excessively hot, stop charging immediately.
Staying attentive during this process prevents overcharging and potential damage, helping you maintain your battery’s health and extend its lifespan.
Recognize When Your Battery Is Fully Charged
Although charging times can vary, you’ll know your DieHard battery is fully charged when the charger’s indicator light changes color or switches to a “charged” status. Most models use green for fully charged and red or orange for charging. Some chargers also display a percentage or a “ready” message.
Watching these indicators helps you avoid overcharging, which can damage your battery.
Here’s a quick guide to what the indicator lights mean:
| Indicator Light | Color | Meaning |
|---|---|---|
| Charging | Red/Orange | Battery is charging |
| Fully Charged | Green | Battery is ready |
| Error | Flashing Red | Connection or battery issue |
| Standby | Blue or None | Charger is on, no battery detected |
| Maintenance | Yellow | Trickle charging to maintain charge |
Pay close attention to these signals for ideal charging.
Safely Disconnect Your DieHard Charger
Once the indicator light confirms your battery is fully charged, it’s time to disconnect your DieHard charger safely. First, unplug the charger from the power outlet to cut off electricity. Next, remove the negative (black) clamp from the battery terminal, followed by the positive (red) clamp.
This order helps prevent sparks or short circuits. Make sure your hands and the clamps are dry to avoid electric shock. After disconnecting, store the charger in a cool, dry place away from direct sunlight or moisture.
Avoid pulling on the cables; instead, handle the clamps to disconnect. Following these steps guarantees your safety and helps keep your DieHard charger and battery in good condition for future use.
Maintain Your DieHard Charger and Car Battery for Longevity
To keep your DieHard charger and car battery performing well, you need to perform regular maintenance and proper care. Clean the battery terminals and charger clamps to prevent corrosion, which can affect charging efficiency. Check the charger’s cables for any damage or wear, and replace them if necessary.
Store your charger in a cool, dry place to avoid moisture damage. For your car battery, ensure it’s securely mounted and inspect it monthly for leaks or cracks. Avoid overcharging by following the charger’s recommended charging times.
Regularly test your battery’s voltage to catch issues early. By staying on top of these simple tasks, you’ll extend the lifespan of both your DieHard charger and your car battery, ensuring reliable performance whenever you need them.
Frequently Asked Questions
Can Diehard Chargers Be Used on Motorcycle Batteries?
Yes, you can use DieHard chargers on motorcycle batteries. Just make sure to select the correct setting for your battery type and voltage.
Always follow safety instructions to avoid damage and guarantee a proper, efficient charge every time.
What Safety Gear Should I Wear While Charging?
You should wear safety goggles, gloves, and protective clothing to shield yourself from acid splashes and sparks.
Make sure you’re in a well-ventilated area to avoid inhaling harmful gases while charging your battery.
How Long Does a Typical Charge Cycle Take?
A typical charge cycle takes about 4 to 24 hours, depending on your battery’s size and condition. You’ll want to monitor progress and avoid overcharging by checking the charger’s indicator lights regularly.
Can I Leave the Charger Connected Overnight?
Just like leaving a book open on a cozy nightstand, you can leave the DieHard charger connected overnight safely—it’s designed to avoid overcharging.
You’ll wake up to a fully charged, ready-to-roll battery every time.
Are Diehard Chargers Compatible With AGM Batteries?
Yes, DieHard chargers are compatible with AGM batteries. You’ll just want to select the AGM setting if your charger has one, ensuring a proper charge without damaging your battery or reducing its lifespan.
Conclusion
So, there you have it—seven easy steps to charge your battery without frying your car or your patience. It’s funny how something as simple as plugging in a charger can feel like rocket science, right?
But once you get the hang of it, you’ll wonder why you ever stressed. Just don’t forget: batteries don’t charge themselves, and neither will your luck if you skip these steps!
Using the DieHard Battery Charger correctly ensures your battery lasts longer and performs better. Follow these simple steps every time for safe and effective battery charging. Your car and your peace of mind will thank you!

