

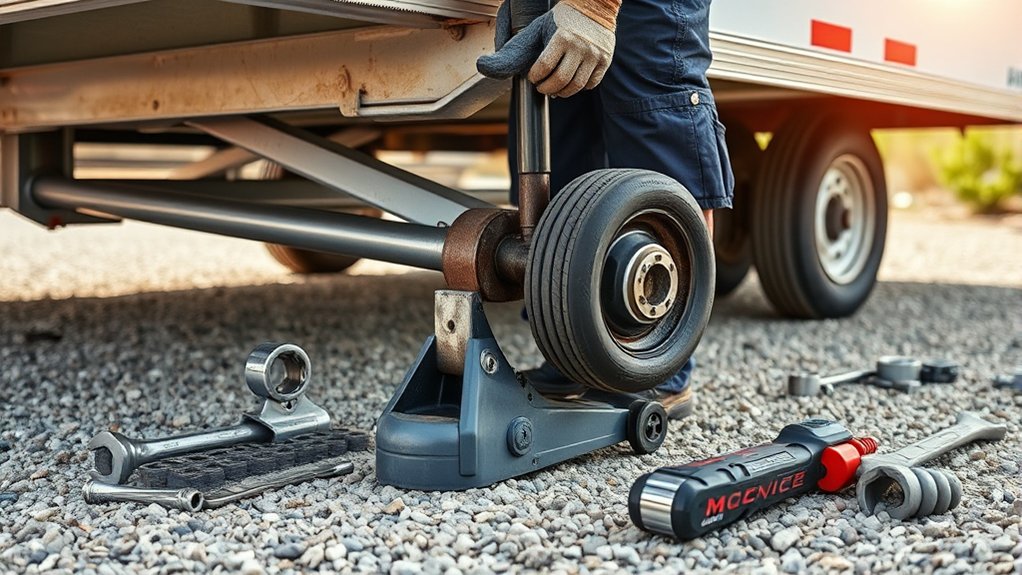
To change your trailer axle in 7 easy steps, start by recognizing key signs such as unusual noises, uneven tire wear, or poor handling. These indicators suggest it’s time for an axle replacement to ensure safe towing.
Gathering the right tools and a matching axle is essential before beginning the process.
Next, safely lift and secure your trailer with jack stands to provide stable support.
Remove the old axle by detaching the wheels and suspension parts carefully.
Inspect the new axle thoroughly and prepare it for installation.
Install the new axle with precision, then reattach the wheels securely.
Finally, check tire alignment and perform safety tests to guarantee stability on the road.
Follow these steps consistently to master trailer axle replacement confidently and maintain your trailer’s performance.
Key Takeaways
- Lift and secure the trailer on jack stands after chocking the wheels for safety and stability.
- Remove wheels, disconnect brake components, and unbolt suspension to detach the old axle.
- Verify the replacement axle matches trailer specs and inspect it for defects before installation.
- Align and secure the new axle, reattach suspension, brakes, and wheels with proper hardware.
- Perform tire alignment, tighten lug nuts, test brakes, and conduct a test drive to confirm safety.
Signs You Need to Replace Your Trailer Axle
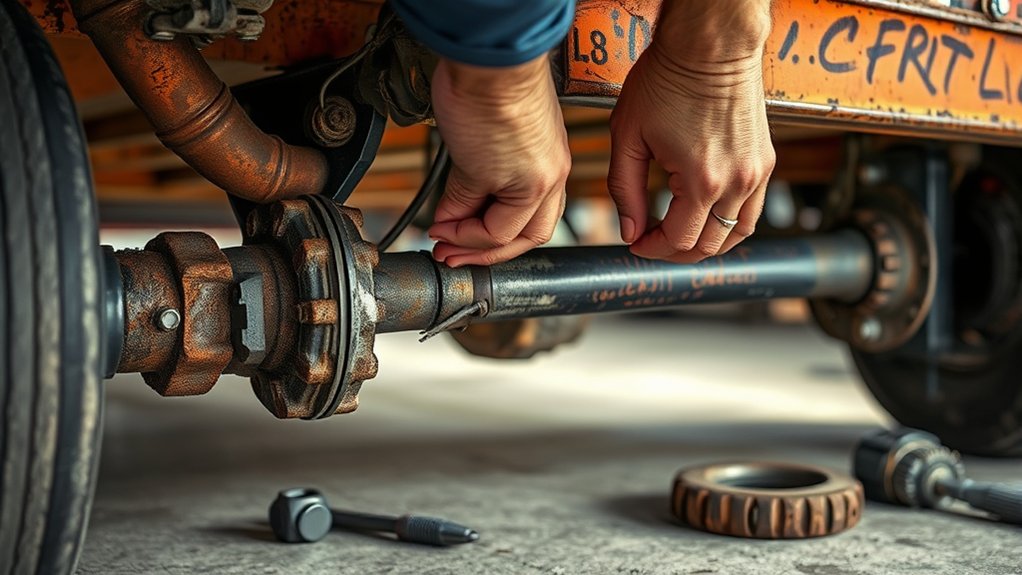
Although trailer axles are built to last, you’ll need to replace yours if you notice unusual noises, excessive wobbling, or uneven tire wear. If you hear grinding, squeaking, or clunking sounds while towing, it often means bearings or axle components are failing. Excessive wobbling or shaking indicates a bent or damaged axle, which compromises stability and safety.
Uneven tire wear, especially on one side, points to misalignment or axle issues. Also, if your trailer pulls to one side or feels unstable during turns, the axle might be warped or worn out. Keep an eye out for visible rust, cracks, or bends on the axle itself.
Addressing these signs promptly helps prevent accidents and costly damage down the road.
Gather Tools and Materials for Trailer Axle Replacement
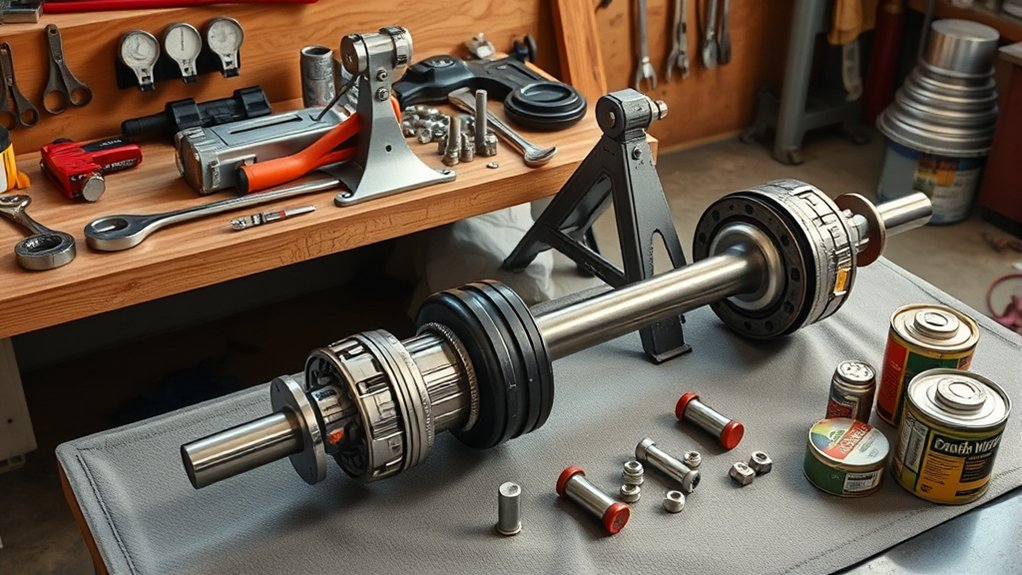
Before you begin replacing your trailer axle, you’ll need to gather the right tools and materials to guarantee a smooth process. Having everything on hand saves time and prevents frustration during the job. Focus on quality tools to ensure safety and efficiency.
Make sure you have the following essentials:
- Socket set and wrenches appropriate for your axle’s bolts
- Replacement axle that matches your trailer’s specifications
- Heavy-duty grease for bearings and moving parts
- Safety gloves and eye protection
These items will cover the basic mechanical needs and safety precautions. Avoid improvising with inadequate tools, as this can cause damage or injury. Once you’ve assembled your tools and materials, you’ll be ready to move forward confidently with the axle replacement.
Lift and Secure Your Trailer Safely Using Jack Stands
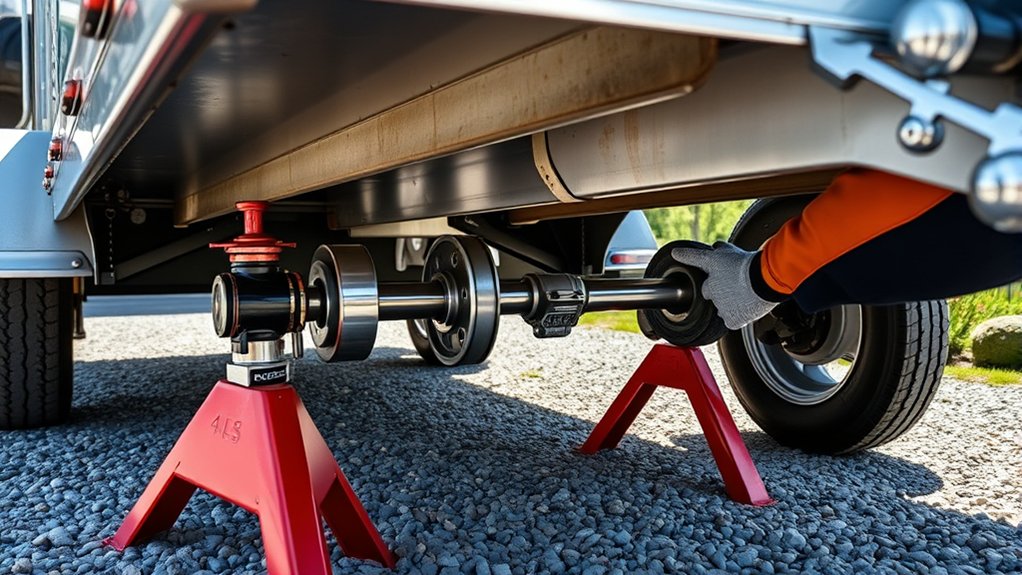
When you’re ready to lift your trailer, position it on a level surface and use wheel chocks to prevent any movement. Next, place your jack under the trailer frame near the axle you plan to replace. Slowly pump the jack handle to raise the trailer high enough to clear the tires off the ground.
Once lifted, carefully slide jack stands under the frame on both sides. Make sure they’re positioned securely on solid parts of the frame to support the trailer’s weight. Lower the trailer onto the stands gradually, ensuring the jack stands bear the load fully.
Double-check that the trailer is stable before working underneath it. Never rely solely on the jack—jack stands are essential for your safety during the axle replacement process.
Remove the Old Trailer Axle
With the trailer safely supported on jack stands, you can start removing the old axle. Begin by detaching the wheels; loosen the lug nuts and carefully pull each wheel off.
Next, disconnect the brake components, including the brake lines and drums, to prevent damage. Then, unbolt the leaf springs or suspension components holding the axle in place.
Finally, lower the axle carefully, ensuring it’s fully free from the trailer frame before removal.
- Use penetrating oil on stubborn bolts to ease removal
- Keep track of all hardware for reassembly
- Support the axle as you unbolt to prevent sudden drops
- Wear protective gloves and eyewear for safety
Following these steps helps you remove the old axle efficiently and prepares you for the next phase.
Inspect the New Axle and Prepare It for Installation
Before you install the new axle, make sure its specifications match your trailer’s requirements. Carefully inspect it for any damage from shipping or handling.
Then, gather and prepare all the necessary mounting hardware to guarantee a smooth installation.
Check Axle Specifications
How do you guarantee the new axle fits your trailer perfectly? Start by closely checking its specifications against your trailer’s requirements. This step guarantees compatibility and safe performance.
Focus on these critical details:
- Weight capacity: Confirm it matches or exceeds your trailer’s maximum load.
- Axle length: Measure from hub face to hub face to ensure proper fit.
- Bolt pattern: Verify the wheel mounting holes align with your wheels.
- Spring seat dimensions: Check they correspond with your trailer’s suspension setup.
Inspect for Damage
Though you’ve selected an axle that matches your trailer’s specs, you still need to carefully inspect it for any damage or defects before installation. Look for bends, cracks, rust, or worn spots that could weaken the axle’s integrity. Check the spindle ends and mounting points closely.
Also, confirm the bearings and seals are intact and lubricated.
Use this checklist to guide your inspection:
| Inspection Area | What to Look For | Action If Found |
|---|---|---|
| Axle Beam | Bends, cracks, rust | Replace or repair |
| Spindle Ends | Wear, damage | Clean or replace |
| Bearings & Seals | Integrity, lubrication | Repack or replace |
| Mounting Points | Cracks, alignment | Realign or reinforce |
Thorough inspection ensures safe, reliable trailer performance.
Prepare Mounting Hardware
Once you’ve inspected the new axle, turn your attention to preparing the mounting hardware for installation. Ensuring the hardware is in good condition is vital for a secure fit and safe operation. Start by gathering all necessary components and verifying their compatibility with your trailer.
Check each piece for wear, corrosion, or damage that could compromise performance. Clean the mounting surfaces thoroughly to remove rust, dirt, and old grease. Lubricate any moving parts as specified by the manufacturer to ease installation and prevent future issues.
Before proceeding, confirm you have:
- Correct bolts, nuts, and washers matching the axle specifications
- New mounting brackets or existing brackets in good condition
- Proper torque wrench for tightening hardware accurately
- Anti-seize compound or thread locker as recommended
Install the New Trailer Axle and Reattach Wheels
Now that your new axle is ready, position it carefully under the trailer frame, aligning it with the mounting points. Make certain to secure the wheels tightly to avoid any wobbling or safety issues.
Taking these steps will ensure your trailer runs smoothly and safely.
Positioning The New Axle
How do you guarantee the new axle is properly positioned before securing it? Start by aligning the axle so both sides are evenly spaced under the trailer frame. This ensures balanced weight distribution and proper wheel alignment.
Next, check that the axle’s center matches the trailer’s midpoint to avoid uneven wear. You should also verify the axle is level to prevent handling issues.
To position the new axle correctly:
- Measure distances from the frame to each end of the axle to confirm symmetry
- Use a level tool to ensure the axle sits horizontally
- Align the brake assemblies with the trailer’s brake controls
- Double-check clearance between tires and trailer frame
Taking these steps sets a solid foundation before moving on to securing the wheels.
Securing Wheels Properly
Where do you start when securing the wheels after positioning the new axle? Begin by sliding the wheels onto the axle’s spindle. Make sure the wheel bearings are properly greased and seated before doing this.
Next, place the spindle washer and secure it with a castle nut. Tighten the nut firmly but avoid over-tightening, which can damage the bearings. Once tightened, align the castle nut’s slots with the hole in the spindle and insert a cotter pin to lock it in place.
Bend the cotter pin ends around the nut for security. Finally, reinstall the dust cap over the spindle to keep out dirt and moisture. Double-check everything is snug, and your wheels will be securely attached and ready for safe towing.
Check Tire Alignment and Perform Final Safety Tests
Before you hit the road, you’ll want to carefully check the tire alignment to guarantee even wear and stable handling. Misaligned tires can cause uneven wear and unsafe driving conditions. Start by visually inspecting the tires to see if they’re straight and evenly spaced.
Check tire alignment before driving to ensure even wear and safe, stable handling on the road.
Next, measure the toe and camber angles using alignment tools or take your trailer to a professional. Once alignment is confirmed, perform these final safety tests:
- Tighten all lug nuts to the manufacturer’s specifications
- Check the brake function and adjust if necessary
- Inspect suspension components for proper installation
- Test the trailer on a short drive to listen for unusual noises or vibrations
Completing these steps ensures your trailer is safe, reliable, and ready for the road.
Frequently Asked Questions
How Often Should I Lubricate My Trailer Axle Bearings?
You should lubricate your trailer axle bearings at least once a year or every 12,000 miles.
If you use your trailer in wet or dusty conditions, check and grease them more often to prevent damage and guarantee smooth operation.
What Types of Trailer Axles Are Available?
You’ll find straight axles, drop axles, torsion axles, and stub axles. Each serves different purposes—torsion axles offer a smoother ride, while drop axles lower your trailer’s height for better clearance. Choose based on your needs.
Can I Upgrade to a Higher Weight Capacity Axle?
You can upgrade to a higher weight capacity axle—trailers with heavier axles can handle up to 25% more load safely.
Just make certain your frame and tires match the new axle’s rating to avoid damage or accidents.
How Do I Dispose of the Old Axle Properly?
You should take the old axle to a local metal recycling center or scrap yard. Many places accept scrap metal for free or even pay you.
Don’t just dump it—proper disposal helps the environment and keeps your space clean.
What Are Common Axle Maintenance Tips to Extend Lifespan?
You should regularly grease the bearings, check for loose or damaged parts, keep tires properly inflated.
Inspect for rust or cracks, and tighten all bolts.
Staying proactive with these steps helps you extend your axle’s lifespan considerably.
Conclusion
Now that you’ve swapped out that old trailer axle like a pro, your trailer’s ready to dance down the road smoother than a rocket on roller skates! No more wobbling, no more squeaks—just pure, unstoppable rolling power.
You’ve turned a tough job into a breeze, and your trailer will thank you with miles of trouble-free adventures. Trust me, once you’ve done this, axle changes will feel like a walk in the park!
By following these simple steps to change a trailer axle, you’ve mastered an essential skill. This maintenance will keep your trailer safe and reliable for years to come. Enjoy the smooth ride and confidence that comes with a properly installed trailer axle!

