

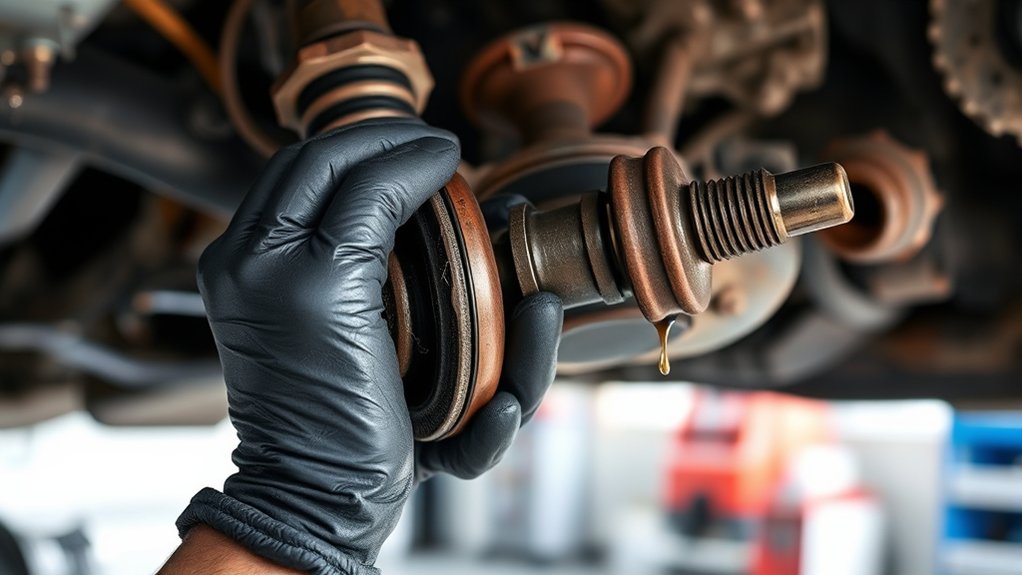
If your car is slipping and you suspect a bad CV axle, it’s important to identify the symptoms early to prevent further damage. Common signs include clicking noises when turning and grease leaks from a torn CV boot. These issues can cause slipping and reduce the efficiency of power transfer from the engine to the wheels.
Start by inspecting the CV axle for visible damage or leaking grease. You can temporarily clean the joint, apply fresh grease, and secure the boot with tape to minimize slipping. However, this is only a short-term fix.
Avoid aggressive driving until you replace the axle to prevent worsening the problem. Using the proper tools, you can remove and install a new CV axle to restore smooth power transfer.
Keep reading to learn how to spot issues early and maintain your CV axles for lasting performance.
Key Takeaways
- Clean the CV joint area thoroughly to remove dirt and debris causing slipping.
- Apply heavy-duty grease to the CV joint to reduce friction and improve power transfer.
- Temporarily wrap the CV joint with strong, flexible tape and secure with clamps or zip ties.
- Avoid sharp turns and heavy acceleration to minimize stress on the damaged CV axle.
- Schedule a full CV axle replacement promptly to prevent worsening slipping and drivetrain damage.
How to Spot a Bad CV Axle Causing Slipping
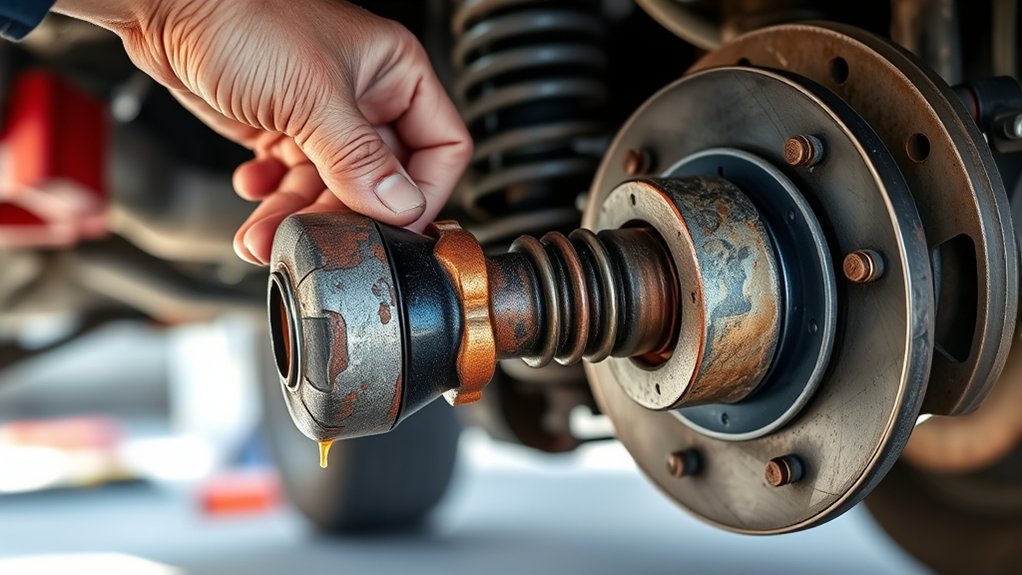
Although slipping can stem from various issues, a bad CV axle often causes noticeable symptoms you can identify early. You’ll likely hear clicking or popping noises when turning, especially during sharp maneuvers.
Slipping often signals a bad CV axle, marked by clicking or popping sounds during sharp turns.
If you feel vibrations or shaking while driving, that’s another red flag. Pay attention to grease splattered near the wheel well—that usually means the CV boot is torn, allowing dirt in and grease out, which damages the axle.
You might also notice difficulty accelerating smoothly or a general loss of power transferring to the wheels. By catching these signs early, you can prevent further damage and costly repairs.
Keep an eye—or ear—out for these symptoms so you can address a bad CV axle before it causes serious slipping problems.
Temporary Fixes to Stop CV Axle Slipping
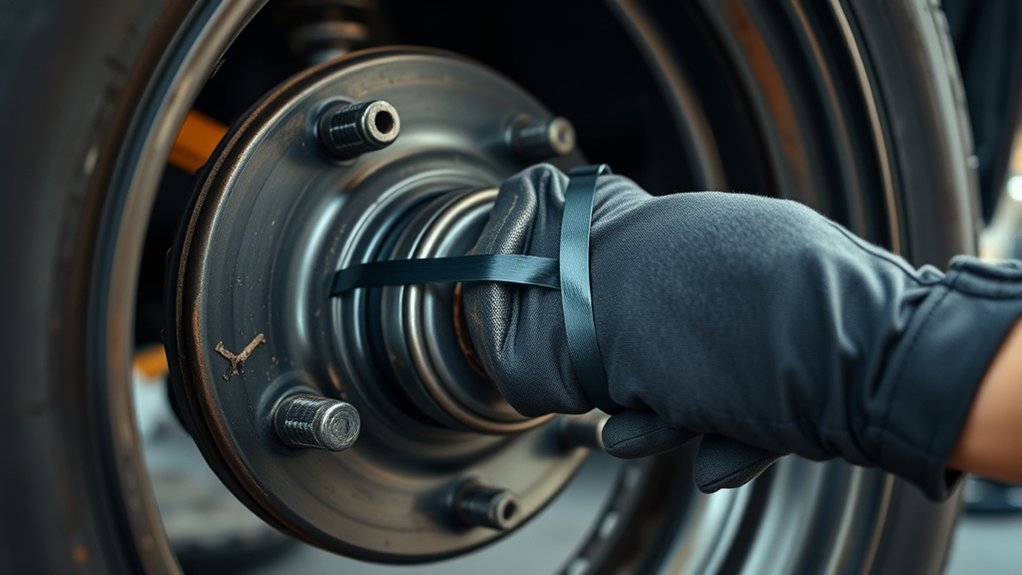
If your CV axle is slipping and you can’t fix it right away, there are emergency repair options to keep you moving. You can try temporary axle securing methods to stabilize the joint and prevent further damage.
These quick fixes won’t last long, but they can help you get to a mechanic safely.
Emergency CV Joint Repair
How can you quickly stop a slipping CV axle when you don’t have time for a full repair? Emergency CV joint repair focuses on temporary fixes to keep your vehicle moving safely until you get a proper replacement. You’ll want to stabilize the joint and prevent further damage without disassembling the axle fully.
Here’s what you can do:
- Clean the CV joint area to remove dirt and debris.
- Apply a heavy-duty grease or lubricant to reduce friction.
- Wrap the joint tightly with a strong, flexible tape to keep contaminants out.
- Avoid sharp turns and heavy acceleration to minimize stress on the joint.
These steps are quick, but remember—they’re only short-term. Schedule a professional repair as soon as possible to avoid permanent axle failure.
Temporary Axle Securing Methods
While emergency CV joint repairs can keep your vehicle moving briefly, you’ll need to secure the axle more firmly to stop slipping until a full fix is possible.
Temporary axle securing methods help stabilize the joint and prevent further damage.
You can use clamps, zip ties, or even wire to hold components in place, but remember these are short-term solutions.
| Method | Materials Needed | Pros |
|---|---|---|
| Hose Clamp | Metal hose clamp | Strong grip, reusable |
| Zip Ties | Heavy-duty zip ties | Quick, easy to apply |
| Wire Wrap | Steel wire | Flexible, adjustable |
| Duct Tape | High-strength tape | Readily available |
| Temporary Grease | CV joint grease | Reduces friction |
Use these methods cautiously and plan for a permanent repair soon.
How to Check CV Axle Damage Before Replacement
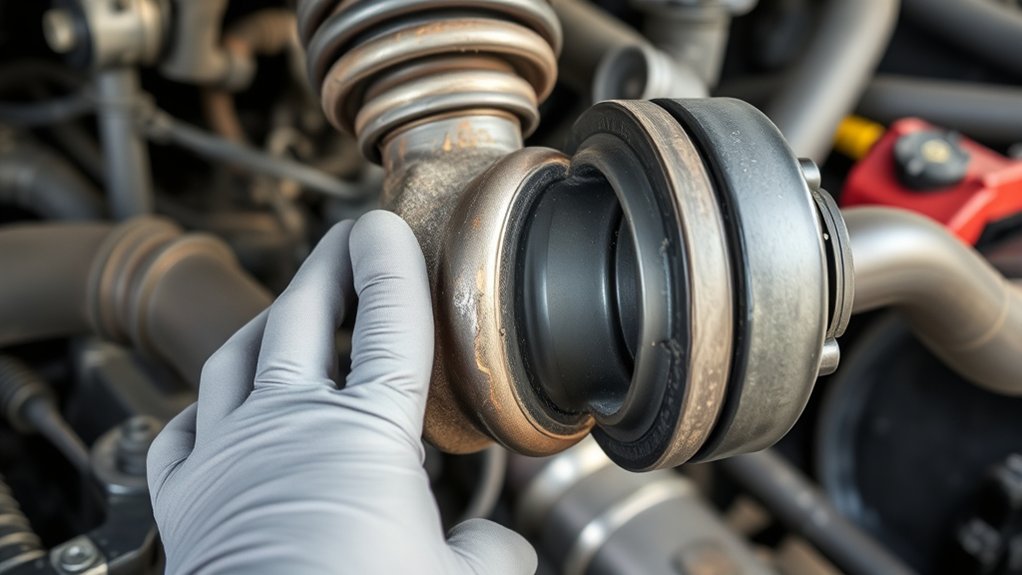
Wondering whether your CV axle is truly damaged or just causing minor issues? You can quickly check for damage before deciding on replacement. Start by inspecting the CV boots for tears or grease leaks, which often indicate axle problems.
Next, check for clicking noises when turning, a classic sign of joint wear. Also, look for excessive play by manually moving the axle—any looseness means it’s compromised. Finally, watch for vibrations during acceleration, which suggest internal damage.
Clicking when turning, excessive axle play, and acceleration vibrations all signal potential CV joint damage.
- Look for torn or leaking CV boots
- Listen for clicking sounds when turning
- Test for excessive axle play by hand
- Notice any vibrations while accelerating
These steps help you assess damage accurately before committing to a replacement.
Tools You’ll Need to Fix a Slipping CV Axle
To fix a slipping CV axle, you’ll need a mix of essential hand tools like wrenches and sockets, along with safety gear such as gloves and eye protection. Don’t forget some specialty automotive tools that make the job easier and safer.
Getting your tools ready before you start will save you time and hassle.
Essential Hand Tools
Before you plunge into repairing a slipping CV axle, gathering the right hand tools will make the job smoother and safer. Having these essentials on hand guarantees you can efficiently remove and replace the axle without unnecessary delays or damage. You’ll want sturdy, reliable tools that fit well and give you good leverage.
Here are the key hand tools you should have ready:
- Socket wrench set with various sizes
- Pry bar for separating components
- Torque wrench to tighten bolts to specs
- Needle-nose pliers for clips and pins
With these tools, you’ll tackle the job confidently and avoid common frustrations. Don’t skip this step; a well-prepared workspace with the right hand tools speeds up your repair and helps you get back on the road quickly.
Safety Equipment Needed
Although you might be enthusiastic to get started, prioritizing safety equipment is crucial when fixing a slipping CV axle. First, wear safety glasses to protect your eyes from debris, grease, and metal shards. Gloves are essential to shield your hands from sharp edges and harmful chemicals.
Use sturdy, closed-toe shoes to prevent foot injuries from dropped tools or parts. If you’re working under the vehicle, always use quality jack stands to support it securely—never rely solely on a jack. A mechanic’s creeper can help you move comfortably and safely while working underneath.
Finally, keep a fire extinguisher nearby, just in case. Taking these safety precautions helps you work confidently and reduces the risk of accidents during the repair.
Specialty Automotive Tools
Since fixing a slipping CV axle involves working with tight spaces and stubborn components, you’ll need some specialty automotive tools to get the job done efficiently. These tools help you access hard-to-reach areas, remove the axle without damage, and reinstall parts correctly.
Without them, you risk damaging components or prolonging the repair.
Here are the essential specialty tools you should have:
- CV axle puller – for safely removing the axle from the hub.
- Torque wrench – to tighten bolts to manufacturer specifications.
- Snap ring pliers – for handling circlips securing the axle.
- Ball joint separator – to disconnect suspension parts without harm.
Having these tools on hand makes the repair smoother, safer, and guarantees your CV axle functions properly.
How to Replace a Bad CV Axle Step by Step
When you notice your vehicle slipping due to a bad CV axle, replacing it promptly can restore smooth driving and prevent further damage. First, safely lift your car using a jack and secure it with jack stands. Remove the wheel on the affected side.
Next, loosen the axle nut—this may require a breaker bar. Detach the lower ball joint to allow the hub to move freely. Carefully slide the CV axle out of the transmission or differential, using a pry bar if needed.
Position the new axle in place, ensuring it seats fully. Reattach the lower ball joint and tighten the axle nut to the manufacturer’s torque specs. Finally, reinstall the wheel, lower the car, and test drive to confirm the issue is resolved.
When to Seek Professional Help for Bad CV Axle
Replacing a bad CV axle on your own can save time and money, but some situations call for professional expertise. If you’re unsure about the diagnosis or lack the proper tools, it’s best to consult a mechanic.
Also, if the axle damage is severe or involves related components like the wheel bearings or suspension, a pro can guarantee everything is fixed safely. Here are clear signs you should seek professional help:
- You hear persistent clicking or grinding noises when turning
- The vehicle vibrates excessively at high speeds
- You notice grease leaking from the CV boot
- You feel instability or pulling when accelerating or braking
In these cases, a professional can accurately assess and repair the issue to keep your vehicle safe.
Why a Faulty CV Axle Causes Acceleration Problems
Why does a faulty CV axle make your car struggle during acceleration? The CV axle transfers power from the transmission to your wheels, enabling smooth movement. When it’s damaged, it can’t efficiently deliver this power, causing your wheels to slip or lose traction.
You’ll notice hesitation or jerking when you press the gas pedal because the axle isn’t rotating the wheels consistently. This inconsistency disrupts the power flow, especially during acceleration when the demand is higher. Additionally, worn CV joints may produce clicking or popping sounds, signaling they’re failing to maintain proper connection.
Ignoring these signs can worsen the slipping, making acceleration unreliable and unsafe. Addressing a faulty CV axle promptly restores your car’s ability to accelerate smoothly and regain control.
How to Maintain Your CV Axles to Prevent Slipping
Although CV axles endure constant stress, you can extend their lifespan by performing regular maintenance. Keeping your CV axles in good shape helps prevent slipping and costly repairs. You should inspect the axle boots frequently for cracks or tears, as damaged boots let dirt and moisture in, causing premature wear.
Also, listen for clicking noises during turns, which signal joint issues. Greasing the CV joints when necessary keeps them lubricated and functioning smoothly. Finally, avoid aggressive driving, which puts extra strain on your axles.
Here’s what you should do regularly to maintain your CV axles:
- Check boots for damage or leaks
- Listen for unusual noises while turning
- Re-grease joints if needed
- Drive smoothly to reduce stress on axles
Frequently Asked Questions
Can a Bad CV Axle Cause Uneven Tire Wear?
Yes, a bad CV axle can cause uneven tire wear because it affects your vehicle’s alignment and suspension. You’ll notice vibrations or wobbling, which leads to tires wearing out unevenly over time if not fixed promptly.
How Much Does CV Axle Replacement Typically Cost?
Wondering about the price tag? You’ll typically spend between $300 and $800 to replace a CV axle. Costs vary based on your vehicle and labor rates, but don’t worry—
you’ll get smoother rides worth every penny.
Are All CV Axles Universal or Vehicle-Specific?
No, CV axles aren’t universal; you’ll need to get one that matches your vehicle’s make, model, and year. Using a vehicle-specific axle guarantees proper fit and function, preventing issues like slipping or premature wear.
Can Bad CV Axles Affect Fuel Efficiency?
Yes, bad CV axles can lower your fuel efficiency. When they slip or don’t transfer power properly, your engine works harder, burning more fuel.
Fixing them helps your vehicle run smoother and saves you money at the pump.
How Long Does a CV Axle Usually Last?
Imagine Sarah, who drove her car 70,000 miles before her CV axle failed.
Usually, you’ll find CV axles last between 70,000 to 130,000 miles, depending on driving habits and road conditions.
Conclusion
Slipping caused by a bad CV axle can seriously affect your driving safety and comfort. Did you know that about 40% of CV axle failures happen due to worn-out boots allowing dirt and moisture in? By spotting early signs and following the right steps, you can avoid costly repairs and keep your car running smoothly.
If you’re unsure, don’t hesitate to seek professional help—your safety on the road is worth it! Fixing slipping caused by a bad CV axle promptly ensures better vehicle performance and prevents further damage. Remember, timely maintenance and repair are key to resolving slipping issues related to a bad CV axle effectively.

