

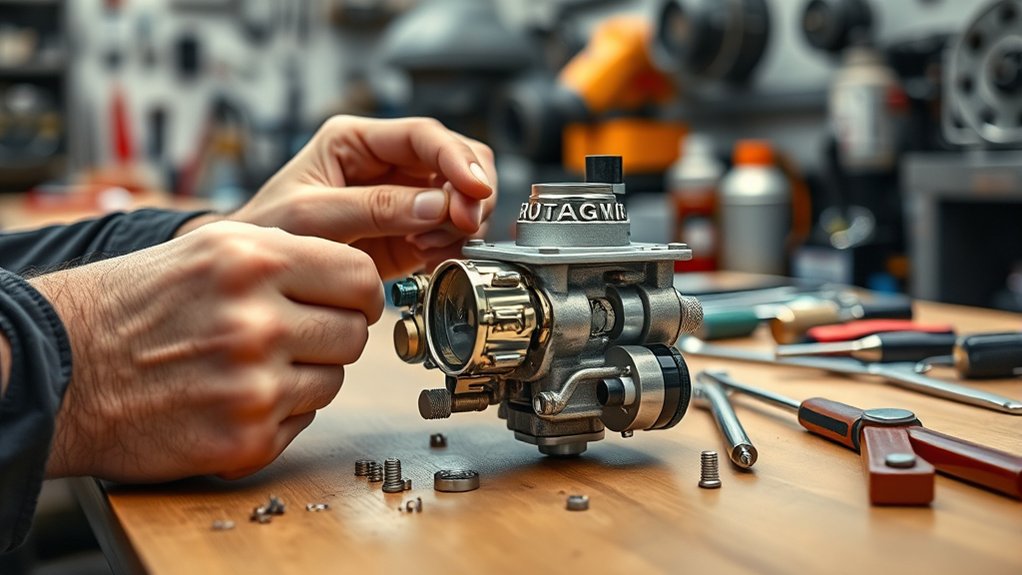
To rebuild your carburetor in 7 easy steps, start by gathering the right tools and a model-specific rebuild kit. Rebuilding a carburetor is essential for maintaining engine performance and fuel efficiency.
Carefully remove the carburetor from your engine, then disassemble it while keeping parts organized.
Inspect everything for wear or damage, clean all components thoroughly with carb cleaner, and replace worn parts. Proper cleaning and inspection ensure your carburetor functions smoothly and extends its lifespan.
Finally, reassemble the carburetor, adjust settings for peak performance, and test your engine.
Follow these steps closely, and you’ll gain all the details to get your carburetor running smoothly again. With patience and attention to detail, your engine will run like new in no time.
Key Takeaways
- Gather necessary tools, a carburetor rebuild kit, and prepare a clean workspace before starting the rebuild process.
- Carefully remove the carburetor, disconnecting all linkages, fuel lines, and mounting bolts while labeling parts.
- Disassemble the carburetor, organizing small parts and taking photos or notes to aid reassembly.
- Inspect all components for wear, damage, or clogging, focusing on gaskets, float, jets, and throttle shafts.
- Clean parts thoroughly with carb cleaner and compressed air, then reassemble, adjust, and test for proper engine performance.
Gather Your Carburetor Tools and Parts
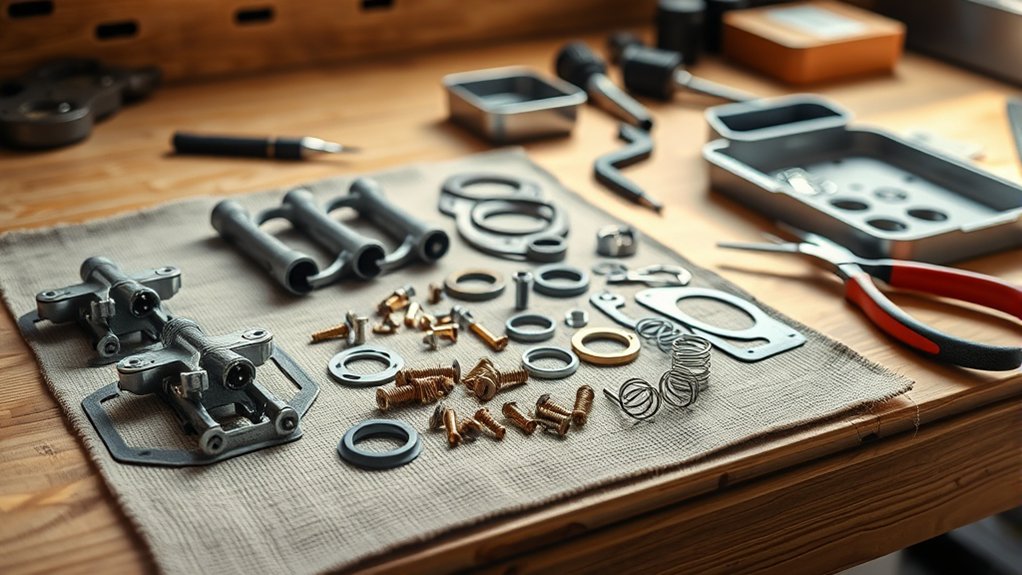
Before you begin rebuilding your carburetor, you’ll need to gather the right tools and parts to guarantee a smooth process. Start with a basic toolkit: screwdrivers (flathead and Phillips), wrenches, pliers, and a socket set. You’ll also want a carburetor rebuild kit specific to your model, which includes gaskets, seals, and needles.
Don’t forget a clean work surface, a parts tray to keep small components organized, and a carburetor cleaner spray for removing buildup. A small wire brush helps with stubborn deposits. Having a manual or diagram for your carburetor model nearby can guide you through reassembly.
Remove the Carburetor Safely From Your Engine
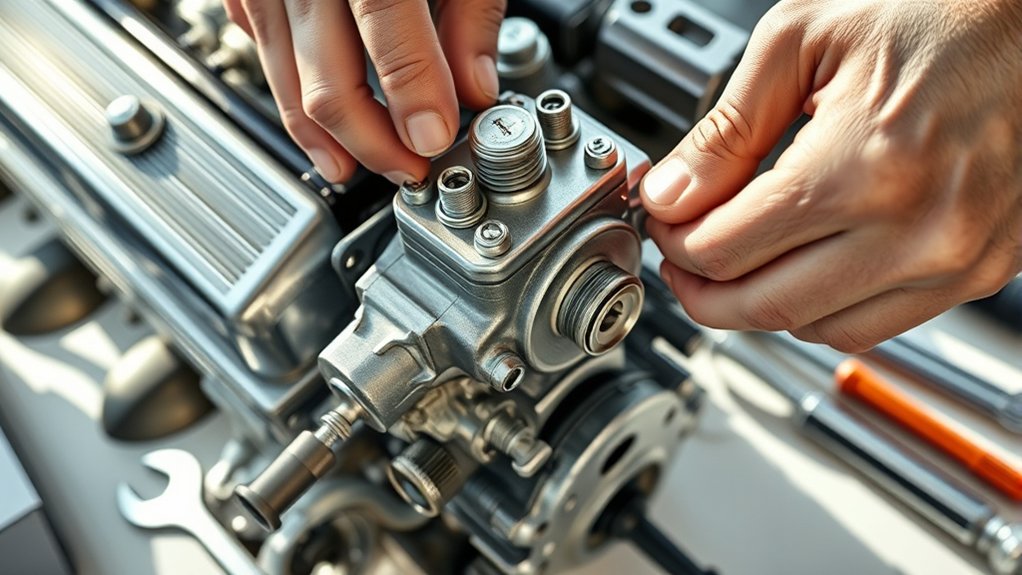
How do you safely detach the carburetor from your engine without causing damage? First, make sure the engine is cool to avoid burns. Disconnect the battery to prevent any electrical hazards.
Next, carefully label and disconnect all linkages, fuel lines, and vacuum hoses attached to the carburetor. Use pliers or screwdrivers as needed, but don’t force anything to avoid stripping screws or breaking parts. Place a container underneath to catch any fuel that may spill.
Carefully label and disconnect all linkages, fuel lines, and hoses, using tools gently to avoid damage.
Loosen and remove the mounting bolts or nuts securing the carburetor to the intake manifold. Gently lift the carburetor straight up, avoiding tilting it to prevent spilling fuel or damaging gaskets. Set it on a clean surface for inspection.
Now, you’re ready for the next step: disassembling the carburetor.
Disassemble the Carburetor
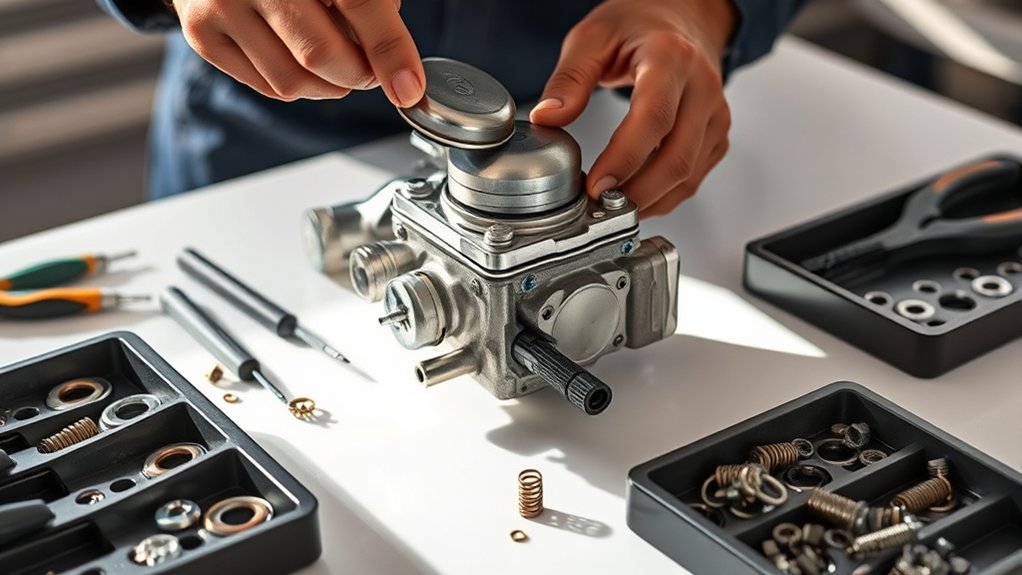
Start by carefully removing all external components from the carburetor, like screws and linkages. As you take each part off, organize the small pieces to keep track of them.
This will make reassembly much easier and prevent any lost parts.
Remove External Components
Once you’ve drained the fuel and disconnected the carburetor from the engine, you’ll need to remove the external components carefully. Start by loosening screws and bolts that hold parts like the choke linkage, throttle linkage, and fuel lines. Use the proper tools to avoid damaging delicate parts.
Gently detach any springs or clips, noting their positions for reassembly. Be cautious with the choke assembly, as it often has small, fragile pieces. Remove the air horn or top cover if needed, exposing the internal components.
Take your time to prevent bending or breaking any connections. Keeping a steady hand here will make the rebuilding process smoother and guarantee you don’t lose or damage critical external parts that affect carburetor performance.
Organize Small Parts
After carefully removing the external components, you’re ready to take apart the carburetor itself. As you disassemble it, small parts like screws, jets, and springs will come loose. It’s vital to organize these pieces immediately to avoid losing or mixing them up.
Use labeled containers or small trays to separate parts by type and location. Take photos or notes to remind yourself where each piece belongs. Handling each component gently prevents damage, especially to delicate parts like needles and diaphragms.
Keeping everything organized saves you time during reassembly and guarantees your carburetor will function properly once rebuilt. Don’t rush—careful organization now makes the rest of the rebuild process smoother and more efficient.
Inspect Carburetor Parts for Wear and Damage
Before you assemble the carburetor, carefully examine each part for signs of wear or damage. Check the gaskets and seals for cracks or brittleness, as these can cause leaks and poor performance. Inspect the float for any punctures or deformation that might affect fuel flow.
Look over the throttle shaft and bushings for excessive play or scoring, which can lead to air leaks. Examine jets and needles for clogging or erosion, ensuring they’re intact and smooth. Springs should be firm, not stretched or broken.
If you spot any worn or damaged parts, replace them promptly to avoid future issues. Taking this step seriously guarantees your rebuilt carburetor will function reliably and efficiently once reassembled.
Clean All Carburetor Components Thoroughly
Replacing worn or damaged parts sets you up for a successful rebuild, but cleaning all the carburetor components thoroughly guarantees they work smoothly together. Start by disassembling the carburetor completely, keeping track of each piece. Use a carburetor cleaner spray to remove varnish, dirt, and deposits from metal parts, jets, and passages.
Soak heavily soiled components in a cleaning solution if needed. Avoid using abrasive tools that could damage surfaces or delicate parts. Use compressed air to blow out tiny passages and guarantee all debris is removed.
Pay close attention to the float bowl, throttle body, and choke assembly. Once everything is spotless and dry, you’ll have a clean foundation for reassembling your carburetor, ensuring peak performance and fuel efficiency.
Replace Worn Parts With a Rebuild Kit
When you notice parts showing signs of wear or damage, using a rebuild kit guarantees you restore your carburetor to proper working condition. These kits include gaskets, seals, O-rings, and small components that tend to deteriorate over time. Carefully compare each old part with the new ones to confirm you replace everything necessary.
Remove the worn parts and install the replacements exactly where the originals were located. Pay close attention to delicate pieces like needle valves and seats, as even minor imperfections can affect performance. Using the rebuild kit prevents leaks and guarantees a tight seal, which is essential for proper fuel flow.
Taking the time to swap out these worn components now will save you headaches and improve your carburetor’s reliability down the road.
Reassemble, Adjust, and Test Your Carburetor
After installing the new parts from your rebuild kit, you’ll need to carefully reassemble your carburetor to make certain everything fits and functions correctly. Start by aligning the float and needle valve, ensuring smooth movement. Then, secure the throttle plate and linkage, checking for proper operation.
Adjust the idle mixture screw to the factory specs or slightly lean for smoother idling. Finally, install the carburetor back onto the engine and tighten all mounting bolts evenly.
To visualize:
- Carefully place the float to avoid pinching the needle valve
- Align the throttle plate so it opens and closes freely
- Turn the idle mixture screw slowly while engine runs
- Tighten mounting bolts in a crisscross pattern for even pressure
Once reassembled, test your carburetor by starting the engine and observing performance.
Frequently Asked Questions
What Causes a Carburetor to Clog Frequently?
You’ll find carburetors clog frequently because of dirty fuel, debris, or varnish buildup. If you don’t use fuel stabilizers or clean the fuel system regularly, contaminants can block jets and passages, causing poor performance and clogging.
These blockages restrict fuel flow, leading to engine problems. Regular maintenance is essential to prevent frequent clogging. Always ensure the fuel you use is clean and fresh.
Can Carburetor Issues Affect Engine Fuel Efficiency?
When your engine’s appetite isn’t satisfied properly, yes, carburetor issues can sneakily drain fuel efficiency. You’ll notice your ride gulping more gas, making your trips costlier and less smooth than they should be.
How Often Should a Carburetor Be Rebuilt?
You should rebuild your carburetor every 25,000 to 30,000 miles or if you notice rough idling, poor fuel efficiency, or hesitation.
Regular maintenance helps keep your engine running smoothly and prevents costly repairs down the line.
Are There Types of Fuel That Damage Carburetors?
Fuel with ethanol can be a silent storm, corroding your carburetor’s delicate parts. You shouldn’t use stale or contaminated fuel, either, because it gums up passages and turns your engine’s heart into a clogged mess.
Can I Rebuild a Carburetor Without Prior Mechanical Experience?
Yes, you can rebuild a carburetor without prior experience, but you’ll need patience, a good repair manual, and basic tools.
Take your time, follow instructions carefully, and watch tutorial videos to guide you through the process.
Conclusion
Rebuilding your carburetor is like tuning a fine instrument—it requires patience and precision, but the reward is a smoother, more reliable engine performance. By following these seven steps, you’ve not only restored a crucial part but also embraced the spirit of craftsmanship that keeps classic machines alive.
Now, with your carburetor humming perfectly, you’re ready to hit the road, confident that you’ve mastered an essential skill every enthusiast should know. This carburetor rebuild will enhance fuel efficiency, improve throttle response, and extend the life of your engine. Embracing these carburetor rebuilding steps ensures your vehicle runs at its best, making it a valuable skill for any automotive enthusiast.

