

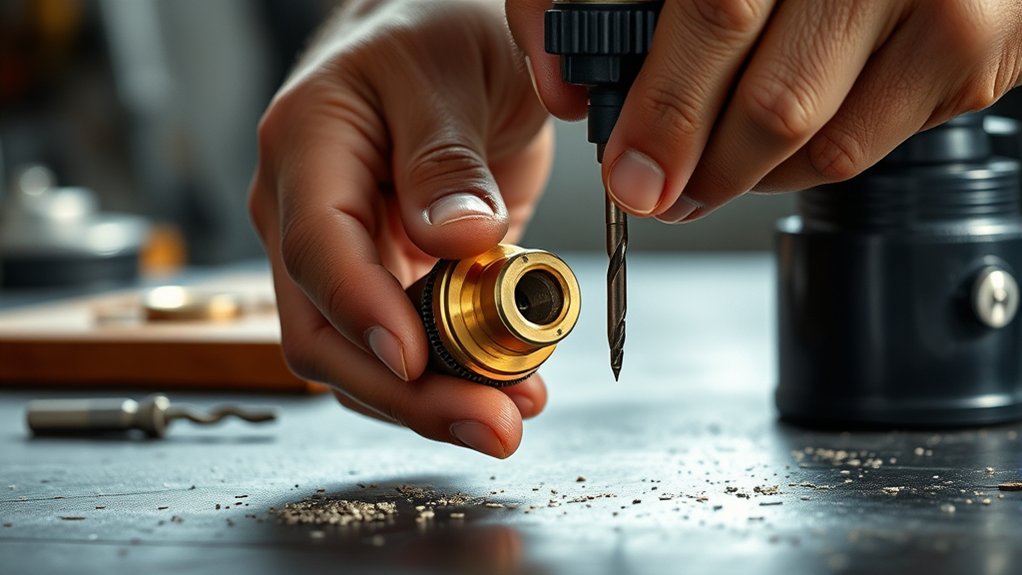
To drill Walbro carburetor jets in 7 easy steps, start by identifying your high- and low-speed jets. Gather essential tools such as micro drill bits, a pin vise, and safety gear to ensure precision and protection. Proper preparation is key for successful jet drilling and carburetor tuning.
Carefully remove the jets from the float bowl, taking care not to damage any components. Mark the jets clearly for accurate drilling to avoid mistakes. Use the appropriate drill bit and drill slowly, keeping the drill perpendicular to the jet surface.
After drilling, reassemble the carburetor securely and check for any leaks. Finally, test your engine to ensure smooth performance and efficient fuel delivery.
Keep going to discover detailed tips for fine-tuning and troubleshooting your Walbro carburetor jets.
Key Takeaways
- Remove jets carefully from the float bowl area using appropriate tools and ensure the workspace is clean and ventilated.
- Mark the jets with a fine-tip marker according to the desired hole size based on tuning requirements.
- Use a micro drill bit with a pin vise to drill the jet hole slowly and perpendicularly, clearing debris regularly.
- Reassemble the carburetor, ensuring seals, gaskets, and linkages are correctly seated and tightened evenly without over-tightening.
- Test engine performance after reassembly, adjust jet size if needed, and check for leaks or misalignments for optimal tuning.
Why Drill Walbro Carburetor Jets?
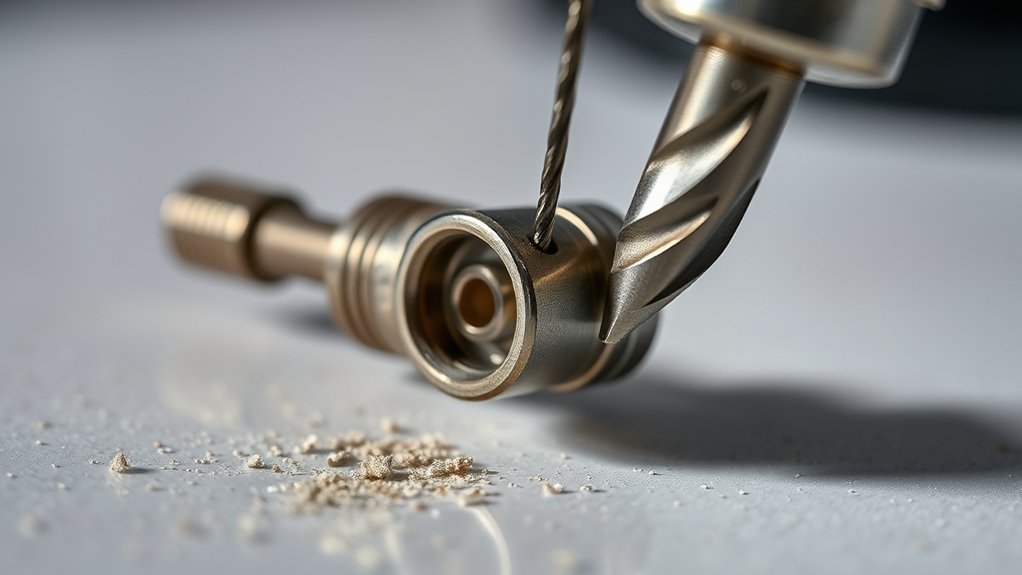
Although Walbro carburetors are designed to work well out of the box, you might find that drilling the jets can improve your engine’s performance. When you drill the jets, you’re fundamentally adjusting the fuel flow to better match your engine’s specific needs. This can lead to smoother throttle response, increased power, and better fuel efficiency.
If you’ve noticed your engine running lean or rich, drilling allows you to fine-tune the mixture for ideal combustion. It’s especially useful if you’ve made modifications like upgrading the exhaust or air filter, which change airflow. By customizing the jets, you guarantee your engine breathes and fuels correctly, preventing issues like stalling or hesitation.
Drilling jets gives you more control over how your engine performs under different conditions.
Identify Your Walbro Carburetor Jets
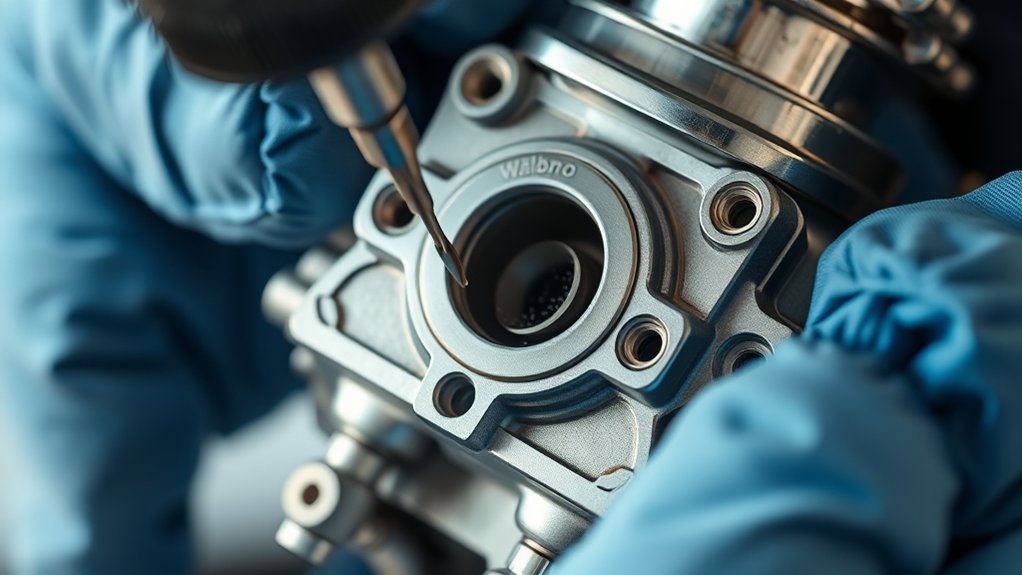
Adjusting your Walbro carburetor jets starts with knowing exactly which jets you’re working with. Typically, Walbro carburetors have two main jets: the high-speed jet and the low-speed jet. You’ll find the high-speed jet near the throttle butterfly, controlling fuel flow at full throttle, while the low-speed jet manages fuel at idle and low RPMs.
To identify them, carefully remove the carburetor’s top cover and inspect the jets; they usually have tiny holes and may be marked with numbers or letters. Take note of their size and location, as this info guides your drilling process. Identifying the correct jets ensures you drill the right ones, avoiding damage or poor performance.
Keep your workspace clean to prevent debris from entering the carburetor during inspection.
Gather Tools for Drilling Walbro Jets
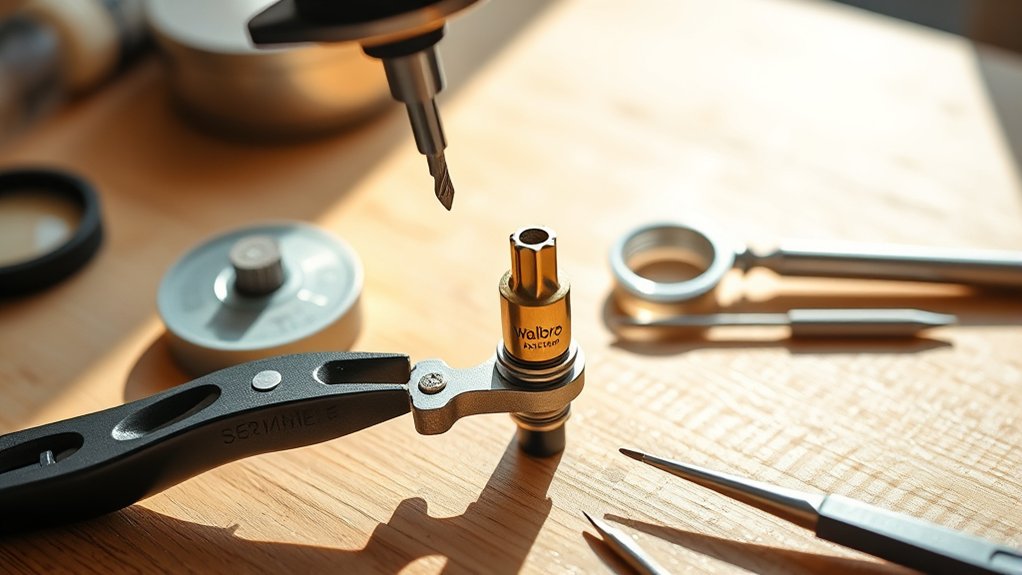
Before you start drilling, you’ll need the right tools to guarantee precision and avoid damaging the jets. First, grab a set of micro drill bits, as these tiny bits allow you to enlarge jet holes accurately without cracking the metal. A pin vise or a small hand drill will give you better control than a power drill, preventing slips that could ruin the jets.
You’ll also want a magnifying glass or jeweler’s loupe to closely inspect your progress. Keep a clean workspace with a steady surface and good lighting. Finally, have some fine-grit sandpaper or a small file ready to smooth out any rough edges after drilling.
With these tools in hand, you’ll be set for precise and safe jet modification.
Prepare and Remove Jets From the Carburetor
Before you start, make sure you have the right tools like screwdrivers and wrenches to remove the jets safely. Locate the jets carefully on the carburetor to avoid damaging other parts. Always wear safety glasses and work in a clean area to protect yourself during removal.
Tools Needed for Removal
To remove Walbro carburetor jets effectively, you’ll need a few essential tools that guarantee precision and prevent damage. Having the right equipment makes the process smoother and protects delicate parts.
Here are the four main tools you’ll want:
- Small Flathead Screwdriver – Perfect for gently prying jets loose without scratching surfaces.
- Needle-Nose Pliers – Help you grip and pull out jets carefully, especially in tight spaces.
- Jet Cleaning Tool or Pin – Useful for clearing blockages without enlarging the jet holes unintentionally.
- Magnifying Glass or Head Magnifier – Allows you to inspect the jets closely for damage or debris during removal.
With these tools, you’ll be set to remove jets safely and prepare them for drilling.
Locating Carburetor Jets
Once you have the right tools ready, the next step is to locate the carburetor jets within the Walbro carburetor. First, remove the carburetor from the engine and place it on a clean work surface. Identify the main components: the float bowl, throttle body, and fuel inlet.
The jets are small, brass fittings usually found in the float bowl area. Look for two primary jets—the main jet and the idle jet—each screwed into the carburetor body. The main jet controls fuel flow at higher speeds, while the idle jet manages fuel at low speeds.
Use a magnifying glass if needed to spot these tiny parts. Once located, you can proceed to carefully unscrew and remove them for cleaning or drilling.
Safety Precautions Before Removal
Although removing the jets from your Walbro carburetor may seem straightforward, taking proper safety precautions will protect both you and the delicate components. Before you begin, make sure you:
- Disconnect the fuel line and drain any remaining fuel to prevent spills or fire hazards.
- Work in a well-ventilated area away from open flames or sparks to avoid inhaling fumes.
- Wear safety goggles and gloves to protect your eyes and hands from fuel and sharp edges.
- Use the correct tools, such as a small wrench or screwdriver, to avoid damaging the jets or carburetor body.
Following these steps ensures a safer, smoother removal process and prevents costly damage to your carburetor jets.
Measure and Mark Jets for Accurate Drilling
Before you start drilling, you’ll want to carefully measure each jet to make certain of accuracy. Use a digital caliper to determine the current diameter of the jet holes. Note the measurements precisely, as even a slight difference can affect engine performance.
Next, decide the desired final size based on your tuning goals. Mark the jets clearly with a fine-tip permanent marker or scribe to indicate where you’ll drill. Confirm your markings are visible but don’t obstruct the hole.
Double-check your measurements and marks before proceeding. Accurate measuring and marking prevent over-drilling, which can lead to poor fuel mixture and engine issues. Taking this step seriously sets the foundation for a successful modification and smoother engine operation.
Drill Walbro Jets Step-by-Step Safely
Before you start drilling, make sure you wear safety gear like goggles and gloves to protect yourself from metal shavings. Use a steady hand and the right drill bit size to avoid damaging the jets.
Taking these precautions will help you work safely and get precise results.
Safety Gear Essentials
Why should you never skip wearing safety gear when drilling Walbro carburetor jets? Because tiny metal shavings and debris can fly unexpectedly, risking eye injury or skin irritation. To keep safe, you need the right gear every time.
Follow this checklist for essential protection:
- Safety glasses – Shield your eyes from flying particles.
- Gloves – Protect your hands from sharp edges and hot drill bits.
- Dust mask – Prevent inhaling fine metal dust.
- Long sleeves – Avoid skin contact with metal fragments.
Wearing these items keeps you safe and focused, so you can drill precisely without worrying about accidents or discomfort. Don’t compromise your safety—gear up before you start drilling.
Proper Drilling Technique
Wearing the right safety gear sets the stage for a smooth drilling process when working on Walbro carburetor jets. First, secure the jet firmly in a vise or clamp to prevent any movement. Use a drill press if possible for better control and accuracy.
Select the correct drill bit size based on the desired jet size, and double-check it before starting. Begin drilling slowly, applying steady, gentle pressure to avoid cracking or deforming the jet. Keep the drill bit perpendicular to the jet surface to ensure a clean hole.
Periodically back the bit out to clear debris and prevent overheating. After drilling, clean the jet thoroughly with compressed air or a fine wire to remove any metal shavings. This technique guarantees a precise, safe modification of your carburetor jets.
Clean, Reinstall, and Test Your Engine
Once you’ve drilled and cleaned the carburetor jets, you’ll want to carefully reinstall all components to guarantee a proper fit and avoid leaks. Follow these steps to get your engine running smoothly again:
Carefully reinstall all carburetor parts to ensure a proper fit and prevent leaks for smooth engine performance.
- Reassemble the carburetor by placing all parts back in their original spots, ensuring seals and gaskets sit correctly.
- Tighten screws and bolts evenly to prevent warping or air leaks.
- Reconnect fuel lines and throttle linkages securely, checking for any cracks or damage.
- Start the engine and observe its performance. Listen for smooth idling and quick throttle response.
If it hesitates or stalls, double-check your work and adjust the jet size if necessary.
Frequently Asked Questions
How Often Should Walbro Carburetor Jets Be Cleaned?
You should clean your Walbro carburetor jets every 25-30 hours of use or whenever you notice performance issues like rough idling or stalling.
Regular cleaning keeps your engine running smoothly and prevents clogging.
Can Drilling Jets Void My Engine Warranty?
Absolutely, drilling jets can void your engine warranty. Manufacturers see it as tampering, risking damage.
Before you modify anything, check your warranty terms carefully—you don’t want to lose coverage over a simple adjustment, do you?
What Fuel Type Is Best for Walbro Carburetors?
You should use fresh, clean unleaded gasoline with an octane rating of 87 or higher for Walbro carburetors. Avoid ethanol blends above 10%, as they can damage components and affect performance over time.
How Do I Know if My Carburetor Jets Are Worn Out?
You might think your carb jets look fine, but if your engine sputters, idles roughly, or struggles to start, your jets are likely worn out.
Check for uneven fuel flow or visible damage to confirm it’s time to replace them.
Are There Alternatives to Drilling for Adjusting Carburetor Performance?
Yes, you can adjust carburetor performance by changing jet sizes, tuning the needle position, or adjusting the idle screw.
You don’t always have to drill; sometimes, swapping parts or fine-tuning settings works better and safer.
Conclusion
Now that you’ve mastered drilling Walbro carburetor jets, your engine will purr like a sleek panther ready to leap. With steady hands and sharp eyes, you’ve turned tiny jets into precision channels, letting fuel flow smoothly like a river carving through stone.
Remember, every twist of the drill bit shapes your machine’s heartbeat. Keep your tools close and your focus sharper—your engine’s roar is just a well-drilled jet away. By following these easy steps, you ensure optimal performance and longevity for your Walbro carburetor.

