

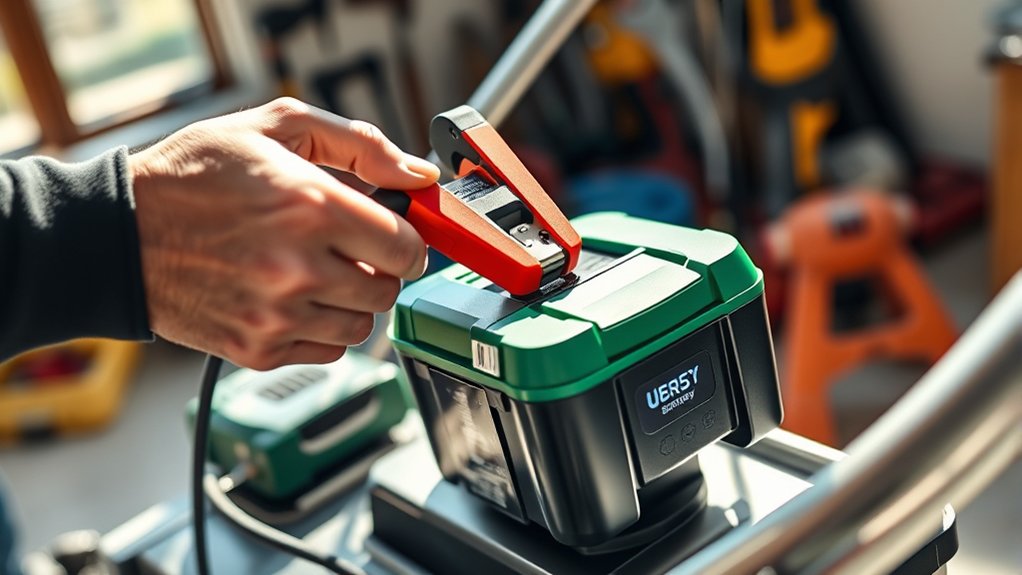
First, identify your lawnmower battery type and specs, then gather safety gear and a compatible charger. Charging your lawnmower battery with a battery charger is a straightforward process that helps maintain its performance and extends its lifespan. Ensuring you have the right tools and knowledge is essential for safe and effective charging.
Turn off the mower, disconnect the battery terminals (negative first), and prepare the battery by cleaning terminals.
Connect the charger—red clamp to positive, black to negative—ensuring correct polarity. Set the charger to the right mode, monitor charging carefully, and once done, disconnect starting with the negative clamp.
After testing the battery, you’ll be ready to get your mower back to work smoothly. Proper maintenance and charging keep your lawnmower running efficiently throughout the season. Always follow safety guidelines to avoid any mishaps during the process.
Key Takeaways
- Turn off the lawnmower, remove the key, and disconnect the battery terminals starting with the negative (black) terminal.
- Inspect the battery for damage or corrosion and test voltage with a multimeter to confirm charging need.
- Select a compatible charger for your battery type and voltage, ensuring safety features like automatic shutoff.
- Connect the charger clamps correctly: red to positive (+) terminal and black to negative (−) terminal, ensuring secure contact.
- Set the charger mode, monitor charging progress safely, then disconnect clamps starting with negative, and test the battery.
Identify Your Lawnmower Battery Type And Specs
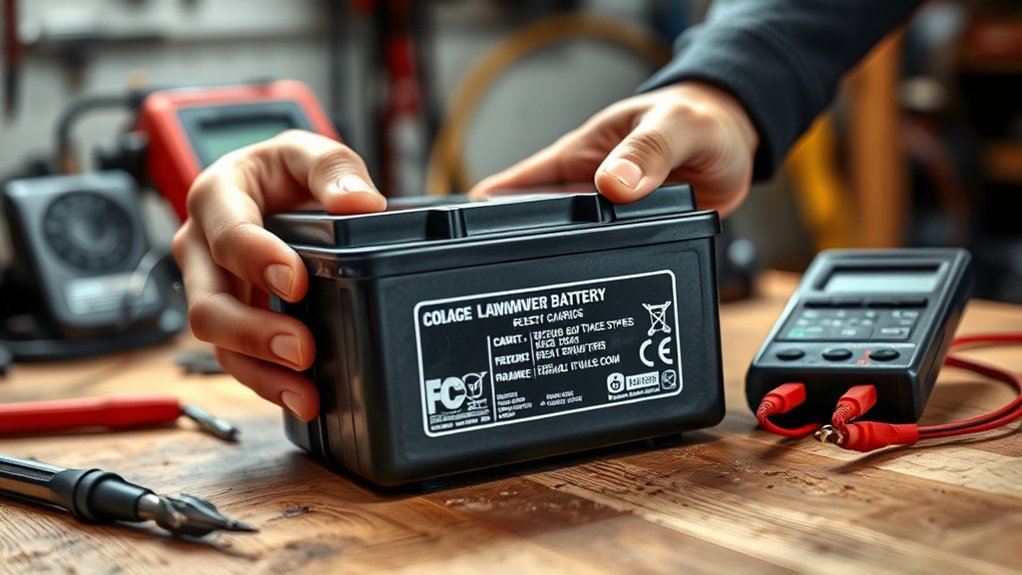
Before you charge your lawnmower battery, you need to identify its type and specifications. Check the battery label or manual to find out if it’s a lead-acid, AGM, or lithium-ion battery. Knowing this helps you choose the right charging method.
Also, note the battery’s voltage—usually 12 volts for most lawnmowers—and the amp-hour rating, which indicates capacity. This information guarantees you don’t overcharge or undercharge the battery, preserving its lifespan. If you’re unsure, remove the battery and look for printed details on its sides or top.
Identifying your battery’s specs upfront saves you from potential damage and helps you charge it efficiently. Being precise here sets you up for a smooth charging process.
Gather Safety Gear And The Right Battery Charger
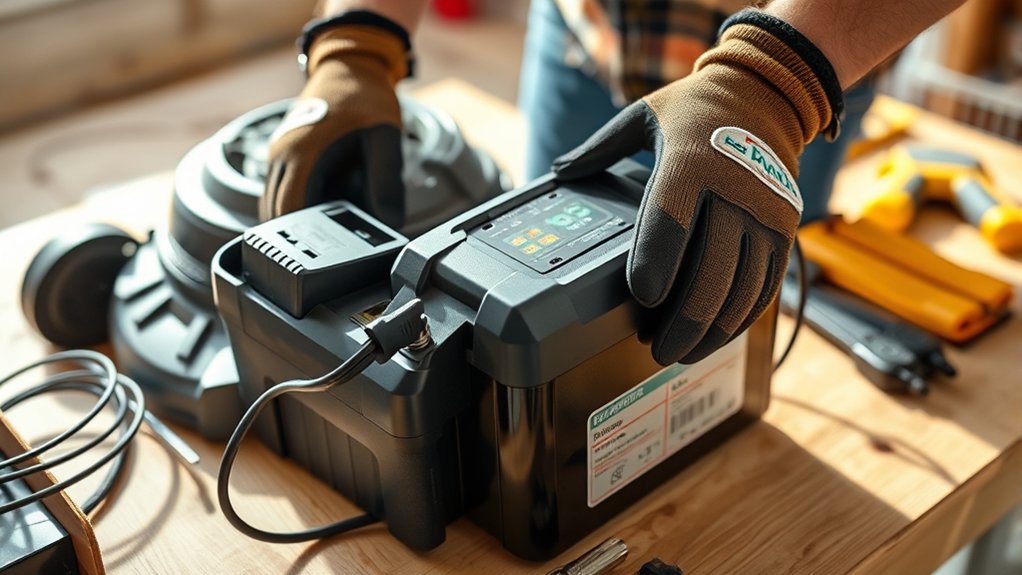
Although charging a lawnmower battery might seem straightforward, you should always gather the proper safety gear and select the right charger to protect yourself and your battery. Start by putting on safety goggles and gloves to guard against acid splashes or accidental sparks. Work in a well-ventilated area to avoid inhaling harmful fumes.
Next, choose a charger compatible with your battery’s voltage and type—most lawnmower batteries are 12 volts, but confirm to avoid damage. Opt for a charger with an automatic shutoff or trickle charge mode to prevent overcharging. Avoid cheap or non-specific chargers, as they can harm the battery or pose safety risks.
Being cautious and prepared guarantees a safe and effective charging process every time.
Prepare Your Battery And Charger For Connection
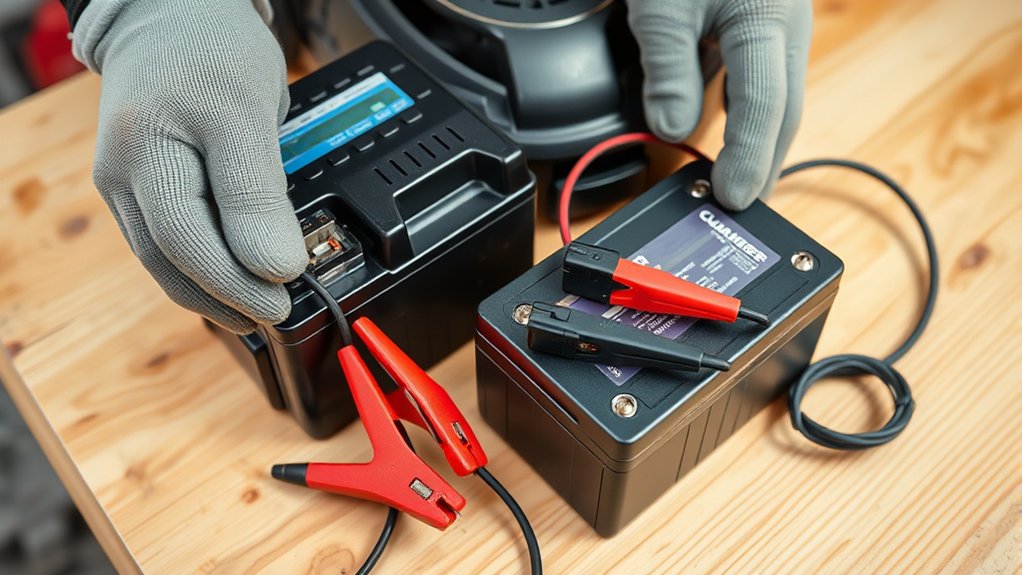
Since safety gear is already in place and you’ve selected the right charger, the next step is to prepare your battery and charger for connection. First, locate the battery on your lawnmower and clean the terminals using a wire brush or a cloth dampened with a baking soda solution to remove corrosion. This guarantees a solid electrical connection.
Next, make sure the charger is unplugged before handling the cables. Inspect the charger’s clamps and wires for any damage or wear to avoid hazards. Then, verify your battery’s voltage matches the charger’s output to prevent damage.
Finally, place the charger near the battery so the cables can reach comfortably without stretching or tension. Once everything is prepped, you’re ready to connect the charger safely.
Connect The Charger To Your Lawnmower Battery
Now, locate the positive and negative terminals on your lawnmower battery to guarantee proper connection. Attach the charger clamps securely to the matching terminals—positive to positive and negative to negative.
Double-check the connections to avoid any slipping or sparks during charging.
Identify Battery Terminals
Before connecting the charger, you’ll need to identify the positive and negative terminals on your lawnmower battery. This step is essential to avoid damaging the battery or charger. Typically, the terminals are marked clearly:
- Look for a plus sign (+) indicating the positive terminal.
- Find a minus sign (−) marking the negative terminal.
- Check the color of the terminal covers—red usually means positive, black means negative.
- If markings are faded, consult your lawnmower’s manual for guidance.
Make sure you’re confident about which terminal is which before proceeding. Identifying the terminals correctly ensures that you connect the charger properly and safely, preventing any electrical mishaps or battery damage during charging.
Secure Charger Connections
Once you’ve identified the positive and negative terminals on your lawnmower battery, the next step is to securely connect the charger. First, attach the red clamp to the positive (+) terminal. Make sure it grips the metal firmly without touching any other parts.
Next, connect the black clamp to the negative (–) terminal, ensuring a solid connection. Avoid letting the clamps touch each other during this process to prevent sparks or short circuits. Double-check that both clamps are firmly in place and won’t slip off during charging.
Secure connections are essential for efficient charging and your safety. Once everything is secure, you can proceed to plug in your charger and start the charging process.
Set Your Charger To The Correct Charging Mode
Although choosing the right charging mode might seem straightforward, setting your charger correctly is crucial to avoid damaging your lawnmower battery. Different batteries require specific charging modes, so check your battery’s manual or label first.
Most chargers offer modes like trickle, fast, or maintenance charging. Here’s what to take into account:
- Use trickle mode for slow, safe charging, especially if the battery is deeply discharged.
- Select fast mode only if you need a quick charge and your battery supports it.
- Maintenance mode is great for keeping a fully charged battery without overcharging.
- Avoid incompatible modes to prevent overheating or reducing battery life.
Setting the correct mode ensures your battery charges efficiently and lasts longer. Double-check before starting the charge!
Monitor The Charging Process Safely And Effectively
Keep an eye on your battery’s indicators throughout charging to track its progress. Make sure you’re charging in a well-ventilated area to prevent gas buildup. Don’t leave the battery unattended to avoid overcharging and potential damage.
Watch Battery Indicators
Several battery indicators help you monitor the charging process safely and effectively. By paying close attention to these signals, you can guarantee your lawnmower battery charges correctly without overcharging or damage.
Here are key indicators to watch:
- Charging Light: Most chargers have an LED that changes color when charging is complete.
- Voltage Meter: Shows the battery’s voltage rising steadily during charging.
- Battery Temperature: Some chargers display temperature to prevent overheating.
- Charging Time: Keep track of the recommended charging duration based on your battery type.
Ensure Proper Ventilation
Monitoring battery indicators gives you a clear picture of the charging status, but you also need to make sure your charging area has proper ventilation. Charging batteries release hydrogen gas, which can build up and become hazardous without airflow.
Always charge your lawnmower battery in a well-ventilated space like a garage with open doors or near a window. Avoid enclosed spaces to reduce risk. Keep fans or vents running if available.
Here’s a quick ventilation checklist to follow:
| Ventilation Tip | Why It Matters | Recommended Action |
|---|---|---|
| Open doors/windows | Prevents gas buildup | Keep them open during charging |
| Use a fan | Increases airflow | Place near the battery |
| Avoid enclosed spaces | Reduces explosion risk | Charge outdoors if possible |
| Monitor air quality | Ensures safe environment | Stop charging if smelling gas |
Avoid Overcharging Risks
Although charging your lawnmower battery is essential, you shouldn’t let it run too long, as overcharging can damage the battery and reduce its lifespan. To avoid this, monitor the charging process closely, and never leave the charger unattended for extended periods. Use a charger with an automatic shut-off feature if possible, which stops charging once the battery is full.
Keep an eye on the battery’s temperature, as overheating signals overcharging. Here’s how you can stay safe and effective:
- Set a timer based on the charger’s recommended charging time
- Check the battery voltage periodically with a multimeter
- Avoid charging in extreme temperatures
- Disconnect the charger promptly once fully charged
Disconnect And Test Your Lawnmower Battery
Before you start charging, you’ll need to disconnect and test your lawnmower battery to make certain it’s in good condition. First, turn off the lawnmower and remove the key to prevent accidental starts. Locate the battery, usually under the seat or hood, and carefully disconnect the negative (black) terminal followed by the positive (red) terminal.
This prevents short circuits during charging. Once disconnected, inspect the battery for corrosion or damage. Use a multimeter to test the battery’s voltage; a healthy, fully charged 12-volt battery should read around 12.6 volts.
If the voltage is markedly lower, the battery may need charging or replacement. Testing ensures you’re not charging a faulty battery, saving time and preventing further damage. Now, you’re ready to safely connect your charger.
Frequently Asked Questions
How Often Should I Charge My Lawnmower Battery?
You should charge your lawnmower battery whenever it’s low or after each mowing season if you store it. Regular charging keeps it healthy and ready, preventing it from dying or losing capacity over time.
Can I Charge a Frozen Lawnmower Battery?
You can’t just zap a frozen lawnmower battery like a superhero defrosting ice! You’ll damage it.
Instead, thaw it slowly at room temperature before charging to keep your battery happy and healthy for the long haul.
What Are Signs My Battery Needs Replacement?
You’ll know your battery needs replacement if your lawnmower struggles to start, the battery won’t hold a charge, or you see corrosion or swelling.
If it’s old or weak, it’s time to swap it out.
Can I Use a Car Battery Charger for My Lawnmower?
Like fitting a square peg in a round hole, using a car battery charger for your lawnmower can work but needs caution. Match voltage and use a low amp setting to avoid frying the smaller, delicate lawnmower battery.
Always double-check the charger’s compatibility with your specific battery type. Using the wrong charger can reduce battery life or cause damage.
It’s best to monitor the charging process to prevent overcharging. If unsure, consult the battery or charger manual for guidance.
How Long Does a Typical Lawnmower Battery Last?
A typical lawnmower battery lasts about 3 to 5 years, depending on usage and maintenance. If you keep it charged properly and avoid extreme temperatures, you’ll get the most life out of your battery.
Conclusion
Charging your lawnmower battery is easier than you think! By following these simple steps, you’ll have your battery powered up faster than a lightning bolt. Just remember to identify your battery type, use the right charger, and monitor the process carefully.
With a little patience and safety in mind, your lawnmower will be ready to roar back to life in no time. You’ve got this—happy mowing!
By using a battery charger correctly, you ensure efficient charging and extend the life of your lawnmower battery. Follow these easy steps to keep your lawnmower running smoothly and enjoy hassle-free lawn care.

