

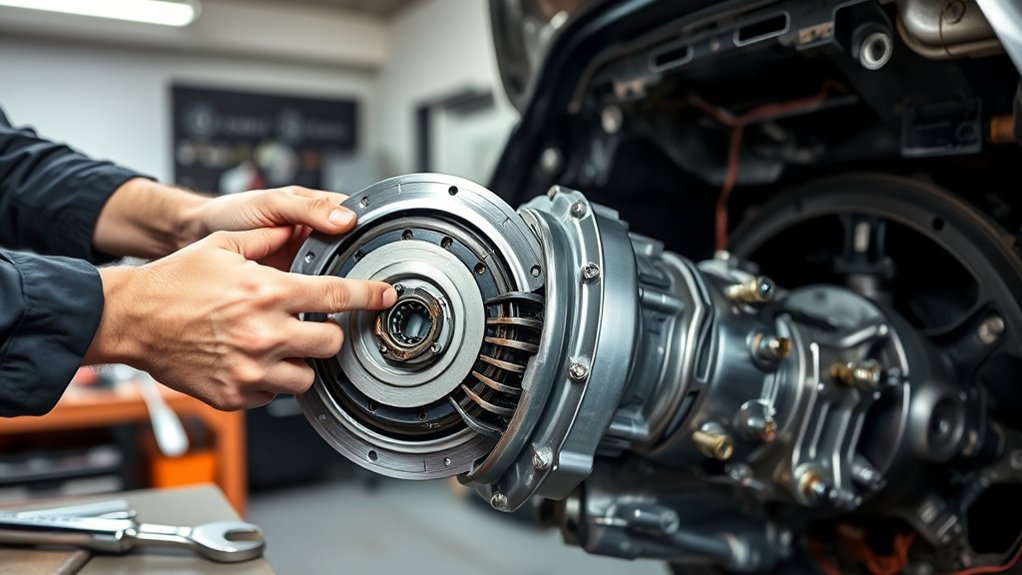
To change a clutch in 10 easy steps, first recognize signs of clutch wear and failure. Then safely prepare your vehicle and gather the necessary tools and equipment.
Changing a clutch involves removing the transmission to access the clutch assembly, so having the right knowledge and tools is essential for a smooth process. This guide will help you understand how to change a clutch efficiently and effectively.
Next, remove the transmission to access the clutch assembly. Inspect parts for damage, and clean the flywheel thoroughly.
Install the new clutch with proper alignment, secure the transmission back in place, and adjust the clutch pedal for smooth engagement.
Finally, test drive your vehicle and troubleshoot any issues to guarantee everything works right.
Keep following for detailed guidance on each step to ensure your clutch replacement is successful and your vehicle performs optimally.
Key Takeaways
- Identify clutch wear symptoms like slipping, burning smell, or difficulty shifting, and prepare tools and safety measures before starting.
- Remove the transmission by supporting it with a jack, detaching axles, linkage, and bolts to access the clutch assembly.
- Inspect and clean clutch components, including the friction disc, pressure plate, release bearing, pilot bearing, and flywheel surface.
- Install the new clutch with proper alignment using an alignment tool, secure the transmission bolts evenly, and reattach all components.
- Adjust clutch pedal free play, bleed the hydraulic system, and test for smooth engagement and proper operation during a test drive.
Identify When Your Clutch Needs Replacement
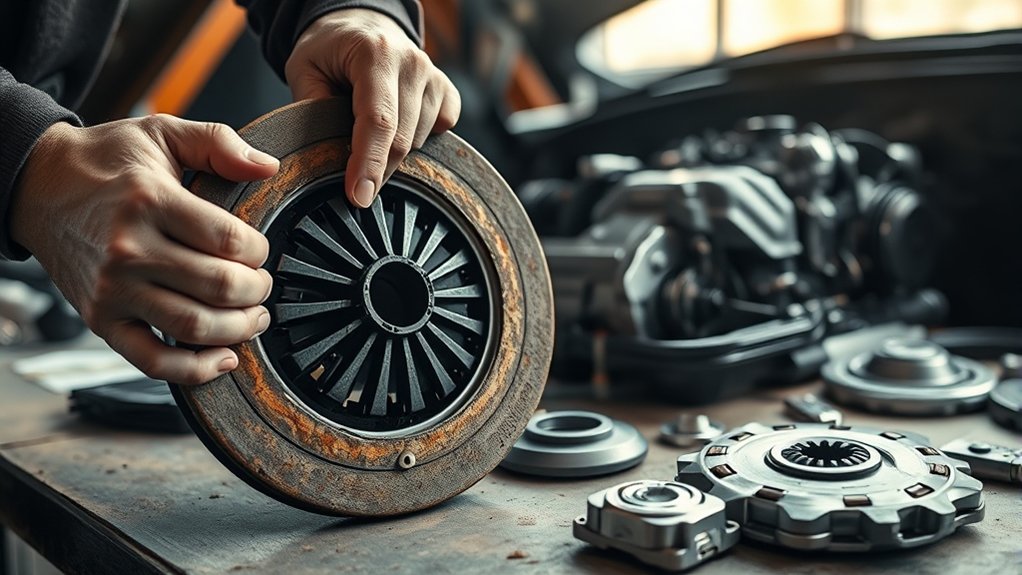
Before you plunge into replacing your clutch, you need to know when it’s time to do so. Pay attention to signs like slipping gears, where your engine revs but the vehicle doesn’t accelerate smoothly. If you notice a burning smell or hear strange noises when you press the clutch pedal, these are clear warnings.
Also, if the clutch pedal feels spongy, sticks to the floor, or requires more effort than usual, it might be failing. Difficulty shifting gears or a clutch that engages very high on the pedal travel can indicate wear. Catching these symptoms early helps you avoid further damage.
Trust your instincts and don’t ignore these signs—you’ll save time, money, and frustration by addressing clutch issues promptly.
Gather Tools and Get Your Vehicle Ready
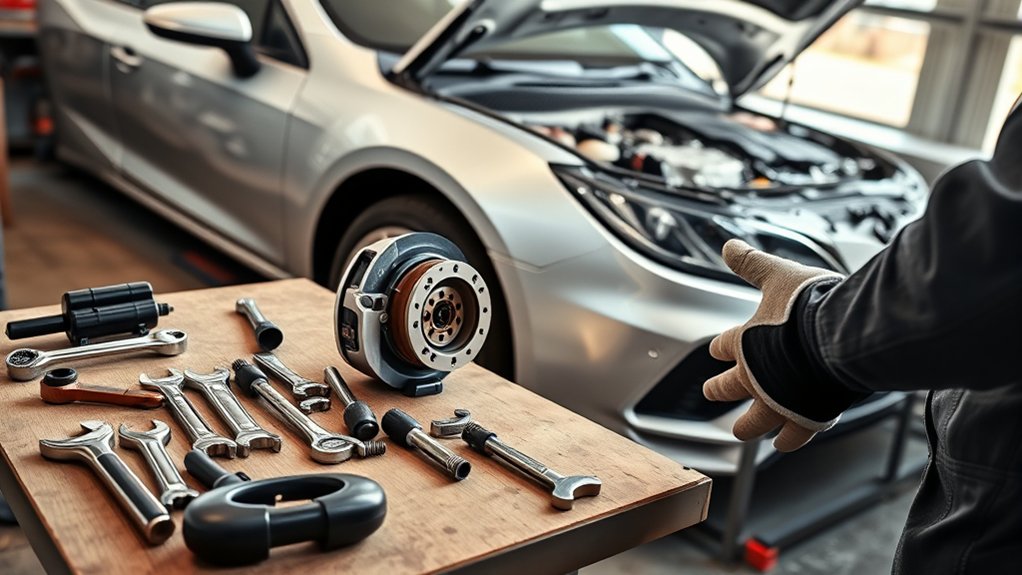
Once you’ve recognized the signs that your clutch needs replacing, the next step is to gather the right tools and prepare your vehicle. Start by parking on a flat surface and engaging the parking brake. Disconnect the battery to guarantee safety while working.
Next, collect essential tools to make the job smoother.
| Tool | Purpose | Tip |
|---|---|---|
| Socket wrench | Remove bolts and nuts | Use a set with extensions |
| Jack and stands | Lift and secure the vehicle | Check weight capacity |
| Screwdrivers | Pry and loosen components | Have both flathead and Phillips |
| Clutch alignment tool | Align clutch during installation | Rent or buy one |
Having these ready will save time and prevent interruptions.
Remove the Transmission to Access the Clutch
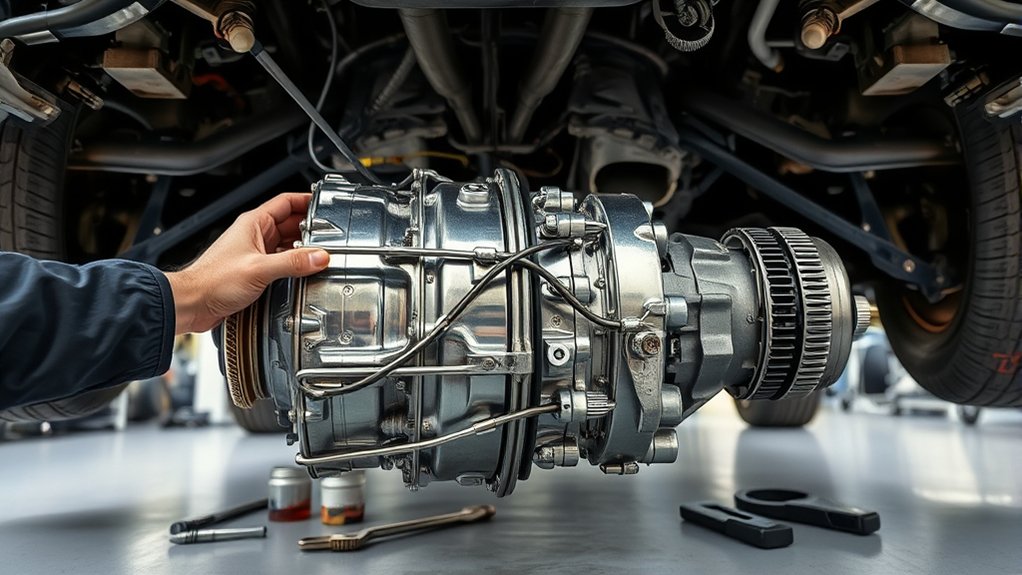
Since the transmission blocks access to the clutch, you’ll need to remove it carefully. Begin by disconnecting the battery to avoid any electrical issues. Then, support the transmission with a jack to prevent it from dropping when detached.
Focus on these key steps:
- Remove the driveshaft or CV axles to free the transmission from the wheels.
- Unbolt the transmission bell housing from the engine block, keeping track of all bolts.
- Disconnect the clutch linkage or hydraulic lines to ensure the transmission can move freely.
Take your time and double-check each connection to avoid damage. Once the transmission is free, you can lower it safely and get clear access to the clutch assembly beneath.
Remove and Inspect Clutch Components for Wear
After lowering the transmission, you’ll want to carefully remove the clutch pressure plate and friction disc. Use a wrench to loosen the pressure plate bolts evenly in a star pattern to avoid warping. Once removed, take out the friction disc and lay all components on a clean surface.
Inspect the friction disc for uneven wear, cracks, or oil contamination. Check the pressure plate for hot spots, cracks, or warping. Don’t forget the clutch release bearing—spin it by hand to feel for roughness or noise.
Also, examine the pilot bearing for smooth rotation and any signs of damage. If any parts show excessive wear or defects, replace them to ensure smooth clutch operation and prevent future issues.
Clean and Inspect the Flywheel Surface
Before installing the new clutch, you need to clean the flywheel surface thoroughly to remove any grease or debris. Inspect the flywheel closely for cracks, scoring, or heat spots that could affect performance.
Taking these steps guarantees the flywheel is properly prepared for a smooth installation.
Importance of Flywheel Cleanliness
Although the flywheel may seem like a minor component, keeping its surface clean and smooth is crucial for a properly functioning clutch. Dirt, oil, and debris can cause slippage and uneven wear, leading to premature clutch failure.
When you clean the flywheel, you guarantee ideal contact between the clutch disc and flywheel, which improves performance and longevity.
Focus on these key points when cleaning:
- Remove all grease and oil residues using a suitable solvent.
- Wipe away any dirt or dust to prevent contamination.
- Guarantee the surface is dry before reassembling the clutch.
Inspecting for Surface Damage
Once you’ve cleaned the flywheel to remove grease, oil, and debris, it’s important to carefully inspect its surface for any signs of damage. Look closely for cracks, scoring, or deep grooves, as these can affect clutch performance and lead to premature wear. Also, check for hot spots—discolored, bluish areas indicating overheating—which may cause clutch chatter.
Use a bright light and a magnifying glass if necessary to spot subtle imperfections. If you find minor surface irregularities, light resurfacing might be possible, but significant damage requires flywheel replacement. Don’t overlook the mounting surface and bolt holes, ensuring they’re clean and undamaged.
Thorough inspection helps guarantee a smooth clutch operation and extends the lifespan of your new clutch components.
Preparing Flywheel for Installation
How do you guarantee your flywheel is truly ready for installation? Start by thoroughly cleaning and inspecting the surface. Any dirt, oil, or debris can cause clutch slippage or uneven wear, so make sure it’s spotless.
Use a brake cleaner or degreaser and a lint-free cloth to wipe it down. Next, check for cracks, warping, or heat spots that could affect performance. If you spot any damage, replace the flywheel instead of risking failure.
Focus on these key steps:
- Clean the flywheel with a suitable solvent to remove contaminants.
- Inspect the surface closely for any visible damage or discoloration.
- Run your fingers over the flywheel to feel for any grooves or rough patches.
Taking these precautions assures a smooth clutch installation and reliable operation.
Install the New Clutch Disc and Pressure Plate
Now, you’ll need to align the clutch disc carefully to make certain it fits perfectly with the flywheel. Next, secure the pressure plate bolts evenly to avoid any warping or misalignment.
Finally, double-check the entire clutch assembly to make sure everything sits flush before moving on.
Aligning Clutch Disc Properly
Where should you start when aligning the clutch disc? Begin by centering the clutch disc on the flywheel. Proper alignment is crucial to ensure smooth engagement and prevent damage.
Use a clutch alignment tool or a suitable substitute to keep the disc perfectly centered. Here’s what to focus on:
- Insert the alignment tool through the clutch disc’s hub and into the pilot bearing.
- Ensure the disc’s friction surface faces the flywheel.
- Adjust the disc until it sits flush and is perfectly aligned.
Take your time here; misalignment can cause difficulty when reinstalling the transmission and lead to premature wear. Once the disc is aligned, you can position the pressure plate over it, preparing for the next step.
Proper alignment sets the foundation for a successful clutch replacement.
Securing Pressure Plate Bolts
Why is it essential to secure the pressure plate bolts evenly? Tightening them evenly ensures the pressure plate sits flush against the flywheel, preventing warping or uneven clutch wear.
Start by positioning the new clutch disc and pressure plate on the flywheel, aligning the clutch disc with the input shaft using an alignment tool. Then, hand-thread the pressure plate bolts to avoid cross-threading. Use a crisscross pattern to gradually tighten the bolts in small increments, maintaining even pressure.
This method helps the pressure plate clamp down uniformly, securing the clutch disc properly. Once all bolts are snug, torque them to the manufacturer’s specifications to guarantee a secure fit. Taking these steps carefully will help your clutch perform smoothly and last longer.
Checking Clutch Assembly Fit
After securing the pressure plate bolts, you’ll want to carefully check the clutch assembly fit to guarantee everything aligns correctly. Start by ensuring the clutch disc sits flush against the flywheel without any gaps or misalignment.
Next, confirm the pressure plate evenly contacts the clutch disc to avoid uneven wear or slipping. Finally, rotate the assembly by hand to verify the clutch disc spins smoothly with no binding or resistance.
Pay special attention to these key points:
- The clutch disc’s alignment with the flywheel and input shaft
- Even pressure plate contact around the disc’s surface
- Smooth rotation without wobble or unusual noise
Taking these steps ensures your clutch will engage and disengage properly once reassembled.
Reattach the Transmission and Secure Clutch Components
Since the transmission is the key link between the engine and the drivetrain, you’ll need to carefully reattach it to the engine block while aligning it with the clutch assembly. Begin by positioning the transmission input shaft so it slides smoothly into the clutch disc hub without forcing it. Use a clutch alignment tool if necessary to keep everything centered.
Once aligned, bolt the transmission securely to the engine block, tightening the mounting bolts in a crisscross pattern to guarantee even pressure. Next, reattach any clutch components you removed, such as the release fork and throwout bearing, making sure they’re properly seated and lubricated. Double-check that all connections are secure before moving on, as this step is vital for smooth clutch operation and transmission function.
Adjust the Clutch Pedal for Correct Engagement
Now that everything’s back in place, you’ll need to adjust the clutch pedal for the right free play to guarantee smooth engagement. Test the engagement point carefully to avoid slipping or dragging.
If your clutch is hydraulic, don’t forget to bleed the system to remove any air pockets.
Pedal Free Play Adjustment
When you adjust the clutch pedal’s free play, you guarantee the clutch engages smoothly and prevents premature wear. Free play refers to the small amount of pedal movement before the clutch starts to disengage. Too little or too much free play can cause slipping or difficulty shifting.
To adjust it, locate the clutch cable or hydraulic linkage and follow these steps:
- Loosen the locknut on the adjustment mechanism.
- Turn the adjuster to increase or decrease pedal free play, aiming for about 10-15 mm (0.4-0.6 inches) of movement.
- Tighten the locknut securely to maintain the setting.
After adjusting, press the pedal a few times to ensure it feels right. This step ensures your clutch operates efficiently and lasts longer.
Engagement Point Testing
One key step in clutch maintenance is testing the engagement point to guarantee the pedal engages the clutch at the right moment. You want the clutch to grab smoothly and predictably, preventing stalling or slipping.
To test, slowly lift the clutch pedal while in gear and note where it starts to engage. Adjust if the engagement feels too high or low. This fine-tuning improves driving confidence and prolongs clutch life.
| Feeling | Cause | Solution |
|---|---|---|
| Jerky engagement | Clutch engages too late | Lower engagement point |
| Stalling | Clutch engages too soon | Raise engagement point |
| Slipping | Weak clutch pressure | Inspect clutch system |
| Smooth control | Proper engagement point | Keep adjusted correctly |
Hydraulic Clutch Bleeding
Although your clutch may feel correctly adjusted, trapped air in the hydraulic system can cause inconsistent pedal pressure and engagement. To guarantee smooth clutch operation, you need to bleed the hydraulic system properly. Start by locating the bleeder valve on the slave cylinder.
Then, follow these key steps: Have a helper press the clutch pedal slowly while you open the bleeder valve to release air and old fluid. Close the valve before the pedal is released to prevent air from re-entering. Repeat the process until you see clear, bubble-free fluid flowing out.
After bleeding, check the pedal for firm, consistent pressure. Adjust the pedal height if necessary for maximum engagement. This keeps your clutch responsive and prevents premature wear.
Test Drive to Confirm Smooth Clutch Operation
Before you hit the road, make sure the clutch pedal feels firm and responsive. Press it a few times to confirm smooth engagement and release. Once satisfied, start your test drive in a safe, low-traffic area.
Shift through all the gears slowly, paying close attention to how the clutch engages and disengages. The pedal should feel consistent, and gear changes should be smooth without any grinding or slipping. Accelerate gently to check if the clutch holds properly under load.
Listen for unusual noises and feel for vibrations that might indicate a problem. If everything operates smoothly, you’ve successfully installed the clutch. If not, note any irregularities before you stop, so you can address them later.
This final check ensures your clutch works reliably and safely.
Troubleshoot Common Clutch Replacement Issues
If you notice any grinding, slipping, or unusual noises during your test drive, don’t ignore these signs—they often point to common clutch replacement issues. You’ll want to troubleshoot right away to avoid damage or unsafe driving conditions. First, check if the clutch cable or hydraulic system is properly adjusted or bled.
Next, inspect the clutch release bearing; a worn bearing often causes noise or difficulty shifting. Finally, verify that the clutch disc is correctly aligned and fully engaged with the flywheel. Misalignment can cause vibration or slipping.
Air trapped in hydraulic lines may lead to a soft clutch pedal. Loose or damaged components can create grinding sounds. Address these problems promptly to ensure your clutch works smoothly and lasts longer.
Frequently Asked Questions
What Type of Clutch Fluid Does My Vehicle Require?
You’ll need to check your vehicle’s manual to find the exact clutch fluid type. Most cars use DOT 3 or DOT 4 brake fluid, but some might require specific hydraulic fluids, so don’t guess—confirm first.
How Long Does a Typical Clutch Replacement Take?
A typical clutch replacement takes about 3 to 6 hours, like untangling a stubborn knot. You’ll need patience and the right tools, but once you start, the process flows steadily until it’s done.
Can I Drive My Car With a Slipping Clutch Temporarily?
You can drive with a slipping clutch temporarily, but don’t push it too far. It’ll cause more damage and might leave you stranded.
Get it fixed soon to avoid costly repairs and unsafe driving conditions.
What Are the Signs of a Failing Clutch Master Cylinder?
You’ll notice a soft or spongy clutch pedal, difficulty shifting gears, or the pedal sticking to the floor.
Fluid leaks near the master cylinder and low clutch fluid levels also signal a failing clutch master cylinder.
Is It Necessary to Replace the Flywheel When Changing the Clutch?
When you’re at the crossroads, yes, you should replace the flywheel if it’s worn or damaged. It guarantees a smooth ride and prevents future headaches, saving you time and money down the road.
Conclusion
Now that you’ve tackled changing your clutch, you might wonder if it’s truly as tricky as some say. The truth? With the right tools and a clear plan, it’s definitely manageable.
You’ve seen how breaking it down into steps makes the process straightforward. So, don’t be intimidated—your confidence and careful work will get your clutch running smoothly again.
Ready to take on your next car challenge? You’ve got this! With these clutch replacement tips and techniques, maintaining your vehicle is easier than ever.

