

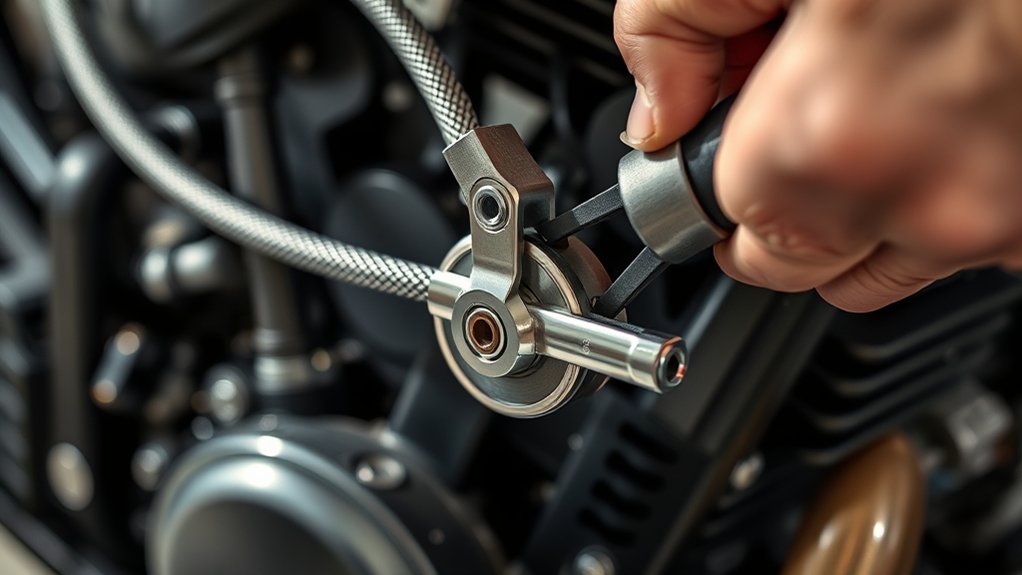
To tighten your clutch cable effectively, start by inspecting it for any signs of damage or rust to ensure smooth movement. Proper clutch cable adjustment is essential for optimal bike performance and safety.
Locate the adjusters near the clutch lever or cable housing, then loosen the lock nuts using a wrench.
Turn the adjuster slowly to reduce slack until you feel slight resistance, aiming for about 2-3 mm of free play.
After achieving the correct tension, tighten the lock nuts firmly to lock the adjustment in place.
Finally, test the clutch for smooth engagement and responsiveness.
Keep going to master fine-tuning and maintenance tips for lasting performance.
Key Takeaways
- Locate the clutch cable adjuster and loosen the lock nut using the correct wrench.
- Turn the adjuster barrel slowly to reduce slack until slight resistance is felt on the lever.
- Aim for a clutch lever free play of 2-3 mm for optimal tension and smooth operation.
- Tighten the lock nut firmly against the adjuster to secure the cable tension without overtightening.
- Test clutch engagement and release to ensure proper responsiveness and smooth lever movement.
Checking Your Clutch Cable for Wear and Slack
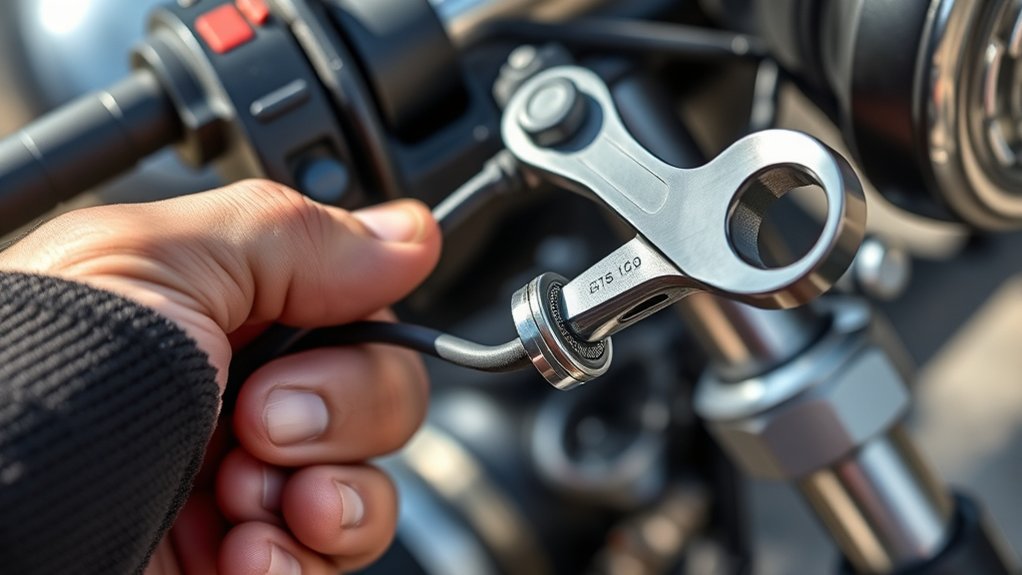
Before tightening your clutch cable, you need to check it for wear and slack to guarantee proper function. Start by visually inspecting the entire length of the cable for fraying, rust, or kinks. If you spot any damage, consider replacing the cable instead of tightening it.
Next, grab the clutch lever and pull it gently. You should feel some resistance, but the lever shouldn’t pull all the way to the handlebar grip. If it does, the cable has too much slack and needs adjustment.
Also, check the free play at the lever’s pivot point—there should be a small amount, usually around 10-20 millimeters. Too much free play means the cable isn’t engaging the clutch fully, affecting your bike’s performance.
Tools You’ll Need to Tighten a Clutch Cable
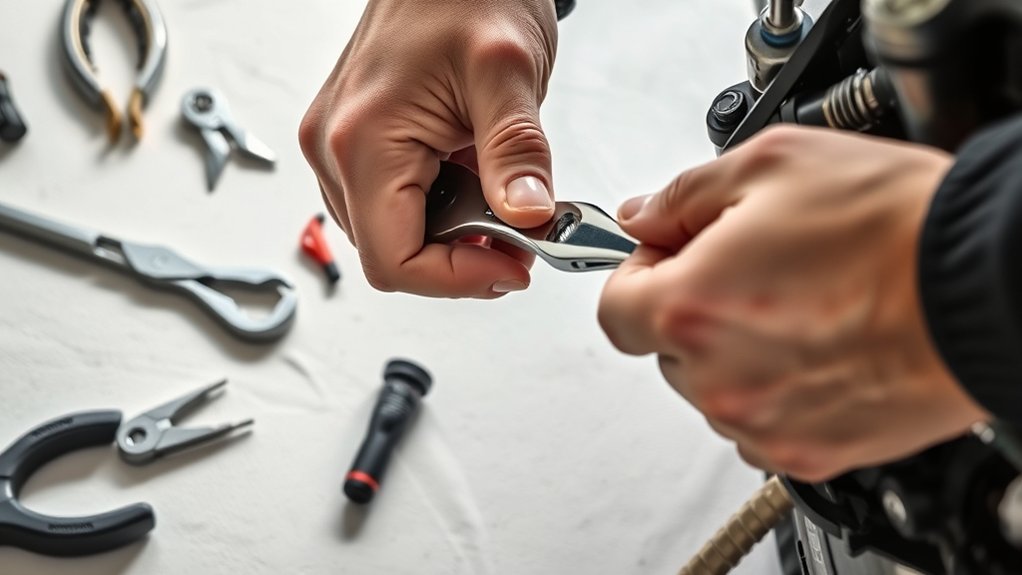
To tighten your clutch cable effectively, you’ll need a few essential tools on hand. Choosing the right tools, like wrenches and pliers, can make the job easier and prevent damage.
Let’s look at what you should have ready before you start.
Essential Tools Overview
Although tightening a clutch cable might seem straightforward, having the right tools on hand makes the job much easier and guarantees a proper adjustment. Before you start, gather these essential tools to assure a smooth process:
- Adjustable wrench or spanner for loosening and tightening nuts
- Screwdrivers (flathead and Phillips) for removing covers or panels
- Pliers to grip and manipulate the cable if needed
- Lubricant spray to ease cable movement and prevent rust
- A flashlight for better visibility in tight or dark spaces
With these tools ready, you’ll avoid unnecessary delays and potential damage. Each tool plays a specific role, so don’t skip this step. Being prepared helps you tighten the clutch cable efficiently and accurately, setting you up for a successful adjustment.
Tool Selection Tips
Choosing the right tools makes tightening your clutch cable faster and more effective. Start with a good set of wrenches or spanners that fit your bike’s adjuster nuts snugly—this prevents rounding off bolts. A pair of needle-nose pliers helps you grip and hold the cable securely while you adjust it.
Keep a screwdriver handy if your bike’s clutch lever features screws for fine-tuning. Avoid using worn or oversized tools; they can damage parts and slow you down. If you have a cable lubricator, it’s worth using to guarantee smooth operation after tightening.
Finally, don’t forget a clean rag to wipe off grease or dirt during the process. Picking these essential tools upfront will save you time and frustration.
Locating the Clutch Cable Adjusters on Your Bike
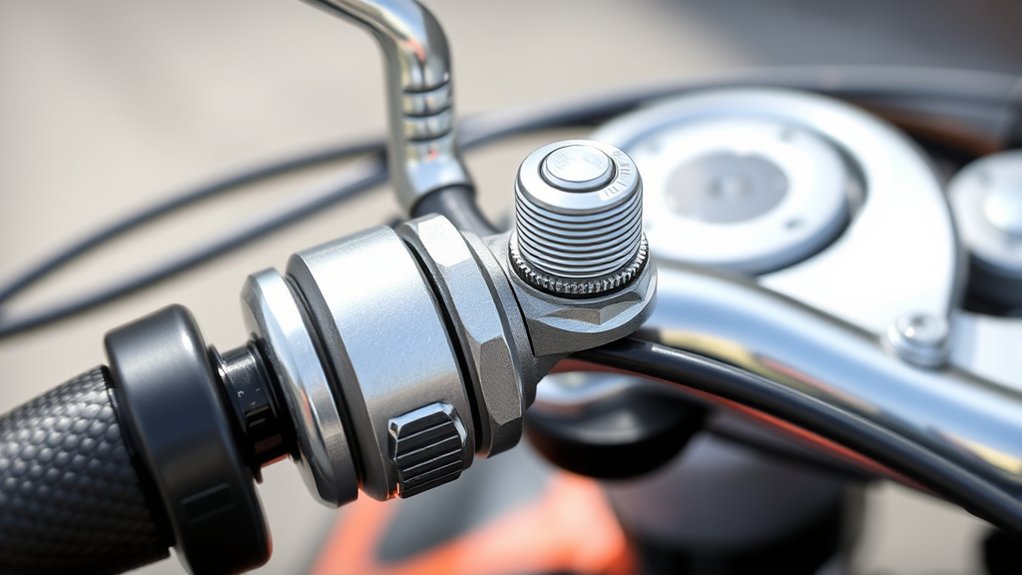
Before you start adjusting, you’ll need to find the clutch cable adjusters on your bike. These adjusters control the cable tension and are essential for fine-tuning your clutch’s performance. Typically, you’ll find them in a few common locations:
Locate the clutch cable adjusters first—they control tension and are key to smooth clutch performance.
- Near the clutch lever on the handlebar
- Along the clutch cable housing between the lever and engine
- Close to the engine’s clutch mechanism
- Integrated with the cable end adjuster
- Sometimes hidden under protective covers or guards
Check your bike’s manual if you’re unsure, as adjuster placement varies by model. Look for a threaded barrel with a lock nut—this is your adjuster. Knowing exactly where these components sit will make the tightening process smoother and prevent unnecessary searching during your repair.
Loosening Lock Nuts to Prepare the Cable for Adjustment
To adjust your clutch cable properly, you’ll need to loosen the lock nuts securing the adjusters first. These lock nuts are usually found near the adjuster screws on the clutch cable housing. Use an appropriate-sized wrench or spanner to grip the lock nuts firmly.
Turn them counterclockwise just enough to free the adjuster so it can move easily. Be careful not to loosen them too much, as the adjuster might fall out or the cable could become too loose. Loosening these lock nuts allows you to make fine adjustments to the cable tension without resistance.
Once loosened, you’ll be ready to make the necessary tweaks to the clutch cable, ensuring smoother clutch operation in the next step.
Tightening and Adjusting the Clutch Cable Correctly
Once you’ve loosened the lock nuts to free the adjuster, you can start tightening and adjusting the clutch cable to the right tension. Turn the adjuster slowly while checking the clutch lever’s resistance. You want it firm but not too tight, guaranteeing smooth operation.
Loosen the lock nuts, then slowly adjust the clutch cable for firm, smooth lever resistance without over-tightening.
Keep these points in mind:
- Adjust gradually to avoid over-tightening
- Aim for minimal free play in the lever
- Check for smooth clutch engagement
- Confirm the cable moves freely without binding
- Tighten the lock nuts securely after adjustment
Fine-Tuning Clutch Cable Play for Smooth Gear Shifts
Although you’ve adjusted the clutch cable to a firm tension, fine-tuning the cable play is essential to guarantee smooth gear shifts. You want just enough free play—usually around 10-20 mm at the lever—to prevent clutch slippage and ensure full engagement.
Use the adjuster nuts near the lever or along the cable to make small tweaks. Check the play by pulling the lever slowly until you feel resistance.
| Step | Action |
|---|---|
| Measure free play | Use a ruler to check lever gap |
| Adjust play | Turn adjuster nuts as needed |
| Recheck play | Confirm 10-20 mm free play |
| Final check | Ensure lever moves smoothly |
Fine-tuning this play helps avoid jerky shifts and prolongs cable life.
Testing Your Clutch After Cable Adjustment
After adjusting the clutch cable, you’ll want to test the clutch to guarantee it engages and disengages properly. Start by sitting on your bike or vehicle and slowly pulling the clutch lever. You should feel smooth resistance without any sticking or excessive slack.
Next, try shifting through the gears while the clutch is pulled in to ensure smooth transitions.
Keep these steps in mind:
- Check for consistent lever tension.
- Ensure the clutch fully disengages when pulled.
- Listen for any unusual noises during gear shifts.
- Confirm the clutch re-engages smoothly when released.
- Test the vehicle’s response in a safe, controlled environment.
If anything feels off, recheck your adjustments before hitting the road.
Securing Lock Nuts to Keep Your Adjustment in Place
To guarantee your clutch adjustment stays reliable, you’ll need to securely tighten the lock nuts that hold the cable in place. Start by holding the adjustment barrel steady with a wrench or pliers to prevent it from turning. Then, use a second wrench to tighten the lock nut firmly against the adjustment barrel.
This action locks the adjustment, ensuring it won’t shift during operation. Be careful not to overtighten, as this can damage the threads or the cable housing. Once tightened, double-check that the adjustment remains as you set it and that the cable moves smoothly without excess slack.
Securing the lock nuts properly keeps your clutch responsive and prevents frequent readjustments, making your riding experience more consistent and safe.
Troubleshooting Common Clutch Cable Issues
When your clutch cable isn’t performing as it should, it can cause frustrating issues like slipping, stiffness, or difficulty shifting gears. To troubleshoot, start by checking for these common problems:
- Cable fraying: Worn strands can reduce effectiveness and cause breakage.
- Improper tension: Too loose or tight cables affect clutch engagement.
- Rust or corrosion: This can stiffen the cable, making it harder to pull.
- Cable routing issues: Kinks or sharp bends restrict smooth movement.
- Loose or damaged connections: Check both ends for secure attachment.
Addressing these issues helps restore smooth clutch operation. If you spot damage, replacing the cable might be necessary. Otherwise, adjusting tension and ensuring proper routing often fixes the problem quickly.
Maintaining Your Clutch Cable for Long-Lasting Performance
To keep your clutch cable working smoothly, you need to inspect it regularly for signs of wear or damage. Applying proper lubrication helps reduce friction and extends its life.
You’ll also want to make small adjustments to maintain the right tension for peak performance.
Regular Inspection Importance
Why should you regularly inspect your clutch cable? Because catching issues early prevents costly repairs and keeps your bike running smoothly. Regular checks help you identify wear and avoid sudden clutch failure, which could leave you stranded.
When inspecting your clutch cable, focus on:
- Frayed or broken strands
- Signs of rust or corrosion
- Proper tension and slack
- Smooth cable movement without sticking
- Secure attachment points and mounts
Lubrication Techniques Explained
Although regular inspection keeps your clutch cable in check, proper lubrication plays a crucial role in ensuring smooth operation and extending its lifespan. Start by choosing a lubricant designed for cables, like a light machine oil or silicone-based spray. First, clean the cable thoroughly to remove dirt and debris that can cause friction.
Then, apply the lubricant along the cable’s length, focusing on entry points where it passes through the housing. Use a flexible applicator or a small brush to work the lubricant evenly inside. After applying, move the clutch lever several times to help distribute the lubricant throughout the cable.
Avoid heavy greases, as they attract dirt and can cause sticking. With consistent lubrication, you’ll maintain a responsive clutch and prevent premature wear.
Adjustments for Optimal Tension
How often should you check your clutch cable tension to keep your ride smooth and responsive? Regular checks are key—adjusting the tension guarantees your clutch engages properly and prevents premature wear.
To achieve ideal tension, follow these steps carefully:
- Loosen the locknut on the adjuster.
- Turn the adjuster to decrease slack until slight resistance is felt.
- Ensure a small free play of 2-3 mm at the lever for smooth operation.
- Tighten the locknut securely to maintain adjustment.
- Test the clutch lever for proper engagement and release.
Frequently Asked Questions
What Type of Clutch Cable Is Best for My Bike Model?
You should choose a clutch cable designed specifically for your bike’s make and model, usually found in your owner’s manual or from the manufacturer.
Opt for high-quality, durable materials like stainless steel to guarantee smooth performance and longevity.
How Often Should I Replace My Clutch Cable?
You should replace your clutch cable every 12,000 to 15,000 miles. Did you know worn cables cause 30% of clutch failures? Check for fraying or stiffness often, and don’t wait until it snaps to act.
Can a Damaged Clutch Cable Cause Engine Problems?
Yes, a damaged clutch cable can cause engine problems by preventing smooth gear shifts, leading to excessive wear or stalling.
You’ll want to fix or replace it quickly to avoid further engine damage and maintain performance.
Is It Safe to Ride Immediately After Adjusting the Clutch Cable?
You shouldn’t jump on your bike like it’s a rocket right after adjusting the clutch cable. Test the clutch carefully first to guarantee smooth operation and safety—rushing could lead to serious accidents or damage.
Make sure everything feels right before you start riding aggressively. Taking a moment to double-check helps prevent unexpected problems on the road. Safety should always come first.
Can I Tighten the Clutch Cable Without Any Mechanical Experience?
You can tighten the clutch cable without mechanical experience, but you’ll need patience and careful reading of instructions. Take your time, use basic tools, and double-check adjustments to avoid damaging your bike or causing safety issues.
Conclusion
Now that you know how to tighten your clutch cable in 10 easy steps, you might wonder if frequent adjustments really extend its life. It’s true—regularly checking and fine-tuning your clutch cable prevents premature wear and keeps your bike running smoothly.
Don’t ignore small signs of slack or stiffness; staying proactive saves you time and money in the long run. So, grab your tools and keep your clutch in top shape!
By maintaining your clutch cable properly, you ensure better performance and longevity. Remember, a well-adjusted clutch cable is key to safe and efficient riding. Regular maintenance is the best way to protect your investment and enjoy a smooth ride.

