

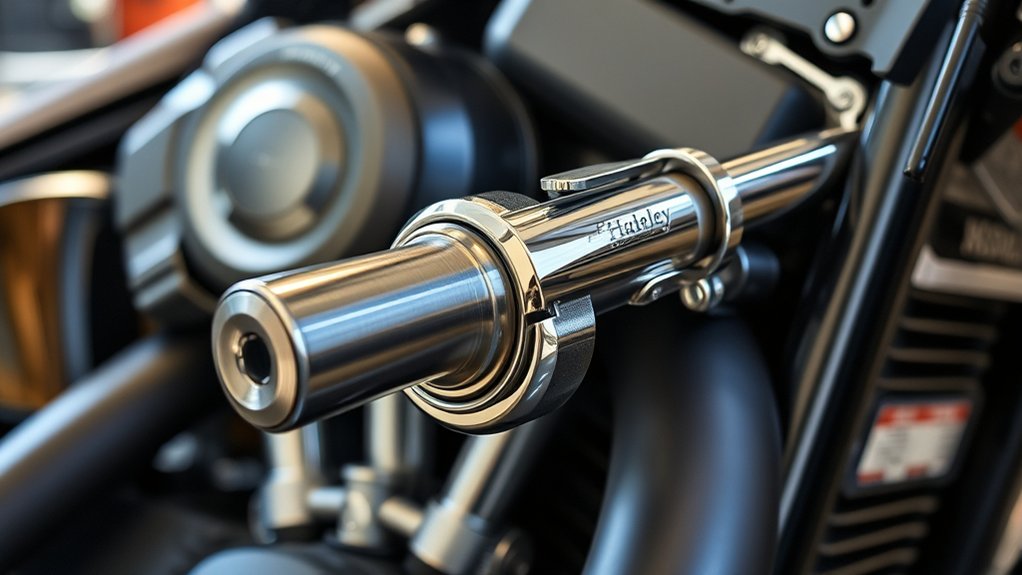
You can convert your Harley’s hydraulic clutch to a manual system to gain better control and simplify maintenance by eliminating hydraulic fluid leaks and bleeding issues.
This DIY Harley hydraulic clutch conversion offers a reliable alternative that enhances your bike’s performance and reduces common hydraulic problems.
Start by selecting the right cable for your model to ensure smooth operation and compatibility.
Next, safely remove the hydraulic components before installing the manual lever and cable. Proper installation is key to achieving precise clutch engagement and a responsive feel.
Regular adjustments and lubrication keep the manual system operating smoothly over time.
Fine-tuning and upgrading components can further boost performance and durability.
Keep exploring to master the full conversion process and maintenance tips for a hassle-free manual clutch system.
Key Takeaways
- Convert hydraulic to manual clutch for improved control, simpler maintenance, and direct mechanical feedback on your Harley motorcycle.
- Use proper tools like torque wrenches, Allen wrenches, and bleed kits, plus safety gear such as gloves and safety glasses.
- Select a correct manual clutch cable by matching Harley model, cable length, fittings, and flexibility before removing hydraulic components.
- Install the manual clutch by securely attaching the lever, routing the cable properly, adjusting tension, and verifying smooth clutch operation.
- Test clutch function by shifting gears, checking cable routing, adjusting tension, lubricating parts, and performing regular maintenance to prevent issues.
Reasons to Convert Your Harley’s Hydraulic Clutch to Manual
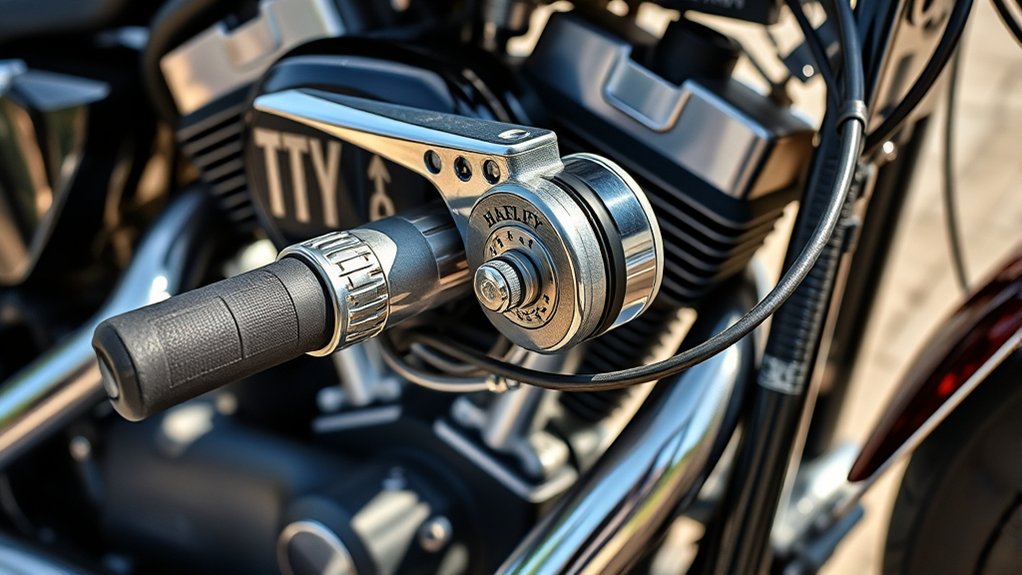
Although hydraulic clutches offer smooth operation, you might want to convert your Harley to a manual clutch for greater control and easier maintenance. With a manual clutch, you get more direct feedback, allowing you to feel the engagement point clearly and modulate power precisely. This can improve your riding experience, especially in stop-and-go traffic or when performing tight maneuvers.
Manual systems are also simpler, meaning you can troubleshoot and fix issues without specialized tools or hydraulic fluid. Plus, manual clutches often require less frequent adjustments, saving you time in the long run. If you enjoy working on your bike yourself, switching to a manual clutch gives you that hands-on connection and removes the potential hassle of hydraulic leaks or bleeds.
Tools and Parts Needed for Harley Clutch Conversion
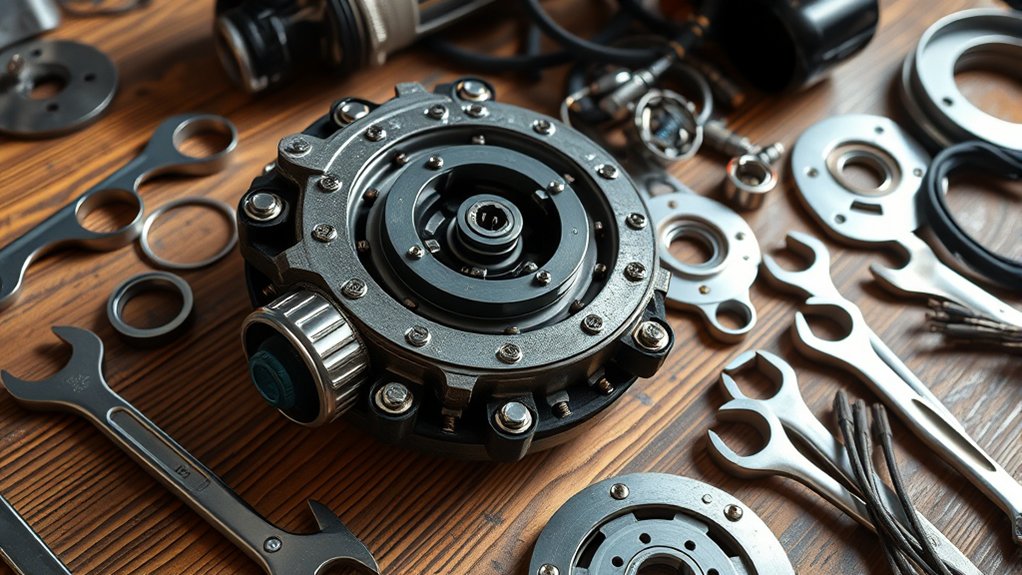
Before you start your Harley clutch conversion, make sure you have the right tools and replacement parts on hand. You’ll also want to gather essential safety gear to protect yourself during the process.
Let’s go over what you’ll need to get the job done efficiently and safely.
Essential Tools Overview
When converting your Harley to a hydraulic clutch, having the right tools and parts on hand makes the process smoother and faster. You’ll want to gather everything upfront to avoid interruptions. Besides the replacement components, the tools you use will impact your efficiency and the quality of your work.
Make sure you have:
- A torque wrench for precise tightening
- A set of metric and standard Allen wrenches
- Hydraulic line wrenches to prevent damage to fittings
- A bleed kit to remove air from the hydraulic system
These tools help you disassemble, install, and fine-tune the conversion without hassle. Skimping on proper tools can lead to mistakes, leaks, or poor clutch performance, so invest in quality gear to get the job done right.
Required Replacement Parts
To successfully convert your Harley to a hydraulic clutch, you’ll need specific replacement parts designed for this system. Start with a hydraulic clutch master cylinder compatible with your Harley model. You’ll also need a matching hydraulic clutch slave cylinder to replace the manual clutch release mechanism.
A braided stainless steel clutch line is essential for durability and smooth fluid transfer. Don’t forget the proper hydraulic fluid—usually DOT 4 brake fluid. A new clutch perch with a master cylinder mount is often required to secure the master cylinder on your handlebars.
Additionally, pick up the appropriate mounting brackets, banjo bolts, and crush washers for leak-free connections. These parts guarantee your conversion functions reliably, providing smooth clutch engagement and improved control over the manual cable system you’re replacing.
Safety Equipment Checklist
Gathering the right tools and safety gear makes your hydraulic clutch conversion smoother and safer. Before you start, make sure you have everything to protect yourself and handle the job efficiently. Safety glasses will shield your eyes from debris, while gloves protect your hands from sharp parts and fluids.
A sturdy work apron helps keep your clothes clean, and a quality torque wrench ensures you tighten bolts correctly without stripping threads.
Here’s a quick checklist to get you started:
- Safety glasses or goggles
- Mechanic’s gloves
- Work apron or protective clothing
- Torque wrench with the right bit sizes
Having these on hand not only keeps you safe but also makes the entire process more manageable and professional.
Choose the Right Manual Clutch Cable for Your Harley Model
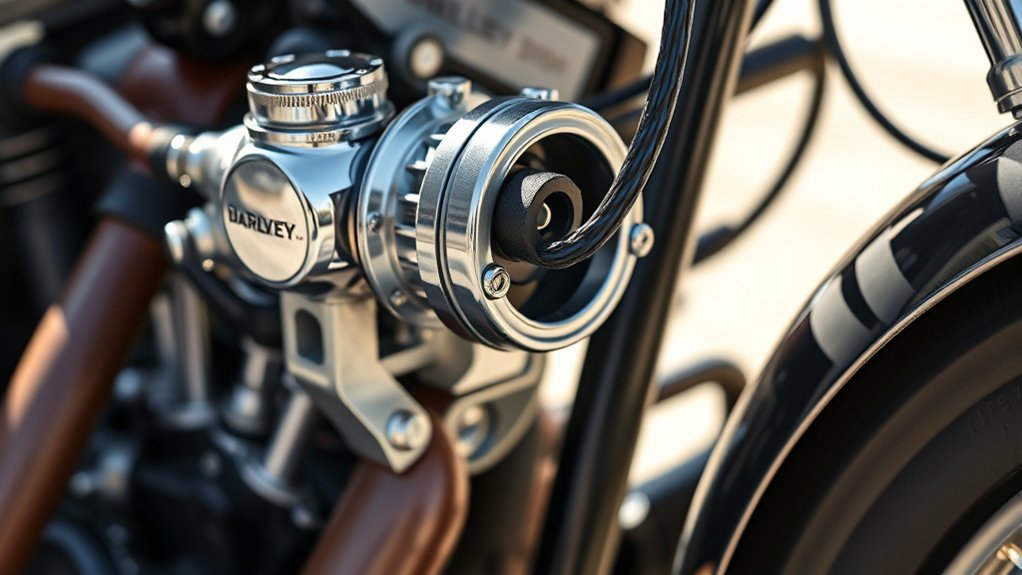
How do you guarantee your Harley’s clutch cable fits perfectly? Start by identifying your exact Harley model and year, as clutch cables vary considerably. Next, measure the existing cable length or consult your owner’s manual to know the precise length required.
Choose a high-quality, OEM or OEM-equivalent cable designed specifically for your model to ensure smooth operation and durability. Pay attention to the cable’s end fittings—they must match your Harley’s clutch lever and transmission connection points. Don’t overlook cable thickness and flexibility; a cable that’s too stiff or too thin can cause premature wear or clutch issues.
Finally, verify compatibility with your chosen manual conversion kit to avoid installation problems. Taking these steps guarantees your Harley’s clutch cable performs reliably after conversion.
Safely Remove Hydraulic Clutch Components
Before you start, make sure to carefully disconnect the hydraulic lines to avoid fluid spills.
Next, remove the master cylinder from the handlebar and the slave cylinder near the clutch.
Taking these steps carefully will keep you safe and prepare your Harley for the manual clutch conversion.
Disconnect Hydraulic Lines
Where do you start when disconnecting the hydraulic lines on your Harley? First, make sure the bike is cool and stable on a stand. Then, prepare to catch any fluid leaks by placing a drip tray or rags beneath the lines.
Follow these steps carefully:
- Loosen the hydraulic line fittings with the correct wrench size to avoid stripping.
- Slowly unscrew the lines to release pressure gradually and prevent fluid spurts.
- Cap or plug both ends promptly to keep dirt out and avoid contamination.
- Dispose of any drained brake fluid safely, as it’s corrosive and toxic.
Remove Master And Slave Cylinders
Once you’ve safely disconnected the hydraulic lines, you can begin removing the master and slave cylinders. Start by loosening the mounting bolts securing the master cylinder to the handlebar assembly. Carefully slide it out without damaging any surrounding components.
Next, locate the slave cylinder near the engine or transmission housing. Remove its mounting bolts and gently pull it free, being mindful of any retained fluid that might leak. Use a drain pan or rag to catch drips and avoid spills.
Inspect both cylinders for wear or damage, then set them aside. Removing these components clears the way for installing your manual clutch system. Remember to keep all hardware organized for potential reuse or disposal, and always work methodically to maintain safety throughout the process.
Install the Manual Clutch Lever and Cable Step-by-Step
Although installing the manual clutch lever and cable might seem tricky at first, following each step carefully will make the process straightforward. Start by removing the existing hydraulic lever, then attach the new manual clutch lever firmly to the handlebar.
Next, thread the clutch cable through the lever’s slot, guaranteeing it moves smoothly without binding. Connect the cable’s other end to the clutch arm on the transmission, securing it properly.
Keep these points in mind:
- Use the correct lever size to fit your handlebar diameter
- Lubricate the cable lightly for smooth operation
- Tighten all bolts to manufacturer torque specs
- Verify that the lever returns fully when released
This method assures a reliable manual clutch setup, preparing you for the next adjustment steps.
Adjust and Route the Clutch Cable Correctly
Before you finalize the installation, you need to adjust the clutch cable tension and route it properly to guarantee smooth operation and prevent premature wear. Start by loosening the adjuster nuts near the clutch lever. Pull the cable tight just enough to remove slack but not so tight that it causes drag.
Tighten the adjusters securely to maintain this tension. Next, carefully route the cable along the frame, avoiding sharp bends or contact with moving parts that could cause friction or damage. Use existing cable guides or clamps to keep it securely in place.
Double-check that the cable moves freely when you pull the lever and returns smoothly when released. Proper adjustment and routing assure a responsive clutch and extend the cable’s lifespan.
Test Your Harley Manual Clutch Conversion Before Riding
After adjusting and routing the clutch cable properly, you need to test your Harley manual clutch conversion to make certain everything functions as intended. Start by squeezing the clutch lever; it should feel smooth and responsive without any sticking or excessive slack.
After adjusting the clutch cable, test the Harley manual clutch for smooth, responsive lever action without slack or sticking.
Next, check the clutch engagement by shifting through the gears while the bike is stationary. Make sure the transmission disengages fully to prevent gear grinding.
Finally, inspect the cable routing once more for any signs of binding or interference.
Focus on these key checks:
- Smooth clutch lever operation with consistent tension
- Complete disengagement of the clutch during gear shifts
- No unusual noises when operating the clutch
- Cable securely routed and free from kinks or rubbing
Confirming these points ensures your manual clutch conversion is safe to ride.
Common Post-Conversion Issues and How to Fix Them
After your hydraulic clutch conversion, you might notice issues like clutch cable adjustment, lever free play, or clutch engagement problems. You’ll want to check these areas carefully to keep your bike running smoothly.
Let’s go over how to spot and fix these common challenges.
Clutch Cable Adjustment
When you switch to a hydraulic clutch, you might still notice some issues with your clutch cable adjustment. Even though the system is mostly hydraulic, the cable still needs fine-tuning for smooth operation. Here’s what you should check and fix:
- Confirm the cable isn’t too tight or too loose; improper tension can cause clutch drag or slipping.
- Check the cable routing; sharp bends or kinks can hinder smooth movement.
- Inspect the cable ends and connectors for wear or damage that might affect adjustment.
- Lubricate the cable to reduce friction and improve response.
Lever Free Play Issues
Fine-tuning your clutch cable helps, but you might still encounter lever free play issues once the hydraulic system is installed. This free play often results from slight misalignments or cable stretch after conversion. First, check the cable routing to make sure it’s smooth and without unnecessary bends.
Next, inspect the lever pivot and adjust the cable tension by turning the adjusters near the lever or at the clutch end. If you notice excessive play, tighten the cable incrementally until the lever feels firm but not overly tight. Also, verify the hydraulic master cylinder pushrod length isn’t too long, as this can introduce slack.
Regularly recheck these adjustments after initial rides since cables tend to settle in. Addressing these points keeps your clutch lever responsive and comfortable.
Clutch Engagement Problems
Why does your clutch sometimes feel grabby or fail to fully disengage after the hydraulic conversion? This often happens because the manual system needs fine-tuning. You’ll want to check a few common culprits to restore smooth clutch engagement.
- Incorrect cable tension: Adjust the cable so there’s minimal free play without over-tightening.
- Worn or damaged clutch plates: Inspect and replace if necessary to ensure proper grip and release.
- Misaligned release mechanism: Realign the clutch lever and release arm for consistent pressure.
- Inadequate lubrication: Make sure pivot points and cables move freely without binding.
Addressing these points will help you avoid engagement issues and enjoy a reliable, responsive manual clutch after your DIY conversion.
Maintain Your New Manual Clutch System
Since your Harley now sports a hydraulic clutch, you’ll want to regularly check the fluid levels and inspect the system for leaks to keep it running smoothly. With your new manual clutch system, focus on adjusting the cable tension properly to guarantee crisp engagement and disengagement. Periodically lubricate the clutch cable and pivot points to prevent stiffness and premature wear.
Keep an eye on the clutch lever free play; too little or too much can cause slipping or difficulty shifting. Also, inspect the clutch plates for wear during routine maintenance. Tighten any loose bolts or fasteners to maintain system integrity.
Pro Tips to Improve Manual Clutch Feel and Performance
Although you’ve completed the basic installation, you can enhance your manual clutch’s feel and performance with a few expert adjustments. Start by fine-tuning the clutch cable tension to eliminate slack and achieve a smooth engagement. Next, verify your lever pivot is clean and lubricated to minimize friction and resistance.
Don’t overlook adjusting the free play at the lever—too much or too little can affect control and comfort. Finally, check the clutch release mechanism for proper alignment to guarantee consistent pressure and responsiveness.
- Adjust cable tension for precise engagement
- Lubricate lever pivot to reduce resistance
- Set appropriate free play for comfort and control
- Align release mechanism for consistent pressure
These tweaks will give you a smoother, more responsive clutch experience.
Upgrade Related Clutch Components for Better Performance
Fine-tuning your clutch cable and lever adjustments lays a solid foundation, but upgrading related clutch components can greatly boost your bike’s performance and reliability. Start by swapping out your old clutch plates for high-quality, heavy-duty ones designed to handle increased stress and heat. Consider upgrading your clutch springs to stiffer variants, which improve engagement feel and reduce slippage during aggressive riding.
Don’t overlook the importance of a smooth, low-friction clutch cable; replacing it with a high-performance cable can reduce effort and improve responsiveness. Finally, inspect and replace worn bushings or pivot points in the clutch mechanism to eliminate play and enhance precision. These targeted upgrades ensure your manual clutch system performs consistently and lasts longer, making your Harley ride smoother and more enjoyable.
Frequently Asked Questions
Will Converting Affect My Harley’s Resale Value?
Yes, converting your Harley’s clutch can lower resale value because many buyers prefer stock setups. However, if you explain the benefits and guarantee quality work, some enthusiasts might appreciate the customization and still pay well.
Can I Revert to a Hydraulic Clutch After Conversion?
You can revert to a hydraulic clutch, but it’s not always easy. Remember, “Rome wasn’t built in a day.”
You’ll need proper parts, tools, and patience to restore the original system effectively without damaging your Harley.
Is the Manual Clutch System Compatible With All Harley Models?
No, the manual clutch system isn’t compatible with all Harley models. You’ll need to check your specific bike’s design and compatibility because some models require hydraulic clutches due to their unique hydraulic systems or frame setups.
How Does the Conversion Impact Clutch Lever Weight and Feel?
You might think the clutch lever feels heavier after conversion, but it often feels more direct and crisp. You’ll notice less sponginess, making clutch control more precise, though lever effort can increase slightly depending on cable setup.
Are There Legal Regulations Regarding Clutch System Modifications?
Yes, you might face legal regulations depending on your location. Some areas require your clutch system to meet safety standards or pass inspections. Always check local laws before modifying to avoid fines or voiding insurance.
Conclusion
Switching your Harley’s hydraulic clutch to a manual system isn’t just a mechanical change—it’s a return to raw, unfiltered control. You’ll feel every twist, every shift, connecting you deeper to the road and your machine.
Though it takes some elbow grease and patience, the reward is pure riding freedom. So, embrace the challenge—because sometimes, the best ride is the one you build with your own hands.
Your Harley deserves nothing less, especially when converting the hydraulic clutch to a manual system yourself. This DIY Harley hydraulic clutch conversion brings you closer to the true spirit of motorcycling.

