

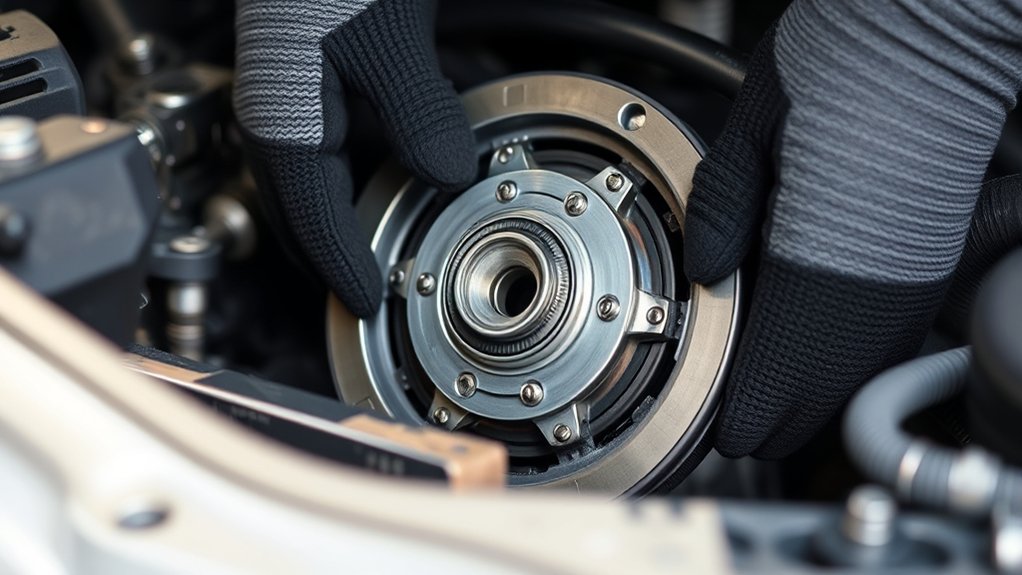
To fix a slipping clutch in 7 simple steps, start by recognizing common symptoms such as engine revs rising without a corresponding increase in speed or a distinct burning smell. Identifying these signs early can help prevent further damage to your vehicle’s transmission system.
Gathering the right tools and high-quality replacement parts is essential for a successful clutch repair.
Next, safely lift and secure your vehicle to ensure a stable working environment. Removing the transmission allows you to access the clutch assembly for a thorough inspection.
Check all clutch components carefully for wear or damage, and decide whether resurfacing or replacing parts is necessary.
Finally, reinstall the transmission and clutch components with care. Adjust the clutch mechanism properly to ensure smooth operation.
Test drive your vehicle to confirm the repair was successful and the slipping issue is resolved.
Follow along for detailed tips to complete this clutch repair efficiently.
Key Takeaways
- Identify clutch slipping signs like increased engine revs without speed gain or burning odor before starting repairs.
- Gather tools, safety gear, and high-quality replacement parts, then securely lift and support the vehicle.
- Remove the transmission to access and inspect clutch components for wear or damage, replacing all parts if necessary.
- Reinstall clutch parts evenly, torque bolts correctly, reconnect linkages, and test clutch pedal feel and gear engagement.
- Troubleshoot persistent issues by rechecking installation, and consult a professional if the clutch still slips or malfunctions.
Understand the Signs of a Slipping Clutch

How can you tell if your clutch is slipping? You’ll notice your engine revs rise without a corresponding increase in speed, especially when accelerating. If your car struggles to climb hills or feels less responsive, that’s another red flag.
You might also smell a burning odor when driving, which happens because the clutch is overheating. When you press the clutch pedal, it may feel unusually soft or spongy, or you might find it harder to shift gears smoothly. If your vehicle jerks during acceleration or doesn’t move as quickly as it should, the clutch could be slipping.
Recognizing these signs early helps you avoid further damage and costly repairs, so keep an eye out for these symptoms as you drive.
Gather Essential Tools and Materials for Clutch Repair
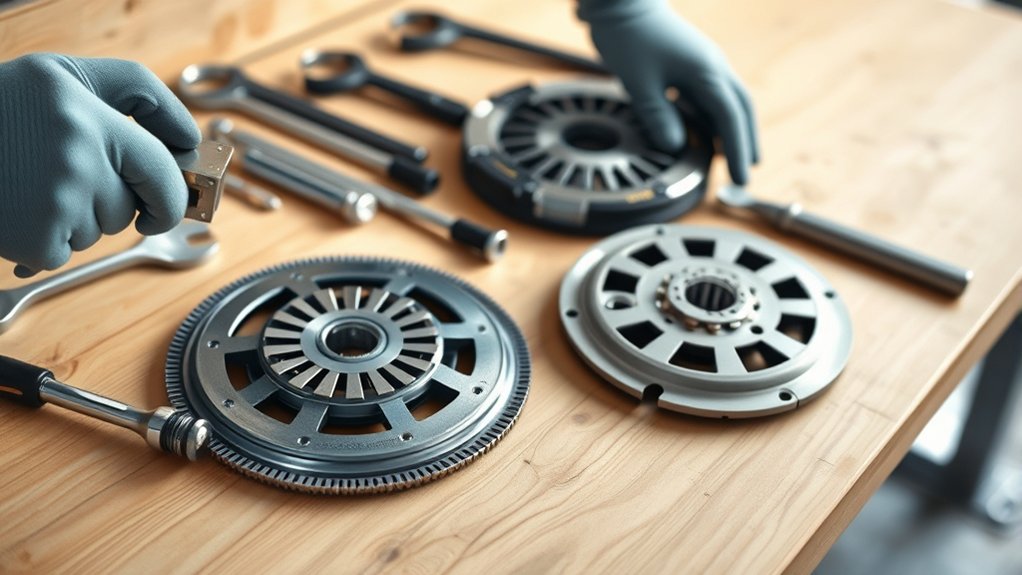
Before you start fixing the slipping clutch, make sure you have all the essential tools and materials ready. Focus on quality replacement parts and gather safety gear to protect yourself during the repair.
Having everything prepared will make the process smoother and safer.
Required Tools Checklist
Although fixing a slipping clutch can be challenging, having the right tools on hand makes the job much smoother. Before you *delve into* the task, gather everything you need to avoid frustrating interruptions. Being prepared will boost your confidence and keep your focus sharp throughout the repair.
Here’s a checklist to get you started:
- Socket set and wrenches: Essential for removing bolts and accessing the clutch assembly without hassle.
- Clutch alignment tool: Helps you install the clutch smoothly, preventing misalignment that could cause future slipping.
- Torque wrench: Ensures bolts are tightened to the manufacturer’s specifications, *vital* for safety and performance.
With these tools ready, you’re setting yourself up for a successful clutch repair that saves time and effort.
Choosing Quality Replacement Parts
Since the clutch’s performance relies heavily on its components, you’ll want to choose high-quality replacement parts that match your vehicle’s specifications. Start by consulting your car’s manual or a trusted parts database to find exact part numbers. Opt for OEM (Original Equipment Manufacturer) parts whenever possible, as they guarantee compatibility and durability.
If you consider aftermarket parts, research brands known for reliability and read customer reviews. Pay attention to clutch discs, pressure plates, and release bearings, as these directly affect clutch function. Avoid cheap, generic parts that can wear out quickly or cause damage.
Finally, verify that all parts come with warranties or guarantees, giving you peace of mind during installation and future performance. Selecting the right components sets the foundation for a successful clutch repair.
Safety Gear Essentials
Choosing the right replacement parts sets you up for a smooth repair process, but having the proper safety gear and tools on hand keeps you protected and efficient while working. Before you start, gather essentials like gloves, goggles, and a sturdy jack stand to guarantee safety.
These items not only protect you from injuries but also help you stay focused and confident throughout the repair. Don’t underestimate the power of preparation—having the right gear makes the job less stressful and more successful.
Here are three must-haves:
- Protective gloves to shield your hands from sharp edges and hot surfaces
- Safety goggles to keep debris and fluids out of your eyes
- Reliable jack stands to securely support your vehicle while you work
Lift and Secure Your Vehicle Safely
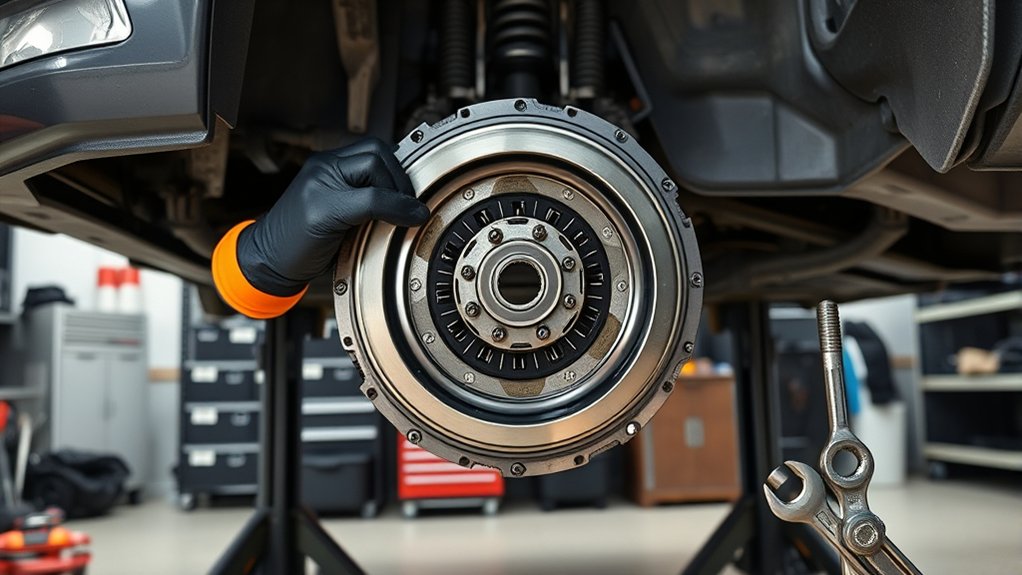
Before you begin working on your clutch, make sure you lift and secure your vehicle properly to prevent accidents. Start by parking on a flat, stable surface and engage the parking brake. Use wheel chocks behind the tires that will remain on the ground to stop any movement.
Next, position your jack at the manufacturer’s recommended lifting points to avoid damage. Slowly raise the vehicle until you have enough clearance to work comfortably. Immediately place sturdy jack stands under the frame or designated support areas to hold the vehicle securely.
Never rely on the jack alone to support the weight. Give the car a gentle push to confirm it’s stable before crawling underneath. Taking these precautions guarantees your safety throughout the clutch repair process.
Remove the Transmission to Access the Clutch
Once your vehicle is securely lifted, you’ll need to disconnect several components to remove the transmission. This step can feel intimidating, but breaking it down helps you stay confident and focused. Start by detaching the driveshaft or CV axles, then unplug any electrical connections linked to the transmission.
Don’t forget to drain the transmission fluid to avoid spills.
Here’s what to keep in mind:
- Stay organized: Label bolts and parts to avoid confusion later.
- Be patient: Rushing can cause mistakes and damage.
- Use the right tools: This makes the job safer and easier.
Carefully support the transmission with a jack before unbolting it from the engine. With these steps, you’re on the right track to access your clutch.
Inspect Clutch Components and Decide on Repair or Replacement
Now that you have access, carefully inspect the clutch components for wear or damage. Check the condition of the clutch disc, pressure plate, and flywheel to determine if they can be repaired or need replacing.
Based on what you find, decide whether a simple fix is enough or if a full replacement is necessary.
Clutch Part Condition
Although inspecting the clutch components requires careful attention, you’ll quickly determine whether repair or replacement is necessary. Focus on the condition of the clutch disc, pressure plate, and flywheel. Look for signs like excessive wear, cracks, or heat damage.
These issues won’t just affect performance; they can lead to complete clutch failure if ignored.
Pay close attention to:
- Frayed or glazed clutch disc surfaces that reduce friction
- Warped or cracked pressure plate causing uneven engagement
- Scored or overheated flywheel surfaces that disrupt smooth operation
Repair Versus Replacement
After checking the clutch disc, pressure plate, and flywheel for damage or wear, you need to decide whether to repair the existing parts or replace them entirely. If the clutch disc is only lightly worn or glazed, resurfacing the flywheel and cleaning the components might restore proper function.
However, if you spot deep grooves, cracks, or significant thinning on the disc or pressure plate, substitution is the safer choice. Resurfacing a severely damaged flywheel isn’t recommended, so swapping it out ensures reliable performance.
Keep in mind, replacing all clutch components at once often saves time and prevents future issues. Assess each part carefully—if costs and labor justify it, opt for replacement to guarantee a lasting fix rather than a temporary repair.
Resurface or Replace the Slipping Clutch
When your clutch starts slipping despite adjustments, you’ll need to decide whether to resurface or replace it. Resurfacing the clutch disc can restore grip if the wear is light and the surface is still solid. However, if the friction material is worn thin or damaged, replacement is the safer bet to avoid repeated issues.
You want a fix that lasts and feels reliable every time you drive. Consider these points before deciding:
- Resurfacing is quicker and less costly but risks recurring slips if damage is deeper.
- Replacing guarantees a fresh start with new parts, giving peace of mind.
- Your safety and driving confidence depend on a properly functioning clutch.
Choose wisely to keep your vehicle running smoothly and safely.
Reassemble and Test Your Clutch for Proper Function
Before you fully reassemble your clutch, make sure all components are clean, properly aligned, and free of damage to guarantee smooth operation. Begin by carefully reinstalling the pressure plate and clutch disc, ensuring the alignment tool centers the disc perfectly. Tighten the pressure plate bolts evenly in a crisscross pattern to avoid warping.
Reattach the transmission, securing all bolts to their specified torque settings. Once assembled, reconnect the clutch linkage or hydraulic lines. Start your vehicle and press the clutch pedal several times to build hydraulic pressure or engage the linkage.
Test the clutch by shifting through all gears while the car is stationary and then during a slow drive. If the clutch engages smoothly without slipping or grabbing, you’ve successfully fixed the issue. If problems persist, recheck your work or consult a professional.
Frequently Asked Questions
How Long Does a Clutch Typically Last Before Slipping Occurs?
You can expect a clutch to last anywhere between 50,000 to 100,000 miles, but it depends on your driving habits. If you ride the clutch or tow heavy loads, slipping might occur much sooner.
Proper maintenance and mindful driving can extend the clutch’s lifespan. Avoid resting your foot on the pedal while driving.
Being gentle with gear changes also helps prevent premature wear. Keep an eye on any signs of slipping to address issues early.
Can a Slipping Clutch Affect Fuel Efficiency?
Yes, a slipping clutch can reduce fuel efficiency by up to 15%. When your clutch slips, your engine works harder, wasting fuel.
Fixing it promptly helps you save money and keeps your car running smoothly.
What Causes a Clutch to Slip in the First Place?
A clutch slips because its friction material wears out, oil contaminates the plates, or the pressure plate weakens.
You’ll notice reduced grip when transmitting power, causing the engine to rev without proper acceleration.
Is It Safe to Drive With a Slipping Clutch Temporarily?
Driving with a slipping clutch is like running a marathon with a sprained ankle—you can push through briefly, but it risks more damage.
How Much Does Professional Clutch Repair Usually Cost?
You’ll usually pay between $500 and $1,200 for professional clutch repair, depending on your car model and labor rates.
It’s worth getting a detailed estimate to avoid surprises and guarantee quality work.
Conclusion
Now that you’ve tackled each step, imagine the moment you press the clutch pedal—will it engage smoothly, or slip away again? With the right tools and careful work, you’re just seconds away from reclaiming full control.
The engine’s roar, the pedal’s firm resistance, the seamless gear shifts—they’re all waiting for you. Trust your effort and skill; your car’s renewed performance is about to prove every moment spent was worth it.
By following these simple steps, you’ve effectively fixed the slipping clutch and improved your vehicle’s drivability. Enjoy the smooth clutch engagement and confident gear changes that come with your successful repair. Your slipping clutch is now a thing of the past!

