

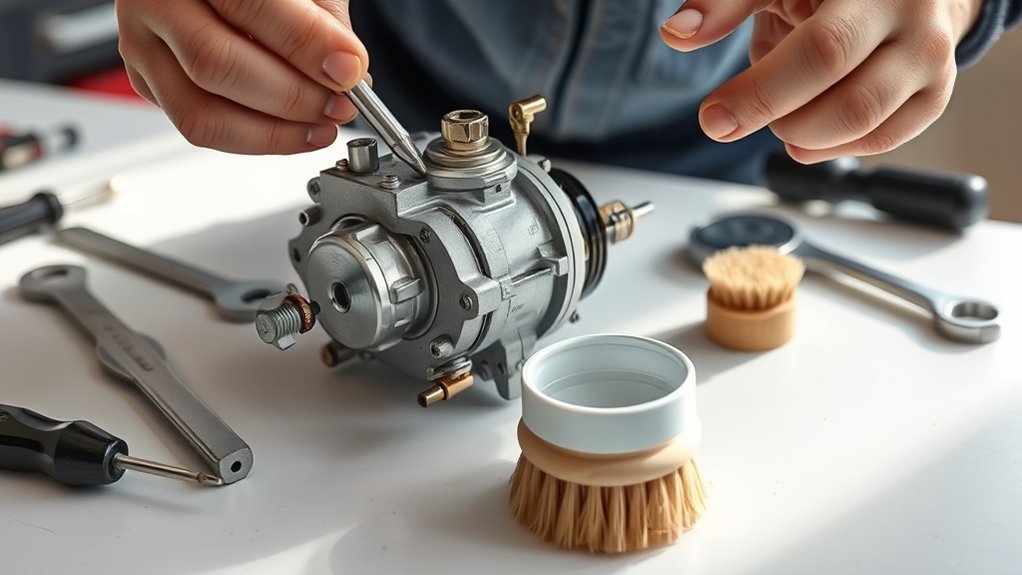
First, gather your tools and make sure your snow thrower is off and cooled down. Cleaning your snow thrower carburetor is essential for maintaining its performance and ensuring reliable operation during winter.
Disconnect the spark plug wire, then carefully remove the carburetor by detaching fuel lines and linkages.
Disassemble it gently, keeping parts organized.
Clean all components with carburetor cleaner and a brush, clearing clogged jets.
Next, reassemble and reinstall the carburetor, making sure all connections are secure.
Finally, test your engine to confirm everything works smoothly.
Following these basics will help you restore your snow thrower’s performance quickly and effectively.
Key Takeaways
- Disconnect the spark plug wire and fuel line to ensure safety and prevent fuel spills during carburetor removal.
- Remove the carburetor carefully by loosening mounting bolts and detaching throttle and choke linkages.
- Clean the carburetor thoroughly using carburetor cleaner, a small brush, and compressed air to clear jets and passages.
- Replace any worn gaskets or seals before reassembling the carburetor to prevent leaks.
- Reinstall the carburetor securely, reconnect linkages, and test the engine for proper fuel flow and ignition.
Gather Tools and Prep Your Snow Thrower’s Carburetor
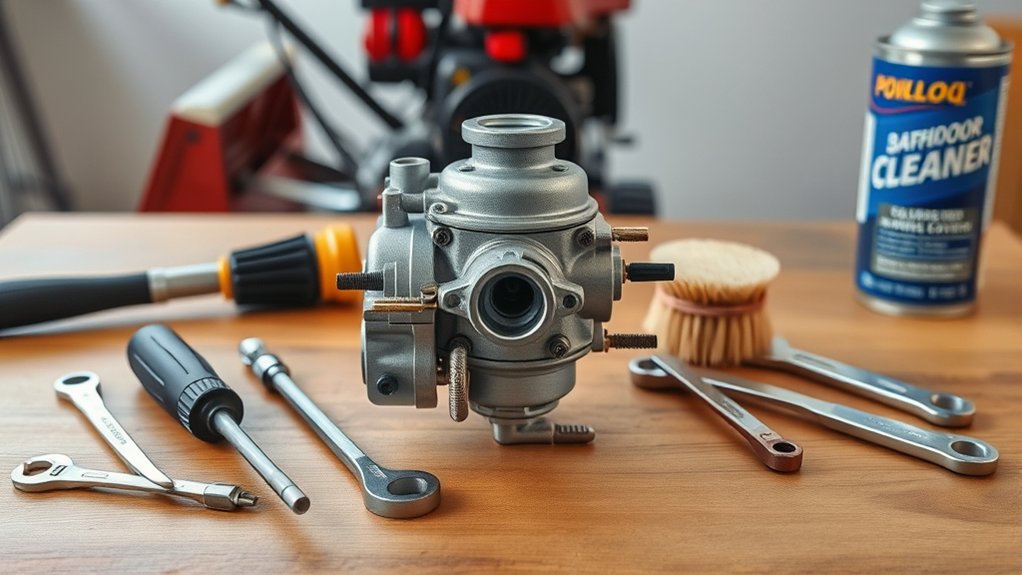
Before you begin cleaning, gather all the necessary tools to make the process smoother. You’ll need screwdrivers, a wrench set, carburetor cleaner, a small brush, and clean rags. Having these items ready prevents interruptions.
Next, confirm your snow thrower is turned off and cooled down to avoid any accidents. Disconnect the spark plug wire to prevent accidental starts. Then, clear the area around the carburetor to access it easily.
Wearing gloves protects your hands from chemicals and dirt. Also, have a container handy to keep any small parts you remove. Preparing this way helps you focus on the cleaning task without delays, making the process safer and more efficient.
Now, you’re set to move on to the next step.
Safely Remove the Carburetor
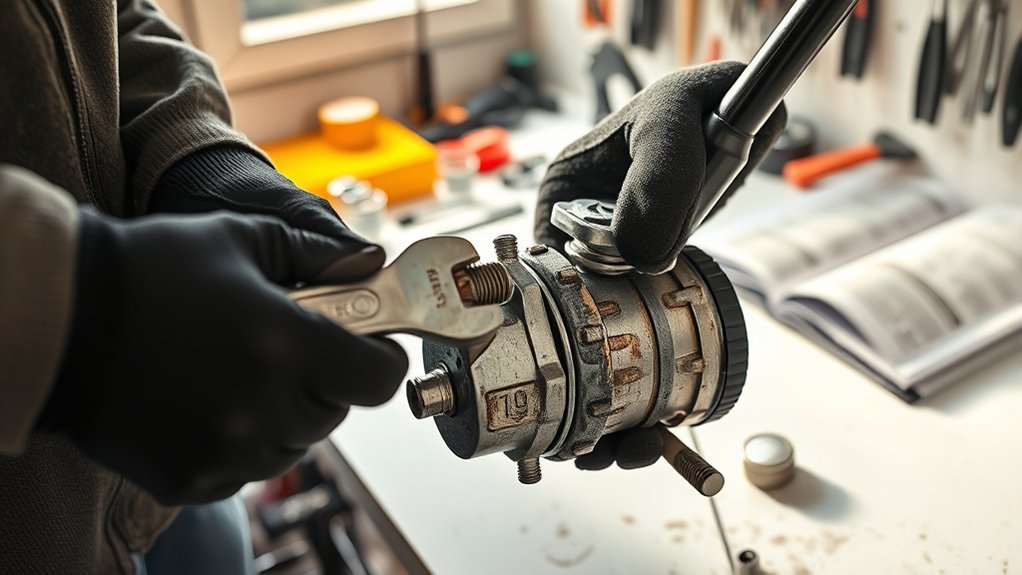
Once you’ve prepared your tools and guaranteed safety, you can start removing the carburetor. Begin by disconnecting the fuel line—use pliers to gently pinch the clamp and slide it off. Have a container ready to catch any spilled fuel.
Next, detach the throttle and choke linkages carefully; note their positions to ensure correct reassembly. Then, loosen the mounting bolts or screws holding the carburetor to the engine using the appropriate screwdriver or socket wrench. Support the carburetor as you remove the last bolt to prevent it from dropping.
Finally, lift the carburetor straight off the engine, avoiding any damage to gaskets or seals. Set it on a clean surface, ready for the next step.
Disassemble the Carburetor to Access All Parts
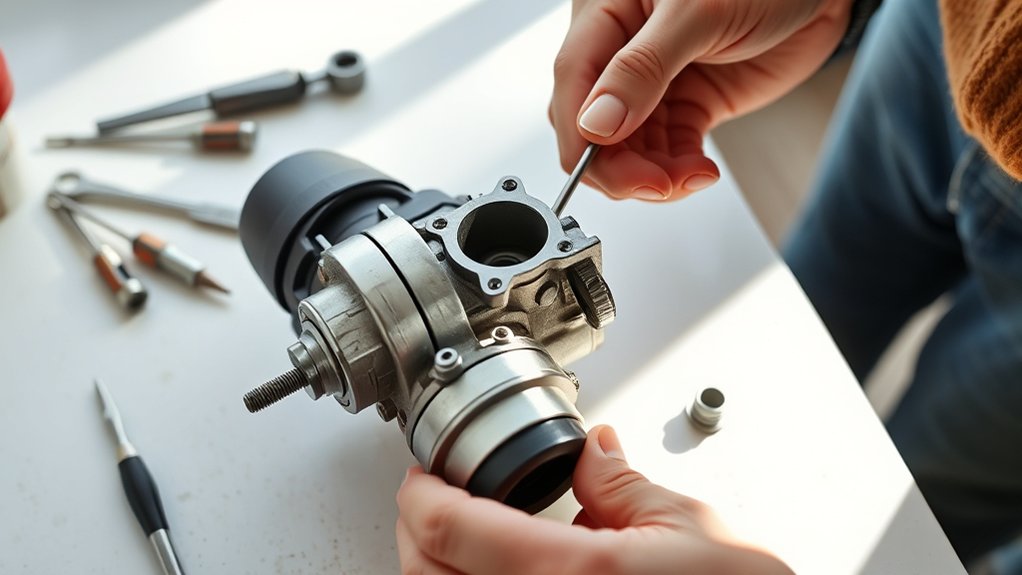
Before you start taking the carburetor apart, make sure you’re working in a well-ventilated area and wearing gloves for safety.
Begin by removing any external components like screws and linkages carefully. Then, detach the carburetor slowly to avoid damaging any delicate parts.
Safety Precautions First
Taking a few key safety precautions will protect you from injury and damage while disassembling your snow thrower’s carburetor. First, make sure the engine is off and completely cool before you start working. Disconnect the spark plug wire to prevent accidental starting.
Wear safety goggles and gloves to shield your eyes and hands from fuel, dirt, and sharp parts. Work in a well-ventilated area to avoid inhaling any harmful fumes. Keep a clean workspace with a tray or cloth to catch small screws and components so nothing gets lost.
Finally, handle all parts gently to avoid bending or breaking delicate components. Following these steps ensures a safer, smoother carburetor disassembly process.
Remove External Components
Start by removing the key external components that secure the carburetor to your snow thrower. You’ll want to take off the air filter cover and the air filter itself first. Use a screwdriver or socket wrench to loosen the screws or bolts holding them in place.
Next, disconnect the throttle linkage carefully; you might need pliers to gently unclip it. Don’t forget to remove the fuel line by loosening the clamp or gently pulling it off the carburetor. Keep track of any screws, nuts, or clips you remove to avoid losing them.
Taking your time during this step ensures you don’t damage delicate parts. Once all external components are off, you’ll have clear access to the carburetor’s body, making the cleaning process much easier.
Detach Carburetor Carefully
With the external components removed, you have better access to the carburetor itself. Now, carefully detach it from the engine. Start by loosening the mounting bolts or screws holding the carburetor in place.
Use the right tools to avoid stripping them. Next, gently disconnect the fuel line and throttle linkage, noting their positions for reassembly. Be cautious not to damage any gaskets or rubber seals during removal.
If your carburetor has a choke cable, carefully unhook it as well. Place all small parts in a container to prevent loss. Detaching the carburetor carefully guarantees you won’t damage delicate parts, making cleaning and inspection easier.
Once free, you can fully disassemble the carburetor to access all internal components for thorough cleaning.
Clean Carburetor Components With the Right Tools and Solutions
Before you plunge into cleaning, gather the right tools and solutions to make the job efficient and effective. You’ll need a small brush, like a toothbrush, to scrub off dirt and deposits gently. Have a can of carburetor cleaner spray ready—it’s specially formulated to dissolve varnish and grime without damaging parts.
A set of small picks or needles helps clear clogged jets and passages. Use compressed air to blow out loosened debris, ensuring every tiny hole is spotless. Avoid harsh solvents or abrasive tools, as they can harm delicate components.
Wearing gloves protects your skin from chemicals. With these tools and solutions, you’ll clean each carburetor part thoroughly, restoring proper fuel flow and performance. Taking this careful approach prevents damage and keeps your snow thrower running smoothly.
Reassemble the Carburetor Correctly After Cleaning
Once you’ve thoroughly cleaned every component, you’ll need to reassemble the carburetor carefully to guarantee it functions properly. Take your time and follow these steps to avoid frustration:
- Organize parts – Lay everything out in the order you’ll reassemble to prevent confusion.
- Replace gaskets and seals – Use new ones if available to avoid leaks and ensure a tight fit.
- Reattach jets and screws – Tighten them snugly but don’t overtighten; you don’t want to strip threads.
- Align the throttle and choke linkages – Make sure they move smoothly to avoid performance issues.
Reinstall the Carburetor and Check for Proper Fit
After carefully reassembling your carburetor, you’re ready to reinstall it onto your snow thrower. Begin by aligning the carburetor with its mounting position, making certain all gaskets and seals sit properly to prevent air leaks. Secure the carburetor with the mounting bolts, tightening them evenly but not too tight to avoid damage.
Reconnect the fuel line and throttle linkage, making sure each connection is snug and correctly positioned. Double-check the choke lever and any other controls attached to the carburetor for smooth operation. Once everything is connected, inspect the overall fit to confirm there are no gaps or misalignments.
Taking your time here guarantees your snow thrower runs efficiently and helps avoid issues down the line.
Test Your Snow Thrower’s Carburetor
Now that you’ve reinstalled the carburetor, it’s time to test it for any issues like rough idling or stalling. Pay attention to how your snow thrower runs and listen for unusual sounds that could signal a problem.
If you notice anything off, performing a simple carburetor test will help you pinpoint the cause.
Signs Of Carburetor Issues
Several clear signs can help you identify if your snow thrower’s carburetor needs attention. If you notice your machine isn’t running smoothly or struggles to start, the carburetor might be clogged or malfunctioning. Catching these issues early prevents bigger headaches later on.
- Hard Starting – Your snow thrower takes multiple pulls to fire up or won’t start at all.
- Rough Idling – The engine sputters or stalls when idling, showing inconsistent fuel flow.
- Poor Performance – It struggles to maintain power or slows down under load.
- Black Smoke or Strong Fuel Smell – Excess fuel is burning inefficiently, indicating carburetor flooding.
Spotting these signs means it’s time to clean or inspect your carburetor before winter hits hard.
Performing A Carburetor Test
Although cleaning your carburetor can solve many issues, you should first perform a carburetor test to confirm it’s the source of the problem. Start by inspecting the fuel flow and spark to verify the engine gets what it needs.
Then, check the throttle response to see if the engine accelerates smoothly. If any test fails, cleaning or replacing the carburetor is necessary.
| Test Step | What to Check |
|---|---|
| Fuel Flow | Verify fuel reaches the carburetor |
| Spark | Confirm spark plugs ignite properly |
| Throttle Response | Verify smooth acceleration |
Performing this test saves time and assures you target the right issue before diving into cleaning.
Frequently Asked Questions
How Often Should I Clean My Snow Thrower Carburetor?
You should clean your snow thrower carburetor at least once every season or after extended storage.
If you notice poor performance or hard starting, clean it sooner to keep your machine running smoothly.
What Type of Fuel Is Best for My Snow Thrower?
You’ll want to use fresh, unleaded gasoline with an octane rating of 87 or higher.
Coincidentally, using fuel with ethanol content below 10% helps prevent carburetor issues and keeps your snow thrower running smoothly all winter long.
Can I Use a Generic Carburetor Cleaner Safely?
Yes, you can use a generic carburetor cleaner safely as long as you follow the instructions carefully. Make sure the cleaner is compatible with your carburetor materials to avoid damage, and always work in a well-ventilated area.
How Do I Know if My Carburetor Needs Cleaning?
About 70% of small engine issues stem from carburetor problems. You’ll know your carburetor needs cleaning if your snow thrower sputters, stalls, or won’t start, especially after sitting unused for a while.
Are There Signs of Carburetor Damage to Watch For?
Yes, you’ll notice signs like rough idling, difficulty starting, poor acceleration, or black smoke from the exhaust.
If your snow thrower stalls or runs unevenly, it’s a clear sign your carburetor might be damaged.
Conclusion
Now that you’ve cleaned your snow thrower’s carburetor, you’ll probably notice it runs smoother—just in time for the next snowy day. It’s funny how a little maintenance can make such a big difference, isn’t it?
By following these simple steps, you’ve not only saved yourself from frustration but also guaranteed your snow thrower is ready when you need it most. Keep this routine, and you’ll tackle winter without a hitch!
Regular snow thrower carburetor cleaning ensures optimal performance and extends the life of your equipment. Make these easy steps part of your seasonal maintenance to keep your snow thrower running smoothly all winter long.

