

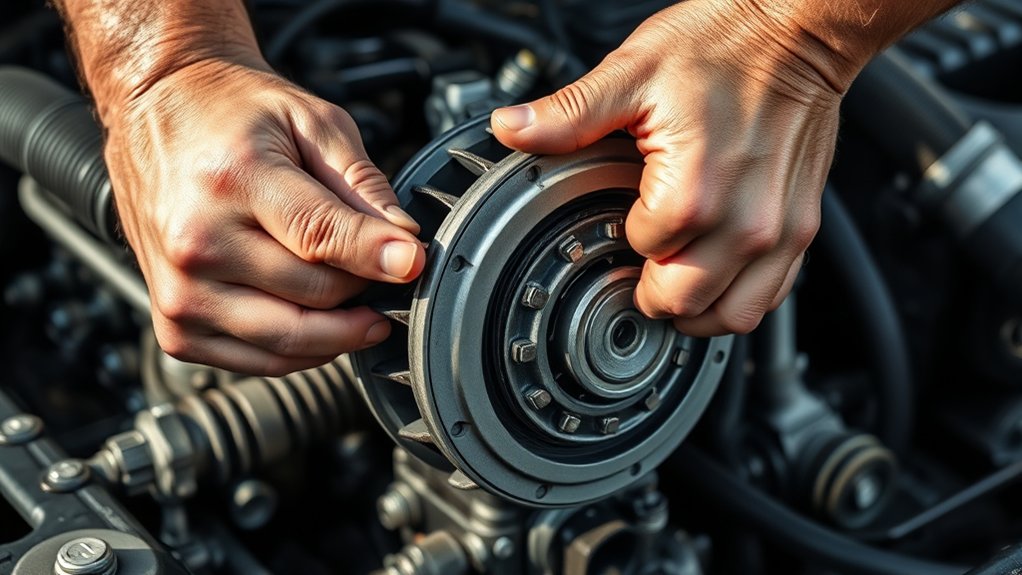
To remove a fan clutch without a tool, you need to follow some simple and effective steps. First, ensure your vehicle is parked on a flat surface, the engine is cool, and the battery is disconnected for safety.
Using common household items like a screwdriver or a wooden block can help hold the fan steady during the removal process.
Next, loosen the nut by applying steady pressure with pliers or a wrench, tapping gently if necessary. For extra leverage, wrapping a belt around the clutch can make the job easier.
Once the nut is loose, you can remove the fan clutch by hand and inspect it carefully.
If you want to learn how to safely finish the process and reinstall the fan clutch, keep following these steps for a smooth and secure procedure.
Key Takeaways
- Stabilize the fan blades by wedging a screwdriver between blades and radiator or using zip ties to prevent spinning.
- Grip the fan clutch fins with pliers or a wrench to hold it steady during loosening.
- Use a sturdy belt or strap wrapped around the clutch hub to gain leverage for turning it counterclockwise.
- Apply steady, controlled force by pulling the strap slowly to loosen the fan clutch without specialized tools.
- Wear gloves for protection and ensure bolts are hand-tightened carefully to avoid cross-threading during removal and reinstallation.
Preparing Your Vehicle for Fan Clutch Removal
Before you begin removing the fan clutch, make sure your vehicle is parked on a flat surface and the engine is completely cool. This guarantees safety and prevents burns or mishaps. Next, disconnect the negative battery cable to avoid accidental starts.
Open the hood and locate the fan clutch attached to the water pump pulley. Clear any debris or dirt around the area to give you better access. Remove any parts blocking your reach, like the fan shroud, if necessary.
Gather a clean rag or gloves to protect your hands while working. Double-check that the engine won’t move by placing the transmission in park or neutral and applying the parking brake. Taking these steps sets you up for a smoother, safer fan clutch removal.
Holding the Fan Clutch Steady With Household Items
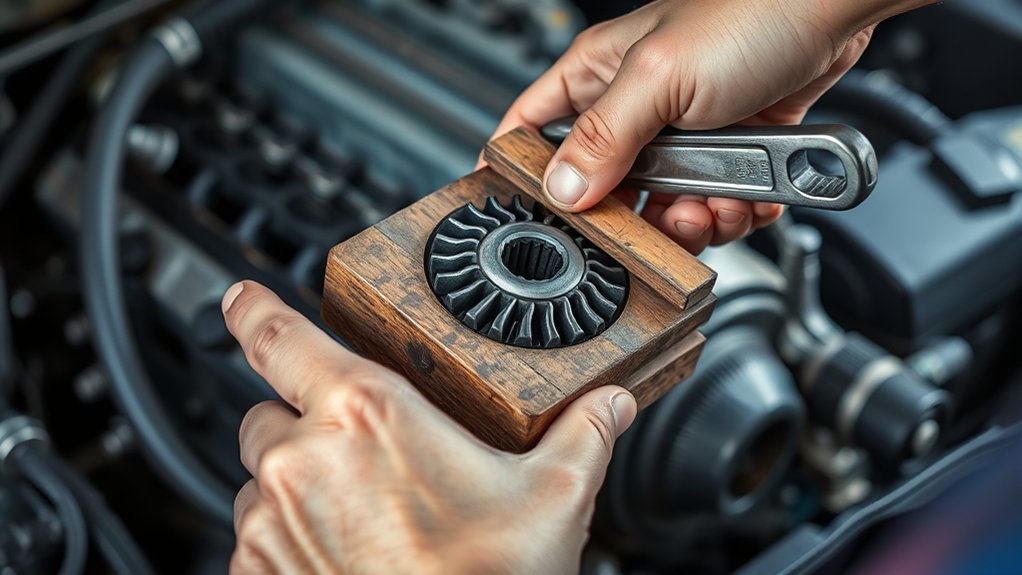
Once your vehicle is safely prepared and you’ve cleared the area around the fan clutch, the next step is to keep the fan clutch from spinning while you loosen it. Without a specialized tool, you can use common household items to hold it steady. For example, a sturdy screwdriver wedged between the fan blades and the radiator can prevent movement.
Alternatively, a piece of thick cardboard or a wooden block can provide leverage and grip.
| Household Item | How to Use |
|---|---|
| Screwdriver | Wedge between fan blades and radiator |
| Wooden Block | Place against blades for leverage |
| Thick Cardboard | Insert to prevent blade rotation |
| Zip Ties | Secure blades together temporarily |
These simple items help stabilize the fan clutch, making removal easier.
Loosening the Fan Clutch Nut Without a Tool
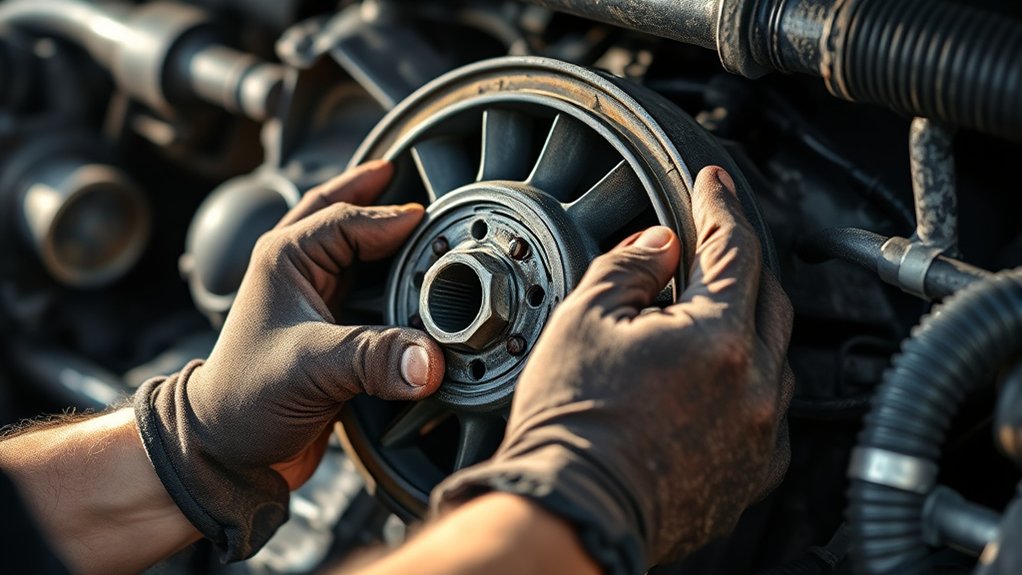
Although you don’t have a specialized tool, you can still loosen the fan clutch nut by using common items and applying steady force. First, secure the fan clutch firmly using a wrench or pliers on the clutch’s fins to prevent it from spinning. Then, find a sturdy adjustable wrench or a large pair of pliers to grip the nut.
Position yourself so you can apply steady, controlled pressure to turn the nut counterclockwise. If the nut is tight, try tapping the wrench handle lightly with a hammer to break it loose. Remember to work slowly to avoid stripping the nut or damaging surrounding parts.
Once loosened, you can unscrew the nut by hand to remove the fan clutch safely.
Using a Belt or Strap to Turn the Fan Clutch
When a wrench or pliers won’t give you enough leverage, you can use a sturdy belt or strap to turn the fan clutch. This method increases your grip and torque without needing specialized tools.
Here’s how to do it:
- Wrap the belt or strap tightly around the fan clutch hub.
- Secure the strap’s end or buckle so it won’t slip as you apply force.
- Use both hands to pull the belt slowly, turning the clutch counterclockwise.
- Keep steady pressure until the clutch loosens enough to turn by hand.
This technique helps you overcome tight resistance safely and efficiently, making the removal process easier without risking damage to the clutch or surrounding parts.
Safely Removing the Fan Clutch by Hand
Before you start, protect your hands with gloves to avoid cuts or scrapes.
Grip the fan clutch firmly but don’t force it too hard to prevent damage.
Use steady, controlled pressure as you turn it to loosen the clutch safely by hand.
Preparing Your Hands
Since removing a fan clutch without a tool requires a firm grip and careful handling, you’ll want to prepare your hands properly to avoid injury. Your hands will bear the brunt of the effort, so keeping them safe and ready is key.
Here’s how to get your hands ready:
- Wear gloves – Choose sturdy, non-slip gloves to protect from sharp edges and improve grip.
- Clean your hands – Remove oil or grease to avoid slipping during removal.
- Stretch your fingers – Loosen up your hands to prevent cramps or strain while working.
- Check for cuts or wounds – Cover any open skin to prevent infection or irritation from dirt and debris.
Preparing your hands this way helps you work confidently and safely.
Applying Proper Force
Although removing a fan clutch without a tool can be challenging, applying steady and controlled force is essential to avoid damage or injury. You want to grip the clutch firmly and turn it slowly, using your body weight if needed to add pressure. Quick, jerky movements can cause slips or harm parts.
If it feels stuck, pause and readjust your grip rather than forcing it.
Here’s a quick guide to applying proper force safely:
| Action | Tip |
|---|---|
| Grip | Use both hands for leverage |
| Force Application | Apply gradual pressure |
| Adjustment if Stuck | Reposition and try again |
Following these steps helps you remove the fan clutch effectively without tools or damage.
Cleaning and Inspecting the Fan Clutch After Removal
Once you’ve removed the fan clutch, start by cleaning off any dirt and grime using a gentle solvent or degreaser. Next, carefully inspect the clutch for signs of wear, such as wobbling or roughness when you spin it.
Watch for cracks, leaks, or other damage that could affect its performance before you consider reinstallation.
Cleaning Methods Overview
Before you reinstall the fan clutch, you’ll want to clean and inspect it thoroughly to guarantee it functions properly. Proper cleaning removes dirt, grease, and debris that could affect performance. Here’s a quick overview of effective cleaning methods:
- Use a soft brush or cloth to wipe off loose dirt and dust.
- Apply a mild degreaser or automotive cleaner to break down grease and grime.
- Rinse gently with water, avoiding excessive moisture near the bearing area.
- Dry the clutch completely with compressed air or a clean towel to prevent rust.
Following these steps ensures your fan clutch stays in good shape and operates smoothly once back in place.
Inspecting for Wear
After cleaning your fan clutch thoroughly, the next step is to check it for signs of wear and damage. Start by spinning the clutch by hand; it should rotate smoothly without any grinding or resistance. Feel for any looseness in the bearing or excessive play in the fan blades.
Inspect the clutch’s surface for any unusual wear patterns or discoloration, which could indicate overheating. Check the mounting points to ensure they’re intact and not worn down. Also, look closely at the viscous fluid area inside the clutch—make sure it’s not leaking or dried out.
Catching these wear signs early helps you decide if the clutch needs replacement or if it can continue working effectively. This careful inspection guarantees your cooling system stays reliable and efficient.
Identifying Damage Signs
Although you’ve already inspected the fan clutch while it was mounted, removing it allows you to spot damage that’s harder to see before. Take a close look at the clutch surface and surrounding parts for any signs of trouble. Here’s what you should check:
- Cracks or Warping: Look for visible cracks or warping on the clutch body or fan blades.
- Oil Leaks: Check for any oil or fluid seepage, which indicates seal failure.
- Loose or Damaged Bearings: Spin the clutch by hand—any grinding noise or excessive play suggests bearing issues.
- Corrosion or Rust: Surface rust or corrosion can compromise the clutch’s performance and longevity.
Spotting these damage signs early helps you decide if replacement is necessary or if the clutch can be reused safely.
Reinstalling or Replacing the Fan Clutch Without Tools
When you’re ready to reinstall or replace the fan clutch without tools, you’ll want to make certain the mounting surfaces are clean and free of debris to guarantee a secure fit. Begin by aligning the fan clutch with the water pump hub, ensuring the bolt holes line up perfectly. Hand-tighten the bolts first to avoid cross-threading, then gradually tighten them in a crisscross pattern to distribute pressure evenly.
If you don’t have a wrench, use your hands or a sturdy object for added leverage, but be careful not to overtighten. After securing the clutch, spin the fan by hand to check for smooth operation and proper clearance. Finally, reconnect any disconnected hoses or belts, and start the engine to verify the fan clutch engages correctly.
Frequently Asked Questions
What Causes a Fan Clutch to Fail?
Your fan clutch fails because of worn bearings, a leaking fluid seal, or overheating.
You’ll notice it if your engine overheats or the fan spins too fast or too slow, signaling it’s time to replace it.
How Often Should a Fan Clutch Be Replaced?
Like changing the tires on your trusty steed, you should replace your fan clutch every 60,000 to 90,000 miles.
If you notice overheating or wobbling, don’t wait—get it checked and swapped promptly.
Can a Bad Fan Clutch Cause Engine Overheating?
Yes, a bad fan clutch can cause engine overheating because it won’t properly engage the fan to cool the radiator. You’ll notice higher temperatures, especially in stop-and-go traffic or hot weather conditions.
This happens because the fan clutch is responsible for regulating the fan speed based on the engine temperature. If it fails, the fan may not spin fast enough to provide adequate cooling.
As a result, the engine can run hotter than normal, leading to potential overheating issues. It’s important to address a faulty fan clutch promptly to avoid engine damage.
What Are the Symptoms of a Failing Fan Clutch?
You know what they say: “A stitch in time saves nine.” If your fan clutch’s failing, you’ll notice engine overheating, loud roaring noises, or your fan spinning excessively or not enough.
Don’t ignore these signs!
Is It Safe to Drive With a Faulty Fan Clutch?
It’s not safe to drive with a faulty fan clutch because your engine can overheat quickly. You’ll risk severe damage, so get it checked and fixed as soon as possible to avoid costly repairs.
Conclusion
Removing a fan clutch without a tool might seem tricky, but with patience and a bit of creativity, you can do it yourself. Remember, every step you take brings you closer to saving time and money. Like revealing a hidden door, this skill opens new possibilities for your vehicle maintenance.
Trust your hands, stay safe, and don’t rush—because sometimes, the best tools are the ones you already have. Mastering how to remove a fan clutch without a tool empowers you to handle car repairs confidently. This knowledge not only saves you money but also enhances your DIY vehicle maintenance skills.

