

To change a CV axle boot in 7 easy steps, start by identifying common signs of damage such as grease leaks or visible cracks. Having the right tools ready will make the process smoother and safer.
Begin by lifting and securely supporting your vehicle to ensure a stable working environment.
Next, remove the wheel and carefully take off the old CV boot. Clean the joint thoroughly to prevent dirt and debris from causing future issues.
Then, slide on the new boot, apply grease generously, and secure it tightly with clamps.
Finally, reassemble all components and double-check for smooth movement and any signs of leaks.
Following these steps will help you achieve a long-lasting repair and a safer drive.
Stick around for simple tips to maintain your CV axle boot and extend its lifespan.
Key Takeaways
- Safely lift the vehicle, loosen lug nuts, and remove the wheel to access the CV axle boot.
- Cut and remove old clamps, then peel off the damaged CV boot carefully.
- Slide the new boot onto the axle, distribute grease evenly inside, and position it correctly over the joint.
- Secure both ends of the boot with clamps, tightening them to prevent grease leakage and seal properly.
- Rotate the axle to test smooth movement and check for noises before reassembling and performing a test drive.
Identifying a Damaged CV Axle Boot
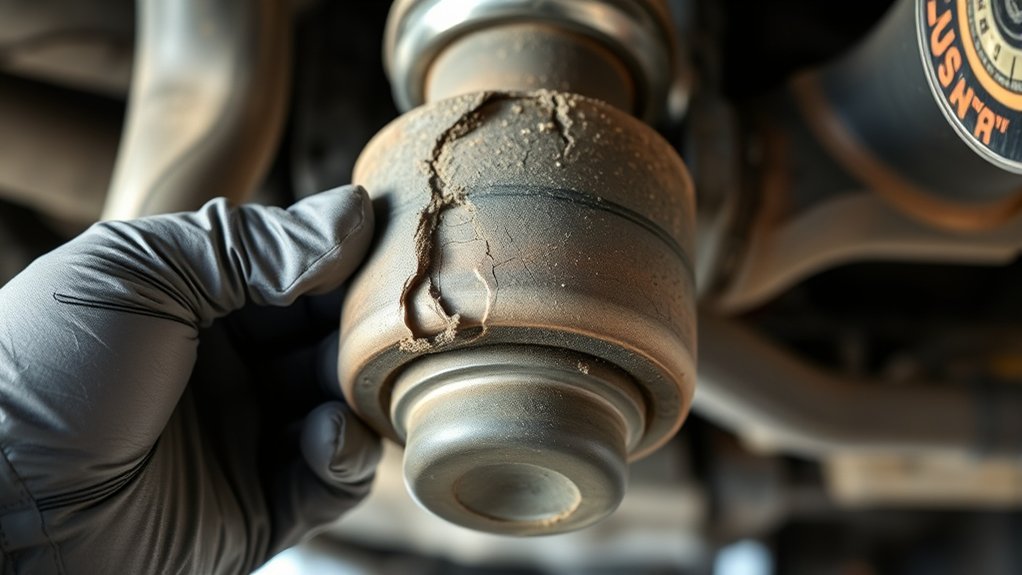
How can you tell if your CV axle boot is damaged? Look for grease splattered around the inside of your wheel or on nearby suspension parts—that’s a clear sign the boot’s torn and leaking. You might also notice a clicking or popping noise when you turn sharply, which happens because the joint isn’t properly lubricated.
Inspect the boot closely for cracks, tears, or splits, especially after driving on rough roads or through debris. If the boot looks dry and brittle, it’s likely compromised. Catching a damaged boot early is crucial; if dirt and moisture enter the joint, it can fail completely, leading to more costly repairs.
Tools Needed for CV Boot Replacement
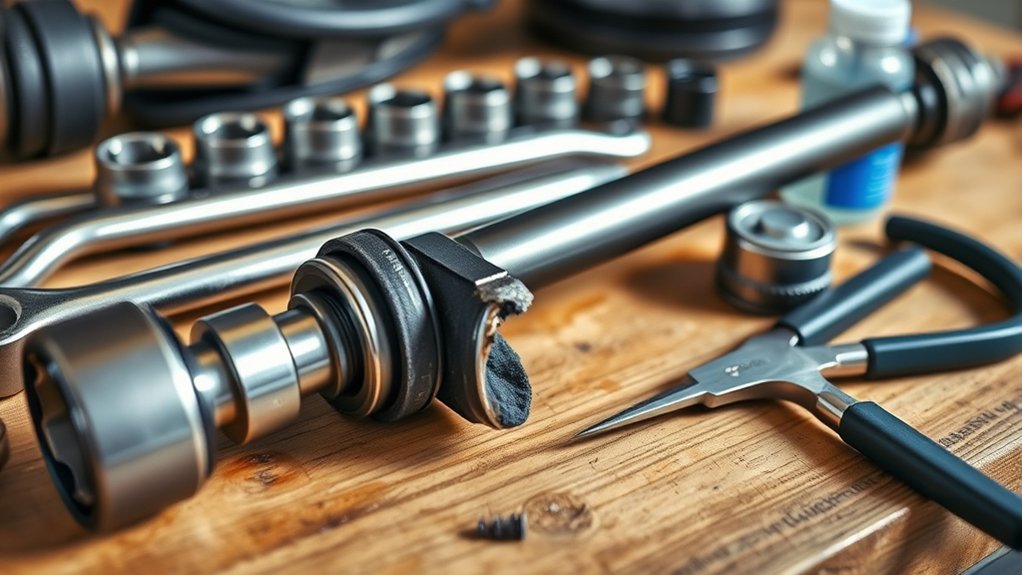
To replace a CV axle boot, you’ll need a mix of essential hand tools and some specialized equipment. Having the right tools ready makes the job smoother and helps avoid damage.
Let’s go over what you’ll need before you get started.
Essential Hand Tools
Before you begin replacing a CV axle boot, gather a set of essential hand tools that will make the job smoother and safer. You’ll need a good set of wrenches, including both open-end and socket wrenches, to remove axle nuts and bolts. A pair of pliers, especially needle-nose and locking pliers, will help you handle clamps and tight spots.
Don’t forget a flathead screwdriver to pry off old boots and clips carefully. A hammer can assist in loosening stuck parts without causing damage. Finally, a utility knife or scissors will be useful for trimming the new boot if needed.
Having these hand tools ready guarantees you can work efficiently and avoid frustrating interruptions during your CV boot replacement.
Specialized Replacement Equipment
Why settle for basic tools when specialized equipment can make your CV boot replacement easier and more precise? Using a CV boot clamp tool guarantees you tighten the boot securely without damaging it, preventing grease leaks. A boot banding tool helps you apply and crimp the metal bands evenly, giving a professional finish.
Don’t forget a snap ring plier—it lets you remove and install the circlip holding the axle components in place quickly and safely. A grease gun or applicator allows you to pack the joint with the right amount of grease efficiently. These specialized tools save time, reduce frustration, and minimize errors, making your job smoother and extending the life of your repair.
Investing in them means you’ll get the job done right the first time.
How to Safely Lift Your Vehicle for CV Boot Repair
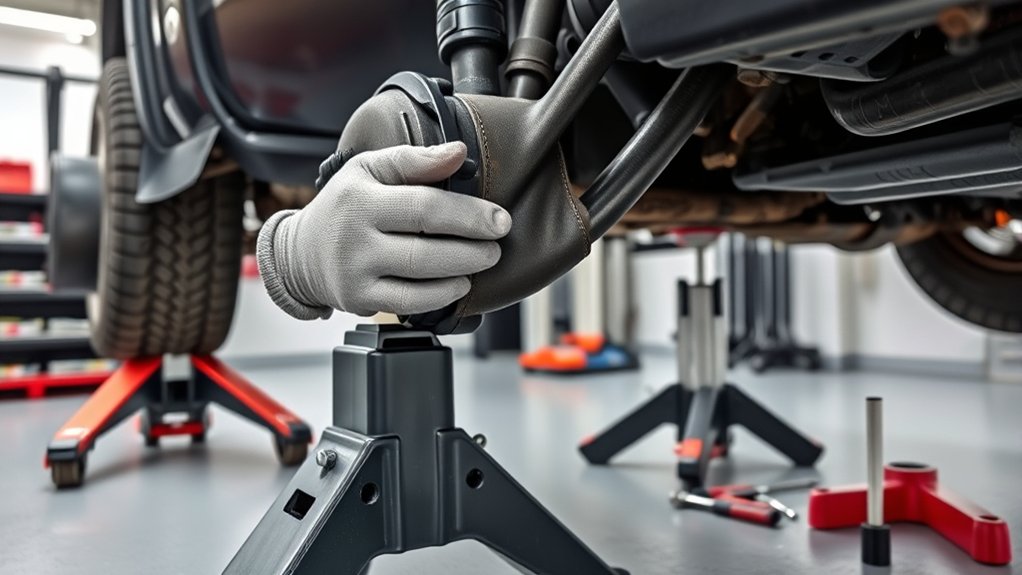
Lifting your vehicle safely is essential when working on a CV axle boot, and you’ll need just a few tools to get started. First, make certain the car is on a flat, stable surface to prevent any shifting.
Next, gather these items:
- Wheel chocks to block the opposite wheels.
- A reliable hydraulic floor jack to lift the vehicle.
- Jack stands to securely support the car once lifted.
- A lug wrench to loosen the wheel nuts before lifting.
Begin by loosening the lug nuts slightly while the vehicle is still on the ground. Then, position the jack under the manufacturer-recommended lift point and raise the car.
Start by loosening lug nuts on the ground, then lift the vehicle at the recommended point.
Immediately place jack stands beneath solid frame points to hold the vehicle safely. Never work under a car supported only by a jack.
How to Remove the Old CV Axle Boot
Once your vehicle is securely lifted and supported, you can focus on removing the old CV axle boot. Start by removing the wheel and any components blocking access to the axle, such as the brake caliper or rotor if necessary.
Next, loosen the axle nut and gently pry the CV joint out of the hub using a pry bar or appropriate tool. Be careful not to damage the joint or surrounding parts. Once free, slide the CV axle out enough to access the boot.
Cut the old boot clamps with pliers or a cutter, then carefully peel the damaged boot away from the joint. Dispose of the old boot and clamps properly. Now, your CV axle is ready for cleaning and inspection before installing the new boot.
Cleaning and Inspecting the CV Joint Before Installing
Before installing the new boot, you’ll need to thoroughly clean the CV joint to remove any dirt, grease, or debris. This step guarantees the joint operates smoothly and extends its lifespan. Start by wiping away old grease and contaminants with a clean rag.
Next, inspect the joint carefully for any signs of damage or wear.
Follow these steps:
- Use a solvent or brake cleaner to remove stubborn grease.
- Check for cracks, rust, or pitting on the joint surface.
- Rotate the joint to feel for roughness or binding.
- Ensure the splines and bearings move freely without excessive play.
Addressing any issues now prevents future failures and guarantees a successful boot replacement.
Installing the New CV Axle Boot and Greasing the Joint
Now that the joint is clean, you’ll want to prepare the new boot by sliding it onto the axle. Be sure to pack the joint with the right amount of grease to guarantee smooth operation.
Finally, secure the boot with the clamp to keep everything sealed tight.
Preparing The New Boot
Although installing the new CV axle boot requires some patience, you’ll find the process straightforward if you follow the steps carefully. Preparing the new boot properly guarantees a secure fit and protects the joint from contaminants. Here’s how to get started:
- Inspect the new boot for any defects or damage before installation.
- Clean the CV joint thoroughly to remove old grease and debris.
- Apply a thin layer of grease inside the boot’s neck to ease installation.
- Slide the boot gently onto the axle shaft without stretching or twisting it.
Taking these precautions helps maintain the boot’s integrity and prepares the joint for greasing and final assembly.
Applying Grease Properly
Once you’ve positioned the new boot correctly, start applying grease to the CV joint to guarantee smooth operation and prevent wear. Use the grease provided in the kit and pack it thoroughly inside the joint. Make sure to get the grease into all the crevices for complete coverage.
Don’t skimp on the amount—you want enough to lubricate without causing leaks.
Here’s a quick checklist to help you apply grease properly:
| Step | Tip |
|---|---|
| Use supplied grease | Ensures compatibility |
| Pack thoroughly | Fill all joint crevices |
| Avoid overfilling | Prevents boot damage |
Securing The Boot Clamp
After you’ve packed the CV joint with grease, you’ll need to secure the boot clamp tightly to keep everything sealed and protected. This step prevents dirt and moisture from entering, which could cause premature wear. Here’s how to do it correctly:
- Slide the boot clamp over the boot’s narrow end before positioning the boot on the axle.
- Position the boot so it sits evenly on the axle and joint, avoiding wrinkles or folds.
- Use a clamp tool or pliers to tighten the clamp firmly around the boot’s lip, ensuring a snug fit without damaging the boot.
- Double-check the clamp’s tightness and the boot’s placement to confirm a proper seal.
Securing the boot clamp properly ensures your CV joint stays lubricated and lasts longer.
Reassembling and Testing Your CV Boot Repair
Before you fully reassemble the CV axle boot, double-check that the grease is evenly distributed inside the boot and that the clamps are securely in place. Carefully slide the boot back onto the axle, making sure it fits snugly. Tighten any remaining clamps and clean off excess grease.
Next, test your repair by rotating the axle and listening for unusual sounds or resistance.
| Step | What to Check |
|---|---|
| Grease Distribution | Ensure even coverage inside boot |
| Clamp Security | Confirm clamps are tight and sealed |
| Boot Fit | Verify boot is properly seated |
| Test Rotation | Rotate axle, listen for irregularities |
Performing these checks guarantees your CV boot repair is solid and ready for the road.
Frequently Asked Questions
How Long Does a CV Axle Boot Typically Last?
A CV axle boot typically lasts about 70,000 to 130,000 miles. You’ll want to inspect it regularly, since cracks or tears can cause grease leaks and lead to axle damage if you don’t replace it promptly.
Regular inspections help catch damage early and prevent costly repairs. If you notice any signs of wear, it’s best to address them immediately. Proper maintenance can extend the life of your CV axle boot significantly.
Can I Drive With a Torn CV Axle Boot?
You shouldn’t drive with a torn CV axle boot because dirt and moisture will damage the joint quickly. If you keep driving, the axle could fail, leaving you stranded and costing you more in repairs.
What Causes CV Axle Boots to Fail Prematurely?
Did you know 70% of CV axle boot failures happen due to poor maintenance? You’ll find that exposure to road debris, extreme temperatures, and grease breakdown cause your boot to crack and tear prematurely, so keep it clean and inspected.
Are There Different Types of CV Axle Boots?
Yes, you’ll find different CV axle boots made from rubber, neoprene, or thermoplastic. Each type offers varying durability and flexibility, so you’ll want to choose one that fits your vehicle’s needs and driving conditions.
How Much Does Professional CV Boot Replacement Cost?
You might think a professional CV boot replacement costs a fortune, but it usually runs between $150 and $400.
Don’t worry, you’ll get quality work without emptying your wallet or selling a kidney!
Conclusion
Changing a CV axle boot might sound like rocket science, but you’ve just mastered it like a pro mechanic! With these seven easy steps, you’ve saved a fortune and dodged a major car disaster.
Your car’s now protected from dirt and grime like it’s got a superhero shield. So next time your ride gives you trouble, you’ll know exactly how to tackle it—like a total car wizard.
You’ve got this! By learning how to change a CV axle boot, you ensure your vehicle stays in top shape and avoid costly repairs down the road.

