


To put a fuel filter in 7 easy steps, start by gathering the necessary tools and locating the fuel filter using your vehicle manual. Knowing how to replace a fuel filter is essential for maintaining your car’s performance and preventing engine issues.
Disconnect the battery and safely relieve fuel pressure to avoid fuel spills and ensure safety.
Next, remove the old fuel filter by loosening the clamps and carefully noting the positions of the fuel lines for proper reinstallation.
Install the new fuel filter in the correct flow direction, tighten all fittings securely, and fasten it with clips to keep it in place.
Finally, reconnect the battery, check for any leaks, start your engine, and take a short test drive to confirm everything is working properly.
Follow along to find out how to do each step properly and keep your vehicle running smoothly.
Key Takeaways
- Relieve fuel system pressure and disconnect the negative battery terminal for safety before starting the fuel filter replacement.
- Locate the fuel filter using the vehicle manual and gather necessary tools including wrenches, gloves, and safety goggles.
- Carefully disconnect fuel lines from the old filter, noting their orientation, and remove mounting brackets or clips.
- Install the new filter following the flow direction, securely attach fuel lines, and tighten clamps without overtightening.
- Reconnect the battery, prime the fuel system by turning the ignition on, check for leaks, start the engine, and test drive.
Why and When to Change Your Fuel Filter
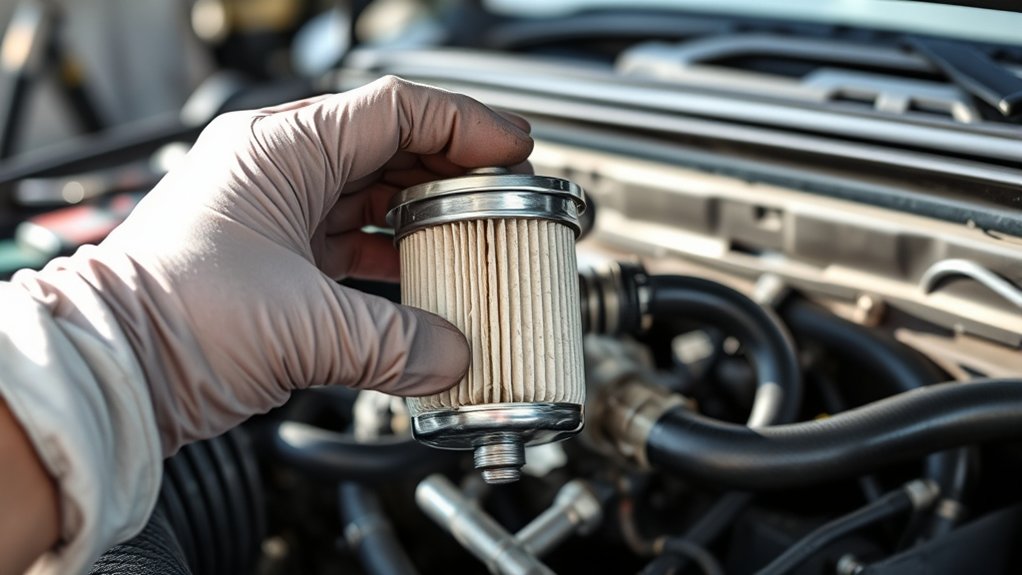
Although you might not notice it right away, changing your fuel filter is essential to keeping your engine running smoothly. The fuel filter traps dirt, rust, and other contaminants from reaching your engine. Over time, it clogs up, restricting fuel flow and causing poor performance, hesitation, or even stalling.
If you neglect it, your engine could suffer damage or reduced fuel efficiency. You should replace your fuel filter according to your vehicle manufacturer’s recommendations, usually every 20,000 to 40,000 miles. Signs you need a change include trouble starting, rough idling, or decreased power.
Gather Tools and Materials for Fuel Filter Replacement
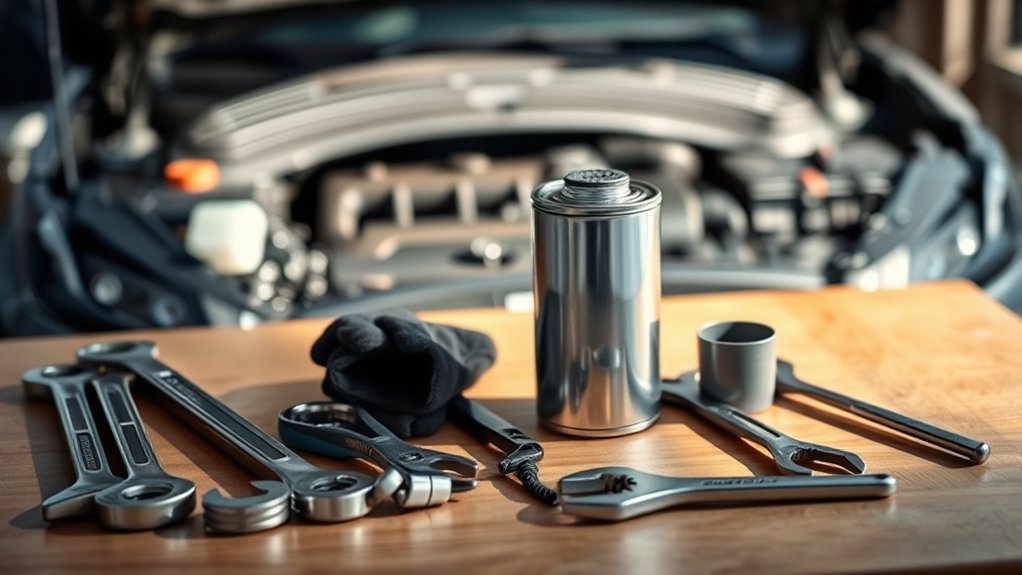
Before you start, make sure you have the essential tools like wrenches and screwdrivers ready.
Pick the right fuel filter that fits your vehicle’s make and model.
Don’t forget safety gear like gloves and eye protection to keep yourself safe during the job.
Essential Tools Checklist
To replace your fuel filter smoothly, you’ll need to gather the right tools and materials first. Start with a new fuel filter designed for your vehicle. You’ll also need a wrench set or socket set to loosen fittings and clamps.
A flathead screwdriver often helps with hose clamps. Have a pair of pliers handy for stubborn clips. Don’t forget safety gear like gloves and safety glasses to protect yourself from fuel spills.
A container or rag is useful to catch any fuel drips during removal. Finally, keep some shop towels nearby for quick cleanups. Having these essentials ready will make the replacement process efficient and safe, so you’re prepared before you start working under the hood.
Choosing The Right Filter
When selecting a fuel filter, you’ll want to choose one that matches your vehicle’s make and model precisely to guarantee proper fit and function. Using the wrong filter can cause poor performance or damage to your engine. To pick the right filter, follow these steps:
- Check your vehicle’s owner manual for the exact fuel filter part number.
- Visit an auto parts store or website and search using that part number.
- Confirm the filter’s specifications, such as pressure rating and fuel type compatibility.
- Compare brands and read reviews to choose a reliable, high-quality filter.
Safety Equipment Needed
Why should you prioritize safety equipment during a fuel filter replacement? Working with fuel involves flammable liquids and fumes, so protecting yourself is essential. Before you begin, make certain you have safety goggles to shield your eyes from splashes, and gloves to prevent skin contact with fuel.
Wearing long sleeves and pants adds an extra layer of protection. It’s also smart to have a fire extinguisher nearby in case of emergencies. Work in a well-ventilated area to avoid inhaling harmful fumes.
Additionally, keep a rag or absorbent cloth handy to clean up any spills immediately. By gathering and using the right safety gear, you minimize risks and guarantee a smoother, safer fuel filter replacement process.
Find Your Vehicle’s Fuel Filter
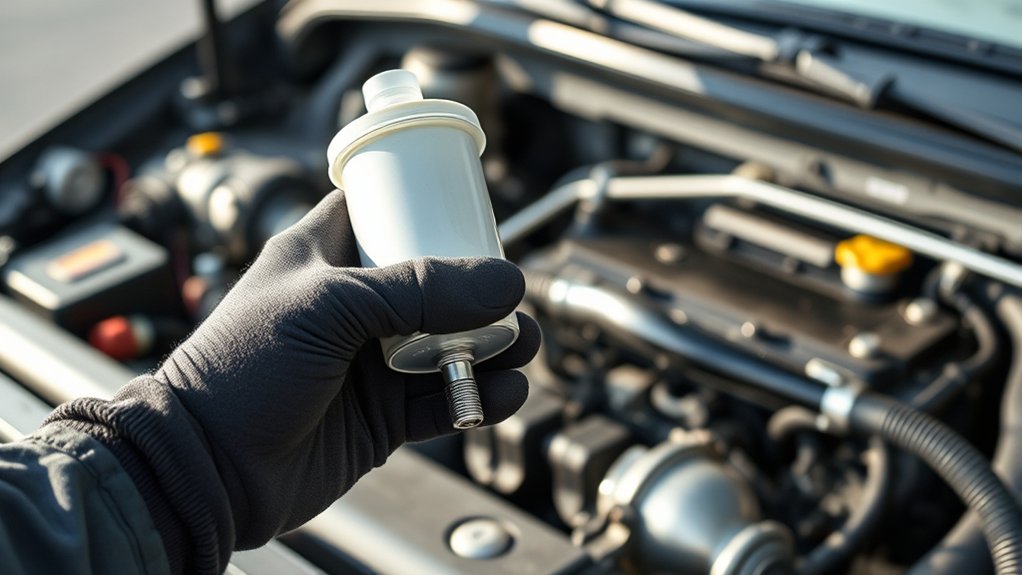
Before you start, locate your vehicle’s fuel filter by checking under the hood or along the fuel line. Your vehicle manual is the best guide to pinpoint its exact location.
Having this info ready will make the replacement process smoother.
Locating Fuel Filter
Where exactly is your fuel filter located? Finding it is key before you start replacement. Most vehicles have the fuel filter in one of these common spots:
- Along the fuel line under your car, near the fuel tank or fuel pump.
- Inside the engine bay, often attached to the firewall or near the carburetor/injectors.
- Inside the fuel tank itself, especially on newer models with in-tank filters.
- Underneath the vehicle, near the frame rail or close to the gas tank.
Take a careful look under your vehicle and in the engine compartment. The fuel filter usually looks like a small canister or cylinder with fuel lines connected to both ends. Spotting it early saves time and prevents mistakes during replacement.
Vehicle Manual Reference
Once you’ve identified the general area where your fuel filter is located, your vehicle manual becomes an invaluable guide. It provides exact details on the filter’s position, type, and any special instructions for removal or installation. Don’t skip this step—your manual is tailored to your vehicle’s make and model, ensuring you avoid guesswork.
Look for sections labeled “Fuel System” or “Maintenance” to find diagrams and specifications. If you don’t have a physical copy, you can often find a digital version online through the manufacturer’s website. Using the manual helps you pick the right replacement part and follow safety precautions specific to your vehicle.
Following these guidelines makes the process smoother and prevents costly mistakes.
Safely Relieve Fuel Filter Pressure
How do you safely relieve the pressure in your fuel filter to avoid fuel spray? You need to release the built-up fuel pressure before disconnecting the filter. Here’s how:
- Locate the fuel pump fuse or relay using your vehicle manual.
- Start the engine, then remove the fuse or relay to stop the fuel pump.
- Let the engine run until it stalls, which uses up the fuel in the lines.
- Turn off the ignition and disconnect the negative battery terminal to prevent sparks.
Remove the Old Fuel Filter Carefully
After safely relieving the fuel pressure and disconnecting the battery, you can now focus on removing the old fuel filter. First, locate the filter—usually along the fuel line under the vehicle or near the engine. Place a container or rag beneath it to catch any fuel that might spill.
Loosen the clamps or fittings holding the filter using the appropriate tools, but don’t force them to avoid damage. Carefully disconnect the fuel lines, noting their positions for reinstallation. Handle the filter gently to prevent fuel leakage.
Once free, remove the old filter and dispose of it properly, as it contains hazardous material. Take your time during this step to guarantee safety and prevent fuel spills, which can be dangerous and messy.
Install the New Fuel Filter the Right Way
Though installing the new fuel filter might seem straightforward, you’ll want to double-check its orientation and connections to guarantee proper fuel flow. Start by identifying the flow direction marked on the filter; it’s essential to align it correctly.
Double-check your new fuel filter’s orientation and connections to ensure proper fuel flow and engine performance.
Next, follow these steps:
- Position the new filter in the bracket, ensuring it fits snugly.
- Connect the fuel lines securely, pushing them onto the filter’s inlet and outlet.
- Tighten any clamps or fittings to prevent leaks, but don’t overtighten.
- Reattach any protective covers or clips you removed earlier.
Taking these steps carefully ensures your new fuel filter works efficiently, protecting your engine and maintaining smooth performance.
Check for Fuel Filter Leaks and Test Your Vehicle
Once you’ve securely installed the new fuel filter and reattached any covers, it’s time to check for leaks and make sure everything works properly. Start by turning the ignition key to the “on” position without starting the engine. This will pressurize the fuel system.
Carefully inspect the filter connections and surrounding areas for any signs of fuel leakage. If you see drips or wet spots, tighten the fittings or clamps as needed. Next, start your vehicle and let it idle for a few minutes.
Watch again for leaks and listen for any unusual sounds like sputtering or hesitation. Finally, take your car for a short test drive to confirm smooth performance. If everything runs well, you’ve successfully replaced your fuel filter.
Frequently Asked Questions
Can a Clogged Fuel Filter Cause Engine Misfires?
Yes, a clogged fuel filter can cause engine misfires because it restricts fuel flow to the engine. You’ll notice rough idling, hesitation, or stalling, so replacing the filter often fixes these performance issues quickly.
How Often Should Diesel Vehicles Have Their Fuel Filters Changed?
You should change your diesel vehicle’s fuel filter every 10,000 to 25,000 miles, depending on your driving conditions and manufacturer recommendations. Regular changes keep your engine running smoothly and prevent costly repairs down the road.
Are Fuel Filters Reusable After Cleaning?
No, fuel filters aren’t reusable after cleaning because they trap tiny particles that can’t be fully removed.
You’ll need to replace them to keep your engine running smoothly and avoid potential damage or clogs.
What Are Signs of a Failing Fuel Pump Versus a Fuel Filter?
If your engine sputters like a fading heartbeat, it’s likely the fuel pump struggling.
But if it stumbles only under load or hesitation, your fuel filter’s clogged.
You’ll feel the difference in your ride’s breath.
Can Using a High-Quality Fuel Filter Improve Gas Mileage?
Yes, using a high-quality fuel filter can improve gas mileage by ensuring cleaner fuel reaches your engine, reducing clogging and inefficiency.
You’ll notice smoother performance and potentially better fuel economy over time.
Conclusion
Changing your fuel filter might seem tricky, but it’s simpler than you think—and it saves you costly repairs down the road. By following these easy steps, you’ll improve your engine’s performance and fuel efficiency. Don’t worry if you’re not a mechanic; with the right tools and safety precautions, you can handle this yourself.
Taking a little time now means smoother rides ahead and peace of mind knowing your vehicle runs at its best. Regular maintenance, like how to put a fuel filter in 7 easy steps, ensures your car stays reliable. Improving fuel flow and protecting your engine from contaminants will keep your vehicle running smoothly for miles to come.

