


To read a battery charger step by step, it’s important to understand the basics of battery charger indicators and connections. Start by ensuring the charger is properly connected—attach the red clamp to the positive terminal and the black clamp to the negative terminal, then plug the charger into a power source.
Understanding how to read a battery charger helps you monitor the charging process safely and effectively.
Next, check the indicator lights carefully. A red light usually means the battery is charging, green signals a full charge, and a flashing red light indicates an error or issue.
Identifying the charging mode, such as fast or trickle charge, is also essential to know how your battery is being charged.
Monitor any voltage or current readings displayed on the charger to assess the battery’s condition. Keep the terminals clean to ensure a good connection and watch for any signs of overheating during charging.
Following these steps will help you maintain your battery charger and extend your battery’s life.
Key Takeaways
- Connect charger clamps correctly: red to positive (+) and black to negative (–) terminals, ensuring secure and clean contact.
- Observe indicator lights: red means charging, green means fully charged, and flashing red signals errors or connection issues.
- Select appropriate charging mode based on battery type and voltage settings before starting the charge cycle.
- Monitor digital displays for charge status, error codes, and mode icons to understand the charging progress.
- Perform regular maintenance by cleaning terminals, checking cables, and allowing the charger to cool if overheating occurs.
How to Identify Key Parts of a Battery Charger
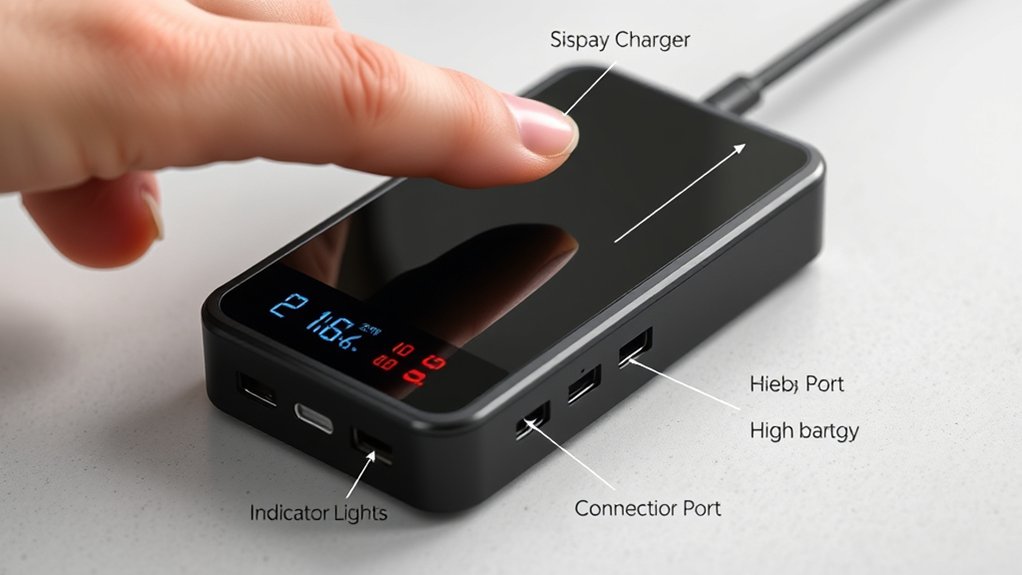
Before you start charging, you need to recognize the main parts of your battery charger. First, locate the power cord that plugs into the outlet—without it, your charger won’t work. Next, find the clamps or connectors; these attach directly to your battery terminals.
Usually, the red clamp connects to the positive (+) terminal, and the black clamp connects to the negative (–) terminal. The charger also has a display or control panel where you’ll find buttons or switches to adjust settings. Finally, identify the vents or cooling fans, which prevent overheating.
Knowing these parts helps you handle your charger safely and efficiently. Once you’re familiar with these, you’ll be ready to move on to understanding how to interpret the charger’s indicator lights.
How to Read Indicator Lights on Your Charger
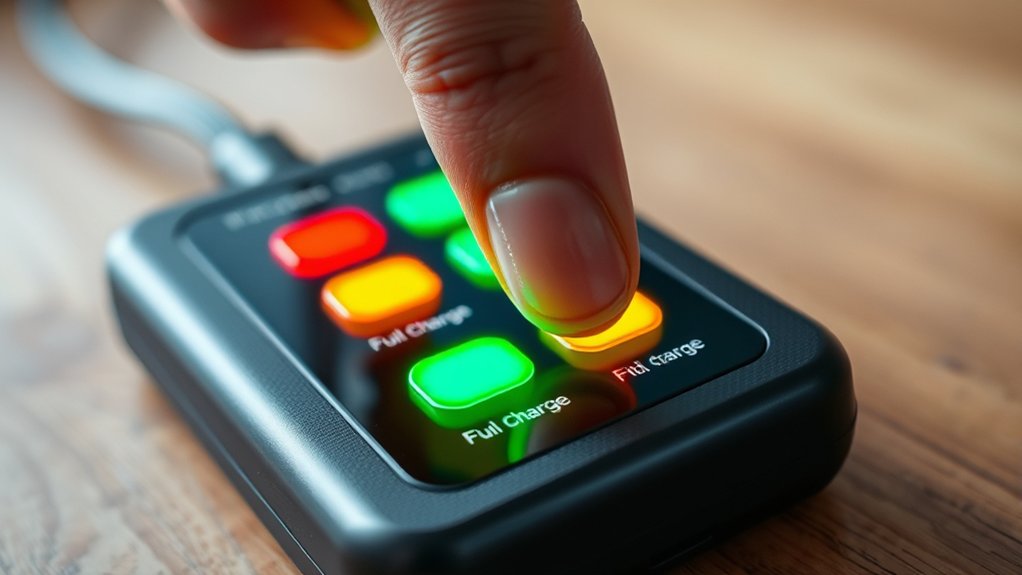
You’ll notice your charger uses different light colors to show its status, like red, green, or yellow. Each color often has specific meanings, such as charging, fully charged, or a problem.
Understanding these light patterns helps you know exactly what’s happening with your battery.
Common Light Colors
How can you quickly tell if your battery charger is working properly? One of the easiest ways is by observing the common light colors on your charger. These colors give you instant feedback on the charging status, letting you know if the battery is charging, fully charged, or if there’s an issue.
Here’s a quick guide to what each color typically means:
| Light Color | Meaning | What You Should Do |
|---|---|---|
| Red | Charging | Let it charge, no action needed |
| Green | Fully Charged | Disconnect the charger |
| Yellow/Amber | Standby/Trickle | Battery is maintaining charge |
| Blue | Power On/Ready | Charger is powered and ready |
| Flashing Red | Error or Fault | Check battery or connections |
Watching these colors helps you use your charger effectively every time.
Light Patterns Meaning
Although the light colors on your battery charger give you a general idea of its status, the patterns they follow—such as steady, blinking, or alternating flashes—can provide more detailed information. A steady light usually means the battery is fully charged or the charger is in standby mode. When the light blinks slowly, it often indicates the battery is charging.
Rapid blinking might signal a problem, like a bad connection or a faulty battery. Alternating flashes between colors can mean the charger is in a diagnostic or recovery mode. By paying attention to these patterns, you can quickly diagnose your battery’s condition and guarantee your charger is working properly.
Always check your charger’s manual for specific pattern meanings, as they can vary by model.
How to Interpret Digital Displays and Battery Symbols

You’ll notice your charger has digital icons that give real-time info about your battery’s status. Learning what these symbols mean helps you track charging progress and spot any issues quickly.
Let’s break down the common display icons and battery charge symbols you’ll see.
Understanding Digital Display Icons
When you look at a battery charger’s digital display, you’ll notice various icons and symbols that provide essential information about the charging process. You’ll see indicators like battery outlines, which show the charge level, and plug icons that confirm the charger’s connection to a power source. Some chargers include temperature or warning symbols to alert you if the battery is overheating or if there’s a problem.
You might also find icons representing charging modes, such as fast charge or trickle charge, helping you understand how your battery is being treated. By familiarizing yourself with these icons, you can monitor the charging status accurately and assure your battery charges safely and efficiently without guessing or second-guessing the display.
Decoding Battery Charge Symbols
Since battery chargers use a variety of symbols to convey important information, learning to decode these icons will help you understand your battery’s status quickly and accurately. Look for common symbols like a battery outline, which usually indicates charge level. Bars inside the battery icon show how full your battery is—more bars mean a higher charge.
A lightning bolt often signals that charging is in progress, while a checkmark means the battery is fully charged. Some chargers display temperature warnings or error symbols if something’s wrong. Digital displays might show percentages or voltage, giving you precise details.
What Charging Modes Mean and How to Use Them
Although battery chargers come with various modes, understanding what each mode does helps you select the right one for your battery type and condition.
Here’s a quick guide to the most common charging modes you’ll encounter:
- Trickle Charge: Delivers a low, steady current to maintain a full battery without overcharging.
- Fast Charge: Provides a higher current for quick charging but isn’t suitable for all batteries.
- Bulk Charge: Charges the battery at a constant current until it reaches a set voltage.
- Absorption Charge: Keeps the voltage steady while the current gradually decreases, topping off the battery.
- Float Charge: Maintains the battery at full charge by supplying a small, continuous current.
Choosing the correct mode guarantees your battery charges safely and lasts longer.
How to Read Voltage and Amperage on Your Charger
Understanding how to read the voltage and amperage on your charger helps you monitor the charging process and guarantees your battery gets the right amount of power. First, look for the voltage display, usually marked as “V.” This tells you the electrical potential being delivered.
Make certain it matches your battery’s required voltage to avoid damage. Next, check the amperage, marked as “A” or “mA,” which shows the current flow rate. A higher amperage means faster charging but can stress the battery if too high.
Many chargers let you adjust this setting; choose a lower amperage for slower, safer charging. By regularly checking these readings, you can confirm your charger operates correctly and your battery charges efficiently without overheating or overloading.
Signs Your Battery Charger Shows When Fully Charged or Faulty
Keeping an eye on your charger’s voltage and amperage readings is just the start. You’ll also want to recognize signs that show when your battery is fully charged or if the charger is faulty. Here’s what to watch for:
- The charger’s indicator light turns green or switches to a “charged” symbol.
- Amperage drops markedly, often nearing zero, signaling full charge.
- Voltage stabilizes at the battery’s rated level without rising further.
- Unusual heating or buzzing sounds from the charger, which may indicate faults.
- Indicator lights flashing or turning red, suggesting errors or connection issues.
How to Adjust Charger Settings Safely for Best Results
Before you start charging, make sure you set the voltage and amperage according to your battery’s specifications to avoid damage or inefficient charging. Adjusting the settings properly guarantees your battery charges safely and lasts longer. Use the charger manual to find the correct values, then input them carefully.
| Setting | Recommendation |
|---|---|
| Voltage | Match battery’s rated voltage |
| Amperage | Use 10-20% of battery capacity |
| Mode | Select standard or fast charge |
| Safety Checks | Enable auto shutoff if available |
Always double-check your settings before plugging in the charger. Avoid setting the current too high, as it can overheat the battery. By following these steps, you’ll optimize charging performance and safety every time.
Troubleshooting Common Issues When Reading Your Battery Charger
If your charger’s display or indicators aren’t showing the expected information, don’t panic. You can often fix common issues with simple checks. First, make certain the charger is properly connected to both the power source and the battery.
Next, verify the battery type and voltage settings match your battery. If the charger still doesn’t work, look for error codes or blinking lights and consult the manual. Sometimes, dust or corrosion on terminals can disrupt readings, so clean them gently.
Finally, if the charger overheats, unplug it and let it cool down before trying again.
Here’s a quick checklist:
- Check all cable connections
- Confirm correct battery type and voltage
- Look up error codes in the manual
- Clean terminals for better contact
- Allow charger to cool if overheated
Frequently Asked Questions
Can I Use the Charger for Different Battery Types?
You can use the charger for different battery types only if it’s designed for them. Always check the charger’s specifications to avoid damage or safety risks. Using the wrong charger can harm your batteries or device.
How Often Should I Calibrate My Battery Charger?
Imagine a clock ticking steadily—calibrate your battery charger every three to six months to keep it precise. This routine guarantees your charger delivers accurate power, protecting batteries and extending their life.
Don’t let time dull its accuracy.
Is It Safe to Leave the Charger Unattended While Charging?
It’s generally safe to leave the charger unattended if it has automatic shutoff and safety features.
Still, you should check periodically to avoid overheating or overcharging, keeping your battery and surroundings safe.
What Maintenance Does a Battery Charger Require?
You should regularly clean the charger’s contacts, check cables for damage, and store it in a dry place.
Don’t forget to inspect the charger for any signs of wear or overheating to keep it working safely and efficiently.
Can Extreme Temperatures Affect Charging Efficiency?
Did you know extreme temperatures can reduce battery charging efficiency by up to 50%? Yes, they do. You’ll notice slower charging and potential damage,
so avoid charging in very hot or freezing conditions to keep your battery healthy.
Conclusion
Now that you know how to read your battery charger, you’re equipped to charge smarter and safer. Did you know that nearly 30% of batteries fail prematurely due to improper charging? By understanding indicator lights, voltage, and modes, you can avoid that risk and extend your battery’s life.
Keep an eye on those displays and signs, adjust settings carefully, and troubleshoot issues promptly. You’ll get the most reliable power every time. Proper knowledge of your battery charger is key to maintaining battery health and performance.

