


To use your Cen Tech battery charger in 7 easy steps, start by preparing your battery and charger in a clean, dry, and well-ventilated area. Proper setup is essential for safe and effective charging. Ensuring a suitable environment helps prevent accidents and improves charger performance.
Next, connect the red clamp to the positive terminal of the battery. Then attach the black clamp to the negative terminal or a grounded vehicle frame.
Choosing the right charging mode for your specific battery type is crucial to avoid damage.
After selecting the mode, plug in and power on the charger. Monitor the charging status closely throughout the process.
Once the battery is fully charged, safely disconnect the clamps.
Follow these steps carefully, and you can explore more tips for safe and effective charging.
Key Takeaways
- Ensure the battery and charger voltage match, and connect red clamp to positive and black clamp to negative terminals securely.
- Select the appropriate charging mode for your battery type, then plug in and power on the charger.
- Monitor indicator lights and display for charging progress, ensuring proper ventilation and safety precautions.
- Turn off and unplug the charger once full charge is indicated, then safely disconnect clamps starting with the negative terminal.
- Troubleshoot by checking power source, connections, and charger settings if charging does not start or errors appear.
Prepare Your Battery and Charger Safely
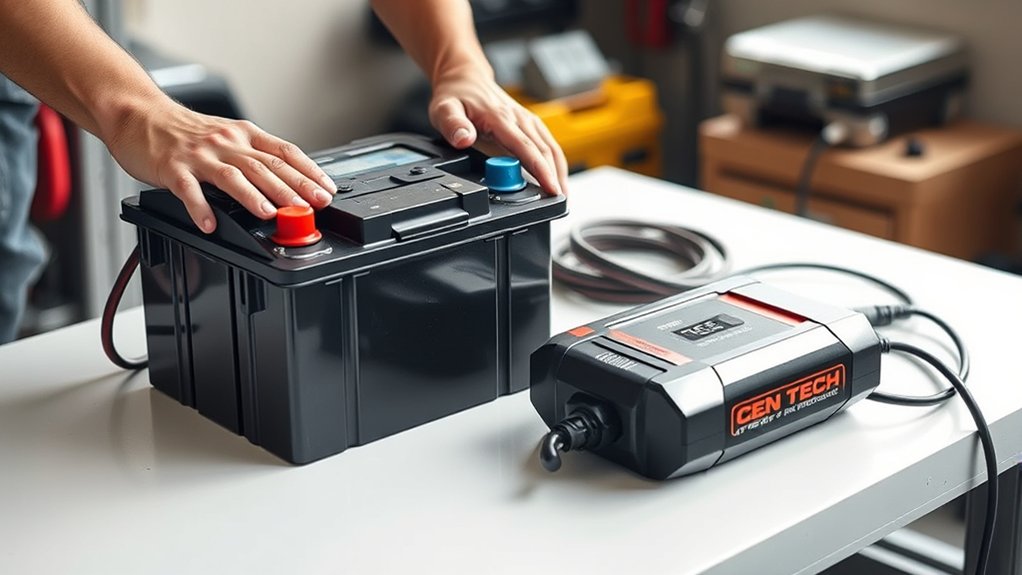
Before you begin charging, make certain you’re in a well-ventilated area and that both the battery and charger are clean and dry. You don’t want moisture or dust interfering with the process. Check your battery for any cracks or leaks—if you spot damage, don’t proceed until it’s fixed or replaced.
Wear protective gloves and eyewear to shield yourself from acid or sparks. Inspect the charger’s cables and connectors for frays or corrosion; damaged parts can cause unsafe conditions. Make sure the charger is turned off before handling it.
Confirm your battery’s voltage matches the charger’s settings to avoid overcharging or undercharging. Taking these safety steps ensures you’re ready to charge efficiently and avoid accidents.
Connect the Cen Tech Battery Charger to the Battery
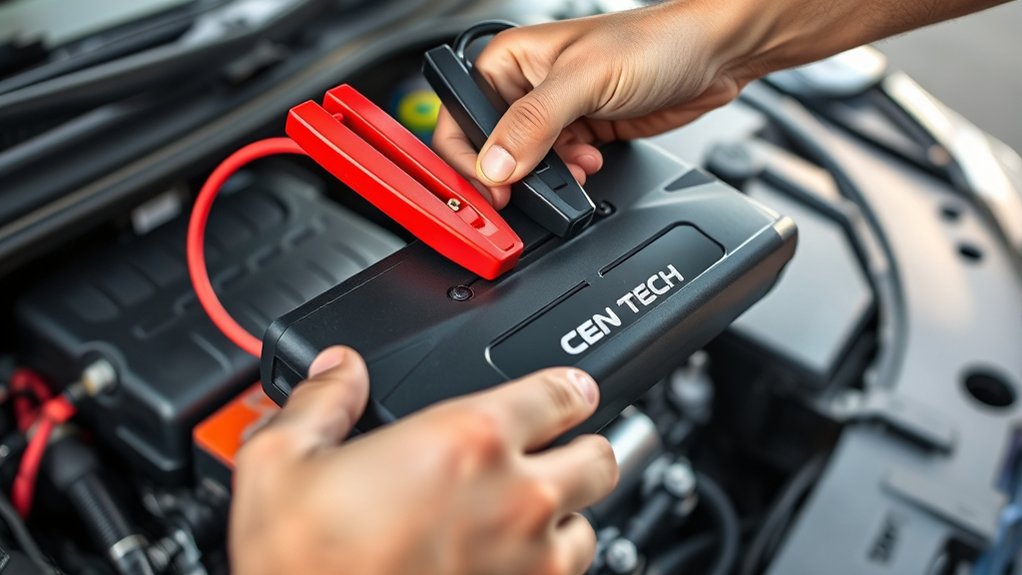
Now, you’ll need to identify the positive and negative terminals on your battery. Make certain to connect the charger clamps securely to the correct terminals—red to positive and black to negative.
This guarantees a safe and effective charging process.
Identifying Battery Terminals
How do you correctly identify the battery terminals to connect your Cen Tech Battery Charger? First, locate the positive terminal, usually marked with a plus sign (+) and often covered with a red cap or cable. The negative terminal has a minus sign (–) and is typically black or has no cover.
Make sure the battery surface is clean to clearly see these markings. Avoid confusing the terminals, as connecting the charger incorrectly can damage both the battery and the charger. If your battery terminals are corroded, wipe them gently with a cloth before proceeding.
Once you’ve identified the positive and negative terminals correctly, you’re ready to move on to attaching the charger clamps safely and properly.
Securing Charger Clamps
After identifying and cleaning the battery terminals, you can start attaching the charger clamps. First, connect the red clamp to the positive terminal, which is usually marked with a plus sign (+) or “POS.” Make sure the clamp grips the terminal firmly to guarantee a good connection.
Next, attach the black clamp to the negative terminal, marked with a minus sign (−) or “NEG.” If your battery is still installed in the vehicle, connect the black clamp to an unpainted metal part of the car’s frame or engine block instead of the negative terminal to reduce spark risks.
Double-check both clamps are secure and won’t slip during charging. Properly securing the clamps assures safe, effective charging without damaging the battery or charger.
Choose the Right Charging Mode for Your Battery
Before you start charging, you need to select the correct mode that matches your battery type and condition. Cen Tech chargers usually offer modes for standard lead-acid, AGM, and gel batteries. Choose the mode that fits your battery to guarantee safe, efficient charging.
If your battery is deeply discharged, some chargers have a recovery or trickle mode to gently revive it. Avoid using a fast charge mode on older or weak batteries, as that can cause damage. Check your battery’s label or manual to identify its type, then match that with the charger’s settings.
Picking the right mode helps extend battery life and prevents overheating or overcharging. Take a moment to verify the setting before plugging in your charger.
Plug In and Power On Your Cen Tech Battery Charger
First, find a nearby power source to plug in your Cen Tech battery charger. Next, connect the charger’s clamps securely to the battery terminals. Finally, switch on the charger to begin the charging process.
Locate Power Source
When you’re ready to power on your Cen Tech battery charger, start by finding a suitable power outlet nearby. Make sure the outlet matches the charger’s voltage requirements, usually indicated on the device label or manual. Avoid using extension cords or power strips if possible, as they can reduce charging efficiency or cause safety issues.
Check that the outlet is clean, dry, and free from any damage. If you’re working in a garage or workshop, ensure the area is well-ventilated and away from flammable materials. Once you confirm the power source is appropriate, plug the charger’s power cord securely into the outlet.
Now your charger is ready to be powered on, setting you up for the next step in the charging process.
Connect Charger Properly
Once you’ve secured the power source, connect the charger’s clamps to your battery terminals—red to positive and black to negative—ensuring a firm, clean contact. This step is vital to avoid sparks or damage. Double-check the connections for a secure fit before proceeding.
Next, plug the charger into the power outlet, but don’t turn it on just yet.
Follow these steps to connect properly:
- Verify clamp polarity to prevent battery damage or accidents.
- Clean terminals if corroded to guarantee efficient charging.
- Secure clamps tightly so they won’t slip during use.
Turn On Charger
After confirming your clamps are securely connected, you can plug your Cen Tech battery charger into the power outlet. Once plugged in, turn on the charger using the power switch—usually located on the front or side of the device. You’ll see indicator lights or a digital display activate, showing the charger is ready.
Select the appropriate charging mode or amperage based on your battery’s specifications, if your model allows it. This step is vital for efficient and safe charging. Keep an eye on the charger’s display or lights throughout the process to monitor progress and detect any issues.
When charging finishes, turn off the charger before unplugging it and disconnecting the clamps. This guarantees safety and protects both your battery and charger.
Monitor Charging Status on Your Cen Tech Battery Charger
Although the charging process runs automatically, you’ll want to keep an eye on your Cen Tech battery charger’s display to track progress. The screen provides essential info that helps you understand how well your battery is charging.
Keep an eye on your Cen Tech charger’s display to monitor battery charging progress easily.
Here’s what to watch for:
- Charging Percentage: This shows how much power your battery has gained, so you know when it’s nearing full charge.
- Charging Mode: The charger may switch modes (bulk, absorption, float) based on the battery’s condition. Watching this reassures you it’s working correctly.
- Error Indicators: Any warnings or faults pop up here. Noticing them early can prevent damage or safety issues.
Know When to Disconnect Your Cen Tech Battery Charger
When your Cen Tech battery charger reaches full capacity, you’ll want to disconnect it promptly to maintain battery health and safety. Keep an eye on the charger’s indicator lights, which typically shift from red to green when charging is complete. Once you see the green light, it means your battery is fully charged and ready for use.
Leaving the charger connected beyond this point can cause overcharging, reducing battery lifespan or causing damage. Always unplug the charger from the power source first, then disconnect the battery terminals to avoid sparks or electrical issues.
Troubleshoot Common Issues With Your Cen Tech Battery Charger
Keeping an eye on your Cen Tech battery charger’s indicator lights helps you know when to disconnect, but sometimes the charger might not work as expected. If you face issues, don’t worry—you can troubleshoot quickly.
- No power or lights: Check the power source and ensure the charger is plugged in properly. Faulty outlets or loose connections often cause this issue.
- Battery not charging: Verify that the clamps are clean and securely attached to the battery terminals. Corrosion or weak contact can prevent charging.
- Overheating or shutting off: The charger might be overloaded or exposed to extreme temperatures. Let it cool down and try again in a well-ventilated area.
Frequently Asked Questions
Can the Cen Tech Charger Work With Lithium-Ion Batteries?
No, you can’t use the Cen Tech charger with lithium-ion batteries unless it specifically says it supports them. Using it otherwise could damage your batteries or charger, so always check the manual before charging lithium-ion cells.
How Long Does a Full Charge Usually Take?
A full charge usually takes about 4 to 6 hours with the Cen Tech charger. You’ll appreciate that it can boost batteries up to 12 volts efficiently, giving you reliable power without long waits or guesswork.
Is the Charger Compatible With International Voltage Standards?
Yes, the Cen Tech battery charger supports international voltage standards, typically 110-240V. You can use it worldwide by simply plugging it into the correct outlet, but always check your adapter and local power specifications first.
Can I Leave the Battery Connected After Charging Completes?
You can leave the battery connected after charging, but it’s best not to. The charger might switch to maintenance mode, yet over time, keeping it plugged in could shorten battery life, so unplug once full.
Does the Charger Have an Automatic Shut-Off Feature?
Yes, the Cen Tech battery charger has an automatic shut-off feature. It stops charging once your battery is fully charged, so you don’t have to worry about overcharging or damaging your battery while it’s connected.
This feature ensures safe and efficient charging, giving you peace of mind. You can leave your battery connected without constantly monitoring the charging process.
The automatic shut-off helps extend the overall life of your battery by preventing excess charge. It’s a convenient and reliable function built into the charger.
Conclusion
Using your Cen Tech battery charger is simple when you follow the steps carefully. Remember, “a stitch in time saves nine,” so always prepare and connect your battery properly to avoid issues.
Choose the right mode, monitor the charging process closely, and know when to disconnect for the best results. If you run into problems, don’t hesitate to troubleshoot.
With a little care, your battery will be charged safely and efficiently every time. Proper use of the Cen Tech battery charger ensures optimal performance and extends battery life. Following these guidelines will help you get the most out of your Cen Tech battery charger.

