

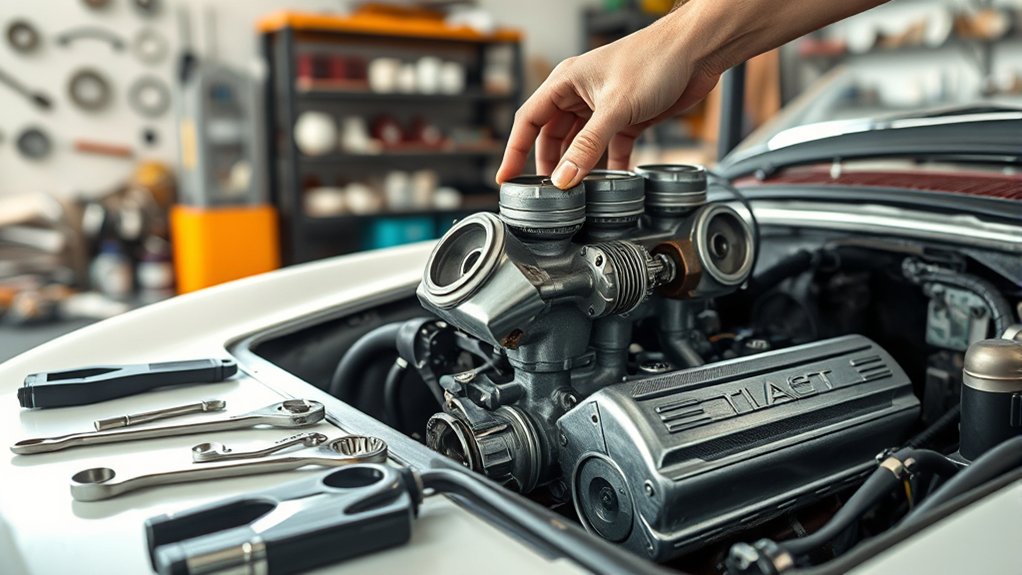
To replace your carburetor in seven easy steps, start by prepping a clean workspace and gathering essential tools like wrenches, gloves, and screwdrivers. Having the right tools on hand will make the carburetor replacement process smoother and more efficient.
Safely disconnect the battery to prevent any electrical hazards before you begin working on the fuel system.
Next, remove the old carburetor by carefully detaching the fuel lines and linkages. Take care to note their positions for easier reassembly.
Clean the mounting surface thoroughly to ensure a proper seal when installing the new carburetor.
Install the new carburetor by securing the bolts evenly, then reattach the fuel lines and linkages carefully.
Adjust the carburetor settings for peak idle speed and fuel mixture to optimize engine performance.
Finally, test your engine to verify smooth operation and troubleshoot any issues that arise. Keep going to uncover tips for smooth tuning and lasting performance.
Key Takeaways
- Disconnect the battery and remove the old carburetor by detaching fuel lines, linkages, and mounting bolts carefully.
- Clean the intake manifold surface, removing old gasket residue and debris for a proper seal.
- Install the new carburetor, align bolt holes, hand-tighten, then evenly tighten bolts in a crisscross pattern.
- Reconnect fuel lines and linkages securely, ensuring smooth throttle and choke operation.
- Start the engine, check for leaks, adjust idle speed and air-fuel mixture for optimal performance.
Prepare Your Workspace and Gather Tools
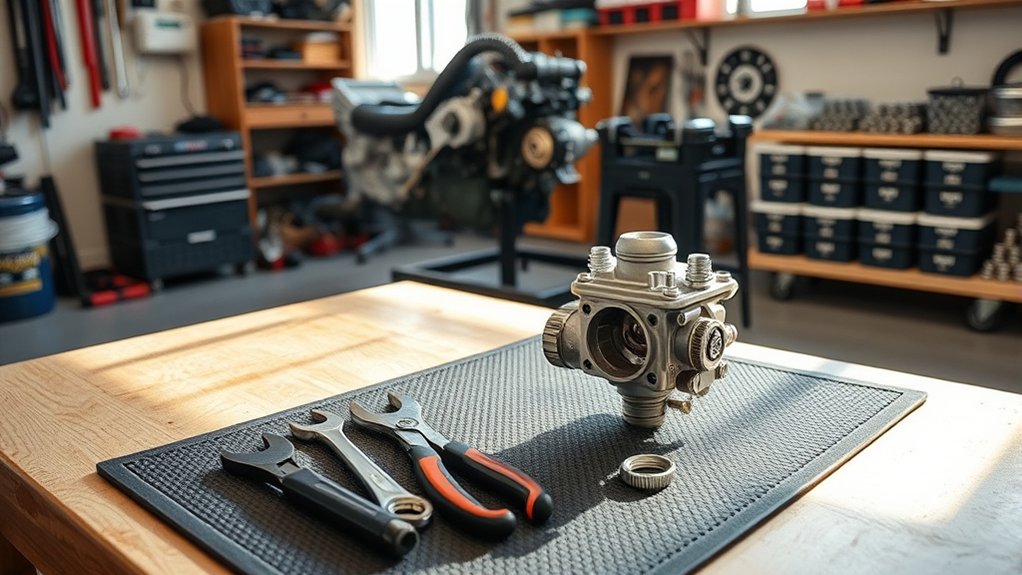
Where should you begin when replacing a carburetor? Start by preparing your workspace. Choose a clean, well-lit area with plenty of room to move around.
Lay down a protective mat or old newspapers to catch any spills or dropped parts. Next, gather all the necessary tools to avoid interruptions later. You’ll typically need wrenches, screwdrivers, pliers, a socket set, and possibly a carburetor cleaner.
Don’t forget safety gear like gloves and eye protection to keep yourself safe. Organize your tools within easy reach, so you won’t waste time searching for them during the job. Taking these steps first guarantees a smoother, more efficient replacement process and helps prevent mistakes or lost parts.
Safely Remove the Old Carburetor
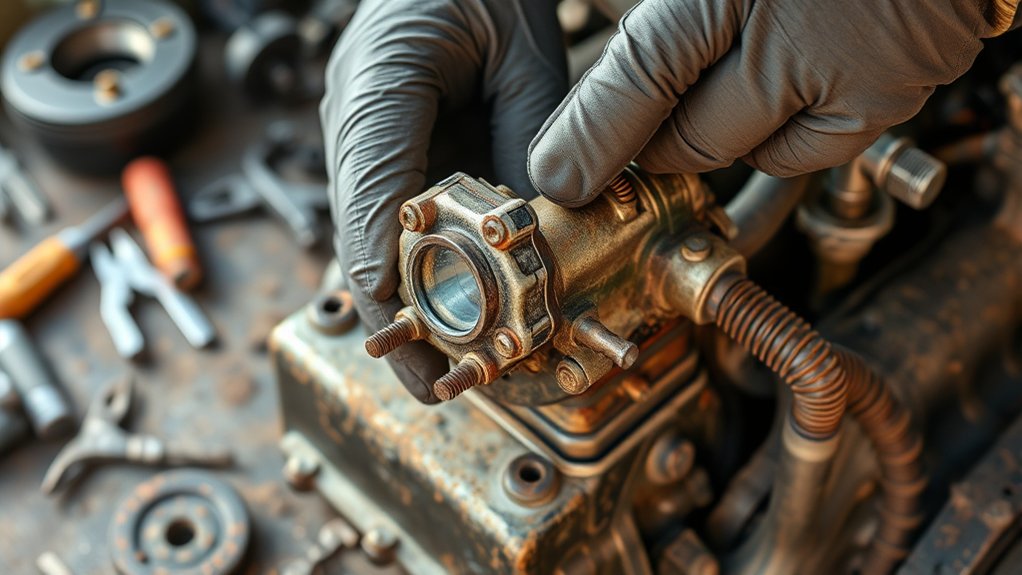
With your workspace set up and tools ready, you can now focus on removing the old carburetor safely. First, disconnect the battery to prevent any accidental sparks. Then, carefully detach the fuel line, catching any drips with a rag or container to avoid spills.
Next, remove the throttle and choke linkages by gently unhooking or unscrewing them—take note of their positions for reassembly. Use the appropriate wrench or socket to loosen and remove the mounting bolts holding the carburetor to the intake manifold. Lift the carburetor straight up to avoid damaging the gasket or surrounding parts.
Keep all removed components organized so you won’t lose anything. Following these steps guarantees a safe, smooth removal process without risking injury or damage.
Clean the Carburetor Mounting Surface
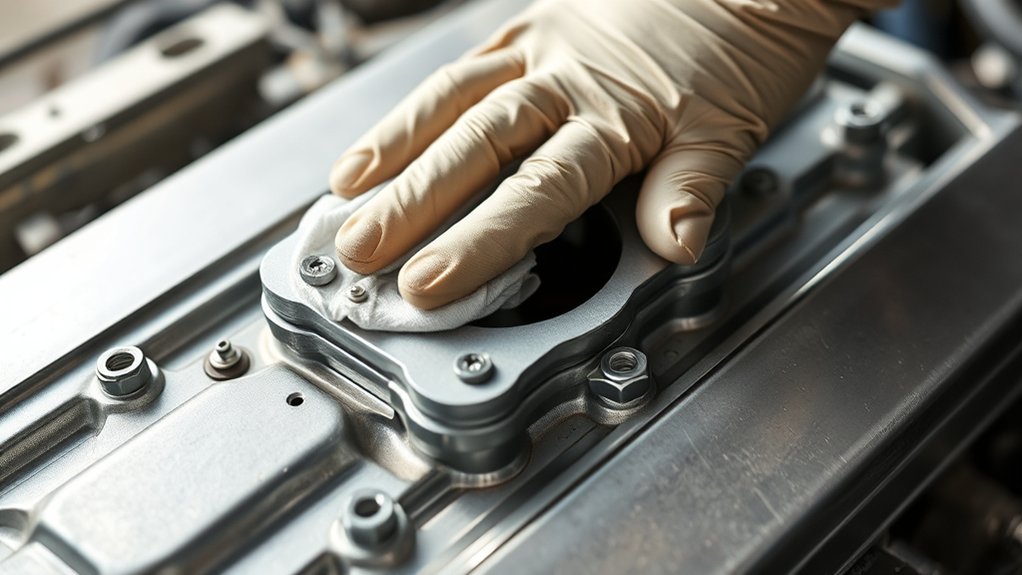
How thoroughly you clean the carburetor mounting surface can affect your engine’s performance. Before installing the new carburetor, inspect the surface closely for old gasket material, dirt, or corrosion. Use a razor blade or gasket scraper carefully to remove any stubborn residue without damaging the metal.
Next, wipe the area with a clean rag soaked in a solvent like carburetor cleaner or rubbing alcohol to dissolve grease and grime. Make sure the surface is completely dry and free of debris before proceeding. A clean, smooth mounting surface ensures a proper seal, preventing air leaks that could disrupt fuel mixture and engine operation.
Taking this step seriously helps maintain your engine’s reliability and efficiency after the replacement.
Install the New Carburetor Step by Step
Once you’ve prepared the mounting surface, you’re ready to install the new carburetor. Begin by carefully positioning it onto the intake manifold, guaranteeing it sits flush without gaps.
Next, align the bolt holes and hand-tighten the mounting bolts to keep it secure. Then, use a wrench to tighten the bolts evenly in a crisscross pattern to avoid warping.
Finally, double-check that the carburetor is firmly seated and the bolts are snug.
| Step | Action | Tip |
|---|---|---|
| 1 | Position carburetor | Guarantee a flush fit |
| 2 | Align bolt holes | Hand-tighten first |
| 3 | Tighten bolts evenly | Use crisscross pattern |
| 4 | Check installation | Confirm firm, snug fit |
Reconnect Carburetor Fuel Lines and Linkages
Now that the new carburetor is in place, you’ll need to reconnect the fuel lines by matching each connection correctly. Make certain to attach the linkage mechanisms securely so everything moves smoothly.
Double-check all fittings to ensure they’re tight and won’t leak.
Identifying Fuel Line Connections
Where exactly do the fuel lines connect to your carburetor? Start by locating the fuel inlet on the carburetor body—it’s typically a brass fitting where the main fuel line attaches. You’ll also spot a vacuum line connection; make sure you identify it correctly, as mixing these up can cause engine issues.
Some carburetors have an additional return line or secondary fuel lines, so check your vehicle’s manual to verify the exact setup. Before reconnecting, inspect each fuel line for cracks or wear and replace them if needed. Pay attention to the hose clamps—tighten them securely to prevent leaks but avoid overtightening, which can damage the fittings.
Proper fuel line connections ensure smooth fuel flow and prevent leaks, making your new carburetor run efficiently.
Attaching Linkage Mechanisms Properly
Before securing the fuel lines, you’ll want to focus on properly attaching the linkage mechanisms that control throttle and choke functions. Begin by aligning the throttle linkage with its corresponding lever on the carburetor. Slide the linkage into place, ensuring it moves smoothly without binding.
Next, connect the choke linkage, which regulates air flow during startup. Use any retaining clips or pins to secure these connections firmly. Double-check that each linkage returns to its resting position freely, as stiff or stuck linkages can cause engine performance issues.
Avoid forcing parts together; if something doesn’t fit, re-examine alignment. Proper attachment of these linkages guarantees your carburetor will respond accurately to throttle and choke inputs, helping your engine run efficiently once the fuel lines are connected.
Checking for Secure Fit
Once you’ve reattached the fuel lines and linkages, double-check each connection to guarantee a secure fit. This step is vital to prevent leaks and ensure smooth operation.
Follow these three quick checks:
- Fuel Lines: Tug gently on each fuel line to confirm they’re firmly attached and clamps are tight. Loose lines can cause fuel leaks and engine issues.
- Linkages: Move the throttle and choke linkages by hand to verify they operate smoothly without binding or slipping off.
- Visual Inspection: Look for any cracks, wear, or misalignment in the connections. Replace any damaged parts immediately to avoid future problems.
Taking these precautions will help your carburetor function properly and keep your engine running efficiently.
Adjust the Carburetor for Best Performance
Now that everything’s reconnected, you’ll want to adjust the idle speed to keep your engine running smoothly at low RPMs.
Next, fine-tune the air-fuel mixture to achieve the best balance for performance and efficiency.
These tweaks will help your carburetor deliver ideal power and fuel economy.
Idle Speed Adjustment
How do you guarantee your engine runs smoothly after replacing the carburetor? Start by adjusting the idle speed to prevent stalling or rough idling. Here’s how to do it:
- Warm up the engine to its normal operating temperature to ensure accurate adjustments.
- Locate the idle speed screw, usually near the throttle linkage, and turn it slowly. Turning clockwise increases RPM, while counterclockwise decreases it.
- Use a tachometer to set the idle speed to the manufacturer’s recommended RPM, typically between 600 and 900 RPM. If you don’t have a tachometer, adjust until the engine runs steadily without sputtering or stalling.
Proper idle speed adjustment ensures your engine runs efficiently and responds well when you accelerate.
Air-Fuel Mixture Tuning
Although you’ve set the idle speed, you still need to fine-tune the air-fuel mixture to guarantee your engine performs at its best. Locate the mixture screws on your carburetor—usually near the base—and turn them slowly. Start by turning each screw clockwise until it gently seats, then back them out 1 to 1.5 turns as a baseline.
Next, with the engine running, turn each screw in small increments, listening for the highest, smoothest idle. If the engine stumbles or stalls, adjust in the opposite direction. Use a tachometer or listen carefully to avoid running too lean or too rich.
Once you find the sweet spot, tighten the lock nuts if present. This precise tuning maximizes efficiency, power, and reduces emissions.
Test Your Engine and Troubleshoot Issues
Before you consider the job complete, you’ll want to start your engine and observe how it runs. Pay close attention to any irregular sounds or performance issues. If the engine stalls, hesitates, or idles roughly, don’t worry—you can troubleshoot these problems effectively.
Start your engine and listen carefully for any irregular sounds or performance issues before finishing the job.
Here’s what you should do:
- Check for Air Leaks: Inspect all gaskets and connections around the carburetor. Air leaks can cause poor idling or stalling.
- Adjust Idle Speed: Use the idle speed screw to set the engine’s RPM to the manufacturer’s recommended level.
- Fine-Tune the Mixture: If your engine runs too rich or lean, adjust the air-fuel mixture screw incrementally until performance improves.
Frequently Asked Questions
What Are the Signs of a Failing Carburetor?
You’ll notice rough idling, poor acceleration, black smoke from the exhaust, and stalling when your carburetor is failing.
Your engine might also flood or hesitate. These signs mean you should check or replace it soon.
How Often Should a Carburetor Be Replaced?
You should replace your carburetor every 50,000 miles or if you notice performance issues like rough idling or poor fuel economy. Regular maintenance can extend its life, but don’t wait too long to swap it out.
Can I Use a Carburetor Cleaner Instead of Replacing It?
Yes, you can use carburetor cleaner to remove buildup and improve performance, but if your carburetor is severely damaged or worn out, cleaning won’t fix it, so replacement might still be necessary for proper function.
What Type of Fuel Is Best for Carbureted Engines?
You’ll want to use regular unleaded gasoline with an octane rating of 87 or higher for carbureted engines. Coincidentally, this fuel helps your engine run smoothly without gumming up the carburetor or causing knocking.
Are There Alternative Fuel Systems to Carburetors?
Yes, you can switch to fuel injection systems, which offer better fuel efficiency and control. You’ll find electronic fuel injection (EFI) common in modern engines, providing smoother performance and easier maintenance compared to carburetors.
Conclusion
Replacing your carburetor might seem tricky, but by following these steps, you’ll have it running smoothly in no time. Like tuning a guitar, each adjustment brings your engine closer to perfect harmony.
With your workspace ready, parts clean, and connections secure, you’re set to enjoy improved performance. Remember, patience and careful adjustments make all the difference.
Now, fire it up and feel the power of your hard work paying off! Proper carburetor replacement ensures better fuel efficiency, smoother idling, and enhanced engine power.

