

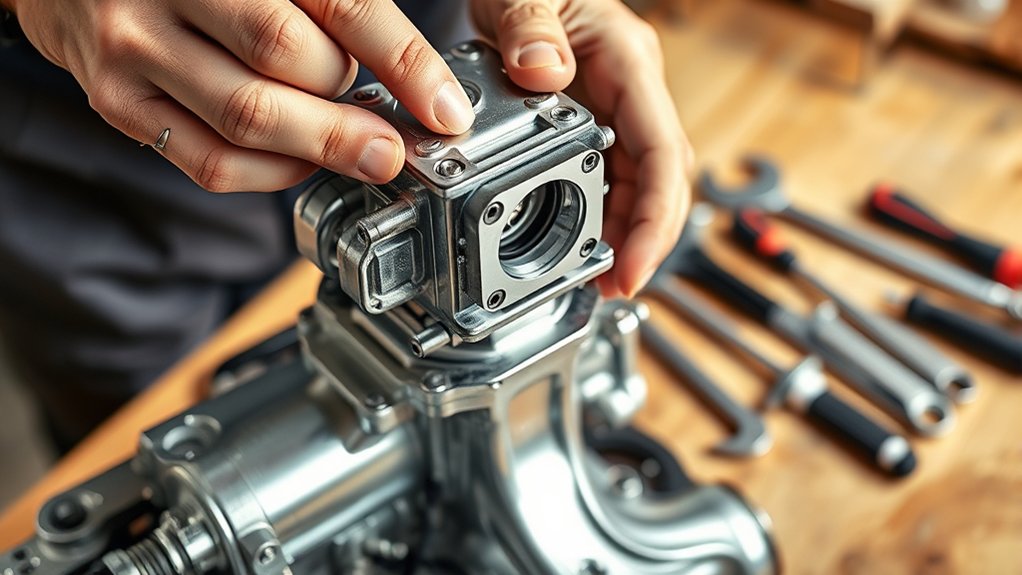
To install a carburetor in seven easy steps, start by gathering your essential tools, safety gear, and understanding the carburetor installation process. Proper preparation ensures a smooth and efficient job when replacing or upgrading your engine’s carburetor.
Begin by carefully removing the old carburetor while labeling all linkages to avoid confusion during reassembly. Clean the mounting surface thoroughly to guarantee a good seal and prevent leaks.
Next, position and secure the new carburetor evenly using the proper torque specifications. Connect fuel lines and linkages, making sure everything moves smoothly without binding.
Finally, adjust the carburetor settings for peak performance and test the engine to address any issues. Keep going, and you’ll master this process step-by-step.
Key Takeaways
- Gather tools and safety gear, then disconnect fuel lines and linkages, labeling each to ensure proper reinstallation.
- Remove mounting bolts carefully, clean the carburetor mounting surface, and remove old gasket residue for a proper seal.
- Position the new carburetor aligned with the gasket and mounting flange, then tighten mounting bolts evenly using a torque wrench.
- Securely attach fuel lines, throttle linkage, choke, and vacuum lines, ensuring all connections are tight and move smoothly.
- Adjust idle speed and mixture screws, test engine performance, troubleshoot issues, and fine-tune for optimal operation.
Prepare by Gathering Tools and Safety Gear
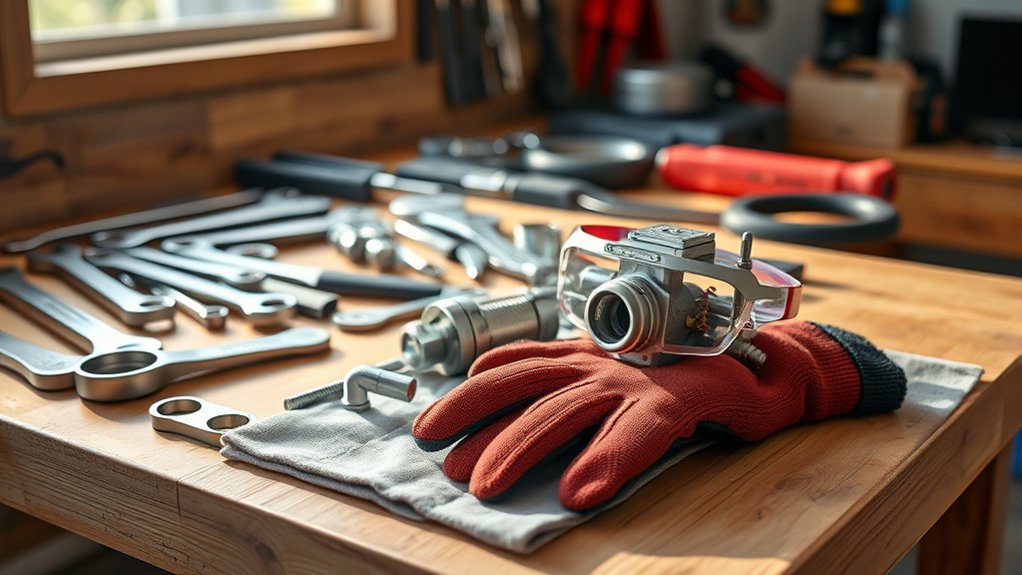
Before you begin installing a carburetor, make sure you gather all the necessary tools and safety gear. You’ll need a set of wrenches, screwdrivers, pliers, and possibly a socket set. Having a clean workspace with good lighting helps you avoid mistakes.
Don’t forget safety gear: wear gloves to protect your hands from fuel and sharp edges, and safety goggles to shield your eyes from debris or splashes. A fire extinguisher nearby is smart, just in case fuel ignites. Also, keep a rag or absorbent cloth handy to clean up spills quickly.
Gathering everything beforehand saves time and keeps you safe throughout the process, so you won’t have to stop midway searching for tools or worrying about hazards.
Remove the Old Carburetor From the Engine
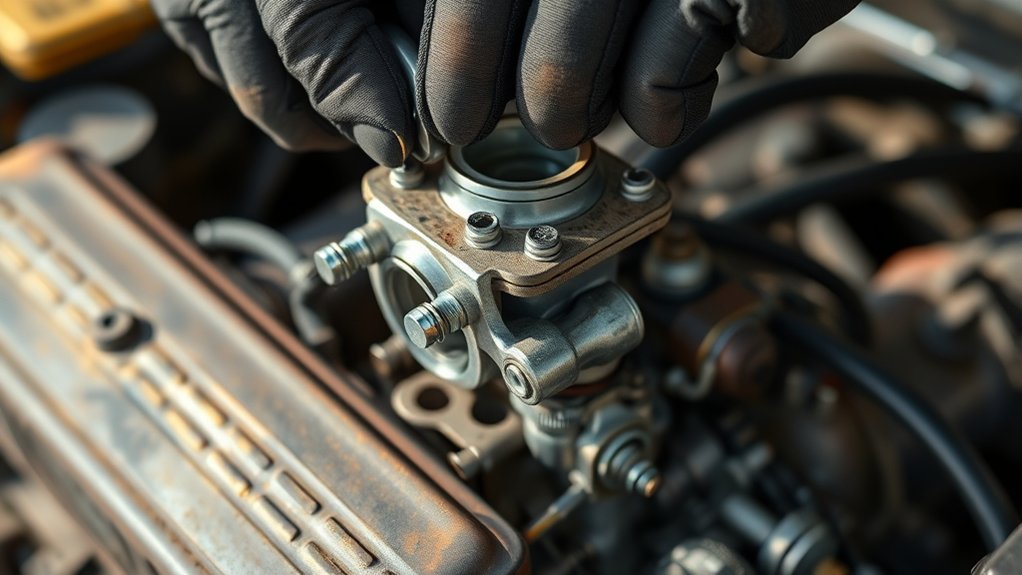
Start by disconnecting the fuel lines and linkages from the carburetor to prevent leaks and damage. Next, carefully remove the mounting bolts that hold the carburetor in place.
Before installing the new part, clean the surrounding engine area to guarantee a proper fit.
Disconnect Fuel And Linkages
How do you safely disconnect the fuel lines and linkages when removing the old carburetor? First, relieve fuel pressure by loosening the fuel cap and disconnecting the battery. Use a rag to catch any drips when detaching the fuel line to prevent spills.
Label each linkage to guarantee proper reconnection later. Gently unhook the throttle and choke linkages, avoiding damage to the small clips.
| Component | Tool Needed | Safety Tip |
|---|---|---|
| Fuel Line | Wrench | Wear gloves, catch fuel drips |
| Throttle Linkage | Pliers | Mark linkages for reassembly |
| Choke Linkage | Screwdriver | Avoid forcing clips |
| Vacuum Lines | Hands | Note positions before removal |
Following these steps guarantees a smooth, damage-free disconnection.
Remove Mounting Bolts Carefully
Once you’ve disconnected the fuel lines and linkages, you can carefully remove the mounting bolts securing the carburetor to the engine. Use the correct size wrench or socket to avoid stripping the bolts. Loosen each bolt gradually in a crisscross pattern if there are multiple bolts, ensuring even pressure release.
Be prepared for the carburetor to come loose once the bolts are fully removed, so support it with one hand as you finish. Keep track of all bolts and washers; you’ll need them for reinstallation or reference. Avoid forcing any bolt that feels stuck—apply a penetrating lubricant and let it sit if necessary.
Removing the carburetor gently prevents damage to the mounting surface and nearby components.
Clean Surrounding Engine Area
Before installing the new carburetor, you’ll want to thoroughly clean the surrounding engine area to remove any dirt, grime, or old gasket material left behind by the old carburetor. Use a scraper or a putty knife to gently remove any remaining gasket residue, being careful not to damage the mounting surface.
Then, wipe the area with a clean rag soaked in a suitable solvent or carburetor cleaner to dissolve grease and dirt. Make sure to clean around the mounting studs and fuel lines as well. This guarantees a proper seal and prevents leaks once the new carburetor is installed.
Take your time with this step—clean surfaces help your carburetor perform at its best and prolong its lifespan.
Clean the Carburetor Mounting Surface
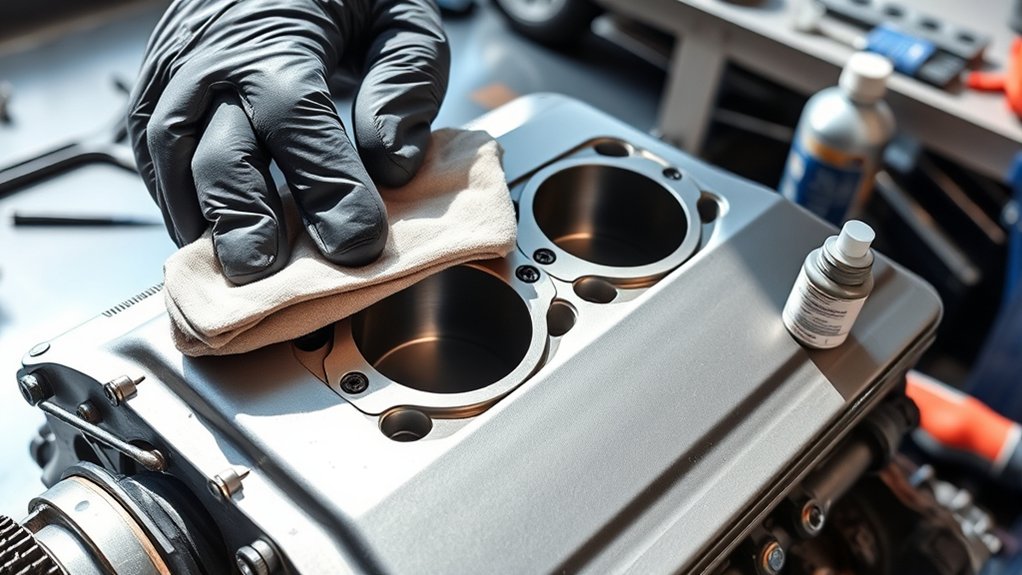
Why does cleaning the carburetor mounting surface matter? Because a clean surface ensures a proper seal between the carburetor and the intake manifold, preventing air leaks that can cause poor engine performance. Dirt, old gasket material, and grime can interfere with this seal, leading to fuel inefficiency and rough idling.
To clean the mounting surface effectively, you should:
- Use a gasket scraper or a plastic putty knife to remove old gasket residue carefully.
- Wipe the area with a clean rag soaked in carburetor cleaner to dissolve grease and dirt.
- Inspect the surface for nicks or damage that could affect sealing and smooth it with fine sandpaper if needed.
Taking these steps will prepare the surface perfectly for the new carburetor installation.
Install the New Carburetor Securely
Now that the mounting surface is clean, position the new carburetor carefully to guarantee proper alignment. Make sure the carburetor sits flush without any gaps.
Then, tighten the mounting bolts evenly to secure it firmly in place.
Align Carburetor Properly
Though it may seem straightforward, aligning the carburetor properly is essential to guarantee it functions efficiently and prevents leaks. You’ll want to position it so the gasket seats evenly against the intake manifold. Misalignment can cause air or fuel leaks, leading to poor engine performance.
To align the carburetor correctly, focus on these key points:
- Confirm the mounting flange sits flush without tilting.
- Line up linkage and fuel connections for smooth operation.
- Check that the carburetor base gasket remains undamaged and properly seated.
Tighten Mounting Bolts
How tightly should you secure the mounting bolts to install the carburetor properly? You want to tighten them firmly but avoid over-torquing, which can damage threads or warp the carburetor base.
Use a torque wrench if possible and follow the manufacturer’s specifications. Typically, bolts should be tightened in a crisscross pattern to ensure even pressure distribution.
| Bolt Position | Torque (ft-lbs) | Notes |
|---|---|---|
| Front Left | 8-10 | Start here |
| Rear Right | 8-10 | Tighten second |
| Front Right | 8-10 | Tighten third |
| Rear Left | 8-10 | Tighten last |
| Final Check | 8-10 | Ensure uniform torque |
Following this method guarantees a secure, leak-free installation.
Connect Carburetor Fuel Lines and Throttle Linkage
Before you finish installing the carburetor, make sure to carefully connect the fuel lines and throttle linkage to guarantee proper engine operation. Start by attaching the fuel lines securely to prevent leaks or fuel delivery issues.
Next, connect the throttle linkage to ensure smooth control of engine speed. Double-check that all connections move freely without binding.
Keep these tips in mind:
- Use clamps on fuel lines to avoid leaks and ensure a tight fit.
- Verify the throttle linkage moves smoothly from idle to full throttle without resistance.
- Inspect connections for any signs of wear or damage before finalizing.
Taking these steps will help your carburetor function correctly and keep your engine running reliably.
Adjust Carburetor Settings for Best Performance
Once you’ve connected the fuel lines and throttle linkage, it’s time to adjust the carburetor settings to guarantee your engine runs smoothly and efficiently. Start by setting the idle speed screw to the manufacturer’s recommended RPM.
Next, adjust the idle mixture screw to achieve the highest idle speed without roughness. Finally, fine-tune the throttle linkage to ensure a smooth progression from idle to acceleration.
Here’s a quick reference table to guide your adjustments:
| Adjustment Type | Tool Needed | Desired Outcome |
|---|---|---|
| Idle Speed | Screwdriver | Stable RPM at idle |
| Idle Mixture | Screwdriver | Smooth, high idle speed |
| Throttle Linkage | Wrench/Adjuster | Smooth throttle response |
Make small adjustments and test frequently for peak performance.
Test the Engine and Fix Common Issues
Why isn’t the engine running smoothly after your adjustments? It’s common to face a few hiccups when installing a carburetor. Start by testing the engine: listen for uneven idling, hesitation, or stalling.
If issues pop up, check these common problems:
- Air Leaks: Inspect gaskets and hoses for cracks or loose connections that disrupt air-fuel mixture.
- Incorrect Fuel Mixture: Readjust the idle mixture screw to get the right balance; too rich or too lean causes poor performance.
- Clogged Jets: Clean jets if fuel flow is restricted, leading to sputtering or hard starts.
After resolving these, retest the engine. With patience and fine-tuning, you’ll get it running smoothly in no time.
Frequently Asked Questions
What Types of Carburetors Are Compatible With My Engine Model?
You’ll want to check your engine’s specifications or manual to find carburetors designed for its make and model. Popular types include single-barrel, two-barrel, and four-barrel, but compatibility depends on your engine’s size and fuel requirements.
Make sure to match the carburetor type with the engine’s performance needs. Some engines may require specialized carburetors for optimal fuel efficiency.
Consult with a professional or refer to manufacturer recommendations to ensure proper fit and function.
How Often Should I Replace My Carburetor?
You should replace your carburetor every 50,000 to 100,000 miles or if you notice performance issues like rough idling, poor fuel economy, or leaks.
Regular maintenance helps you avoid unexpected breakdowns and engine problems.
Can I Install a Carburetor Without Professional Mechanical Experience?
Yes, you can install a carburetor without professional experience, but you’ll need patience, basic tools, and a detailed guide. Take your time, follow instructions carefully, and don’t hesitate to ask for help if you get stuck.
What Are the Signs of a Failing Carburetor Before Replacement?
If your car sounds like a dying rooster, stalls randomly, or guzzles gas like it’s happy hour, your carburetor’s waving the white flag.
You’ll notice rough idling, black smoke, and poor acceleration too—time to contemplate a replacement!
Are There Environmental Regulations Affecting Carburetor Use or Modifications?
Yes, you’ll find environmental regulations limiting carburetor modifications to control emissions. Always check local laws before making changes, as non-compliance can lead to fines or failed inspections.
Stay informed to avoid problems.
Conclusion
Installing a carburetor might seem tricky, but following these 7 steps makes it manageable. Did you know that over 70% of small engine problems stem from carburetor issues? By properly installing and adjusting your carburetor, you’re not just improving performance—you’re preventing future headaches.
Take your time with each step, and you’ll enjoy a smoother-running engine that lasts longer. Proper carburetor installation is key to maintaining engine efficiency and reliability. You’ve got this!

