

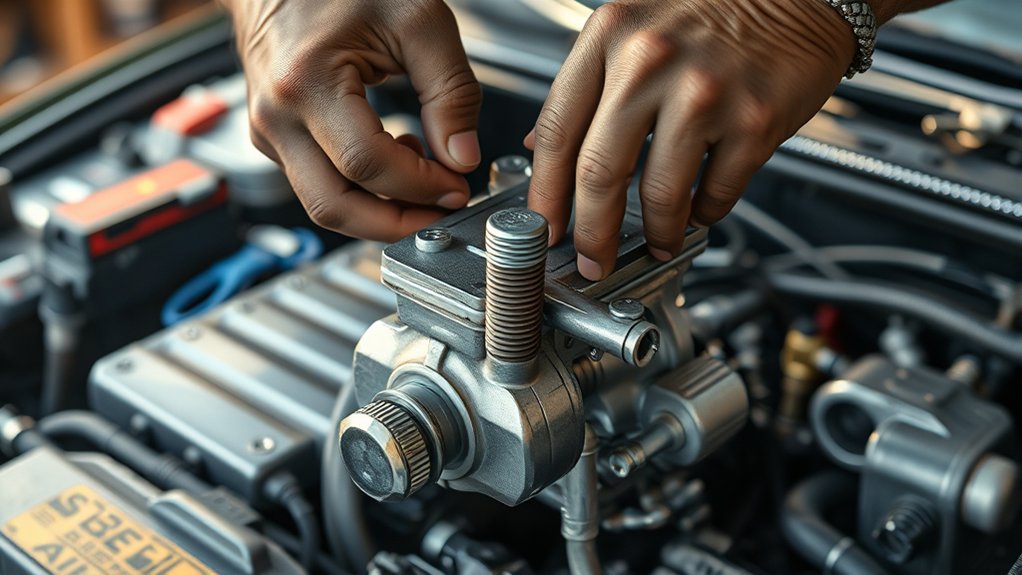
To remove a carburetor in seven simple steps, start by preparing your workspace and gathering essential tools like wrenches and screwdrivers. Proper preparation is key to safely and efficiently removing a carburetor without causing damage.
Disconnect the battery’s negative terminal to prevent any electrical hazards during the process.
Next, carefully detach the fuel lines to avoid fuel spills, which can be dangerous and messy.
Remove the air filter and intake components to gain clear access to the carburetor.
Then, unhook the throttle linkage and choke cable, ensuring all connections are free.
Finally, loosen and remove the mounting bolts holding the carburetor in place.
Lift the carburetor straight up, taking care not to damage the gasket or engine surface.
Inspect these areas for any signs of wear or damage before reassembly.
Follow this guidance, and you’ll be ready to master the full process.
Key Takeaways
- Disconnect the negative battery terminal to prevent electrical shorts before beginning carburetor removal.
- Remove air filter housing, intake hoses, and any attached components to access the carburetor.
- Loosen fuel line clamps carefully and detach fuel lines with caution to avoid fuel spills or pressure hazards.
- Loosen carburetor mounting bolts evenly, using penetrating oil if needed, then lift the carburetor straight up gently.
- Place the carburetor on a clean surface and inspect for damage or debris before proceeding with cleaning or replacement.
Prepare Workspace and Gather Tools for Carburetor Removal
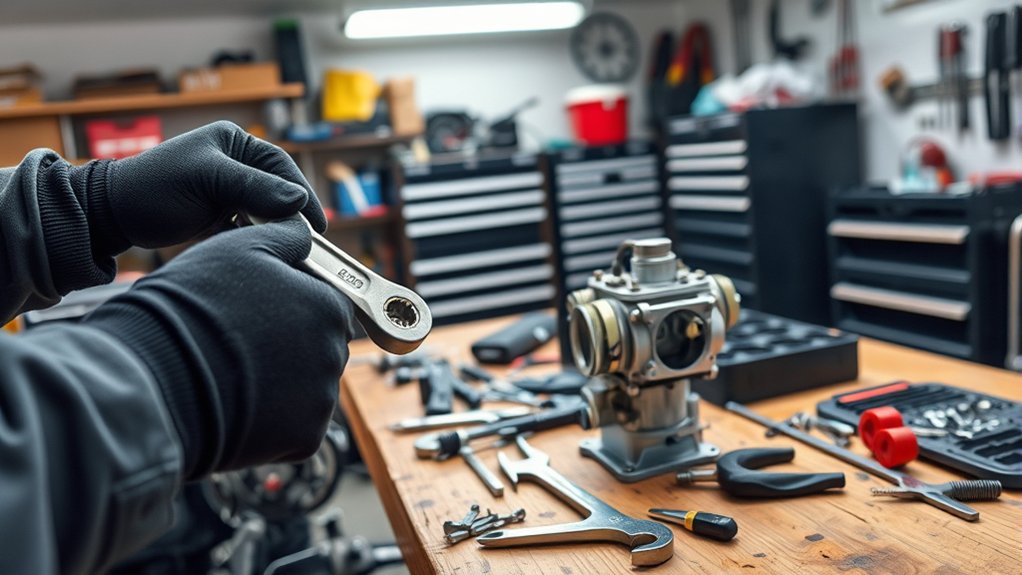
Before you begin removing the carburetor, clear and organize your workspace to guarantee safety and efficiency. Make sure you have plenty of light and a flat surface to set parts on as you work. Gather essential tools such as screwdrivers, wrenches, pliers, and a socket set.
Having a clean container or tray to hold screws and small components helps prevent loss. Keep a rag or shop towel nearby to wipe off any grease or spills. Wearing gloves and safety glasses protects you from dirt and debris.
Safely Disconnect Battery and Fuel Lines Before Removal
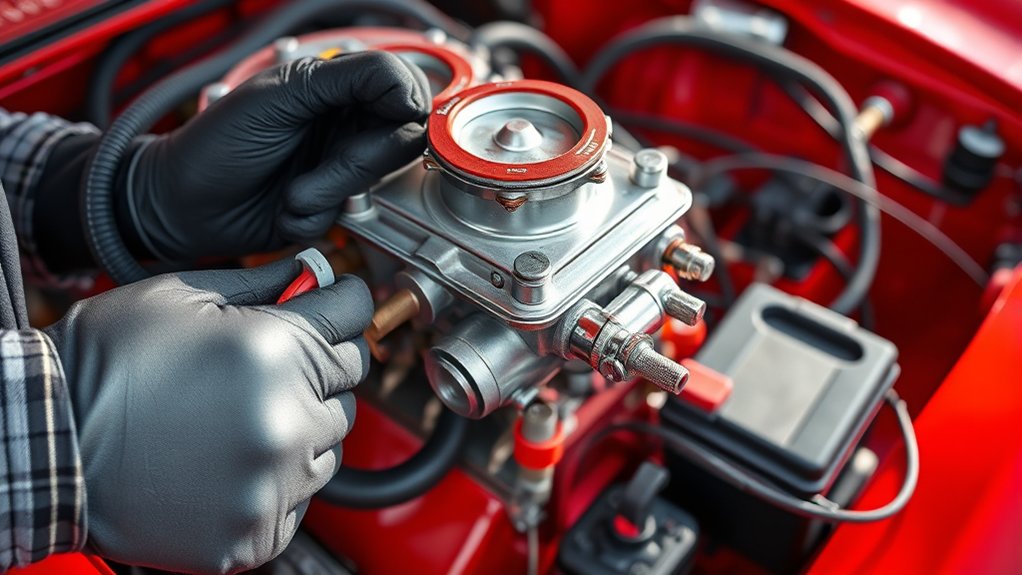
While working on your carburetor, you’ll want to disconnect the battery and fuel lines carefully to prevent any accidents or damage. Start by turning off your vehicle and removing the key to avoid electrical shorts. Then, locate the negative battery terminal and use a wrench to loosen the clamp.
Always disconnect the negative terminal first to minimize the risk of sparks. Next, find the fuel lines connected to the carburetor. Place a rag or container underneath to catch any dripping fuel.
Use pliers or a wrench to loosen the clamps securing the fuel lines, then gently pull them off. Be cautious of any residual pressure in the lines. Taking these steps guarantees your safety and prepares you for the carburetor removal process without hazards.
Remove Air Filter and Intake Components
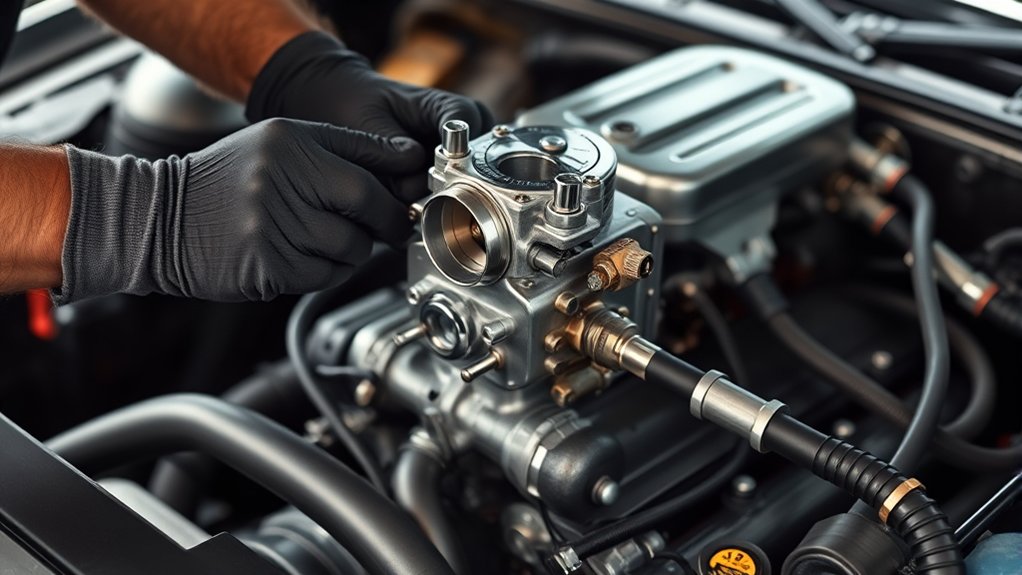
How do you gain clear access to the carburetor? Start by removing the air filter assembly and any intake components that block your way. This step ensures you can work freely without damaging surrounding parts.
First, loosen the wing nut or screws holding the air filter cover, then lift off the filter element. Next, detach the air filter housing by loosening clamps or bolts. Carefully set these parts aside.
Check for any hoses or brackets attached to the intake components and remove them as needed.
| Component | Tool Needed | Action |
|---|---|---|
| Air filter cover | Screwdriver/hand | Loosen and remove |
| Air filter element | None | Lift off |
| Air filter housing | Socket wrench | Loosen clamps/bolts |
| Intake hoses | Pliers | Disconnect carefully |
Detach Throttle Linkage and Choke Cable
Before you detach the throttle linkage and choke cable, make sure the engine is off and cool to avoid injury. Start by locating the throttle linkage, which connects the accelerator to the carburetor.
Then carefully disconnect the choke cable, noting how it’s attached for easier reassembly.
Identifying Throttle Linkage
Once you locate the throttle linkage on your carburetor, you’ll need to carefully detach it along with the choke cable to proceed safely. The throttle linkage is a metal rod or cable connecting the accelerator pedal to the carburetor, controlling engine speed.
To identify it:
- Look for a small lever or arm attached to the carburetor’s side.
- Trace the rod or cable running from this lever toward the firewall or accelerator pedal.
- Check for a spring connected to the linkage, which helps return the throttle to idle.
- Confirm the linkage moves smoothly when you press the gas pedal.
Recognizing these components guarantees you detach the correct parts without damaging the carburetor or engine controls.
Removing Choke Cable
Where exactly is the choke cable located, and how do you safely remove it? You’ll usually find the choke cable attached to the choke lever on the carburetor. To remove it, first trace the cable from the carburetor to the control knob inside the vehicle or on the engine.
Then, gently disconnect the cable from the choke lever by sliding the clip or pin holding it in place.
| Step | Action | Tip |
|---|---|---|
| 1 | Locate choke cable | Follow cable from control knob |
| 2 | Release retaining clip or pin | Use needle-nose pliers |
| 3 | Slide cable off choke lever | Avoid bending the cable |
Careful removal prevents damage to the cable or choke mechanism.
Safety Precautions Before Detaching
After carefully removing the choke cable, you’ll want to take specific safety precautions before detaching the throttle linkage and any remaining cables. Follow these steps to keep yourself safe and protect your vehicle:
- Disconnect the battery to prevent accidental electrical shorts or sparks.
- Wear safety gloves to protect your hands from sharp edges and hot surfaces.
- Ensure the engine is cool to avoid burns from hot components around the carburetor.
- Label each cable and linkage with tape or markers so you can reconnect them correctly later.
Unbolt the Carburetor From the Engine
How do you safely unbolt the carburetor from the engine without causing damage? First, gather the right tools, usually a ratchet with the correct socket size or a wrench. Locate the mounting bolts securing the carburetor to the intake manifold.
Loosen them evenly, working in a crisscross pattern if there are multiple bolts, to prevent warping the base. Turn each bolt slowly, applying steady pressure to avoid stripping threads. Keep track of all bolts and any washers or spacers.
Don’t force any bolt if it feels stuck; instead, apply a penetrating oil and wait a few minutes before trying again. Make sure no parts fall into the intake manifold during this process. Once all bolts are free, you’re ready to proceed to the next step.
Lift and Remove the Carburetor
When you’re ready to lift the carburetor off the engine, make sure all connections and bolts are fully disconnected. This step requires careful handling to avoid damaging any parts. Follow these steps:
- Firmly grip the carburetor base with both hands.
- Gently lift straight up, avoiding any twisting motions.
- If it feels stuck, double-check for any missed linkages or hoses.
- Place the carburetor on a clean, flat surface to prevent dirt contamination.
Be cautious not to drop or tilt the carburetor, as fuel or debris inside can spill out. Taking your time here will make the removal cleaner and protect the carburetor for inspection or repair.
Check Carburetor Gasket and Engine Surface for Damage
Now that the carburetor is off, check the gasket for any cracks or wear that could cause leaks. Take a close look at the engine surface to guarantee it’s clean and free of damage.
Fixing any issues here will help maintain a proper seal when you reassemble.
Inspect Gasket Integrity
Why is it important to inspect the carburetor gasket and engine surface before reinstalling? A damaged gasket can cause air or fuel leaks, leading to poor engine performance or even damage.
To ensure a proper seal, you should:
- Look for cracks, tears, or hardened areas on the gasket.
- Check for any missing pieces or deformation that could prevent sealing.
- Make sure the gasket is clean and free of debris or old sealant.
- Compare the gasket to a new one if you suspect wear or damage.
If you find any imperfections, replace the gasket before reinstalling the carburetor. This simple step helps maintain engine efficiency and prevents costly repairs down the line.
Examine Engine Surface
Before reinstalling the carburetor, carefully examine the engine surface to guarantee it’s smooth and free from damage. Any scratches, nicks, or debris can compromise the seal, leading to air leaks that affect engine performance. Use a clean cloth to wipe off dirt and old gasket material.
If you spot any damage, consider smoothing it with fine sandpaper or replacing the surface if necessary.
Check the carburetor gasket for cracks or wear. A damaged gasket won’t seal properly and can cause fuel leaks.
| Issue Type | Signs to Look For | Recommended Action |
|---|---|---|
| Surface Damage | Scratches, gouges | Sand smooth or replace |
| Debris | Dirt, old gasket | Clean thoroughly |
| Gasket Wear | Cracks, brittleness | Replace before reinstall |
Frequently Asked Questions
What Are the Common Signs of a Faulty Carburetor?
You’ll notice rough idling, stalling, poor acceleration, black smoke from the exhaust, and hard starting.
If your engine hesitates or floods frequently, those are clear signs your carburetor might be faulty and needs attention.
How Often Should a Carburetor Be Cleaned or Serviced?
You should clean or service your carburetor every 12,000 to 15,000 miles, or at least once a year.
If you notice performance issues, don’t wait—clean it sooner to keep your engine running smoothly.
Can I Use a Carburetor Cleaner Spray Instead of Removal?
You can use carburetor cleaner spray without removal, just like a knight wielding a magic potion! It helps dissolve grime, but deep cleaning or repairs still need you to take it off for a thorough job.
What Tools Are Best for Tuning a Carburetor After Installation?
You’ll want a screwdriver, a tachometer, and a vacuum gauge for tuning your carburetor. These tools help adjust idle speed, mixture, and timing, ensuring your engine runs smoothly and efficiently after installation.
Using the right tools makes the tuning process more precise and straightforward. This leads to better engine performance and fuel efficiency. Always double-check your adjustments before finalizing the settings.
How Do I Know if My Carburetor Needs Rebuilding or Replacement?
If your engine sputters like a fading flame or idles rough like a broken song, it’s time to rebuild or replace your carburetor. Trust your senses—they reveal the heart’s wear and need for fresh fuel.
Conclusion
Removing your carburetor might seem tricky, but with these seven simple steps, you’ll have it off in no time. Did you know that properly maintaining your carburetor can improve fuel efficiency by up to 15%? That’s a big win for both your engine’s performance and your wallet.
Just follow the steps carefully, and you’ll keep your engine running smoothly and efficiently. Ready to get started? Proper carburetor maintenance is key to enhancing fuel efficiency and overall engine health.

