

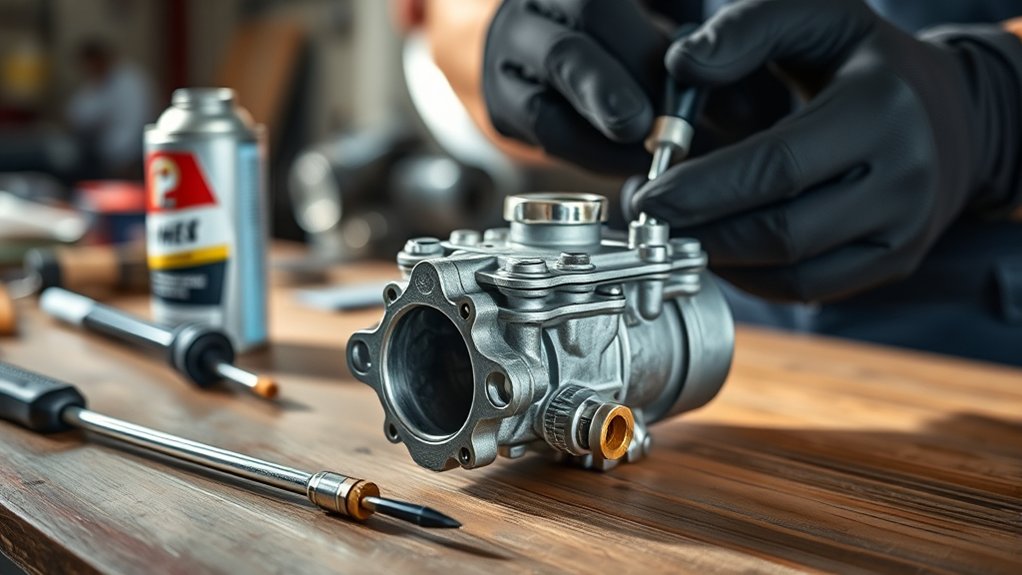
To service your carburetor in 7 easy steps, start by gathering essential tools and safety gear. Proper maintenance of your carburetor is key to ensuring optimal engine performance and fuel efficiency.
By following these simple steps, you can keep your engine running smoothly and avoid costly repairs.
Begin by safely removing the carburetor from your engine, disconnecting fuel lines and battery first.
Next, disassemble all parts and clean them thoroughly with carburetor cleaner.
Inspect for worn or damaged components and replace as needed.
Reassemble the carburetor carefully, adjust settings for smooth idle and throttle response, then test and fine-tune performance.
Follow these steps, and you’ll soon restore your engine’s smooth running and efficiency.
Key Takeaways
- Turn off fuel, disconnect battery, and remove the carburetor carefully, keeping all parts organized and working in a ventilated area.
- Disassemble the carburetor, clean jets, float bowl, and passages using carburetor cleaner, brushes, and compressed air.
- Inspect float, needle valve, throttle shaft, gaskets, and replace any worn or damaged parts.
- Reassemble the carburetor precisely, ensuring proper float alignment and secure linkages.
- Start the engine, adjust idle speed and mixture screws, and fine-tune until smooth idling and throttle response are achieved.
When and Why to Service Your Carburetor
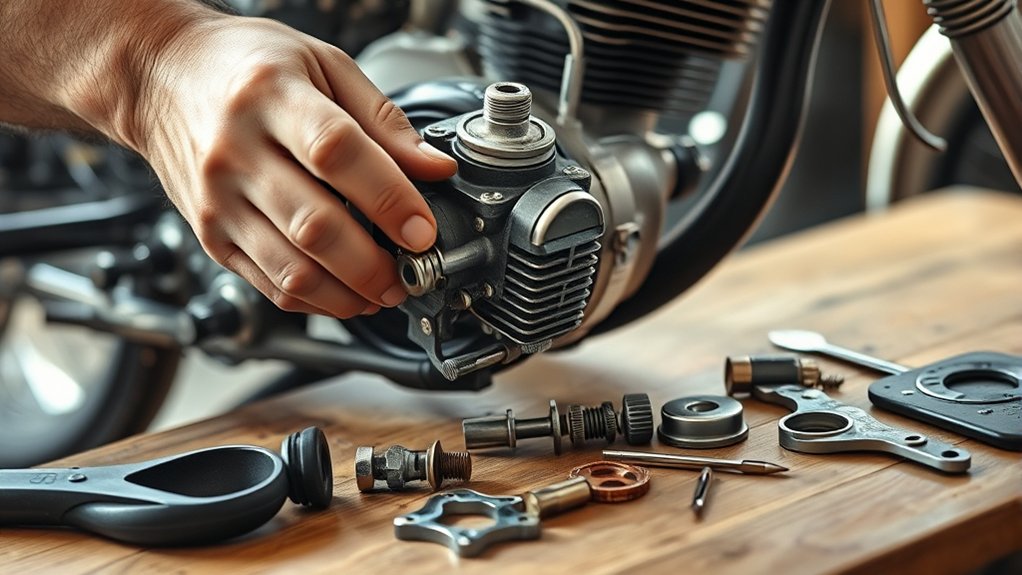
Although you might not notice immediate problems, you should service your carburetor regularly to keep your engine running smoothly. Over time, dirt, varnish, and fuel residue build up inside the carburetor, causing poor fuel flow and inefficient combustion. This can lead to rough idling, sluggish acceleration, or difficulty starting your engine.
If you wait too long, these issues worsen, potentially damaging other engine components and increasing fuel consumption. You should service your carburetor at least once a year or after 50 hours of use, especially if you use your equipment frequently or store it for long periods. Regular maintenance prevents costly repairs and guarantees your engine performs reliably.
Gather Essential Tools and Cleaning Materials
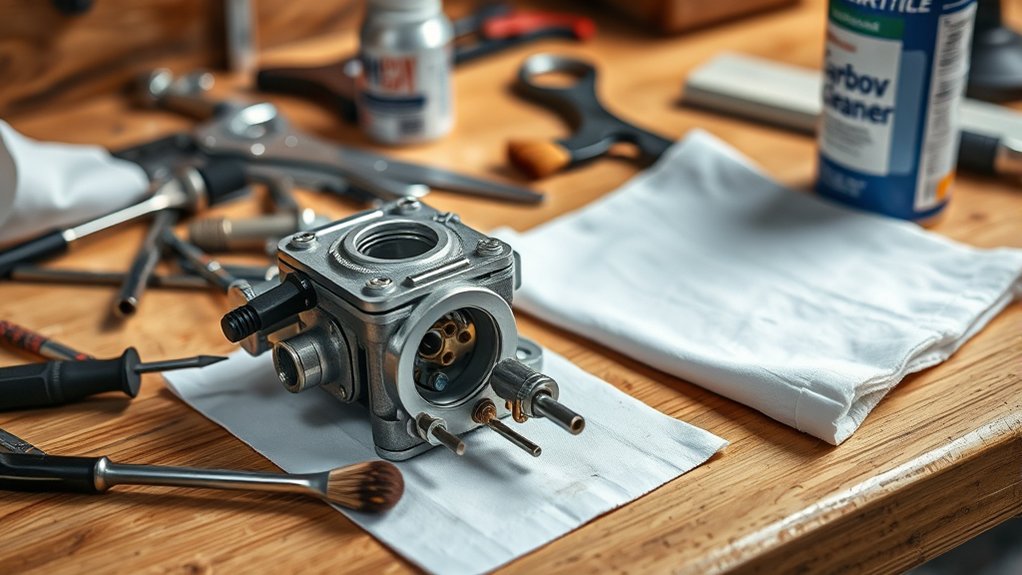
Before you start servicing your carburetor, make sure you have the right tools and cleaning supplies on hand. You’ll need basic hand tools, carburetor cleaner, and safety gear like gloves and goggles.
Having everything ready will make the job smoother and safer.
Necessary Tools Overview
When you start servicing a carburetor, having the right tools and cleaning materials on hand makes the process smoother and more efficient. You’ll want to prepare a set of basic tools that allow you to disassemble, inspect, and reassemble parts without hassle.
Here’s a quick overview of what you’ll typically need:
| Tool | Purpose | Tips |
|---|---|---|
| Screwdrivers | Remove screws & jets | Use both flathead & Phillips |
| Wrenches | Loosen nuts and bolts | Have a set of sizes ready |
| Needle-nose pliers | Handle small clips and parts | Precision grip is key |
| Socket set | Tighten or remove bolts | Ratchet helps speed work |
Having these essentials ready will help you avoid interruptions and keep your focus on the job.
Cleaning Supplies Checklist
Since cleaning a carburetor involves delicate parts and stubborn residues, you’ll want to gather the right supplies to tackle the job effectively. Start with a good carburetor cleaner spray—it dissolves varnish and grime without damaging components. Have a set of small brushes handy, like nylon or brass, to scrub tight spots without scratching.
Use compressed air or a can of compressed air to blow out debris from tiny passages and jets. Keep a clean cloth or microfiber towel nearby for wiping surfaces and soaking up excess cleaner. You’ll also need a container to soak removable parts if they’re heavily gunked up.
Finally, gather cotton swabs and toothpicks for precision cleaning in hard-to-reach areas. Having these supplies ready guarantees a thorough, efficient carburetor cleaning.
Safety Equipment Essentials
Although carburetor cleaning requires precision, you can’t overlook safety equipment essentials to protect yourself during the process. First, always wear safety goggles to shield your eyes from fuel splashes and debris. Use nitrile gloves to keep harmful chemicals off your skin, preventing irritation or burns.
A long-sleeved shirt and pants help minimize skin exposure, while a respirator mask guards against inhaling toxic fumes from carburetor cleaner. Work in a well-ventilated area to reduce inhalation risks further. Keep a fire extinguisher nearby because gasoline vapors are highly flammable.
Ultimately, have a clean workspace and proper lighting so you can see small parts clearly and avoid accidents. Taking these precautions ensures you service your carburetor safely and effectively.
Safely Remove the Carburetor From Your Engine
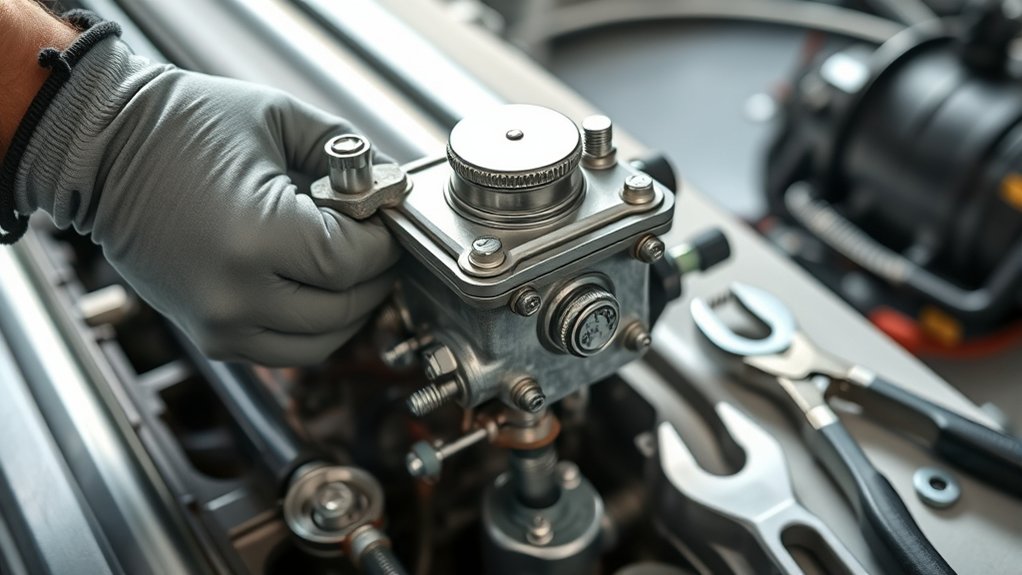
Before you start, disconnect the fuel line and battery to prevent any accidents. Make sure you relieve any pressure in the fuel system first.
Then, carefully remove the mounting bolts to free the carburetor from the engine.
Disconnect Fuel And Battery
When you’re ready to remove the carburetor, make sure to disconnect the fuel line and battery first to prevent any accidents or fuel leaks. Start by turning off the fuel valve or clamp the fuel line to stop fuel flow. Then, carefully detach the fuel line from the carburetor, using a container or rag to catch any residual fuel.
Next, disconnect the negative terminal of the battery to eliminate the risk of electrical sparks during the process. Use a wrench to loosen the battery terminal clamp and remove it. Keep the terminals covered or away from metal parts to avoid short circuits.
Taking these steps guarantees your safety and protects your engine components before you proceed to remove the carburetor itself.
Remove Mounting Bolts Carefully
After disconnecting the fuel line and battery, you’re ready to remove the carburetor by loosening the mounting bolts. Use the correct size wrench or socket to avoid stripping the bolts. Loosen them evenly, alternating between bolts to prevent stressing the carburetor base.
Keep track of the bolts and any washers or spacers.
| Step | Tool Needed | Tip |
|---|---|---|
| Loosen bolts | Wrench or socket | Use the right size |
| Alternate | Manual technique | Loosen bolts evenly |
| Keep parts | Container or tray | Store bolts and washers safely |
Disassemble and Clean All Carburetor Parts
Although the carburetor may look complex, you can confidently take it apart by carefully loosening screws and removing each component. Lay out the parts in order to keep track of them. Use a soft brush and carburetor cleaner to remove dirt, varnish, and deposits from all surfaces, including jets, float bowl, and throttle plate.
Soak metal parts in cleaner for stubborn grime, but avoid soaking rubber or plastic parts, as this can cause damage. Use compressed air to blow out tiny passages and guarantee they’re clear. Be gentle to avoid bending or breaking delicate parts.
After cleaning, dry everything thoroughly before reassembling. Proper cleaning improves performance and prevents blockages, so take your time to do it right.
Inspect and Replace Worn Carburetor Components
Since a carburetor’s performance depends heavily on its parts’ condition, you should carefully inspect each component for wear or damage before reassembly. Check the float for cracks or leaks, as a faulty float can cause fuel overflow or starvation. Examine the needle valve and seat for wear, which can lead to improper fuel flow.
Look over the throttle shaft and bushings; excessive play can cause air leaks, disrupting the air-fuel mixture. Inspect gaskets and O-rings for brittleness or cracks, replacing any that no longer seal properly. Also, assess jets and passages for clogging or erosion.
If you spot any worn or damaged parts, replace them with exact matches to guarantee proper function and longevity. Taking the time here prevents future carburetor issues.
Reassemble and Adjust Carburetor Settings
Carefully replacing worn parts guarantees your carburetor will function smoothly as you begin reassembling it. Start by aligning the float and needle valve correctly to prevent fuel overflow. Next, secure the throttle and choke linkages, ensuring they move freely without binding.
Then, reinstall the carburetor body carefully, tightening screws evenly to avoid leaks. After assembly, adjust the idle speed screw to set the proper engine idle, followed by the idle mixture screw to balance air-fuel mixture.
Remember to:
- Check gaskets for proper seating
- Lubricate moving parts lightly
- Confirm float height matches specifications
- Reconnect fuel lines securely
- Ensure choke plate fully closes and opens
These steps help restore your carburetor’s efficiency before moving on to testing.
Test Your Engine and Fine-Tune Performance
Once you’ve reassembled your carburetor, you’ll want to start the engine to see how it performs under real conditions. Listen for smooth idling and check for any hesitation or stalling.
If the engine runs rough, you’ll need to fine-tune the carburetor settings. Adjust the idle speed screw and mixture screw gradually, testing the engine after each tweak.
Use this table to guide your adjustments:
| Symptom | Adjustment |
|---|---|
| Engine stalls | Increase idle speed |
| Rough idle | Adjust mixture screw lean/rich |
| Hesitation on acceleration | Enrich fuel mixture |
| High RPM surging | Lean fuel mixture slightly |
Repeat these steps until your engine runs smoothly and responds well to throttle changes.
Frequently Asked Questions
What Types of Fuel Work Best With Carbureted Engines?
You’ll get the best performance using regular unleaded gasoline with an octane rating of 87 or higher. Avoid ethanol blends above 10%, as they can damage carburetor components and cause poor engine performance over time.
How Does Altitude Affect Carburetor Performance?
You might think altitude won’t matter much, but it does. As you go higher, thinner air means your carburetor delivers a richer mix, causing poor performance.
You’ll need to adjust jets to keep your engine running smoothly.
Can a Carburetor Be Serviced Without Removing It?
Yes, you can service a carburetor without removing it by cleaning the exterior, adjusting screws, and spraying carb cleaner into jets.
However, thorough servicing often requires removal for proper inspection and deep cleaning.
What Are Common Signs of a Failing Carburetor Gasket?
Leaks around the gasket are the canary in the coal mine, signaling trouble. You’ll notice fuel smells, rough idling, and poor acceleration.
If your engine sputters or stalls, it’s time to check that gasket before things worsen.
How Often Should Carburetor Adjustments Be Checked?
You should check carburetor adjustments every 3,000 to 6,000 miles or at least once a year.
Regular checks keep your engine running smoothly and prevent performance issues before they start causing trouble.
Conclusion
Now that you’ve brought your carburetor back to life, your engine will hum like a well-tuned orchestra. With each twist and turn, you’ve danced through grime and wear, restoring harmony under the hood.
Keep these steps close, and you’ll always hit the right notes when it’s time to service again. Remember, a smooth-running carburetor is the heartbeat of your machine—treat it well, and it’ll reward you with power and precision every time.
Regular carburetor maintenance ensures optimal engine performance and longevity. Follow these carburetor service steps to keep your engine running efficiently and avoid costly repairs down the road.

