

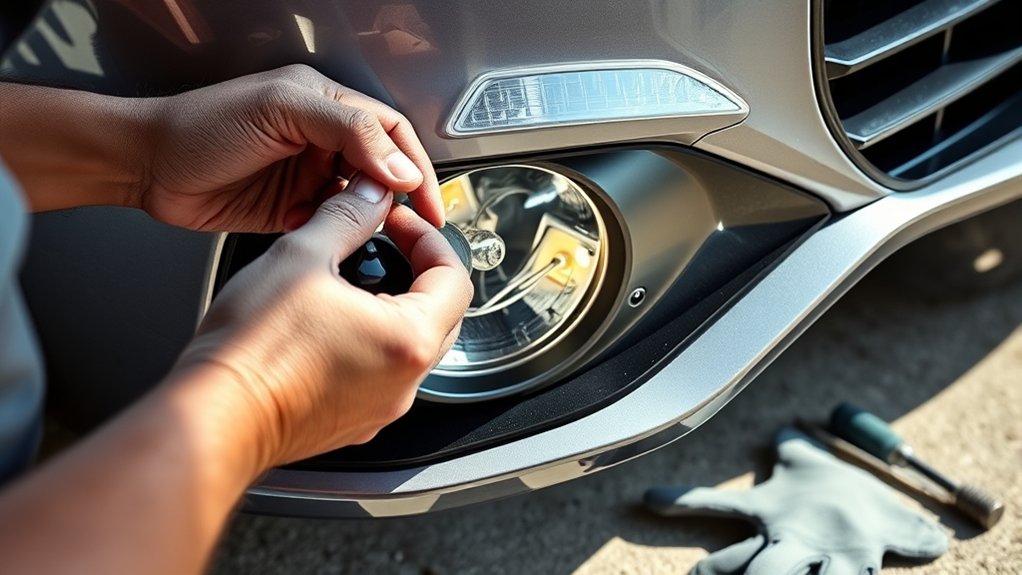
To change your fog lights in 7 easy steps, start by locating the fog light assembly on your bumper. Access it by removing any necessary covers carefully to avoid damage. Make sure you have the right tools ready before beginning the process.
Next, unplug the power connector carefully to prevent any electrical issues. Twist out the old bulb gently, avoiding any contact with the glass to extend its lifespan.
Replace it with a new bulb that matches the specifications of your vehicle.
Finally, secure the fog light assembly back in place and reattach any removed panels. Test the fog lights to ensure they work properly and provide optimal visibility.
Keep reading to discover helpful tips and tricks for maintaining your fog lights.
Key Takeaways
- Locate fog light assembly by inspecting under the bumper or behind covers near the grille or headlights.
- Gather necessary tools like screwdrivers, ratchets, gloves, and confirm the correct replacement bulb.
- Turn off the vehicle and unplug the fog light power connector by pressing the release tab and pulling gently.
- Twist the bulb socket counterclockwise to remove the bulb, handling it by the base and avoiding touching the glass.
- Reassemble the housing securely, replace covers, then test fog lights for proper function and alignment.
Locate and Access Your Vehicle’s Fog Light Assembly
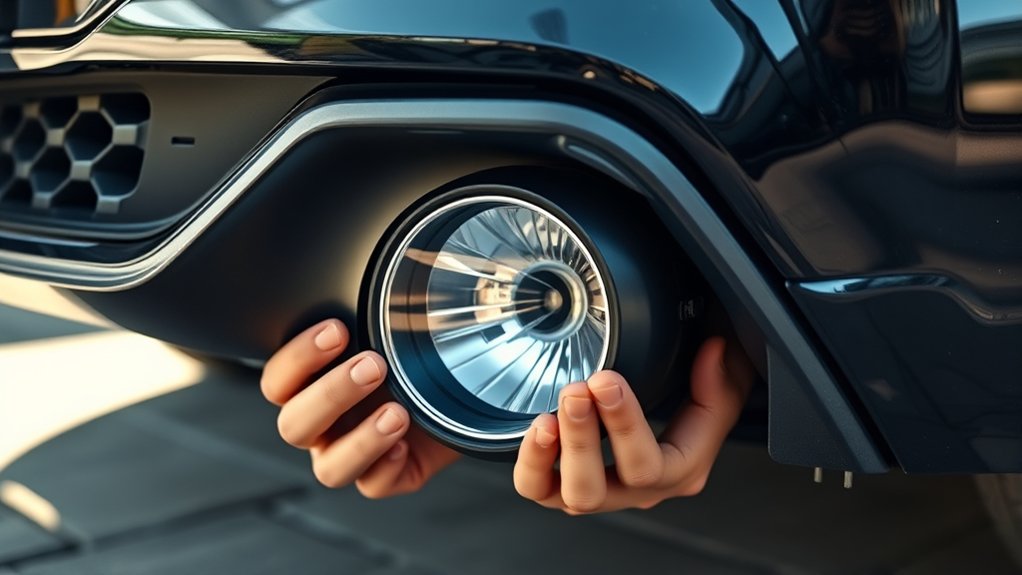
Before you can replace your fog lights, you need to locate and access their assembly. Typically, fog lights are mounted low on the front bumper, often near the grille or below the headlight. Depending on your vehicle, you might need to look underneath the bumper or behind a plastic cover to find the fog light housing.
Pop the hood and inspect the area behind the bumper to spot the wiring and bulb socket. In some cars, you might need to remove a splash guard or loosen screws to get better access. Take note of how the assembly is secured so you can easily remove it later.
Knowing exactly where your fog lights sit and how to reach them makes the replacement process smoother and quicker.
Gather Tools and Supplies for Replacement
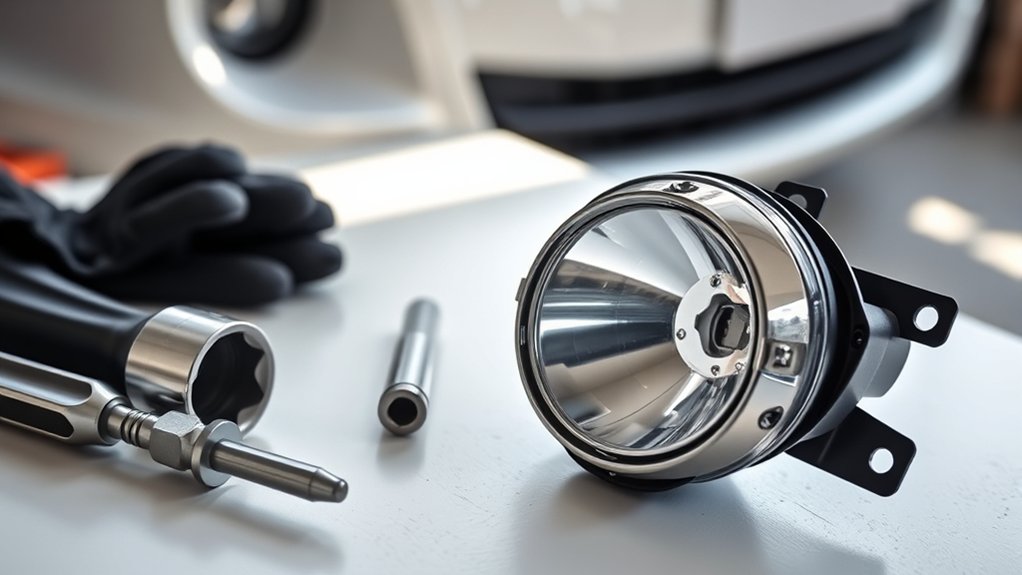
Once you’ve located and accessed your fog light assembly, the next step is to gather the right tools and supplies for the replacement. You’ll typically need a screwdriver—either Phillips or flathead depending on your vehicle—and a ratchet with the correct socket size to remove mounting bolts. Having a pair of gloves is helpful to protect your hands and avoid touching the new bulb with bare fingers, which can reduce its lifespan.
Also, grab a clean cloth to handle the bulb safely. Make sure you have the exact replacement fog light bulb recommended for your car model. Double-check your vehicle’s manual or the bulb packaging to confirm compatibility.
Having everything ready before you start will make the process smoother and faster.
Unplug the Fog Light Power Connector
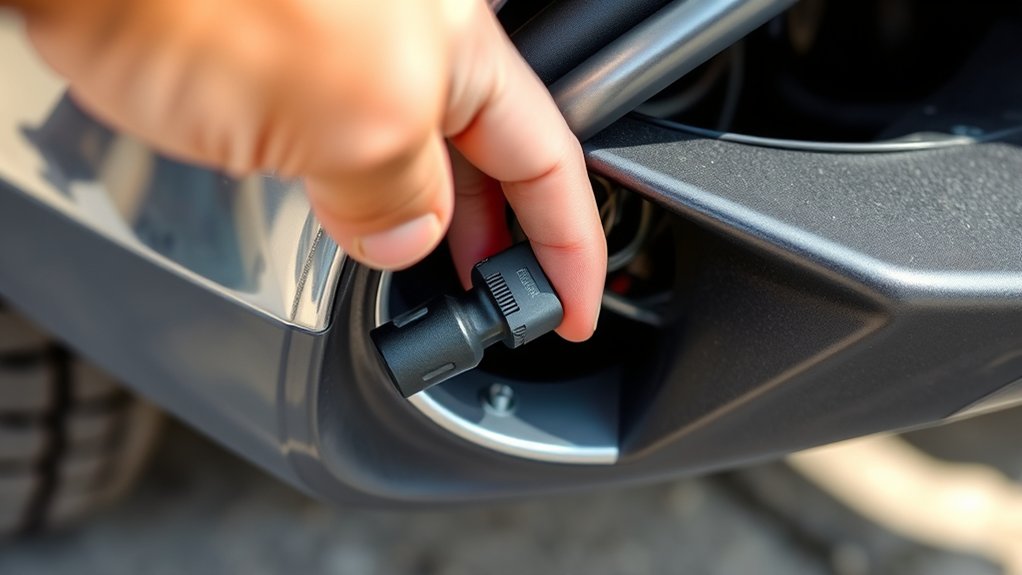
First, find the fog light power connector near the back of the light assembly. Make sure the vehicle is off before you touch any wiring to avoid shocks.
Then, carefully unplug the connector by pressing the release tab and pulling it apart.
Locate The Power Connector
Where exactly is the fog light’s power connector located? Typically, you’ll find it right behind the fog light assembly itself, tucked inside the wheel well or under the front bumper. To locate it, crouch down and look carefully for a wiring harness leading to the fog light bulb.
The connector usually has a clip or tab that secures it in place. Depending on your vehicle, it might be a bit hidden by protective covers or splash guards, so you may need to gently move these aside. Once you spot the connector, you’ll recognize it by the wires running into the fog light housing.
Knowing this spot helps you unplug the power connector quickly when you’re ready to replace the fog light.
Safely Disconnect Wiring
After locating the fog light’s power connector behind the assembly, you’ll want to unplug it carefully to avoid damaging the wires or clips. Follow these steps to disconnect the wiring safely:
- Inspect the connector: Look for any locking tabs or clips that secure the plug. Press or lift them gently to release.
- Grip the connector, not the wires: Pull the plug straight out by holding the connector housing, avoiding any tension on the wires.
- Check for corrosion or debris: If the connector feels stuck, wiggle it slightly while ensuring no force is applied that could break the wires.
Taking these precautions prevents damage and ensures a smooth replacement process. Once unplugged, you’re ready to remove or replace the fog light assembly.
Remove the Old Fog Light Bulb Safely
Before you remove the old fog light bulb, make sure you follow a safety checklist to avoid any accidents. You’ll want to handle the bulb carefully to prevent damage or injury.
Let’s go over the proper techniques to get it out smoothly.
Safety Precautions Checklist
Although changing fog light bulbs might seem straightforward, you’ll want to take specific safety precautions to avoid injury or damage. Before you start, make sure your car is parked on a flat surface and the engine is off to prevent any accidents. Always wear gloves to protect your hands from sharp edges and hot bulbs.
Here’s a quick checklist to keep you safe:
- Disconnect the car battery to avoid electrical shocks.
- Allow the fog light to cool completely before touching it.
- Use proper lighting and tools to prevent slips or mistakes.
Following these steps will help you replace your fog light bulb safely and efficiently without risking harm to yourself or your vehicle.
Proper Bulb Removal Techniques
When you’re ready to remove the old fog light bulb, start by locating the bulb housing at the back of the fog light assembly. Make sure the vehicle is off and the bulb has cooled down to avoid burns. Gently twist the bulb socket counterclockwise to release it from the housing.
Carefully pull the socket straight out without forcing it. Avoid touching the glass part of the bulb with your fingers, as oils can shorten its lifespan. If the bulb feels stuck, wiggle it slightly while pulling.
Once removed, inspect the socket and wiring for damage or corrosion. Handle the old bulb with care and dispose of it properly. Following these steps will help you remove the fog light bulb safely and prepare for installing the new one.
Install the New Fog Light Bulb
How do you properly install the new fog light bulb to guarantee it functions correctly? First, handle the bulb carefully by its base to avoid touching the glass, which can cause hot spots and shorten its lifespan. Next, align the bulb’s tabs with the socket in the fog light housing.
Once aligned, gently push the bulb into place until it clicks or feels secure. Finally, reconnect the wiring harness to the bulb, making sure it snaps on firmly without forcing it.
Here’s a quick checklist:
- Hold the bulb by the base, not the glass.
- Align bulb tabs with the socket before insertion.
- Reattach the wiring harness securely.
Following these steps ensures your new fog light bulb is properly installed and ready to shine.
Reassemble and Secure the Fog Light Assembly
Once you’ve installed the new bulb and reconnected the wiring, you can start reassembling the fog light assembly. First, carefully align the housing back into its bracket. Make sure the bulb and wiring aren’t pinched or twisted.
Next, secure the assembly with screws or clips you removed earlier. Tighten them firmly but avoid overtightening to prevent damage. Finally, replace any covers or panels you took off.
Here’s a quick checklist to help you reassemble smoothly:
| Step | Action | Tip |
|---|---|---|
| Align housing | Fit housing into bracket | Avoid pinching wires |
| Secure assembly | Tighten screws/clips | Use correct tool size |
| Replace covers | Snap or screw back panel | Ensure all clips engage |
| Final check | Confirm assembly stability | Wiggle gently to test |
Test Your New Fog Lights to Confirm They Work
Although you’ve just finished reassembling the fog light, you’ll want to test it immediately to guarantee everything works correctly. Follow these steps to confirm your new fog lights function perfectly:
- Turn on your vehicle’s ignition but don’t start the engine. This powers the electrical system and allows you to test the lights safely.
- Activate the fog lights using the dedicated switch or control on your dashboard. Check that the new fog light illuminates brightly without flickering.
- Inspect from outside the vehicle. Walk around to ensure both fog lights are properly aligned and shining as expected. If one or both don’t light up, double-check connections or the bulb installation.
Testing right away saves you time and guarantees your fog lights are ready for safe driving in poor visibility.
Frequently Asked Questions
How Often Should Fog Light Bulbs Be Replaced?
You should replace your fog light bulbs every 1-2 years or once they start dimming or flickering. Regularly check them to guarantee visibility, especially before bad weather or nighttime driving.
Don’t wait for complete failure.
Can I Use LED Bulbs Instead of Halogen for Fog Lights?
Yes, you can use LED bulbs instead of halogen for fog lights, but make sure they’re compatible with your vehicle. LEDs offer better brightness and efficiency, but check for proper fit and legal requirements before upgrading.
Are Fog Lights Legal to Use in All Weather Conditions?
About 60% of drivers use fog lights incorrectly. You can’t use fog lights in all weather conditions; laws vary by state, so you should only turn them on during fog, heavy rain, or snow to avoid fines and glare.
What Causes Fog Lights to Burn Out Quickly?
You’ll find fog lights burn out quickly due to excessive moisture, poor wiring, or using the wrong bulb type. Vibration from rough roads and frequent on-off cycles also shorten their lifespan, so check those regularly.
Can Fog Light Replacement Improve Nighttime Visibility?
Yes, replacing fog lights can improve nighttime visibility by providing brighter, clearer illumination in foggy or rainy conditions.
You’ll see the road better and spot obstacles sooner, making your night drives safer and more confident.
Conclusion
Changing your fog lights is simpler than you might think—just seven easy steps and you’re done! Did you know that properly functioning fog lights can improve visibility by up to 30% in poor weather conditions? That’s a huge safety boost for you and your passengers.
By following these steps, you’ll not only save money but also guarantee safer drives in fog, rain, or snow. Give it a try—you’ve got this! Remember, regular fog light maintenance is key to enhancing road safety and ensuring clear visibility during adverse weather.
Changing fog lights yourself is an easy and effective way to keep your vehicle safe and reliable on the road.

