

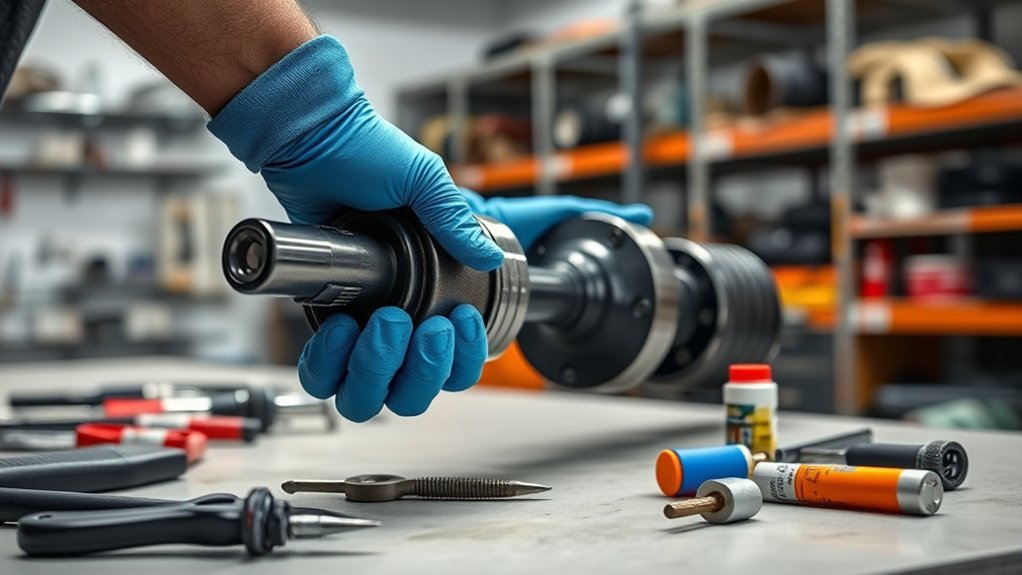
To rebuild a CV axle in 7 simple steps, start by identifying common failure signs such as clicking noises, grease leaks, or vibrations. Recognizing these symptoms early helps prevent further damage.
Next, gather all necessary tools and replacement parts that match your vehicle’s specifications to ensure a proper fit.
Safely remove the old axle from your vehicle, taking care to avoid damage to surrounding components.
Disassemble the axle carefully and inspect each part for wear or damage, focusing on the boots, bearings, and joints.
Thoroughly clean and prep the joint and shaft to create a smooth surface for reassembly.
Replace any worn or damaged boots and bearings with new ones to maintain longevity and performance.
Reassemble the CV axle, ensuring all components fit securely.
Finally, reinstall the axle onto your vehicle and tighten all bolts to the manufacturer’s recommended torque settings.
Following these steps closely will help restore smooth performance and prevent future issues. There’s plenty more to explore on each stage for those interested in a deeper understanding.
Key Takeaways
- Safely lift the vehicle and remove the wheel, axle nut, and disconnect necessary suspension components.
- Remove the old CV axle by separating the lower ball joint and prying the inner joint from the transmission.
- Carefully remove and clean the CV boot, inspecting for cracks, tears, and joint damage before proceeding.
- Replace worn boots, bearings, and clamps, applying high-quality grease generously to all joint components.
- Reassemble the CV axle, reinstall it in the vehicle, torque fasteners to specifications, and verify smooth operation with a test drive.
What Is a CV Axle and How to Know When It’s Failing
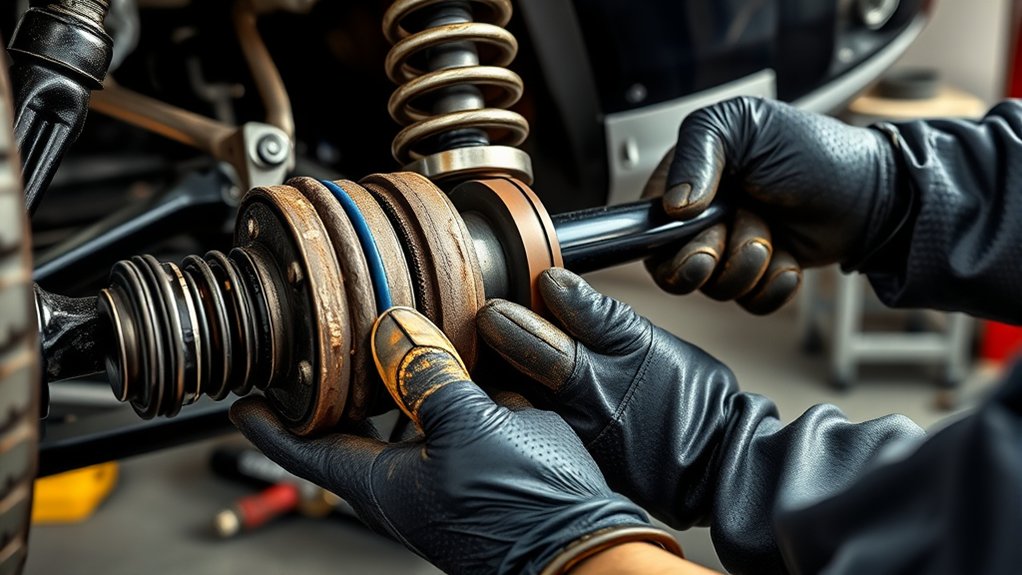
Although you might not notice it right away, the CV axle plays an essential role in your vehicle’s drivetrain by transferring power from the transmission to the wheels while allowing for smooth turns. It consists of a shaft with constant velocity joints at both ends, which accommodate suspension movement and steering.
When your CV axle starts failing, you may hear clicking noises during turns, especially sharp ones. You might also feel vibrations while driving or notice grease leaking from torn CV boots. These symptoms indicate worn joints or damaged boots, which can lead to axle failure if ignored.
Gather the Essential Tools and Replacement Parts
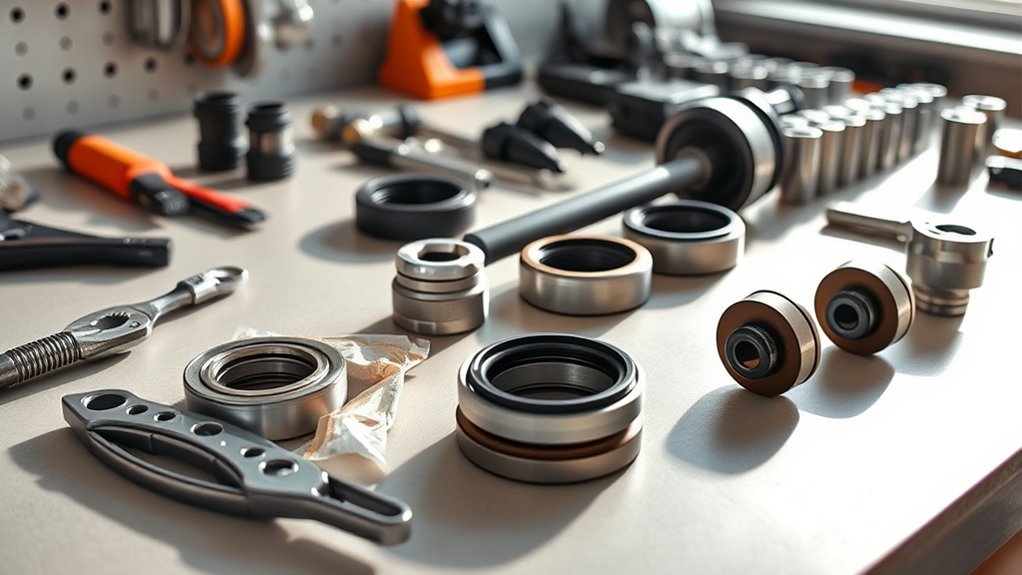
Before you start rebuilding your CV axle, make sure you have the right tools on hand, like a socket set and a torque wrench. Choosing the correct replacement parts is key to a successful repair, so check compatibility carefully.
Also, prepare a clean, organized workspace to keep everything within reach and avoid losing small components.
Required Tools Overview
What tools do you need to successfully rebuild a CV axle? Start with a sturdy set of socket wrenches and a torque wrench to remove and tighten bolts accurately. You’ll also need snap ring pliers to handle the circlips inside the axle assembly.
A hammer and a punch will help you separate stubborn parts without causing damage. Don’t forget a bench vise to hold the axle steady while you work. Grease is essential for lubricating the joints during reassembly, so have high-quality CV joint grease ready.
Additionally, a clean workspace with rags and a container for small parts will keep everything organized. Having these tools on hand guarantees you can efficiently and safely rebuild your CV axle without unnecessary delays.
Selecting Replacement Parts
How do you know which replacement parts you need for your CV axle rebuild? Start by inspecting the axle carefully to identify worn or damaged components. You’ll typically need a new CV boot, grease, clamps, and possibly new CV joints if the originals show excessive wear or damage.
Check your vehicle’s manual or parts catalog to get exact specifications for the CV joints and boots to ensure compatibility. Don’t forget to grab high-quality grease designed for CV joints—it’s essential for smooth operation and longevity. Also, pick up replacement clamps or bands to secure the boots properly.
Having all these parts on hand before you begin will save time and reduce frustration during the rebuild process. Always choose parts that match your vehicle’s make and model for the best results.
Preparing Your Workspace
Once you’ve gathered the right replacement parts for your CV axle, it’s time to set up a workspace that keeps everything organized and within reach. A clean, well-lit area with a sturdy workbench is ideal. You’ll want to have all your tools and parts laid out before you start to avoid unnecessary interruptions.
Make sure you have these essentials ready:
- A quality set of hand tools, including sockets and pliers
- Replacement parts like CV joints, clamps, and grease
- Protective gear such as gloves and safety glasses
Remove the Old CV Axle From Your Vehicle
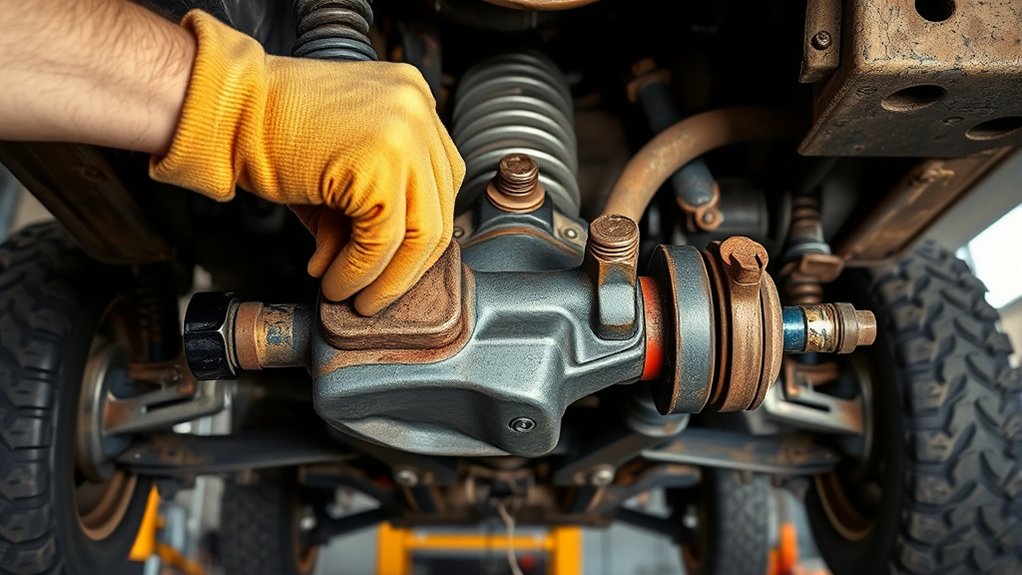
Where do you start when removing the old CV axle from your vehicle? First, confirm the car is safely lifted and supported on jack stands. Remove the wheel to access the axle.
Next, loosen the axle nut, which often requires a breaker bar due to its tightness. Once the nut is off, disconnect any components blocking axle removal, such as the brake caliper or sway bar links, if necessary. Carefully separate the lower ball joint to allow the hub assembly to move freely.
Then, push the axle out of the hub. Finally, use a pry bar to gently pop the inner CV joint from the transmission or differential, being cautious not to damage the seal. Now, the old CV axle is free for removal.
Disassemble and Inspect CV Axle Components
Now that you’ve removed the CV axle, start by carefully taking off the boot to expose the joint. Check the joint for any signs of wear or damage, like cracks or looseness. This step is essential to guarantee your rebuilt axle will function properly.
Removing CV Axle Boot
Before you can inspect the CV axle components, you need to carefully remove the CV axle boot. Start by cleaning the boot and surrounding area to avoid dirt contaminating the joint. Then, follow these steps:
- Use pliers to remove the clamps securing the boot on both ends.
- Gently slide the boot off the axle shaft, taking care not to damage it if you plan to reuse it.
- Inspect the boot for cracks, tears, or hardened spots that indicate wear or failure.
Removing the boot exposes the CV joint, allowing you to proceed with a detailed inspection. Handle components carefully to prevent damage, and keep track of all parts for reassembly.
If the boot is damaged, replacing it is necessary to protect the joint.
Checking Joint Wear
How do you know if your CV joint needs replacement? After removing the boot, carefully disassemble the joint components. Inspect the bearings, cage, and races for any signs of wear, such as scoring, pitting, or corrosion.
Pay close attention to any visible cracks or excessive play when you move the joint by hand. If the bearings feel rough or don’t rotate smoothly, that’s a clear sign they’re worn out. Also, check the cage for deformation or damage that could affect joint alignment.
Clean and Prepare the CV Joint and Shaft
Although the CV joint and shaft may look clean at first glance, you’ll need to thoroughly remove any grease, dirt, and debris to guarantee a proper rebuild. Start by wiping down the shaft and joint with a clean rag to remove loose contaminants. Next, use a solvent or brake cleaner to dissolve old grease and stubborn grime.
Finally, dry everything completely before moving forward.
Follow these steps to clean and prepare effectively:
- Use a brush or rag with solvent to clean all surfaces thoroughly.
- Inspect for any cracks or damage once clean.
- Confirm the joint moves smoothly without binding before reassembly.
Taking these steps ensures a clean base for the rebuild and prevents premature wear later on.
Replace Worn CV Boots, Bearings, and Clamps
Since worn CV boots, bearings, and clamps can lead to joint failure, you need to replace them carefully to restore proper function. Begin by removing the old, cracked boots and discard any damaged clamps. Inspect the bearings closely; if you see pitting or roughness, replace them to guarantee smooth rotation.
Slide the new boot onto the shaft, making sure it’s positioned correctly to avoid leaks. Grease the bearings generously before installing them back into the joint. Secure the new boot with fresh clamps, tightening them firmly to keep contaminants out.
Take your time to verify everything fits snugly—this prevents premature wear and extends the axle’s lifespan. Proper replacement here is critical for a durable, reliable CV joint.
Reassemble, Install, and Test Your Rebuilt CV Axle
Before you reinstall the CV axle, make sure all components are clean and properly greased to guarantee smooth operation. Start by carefully reassembling the axle, ensuring that the CV joints and boots are secure and clamps are tight.
Next, install the axle back into the vehicle, aligning it correctly with the transmission and wheel hub.
To finish, follow these steps:
- Tighten all fasteners to the manufacturer’s torque specifications.
- Reattach any suspension components or brackets you removed.
- Lower the vehicle and perform a test drive, listening for clicking or vibrations.
This test confirms your rebuild is successful and the axle operates smoothly under load. If you hear unusual noises, recheck your work before driving extensively.
Frequently Asked Questions
Can I Rebuild a CV Axle Without Special Mechanical Skills?
You can rebuild a CV axle without special skills if you’re patient and follow instructions carefully. It’s tricky but doable with basic tools, a good guide, and attention to detail.
Take your time and stay safe.
How Long Does a Typical CV Axle Rebuild Take?
A typical CV axle rebuild takes about 2 to 4 hours, depending on your experience and tools. If you’re new, expect it to take longer, but with practice, you’ll finish quicker and more confidently.
Are Rebuilt CV Axles Covered by Warranties?
Yes, rebuilt CV axles usually come with warranties, but coverage varies by shop or manufacturer. You should always ask about warranty length and terms before buying to guarantee you’re protected against defects or premature failure.
What Safety Precautions Should I Take During the Rebuild?
Remember, “safety first.” You’ll want to wear gloves and safety glasses, work on a stable surface,
secure the vehicle properly, keep tools organized, and avoid rushing.
These precautions keep injuries and mistakes at bay.
Can I Reuse Old CV Boots if They Look Intact?
You can reuse old CV boots if they look intact, but it’s best to inspect them thoroughly for cracks or stiffness. Any damage risks grease leaks, so replacing boots is safer and guarantees longer joint life.
Conclusion
By bravely breaking down the CV axle, you’ve boldly built better bearings and boots. With careful cleaning, clutching clamps, and consistent checks, you’ve conquered common car challenges. This clever craft not only saves cash but also sharpens your skills.
So, step confidently, complete the clutch, and cruise smoothly with your carefully crafted CV axle. Remember, mastering maintenance means more miles, less mess, and maximum motoring moments. Keep caring, keep cruising!
By following these steps, you ensure your CV axle rebuild is successful, improving vehicle performance and durability. Regular maintenance and proper rebuilding techniques are key to extending the life of your car’s drivetrain. Embrace these tips for a safer, smoother ride every time you hit the road.

