

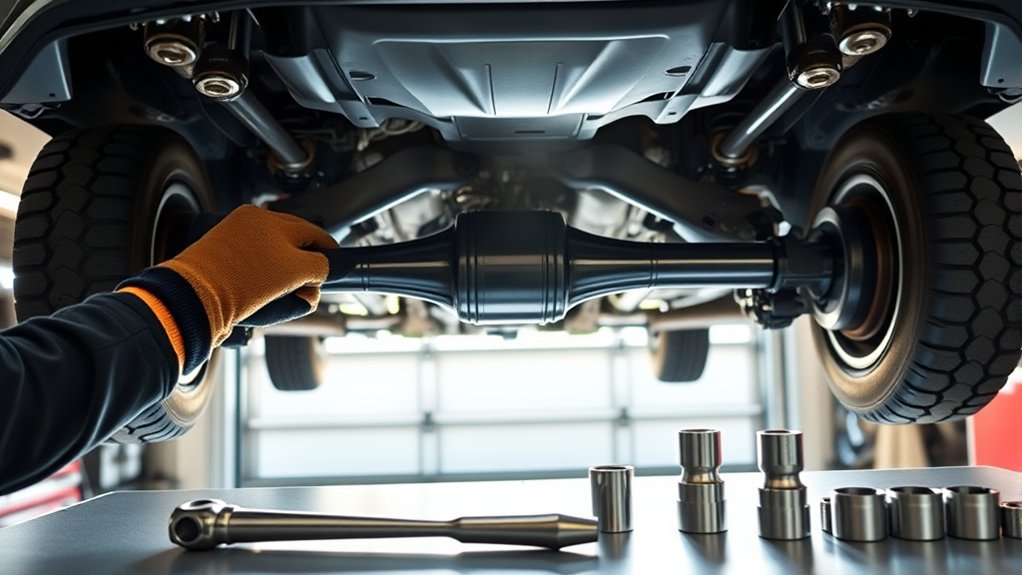
To install a CV axle in 10 easy steps, begin by identifying a faulty CV axle and gathering the necessary tools and safety gear. Proper preparation is key to a smooth and safe installation process. Make sure you have everything ready before lifting your vehicle.
Next, safely lift and secure your vehicle using a jack and stands. Remove the wheel to access the axle. Then, loosen the axle nut and disconnect suspension components to detach the old CV axle.
Install the new CV axle with proper alignment to ensure optimal performance. Tighten all fasteners to the manufacturer’s specifications.
Reassemble the wheel and lower the vehicle carefully.
Finally, test the axle for smooth operation by driving the vehicle slowly. Maintain the CV axle regularly to extend its lifespan. Keep following along to master the details behind each step.
Key Takeaways
- Safely lift and secure the vehicle using a jack and jack stands before removing the wheel and axle components.
- Remove the axle nut, disconnect suspension parts, and carefully pry out the old CV axle from the hub and transmission.
- Align the new CV axle splines smoothly with the transmission and hub, avoiding force to prevent damage.
- Secure the axle by tightening the axle nut to manufacturer torque specifications and reattach all suspension components.
- Reinstall the wheel, tighten lug nuts in a star pattern, lower the vehicle, and perform a test drive to confirm proper installation.
How to Identify a Faulty CV Axle
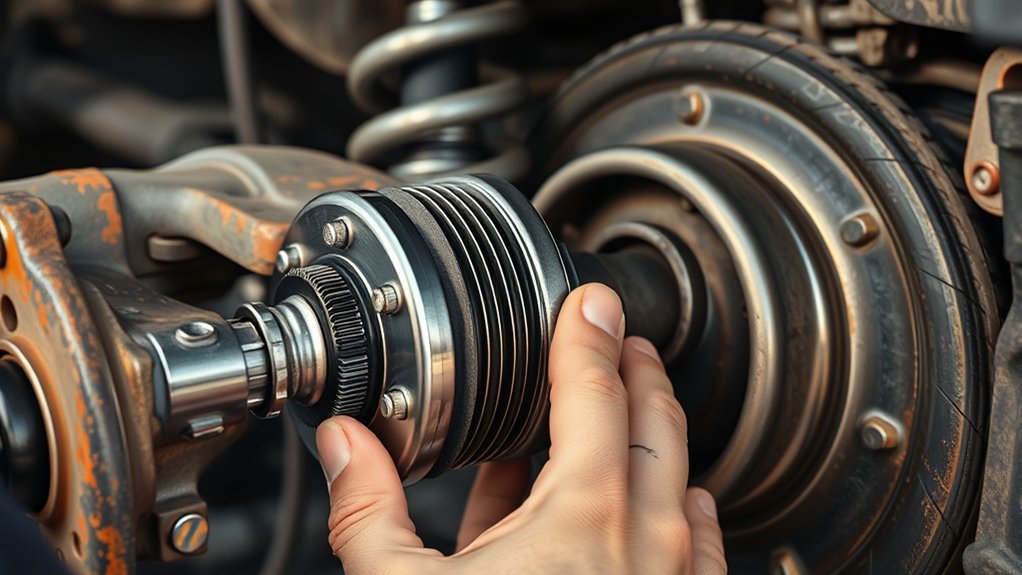
How can you tell if your CV axle is faulty? Listen for clicking or popping noises when you turn sharply; this often signals worn CV joints. You might also notice vibration or shuddering during acceleration, indicating the axle shaft may be damaged.
Check the CV boots for tears or grease leaks—damaged boots let dirt in, causing joint failure. If your vehicle struggles to move smoothly or you hear clunking sounds when shifting between drive and reverse, the axle could be compromised. Regularly inspecting these signs helps you catch problems early before they worsen.
Identifying a faulty CV axle promptly ensures your safety and prevents further damage to your car’s drivetrain. Keep an eye out, and don’t overlook these warning signs.
Gather the Right Tools for the Job
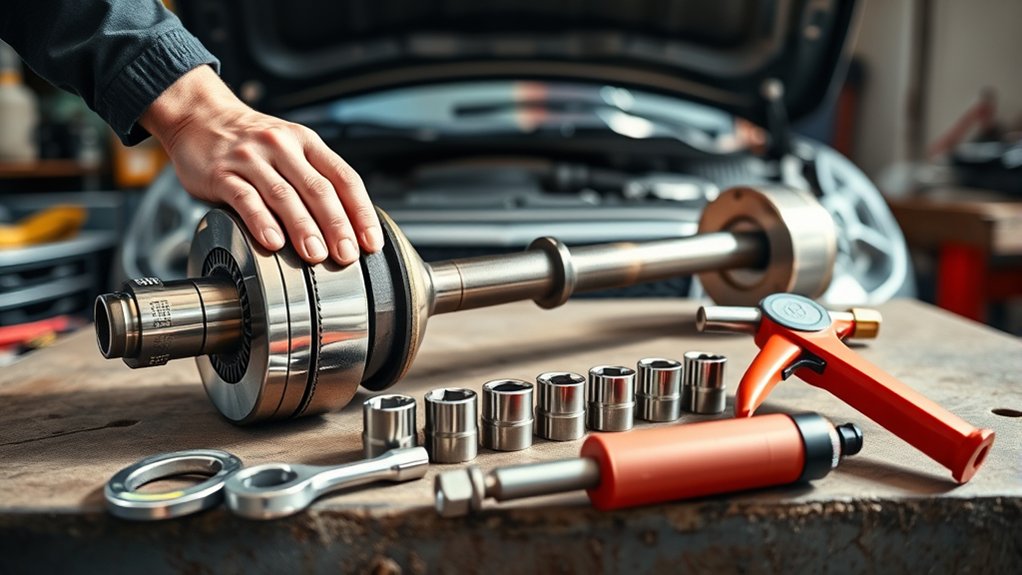
Before you start, make sure you have all the essential tools ready, including wrenches, a jack, and a pry bar. Don’t forget safety gear like gloves and eye protection to keep yourself safe.
Using high-quality tools will make the job easier and prevent damage to your vehicle.
Essential Tools Overview
What tools do you need to successfully install a CV axle? First, a sturdy jack and jack stands will lift and secure your vehicle safely. You’ll need a socket set with various sizes to remove bolts and nuts, including a large axle nut socket specific to your vehicle.
A breaker bar helps loosen stubborn fasteners, while a torque wrench ensures you tighten everything to the manufacturer’s specs. A pry bar or flathead screwdriver aids in removing the old axle without damaging components. Don’t forget a hammer or mallet to tap parts into place gently.
Finally, penetrating oil can loosen rusted bolts. Having these essential tools ready will make the installation smoother and prevent delays or damage during the process.
Safety Equipment Needed
Along with gathering the right tools like sockets and a breaker bar, you’ll also want to equip yourself with proper safety gear. Start with safety glasses to protect your eyes from debris and grease. Gloves are essential—they keep your hands clean and provide a better grip while preventing cuts or scrapes.
Wear sturdy closed-toe shoes to shield your feet from heavy parts or dropped tools. If you’re working under the vehicle, a mechanic’s creeper can make movement easier and safer. Don’t forget to use jack stands after lifting the car with a jack; never rely on the jack alone.
Proper lighting also helps you avoid mistakes and hazards. By prioritizing safety equipment, you’re setting yourself up for a smoother, accident-free CV axle installation.
Tool Quality Importance
Although having the right tools is essential, using high-quality tools makes the job considerably easier and safer. Cheap or worn-out tools can slip, break, or damage parts, leading to frustration and potential injury.
Investing in durable tools guarantees you apply the correct force without worrying about tool failure.
When gathering tools for your CV axle installation, focus on these qualities:
- Strength and durability: High-quality materials resist wear and tear.
- Precision fit: Tools that fit bolts and nuts exactly reduce stripping risk.
- Comfort and grip: Ergonomic handles improve control during tough maneuvers.
How to Safely Lift and Secure Your Vehicle
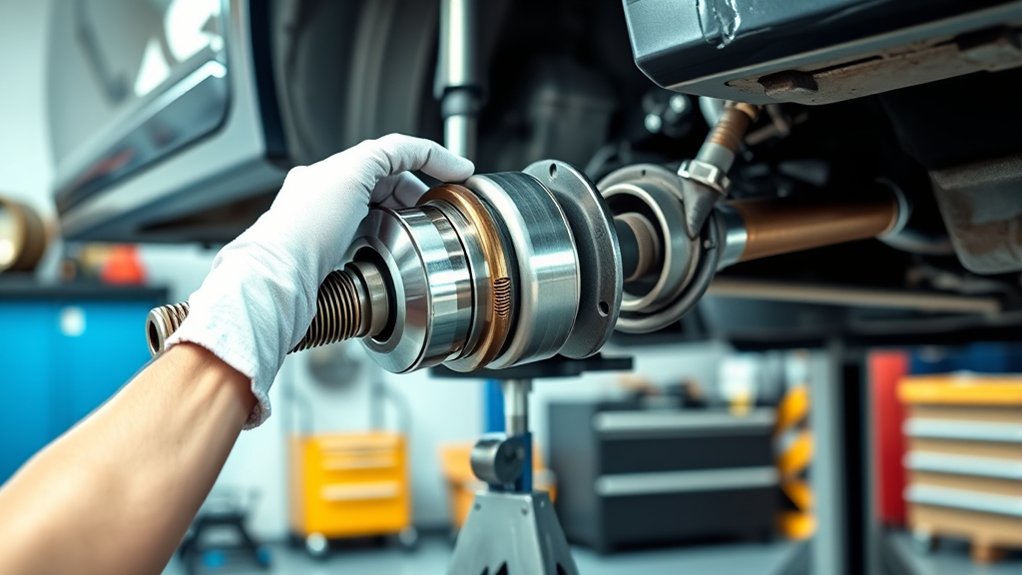
Before you start, make sure you choose the right jack for your vehicle’s weight and type. Once lifted, stabilize your car with jack stands on a flat, solid surface to keep it secure.
Taking these steps will keep you safe while working under your vehicle.
Choosing The Right Jack
How do you guarantee your vehicle stays stable while working underneath it? Choosing the right jack is key. You want a jack that matches your vehicle’s weight and lifting points to assure safety and ease of use.
Hydraulic floor jacks provide smooth lifting and are ideal for most cars, while scissor jacks are compact but less stable and better suited for emergencies. Avoid using bottle jacks unless your vehicle’s clearance and jack points are compatible.
When selecting a jack, consider:
- Weight capacity: Always pick a jack rated above your vehicle’s weight.
- Lift height: Ensure it can reach the necessary height to remove the wheel and access the CV axle.
- Stability and build quality: A solid base prevents tipping during use.
Choosing wisely keeps you safe and your job easier.
Proper Vehicle Stabilization
Once you lift your vehicle with the right jack, you need to stabilize it securely to prevent any movement while you work underneath. Start by placing jack stands under the vehicle’s recommended lift points. Lower the car gently onto the stands, ensuring they’re firmly seated.
Avoid relying solely on the jack as it’s not designed to hold the vehicle for extended periods. Chock the wheels remaining on the ground to stop rolling. Double-check the vehicle’s stability before crawling underneath.
| Step | Tool Needed | Purpose |
|---|---|---|
| Lift Vehicle | Hydraulic Jack | Raise vehicle off the ground |
| Place Stands | Jack Stands | Support vehicle securely |
| Chock Wheels | Wheel Chocks | Prevent vehicle from rolling |
Remove the Wheel and Access the CV Axle
Where should you start when removing the wheel to access the CV axle? First, make sure your vehicle is securely lifted and stabilized. Then, remove the lug nuts with a breaker bar or impact wrench.
Take the wheel off and set it aside safely. With the wheel removed, you can easily reach the CV axle connected to the hub and transmission.
Remember these key points:
- Always loosen lug nuts before lifting the vehicle.
- Use a jack stand to prevent accidents.
- Keep the wheel nuts organized for reinstallation.
Once the wheel is off, you’ll have clear access to the CV axle, setting you up perfectly for the next step in the replacement process.
How to Detach the Old CV Axle Step-by-Step
After removing the wheel and gaining clear access to the CV axle, you’re ready to start detaching the old axle. First, loosen and remove the axle nut.
Next, disconnect the lower ball joint or suspension components to allow movement. Then, carefully pry the axle from the transmission or differential using a pry bar.
Finally, pull the axle out from the hub assembly.
| Step Number | Task | Tools Needed |
|---|---|---|
| 1 | Remove axle nut | Socket wrench |
| 2 | Disconnect suspension | Wrench, pry bar |
| 3 | Pry axle from trans. | Pry bar |
| 4 | Remove axle from hub | Hands or hammer (if stuck) |
Follow these steps carefully to avoid damage and prepare for the new CV axle installation.
Check and Clean CV Axle Components Before Installing
Before installing the new CV axle, you should thoroughly inspect and clean all related components to guarantee a smooth fit and prevent future issues. Begin by checking the axle shaft, CV joints, and boots for any signs of damage or debris. Clean off any dirt, grease, or rust that could interfere with assembly or operation.
Use a clean rag and a mild solvent if needed to remove stubborn grime. Pay special attention to the axle splines, ensuring they’re free of corrosion for proper engagement. The CV joint boots, checking for cracks or tears.
The surrounding hub and bearing surfaces, wiping away any dirt or old grease. Taking these steps helps secure a reliable installation and extends the lifespan of your new CV axle.
How to Install the New CV Axle Correctly
Now that everything’s clean and ready, you’ll want to focus on aligning the new CV axle properly to avoid any issues. Make sure the splines line up perfectly before pushing the axle into place.
Once aligned, securely fasten all components to keep everything stable during operation.
Proper Alignment Techniques
Though installing the new CV axle might seem straightforward, ensuring proper alignment is essential for peak performance and longevity. Misalignment can cause vibrations, premature wear, and even damage to your vehicle’s drivetrain.
Start by carefully positioning the axle so the splines engage smoothly with the transmission or differential. Avoid forcing the axle, as this can damage the seals or internal components.
Focus on these key alignment techniques:
- Ensure the axle shaft is fully seated in the transmission or differential.
- Align the outer CV joint with the wheel hub to prevent binding.
- Check that the axle flange sits flush against the mounting surface before tightening.
Taking these steps helps guarantee smooth operation and extends the life of your new CV axle.
Securing Axle Components
How do you guarantee the CV axle stays firmly in place once aligned? Start by pushing the axle fully into the transmission or differential until you hear it click, confirming the internal snap ring engages. Then, secure the axle nut by threading it onto the spindle; tighten it by hand first to avoid cross-threading.
Use a torque wrench to tighten the axle nut to the manufacturer’s specified torque—this is vital for safety and performance. Next, reinstall any retaining clips or bolts that hold the axle in place. Don’t forget to reattach the lower ball joint or control arm if you disconnected it.
Finally, double-check all fasteners to confirm they’re tight and secure before moving on to reassemble brakes and wheels. This step guarantees your new CV axle functions reliably.
How to Secure the CV Axle and Reassemble the Wheel
After positioning the CV axle correctly, you’ll need to secure it firmly to prevent any movement. Start by tightening the axle nut to the manufacturer’s specified torque using a torque wrench. Then, reattach any retaining clips or bolts that hold the axle in place.
Secure the CV axle firmly by tightening the axle nut and reattaching all retaining clips or bolts.
This assures the axle won’t slip out during operation.
Next, reassemble the wheel by placing it back onto the hub. Hand-tighten the lug nuts in a star pattern to evenly distribute pressure. Once all lug nuts are snug, lower the vehicle and use a torque wrench to tighten them to the recommended torque.
Remember to:
- Double-check all fasteners for proper tightness.
- Use a torque wrench for accuracy.
- Follow the vehicle’s service manual specifications.
This guarantees a safe, secure installation.
How to Test Your CV Axle Installation
Wondering if your CV axle installation was successful? Start by lowering the vehicle safely and removing the jack stands. Once the car is on the ground, turn the steering wheel fully to one side.
Listen for any clicking or clunking sounds as you gently accelerate and decelerate. These noises often indicate issues with the CV axle. Next, take your car for a short test drive, paying attention to vibrations or unusual noises during turns and acceleration.
If everything feels smooth and quiet, your installation is likely solid. Finally, visually inspect the axle boots for any leaks or damage. By following these steps, you’ll confirm that your CV axle is properly installed and ready for the road without risking further damage or safety issues.
Maintain Your CV Axles for Longevity
Confirming your CV axle installation was successful is just the beginning; keeping those components in good shape will save you time and money down the road. To maintain your CV axles for longevity, regularly inspect the CV boots for cracks or tears, since damaged boots let dirt and moisture in, causing premature wear.
Successful CV axle installation is just the start; regular inspection of CV boots prevents costly damage and extends lifespan.
Also, listen for clicking noises when turning, which can signal joint issues. Finally, avoid harsh driving habits that put excessive stress on the axles.
Focus on these key maintenance tips:
- Check CV boots during routine oil changes.
- Replace damaged boots immediately to prevent joint damage.
- Drive smoothly to reduce axle stress and extend lifespan.
Frequently Asked Questions
What Are the Signs of a Failing CV Axle Joint?
You’ll notice clicking noises when turning, vibrations during acceleration, grease leaking near the wheels, and difficulty steering.
If your CV axle joint shows these signs, you shouldn’t wait to get it inspected or replaced.
Can I Drive With a Damaged CV Axle Temporarily?
You can drive with a damaged CV axle temporarily, but you shouldn’t. It’ll worsen quickly, risking further damage or a breakdown.
Get it fixed ASAP to avoid costly repairs and guarantee your safety on the road.
How Long Does a Typical CV Axle Replacement Take?
A typical CV axle replacement takes about 1 to 2 hours, depending on your experience and vehicle model.
If you’re well-prepared and have the right tools, you can usually finish it within this timeframe.
Are Aftermarket CV Axles Reliable Compared to OEM Parts?
Aftermarket CV axles can be reliable if you choose reputable brands, but they might not always match OEM quality or durability. You should weigh cost savings against potential risks and check reviews before deciding.
It’s important to consider the specific brand and product ratings. Some aftermarket options offer excellent performance and longevity. However, OEM parts typically have a proven track record for fit and reliability.
What Causes CV Axles to Wear Out Prematurely?
You’ll see CV axles wear out prematurely mainly due to torn boots letting dirt and moisture in, causing joint damage. Rough driving, hitting potholes, and lack of maintenance also speed up wear, so keep an eye on them.
Conclusion
Now that you’ve installed your CV axle like a pro, your ride will be smoother than a horse-drawn carriage on cobblestones.
Remember, regular maintenance keeps your CV axle in top shape and prevents costly repairs down the road. Take pride in your handiwork and always double-check your steps for safety.
With these CV axle installation skills, you’re ready to tackle any axle issues that come your way. Keep your wheels turning strong and your journeys worry-free!

