


To change your car horn in 7 simple steps, start by gathering essential tools like wrenches, screwdrivers, and insulated pliers. Changing a car horn is a straightforward process that can improve your vehicle’s safety and functionality.
Locating the horn, usually near the front grille, is the first practical step before you begin any work.
Next, disconnect the battery to ensure safety while working with electrical components.
Remove the old horn by carefully loosening bolts and unplugging wires.
Installing the new horn involves reconnecting the wiring with the correct polarity and securing it tightly in place.
Finally, test the horn by pressing the button to confirm it works properly.
Regular maintenance of your car horn helps maintain lasting performance.
Follow these simple steps to replace your car horn efficiently and keep your vehicle sounding its best.
Key Takeaways
- Disconnect the car battery by removing the negative terminal first to ensure electrical safety before starting the horn replacement.
- Locate the old horn near the front grille or radiator and disconnect its wiring connectors carefully using screwdrivers and pliers.
- Remove the mounting bolts with a ratchet wrench to detach the old horn from the vehicle securely.
- Install the new horn by securing it with mounting bolts and reconnecting the wiring harness, ensuring correct polarity and tight connections.
- Test the new horn by turning on the ignition and pressing the horn button to confirm proper sound and operation.
Signs Your Car Horn Needs Replacing
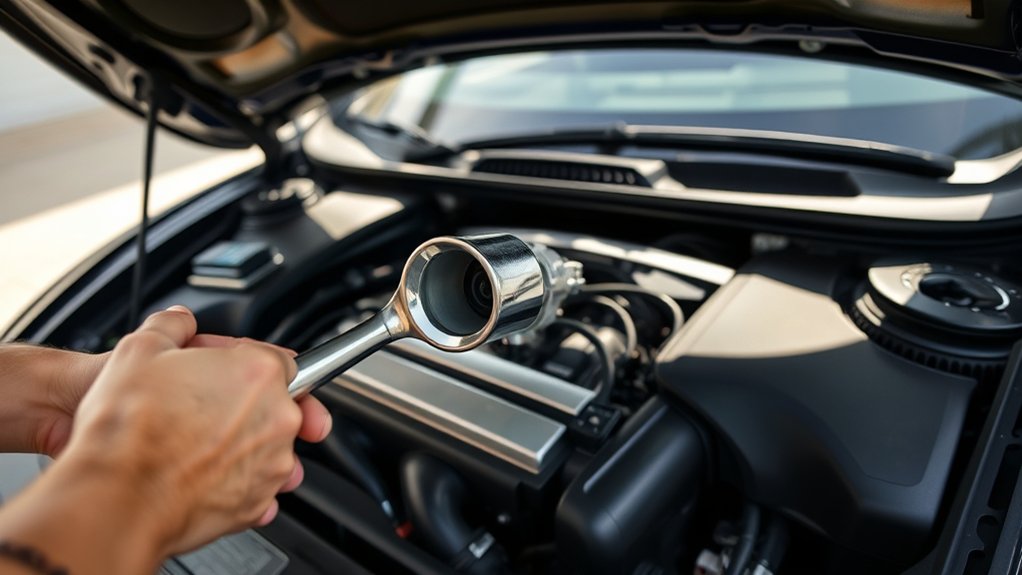
Although you might not use your car horn often, you’ll notice when it starts to fail. If your horn sounds weak, distorted, or different from usual, it’s a clear sign it requires attention. When you press the horn and nothing happens, or it only works intermittently, don’t ignore it.
A completely silent horn means there’s likely a serious electrical or mechanical issue. Also, if your horn sounds unusually loud or high-pitched, it could be a warning that the internal components are wearing out. These signs indicate it’s time to replace your car horn to ensure your safety on the road.
Catching these problems early helps you avoid unexpected failures when you need the horn most.
Tools You’ll Need to Change Your Car Horn
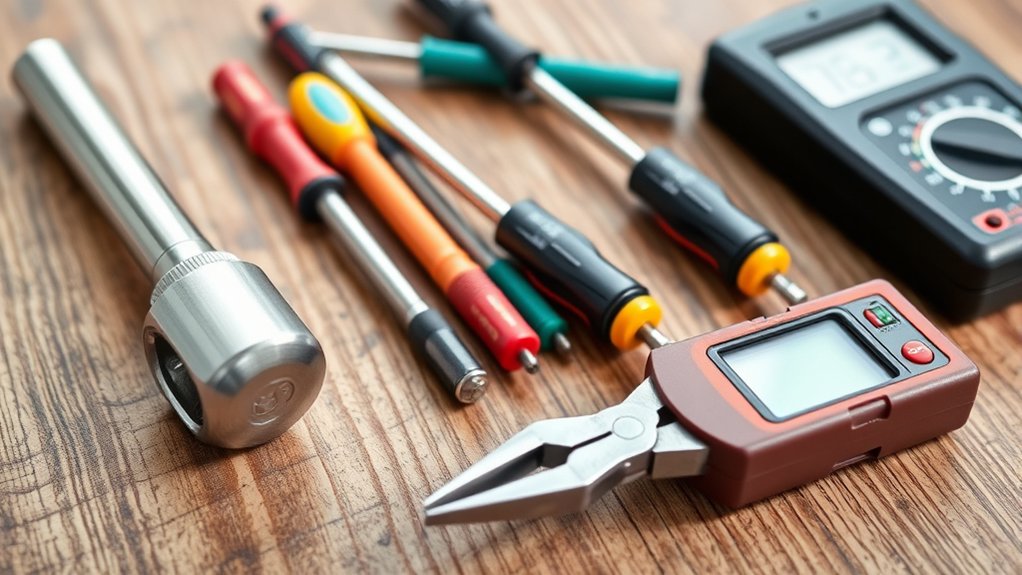
Before you start changing your car horn, gather the essential tools to make the job smoother and safer. You’ll need a ratchet wrench set to remove bolts holding the horn in place. A flathead and a Phillips screwdriver come in handy for disconnecting electrical connectors or loosening screws.
Don’t forget a pair of insulated pliers to handle wires safely. It’s also wise to have electrical tape or wire connectors ready, just in case you need to secure any loose wiring. Finally, keep a pair of gloves nearby to protect your hands from sharp edges and dirt.
Having these tools on hand before you begin will save time and frustration, ensuring a straightforward horn replacement process.
Where to Find Your Car Horn Under the Hood
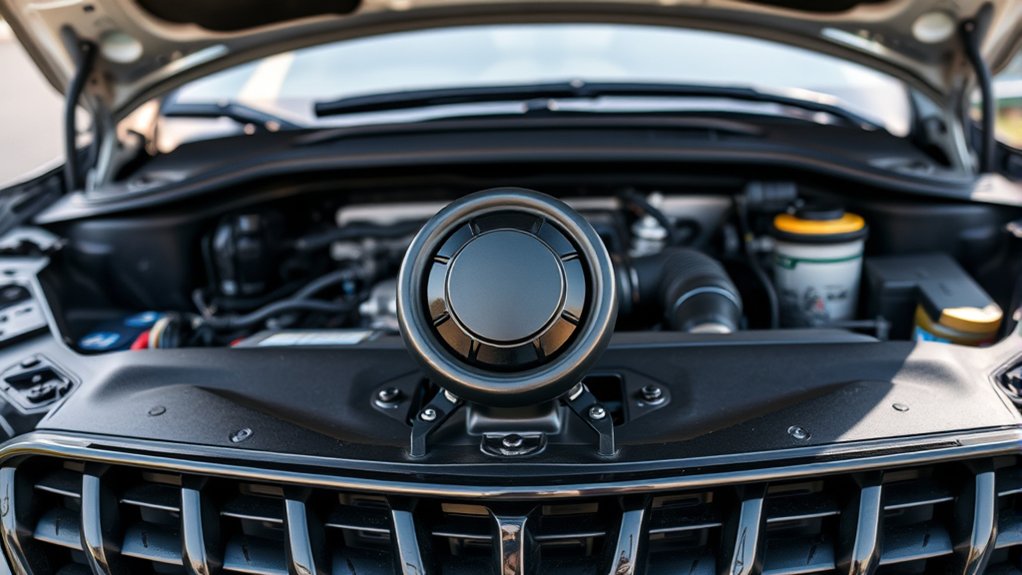
You’ll usually find your car horn mounted near the front grill or behind the radiator under the hood. Look for a round or oval-shaped device with wires connected to it—that’s the horn.
Once you spot it, you can check how easy it is to access before starting the replacement.
Common Horn Locations
Where exactly is your car horn located under the hood? Typically, you’ll find it mounted near the front grille or behind the bumper. Manufacturers place horns in these spots to project sound clearly and protect them from debris.
Sometimes, you might spot one near the radiator support or attached to the firewall. Depending on your vehicle, there could be one or two horns, usually on either side of the engine bay. Look for a round, metal object with wires connected to it—that’s often the horn.
If you don’t see it immediately, check around the headlight area or under the front fender. Knowing these common locations helps you quickly access your horn when it’s time to replace it.
Identifying Horn Components
How can you quickly recognize the key parts of your car horn under the hood? First, you’ll want to focus on the horn’s main components, which are usually mounted near the front grille or behind the radiator. The horn itself looks like a small, round or oval metal disc with a trumpet-like opening.
You’ll also spot wiring connected to it. To identify the horn parts clearly, look for:
- Horn unit: The metal disc that produces sound.
- Mounting bracket: Holds the horn securely in place.
- Electrical connector: Where the wiring plugs in.
- Wiring harness: Supplies power from the fuse box or relay.
Knowing these parts helps you understand what you’ll be working with before replacing the horn.
Accessing Horn Under Hood
Wondering where to find your car horn under the hood? Typically, it’s mounted near the front of the engine bay, close to the radiator or grille. Open the hood and look for a round or oval-shaped device with two wires attached.
It’s often secured by a single bolt and may be tucked behind other components like the battery or air filter box. If you don’t see it immediately, check your vehicle’s manual for exact location details. You might need a flashlight to spot it in tight spaces.
Once located, confirm the engine is off before you proceed with any work. Knowing where your horn sits under the hood makes the replacement process straightforward and safe.
How to Disconnect Your Old Horn Safely
Before you start disconnecting your old horn, make sure to locate the horn wiring under the hood. Always disconnect the battery first to avoid any electrical shocks or shorts.
This simple step keeps you safe while working on your car’s electrical system.
Locate Horn Wiring
Since the horn wiring is usually tucked away near the front of your car, you’ll need to locate it carefully to avoid damaging any surrounding components. Start by opening the hood and looking around the radiator or grille area where the horn is typically mounted. You’ll spot a small bundle of wires connected to the horn’s back.
To find the wiring, keep these tips in mind:
- Use a flashlight to see clearly in tight spaces
- Follow the wires from the horn to their connectors
- Check for protective covers or clips holding the wiring
- Avoid pulling on wires directly; handle connectors gently
Disconnect Battery First
How exactly do you guarantee your safety when disconnecting the old car horn? The key step is to disconnect the battery first. This prevents electrical shocks and avoids short circuits while working on your car’s horn wiring.
Start by opening the car’s hood and locating the battery terminals. Use a wrench to loosen the negative (black) terminal first, then remove it completely. After that, disconnect the positive (red) terminal.
Never skip this step to assure your safety.
| Step | Action |
|---|---|
| 1. Open Hood | Locate the battery |
| 2. Disconnect Negative | Loosen and remove black cable |
| 3. Disconnect Positive | Loosen and remove red cable |
Always wear gloves and eye protection for added safety during this process.
Installing Your New Car Horn: Step-by-Step
Once you’ve gathered all the necessary tools and your new horn, you’ll want to park your car on a flat surface and disconnect the battery to guarantee safety while working. Begin by removing the old horn carefully, noting how it’s mounted and wired.
Then, position your new horn where the old one was installed. Secure it firmly using the mounting bracket and screws. Next, connect the wiring harness to the new horn, ensuring the terminals match and are tight to avoid any loose connections.
- Use a wrench to tighten the mounting bolts securely
- Match the polarity of the horn terminals correctly
- Avoid pinching or damaging wires during installation
- Keep the wiring away from hot engine parts to prevent melting
Following these steps will ensure your new horn is properly installed.
Testing Your New Horn to Make Sure It Works
After securing your new horn and connecting the wires properly, you’ll want to check that it works before finishing up. Start by sitting in the driver’s seat and turning on your car’s ignition without starting the engine. Press the horn button on your steering wheel firmly and listen carefully.
Your new horn should sound loud and clear immediately. If you don’t hear anything, double-check the wiring connections and verify the horn is grounded properly. Also, confirm that the fuse related to the horn circuit isn’t blown.
If it still doesn’t work, test the horn by applying direct power using jumper wires to isolate the issue. Once you confirm it’s working perfectly, you can secure any loose wires and reassemble any parts you removed.
Easy Maintenance Tips to Keep Your Horn Sounding Great
Although car horns are built to last, regular maintenance can prevent unexpected failures and keep your horn sounding strong. You don’t want your horn to fail when you need it most, so a little upkeep goes a long way.
Here are some easy tips to maintain your horn’s performance:
- Clean the horn regularly to remove dirt and debris that can muffle the sound.
- Check the wiring connections for corrosion or looseness to ensure proper electrical flow.
- Test the horn periodically to catch issues early before they become serious problems.
- Protect the horn from moisture by inspecting seals and avoiding high-pressure water sprays during washing.
Frequently Asked Questions
Can a Faulty Horn Drain My Car Battery?
Yes, a faulty horn can drain your car battery if it causes a continuous electrical draw. You should check for stuck relays or wiring issues to prevent battery drain and avoid unexpected car starting problems.
Addressing these issues early can save you from inconvenient breakdowns. Regular maintenance and inspections help ensure your horn and electrical system are functioning properly. This way, you can avoid unnecessary battery drain and keep your vehicle reliable.
Are Louder Horns Legal in All States?
No, louder horns aren’t legal in all states. You’ll need to check your local laws because many places have specific decibel limits and restrictions to avoid noise pollution.
Always make sure your horn complies before upgrading.
How Long Does a Typical Car Horn Last?
A typical car horn lasts about 5 to 10 years, depending on use and quality. You’ll notice it fading or sounding weak when it’s time for a replacement, so keep an ear out for changes.
Can I Replace a Horn Without Professional Help?
Yes, you can replace a horn without professional help. Just disconnect the battery, remove the old horn, connect the new one, and test it.
Make sure to follow safety precautions and your car’s manual instructions carefully.
Do Electric and Air Horns Require Different Installation Methods?
Yes, electric and air horns need different installation methods. You’ll wire electric horns directly to your car’s electrical system, while air horns require an air compressor setup.
Make sure you follow specific instructions for each type to avoid issues.
Conclusion
Changing your car horn doesn’t have to be an intimidating task. With the right tools and a bit of patience, you can have your new horn singing in no time.
Remember, your horn is your car’s voice—don’t let it fall silent. Follow these steps, and you’ll keep it loud and clear, ready to alert others whenever you need.
A little care goes a long way in keeping your drive safe and sound. By following these simple steps to change your car horn, you ensure both safety and functionality on the road. Keep your vehicle alert with a properly working horn for a safer driving experience.

