

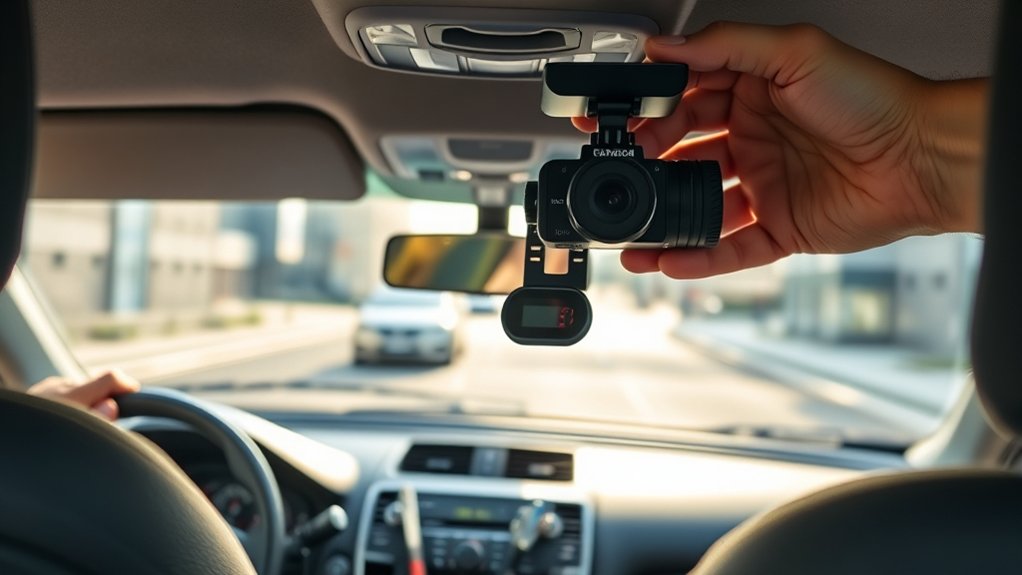
To install a car camera in 7 easy steps, start by choosing the right dash cam and gathering all necessary tools. Selecting the best car camera for your needs ensures clear recording and reliable performance.
Clean your windshield and pick a central, high spot for mounting, ensuring the lens isn’t blocked.
Next, connect the camera securely to a power source to avoid interruptions during use.
Fix the camera firmly in place and tidy up all cables for a neat setup.
Adjust settings like resolution and recording features to optimize your dash cam’s functionality.
Finally, test the camera to confirm everything works well and the footage is clear.
Following these simple steps will help you install your car camera quickly and efficiently.
Keep following for more detailed tips and tricks.
Key Takeaways
- Park the car, gather tools, read the manual, and clean the windshield before starting installation.
- Choose a high, central windshield location with an unobstructed camera view and nearby power access.
- Securely mount the camera, adjust its angle, and route power cables away from moving or hot parts.
- Connect the camera to a 12V power source, test power and recording functions, and configure settings like resolution.
- Review footage, adjust the camera angle if needed, secure all wiring, and perform a final test drive.
Choose the Right Car Camera for Your Needs
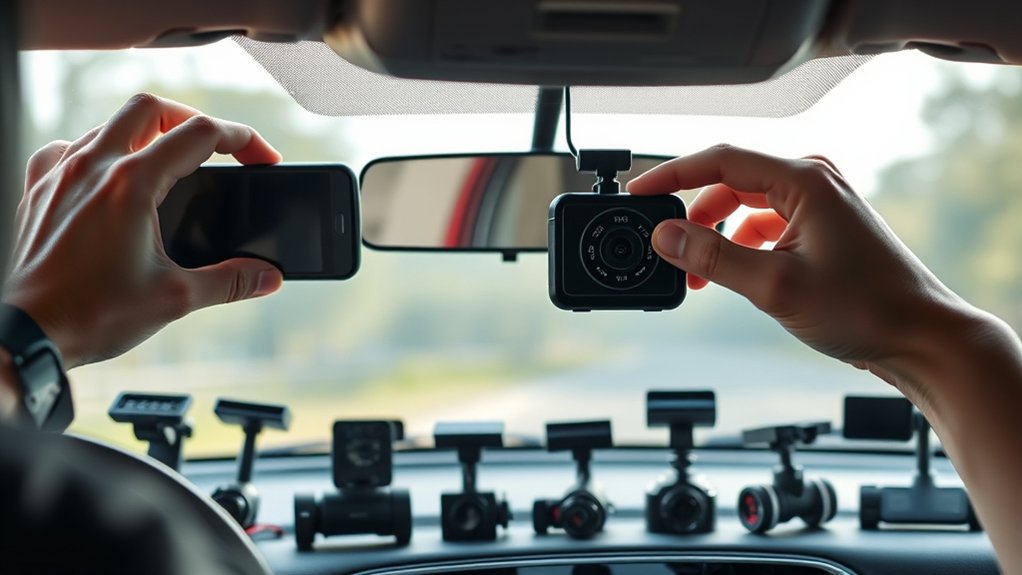
How do you pick the best car camera for your specific needs? First, consider what you want to capture: daily commutes, road trips, or parking incidents. If you need constant recording, a model with loop recording and good night vision is essential.
Think about resolution too—higher resolution gives clearer footage, which is vital for identifying details like license plates. Decide if you want a single front camera or a dual setup with rear coverage. Also, check if the camera has GPS to log your routes.
Finally, look for user-friendly features like a simple interface and reliable mounting options. By focusing on these factors, you’ll find a car camera that suits your driving habits and security concerns perfectly.
Gather Tools for Car Camera Installation and Prepare Your Vehicle
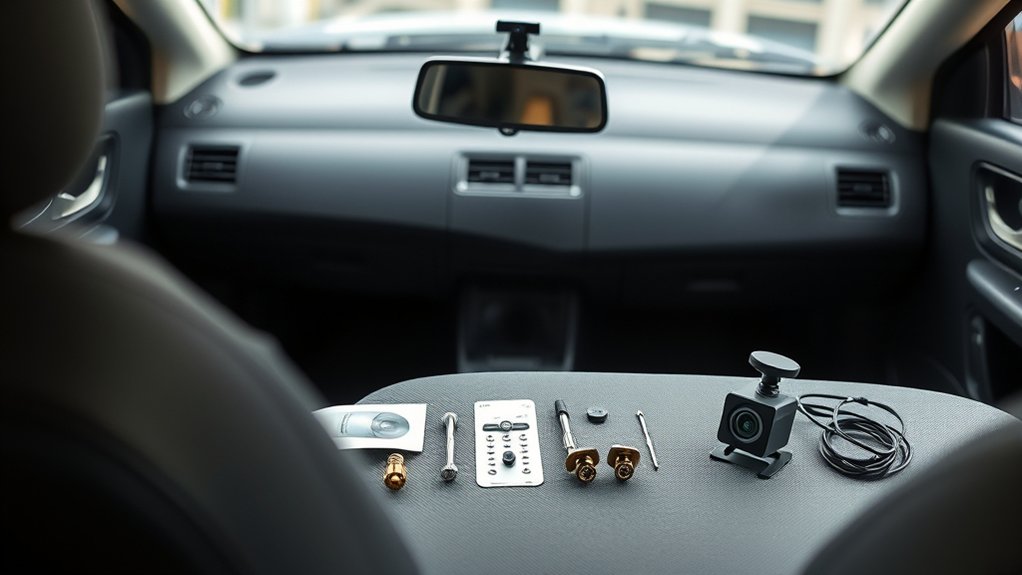
Before you start installing your car camera, make sure you have the essential tools like a screwdriver, trim removal tool, and electrical tape ready. You’ll also want to prepare your vehicle by cleaning the windshield and disconnecting the battery for safety.
Taking these steps will make the installation smoother and safer.
Essential Installation Tools
Although installing a car camera might seem straightforward, gathering the right tools is essential to guarantee a smooth process and a secure fit. You’ll need a few essentials: a screwdriver set (both Phillips and flathead), a panel removal tool to avoid damaging your car’s interior, and a wire stripper or cutter for handling cables.
A power drill can help if your camera requires mounting with screws. Don’t forget electrical tape or zip ties to secure loose wires neatly. A multimeter is useful to test power connections and ensure everything’s wired correctly.
Finally, keep your camera’s manual handy for any specific tool recommendations. Having these tools ready before you start will save you time and prevent frustration during installation.
Vehicle Preparation Steps
With your tools ready, it’s time to prepare your vehicle for the camera installation. Start by parking your car in a well-lit, dry area and turn off the engine. Clean the windshield or the mounting surface thoroughly to guarantee the camera adheres properly.
Remove any dust, dirt, or grease using a glass cleaner and a microfiber cloth. Next, check your vehicle’s interior layout to plan the cable routing path, avoiding airbags and moving parts. Lower the seats or adjust them for easy access to the dashboard and headliner if needed.
Finally, disconnect the car battery to prevent electrical shorts during installation. Taking these preparation steps will make the camera installation smoother and help avoid potential issues later on.
Choose the Best Mounting Location for Your Camera
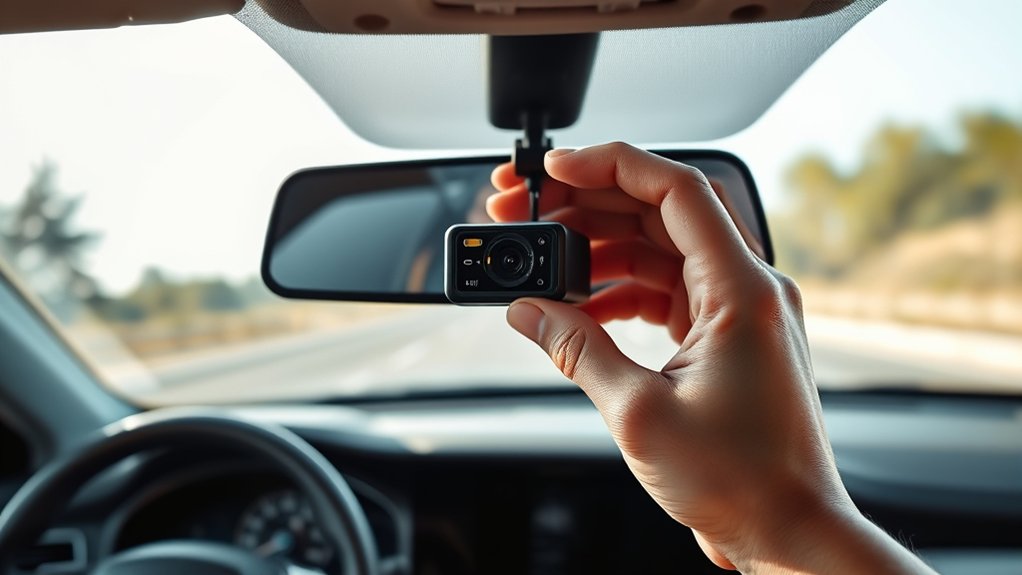
You’ll need to decide whether to mount your camera at the front or rear of your vehicle based on what you want to capture. Confirm the camera’s view isn’t blocked by any obstructions like mirrors or windshield wipers.
Choosing the right spot ensures clear visibility and effective recording.
Front Vs Rear Placement
Deciding where to mount your car camera—front or rear—depends on what you want to capture and protect. If you prioritize recording accidents or incidents ahead, a front-facing camera is your best bet. It captures license plates, road conditions, and traffic signals, providing clear evidence in collisions.
On the other hand, a rear camera focuses on what happens behind your vehicle, useful for parking mishaps or rear-end collisions. Some drivers choose both positions to cover every angle, but if you must pick one, consider your typical driving environment. Front cameras excel on busy roads, while rear cameras help in congested parking lots.
Ultimately, think about the risks you want to mitigate and choose the placement that offers the most relevant footage for your needs.
Visibility And Obstruction
Although choosing the right camera is important, ensuring it has a clear line of sight is equally essential. When picking a mounting spot, avoid places where the lens could be blocked by windshield wipers, dashboard clutter, or window tint. Position the camera high enough to capture an unobstructed view but low enough to stay out of your direct sight while driving.
Check for glare from sunlight, as it can distort footage. Also, keep in mind that dirt or rain on the windshield can affect visibility, so choose a spot easy to clean. Before finalizing the mount, test the camera’s view to confirm nothing blocks the lens.
Clear visibility guarantees your footage will be reliable when you need it most.
Connect Your Car Camera to the Power Source
Before connecting your car camera to a power source, make certain you locate a suitable outlet, such as the vehicle’s fuse box or the 12V cigarette lighter socket. The fuse box offers a cleaner installation with a direct, constant power supply, while the cigarette lighter socket is easier for quick setups.
Choose a proper power outlet like the fuse box for a clean setup or the cigarette lighter for convenience.
When connecting, keep these tips in mind:
- Use a fuse tap if wiring to the fuse box to protect your vehicle’s electrical system.
- Confirm the power cable matches your camera’s voltage requirements.
- Check for a switched power source if you want the camera to turn on only when the car starts.
- Avoid routing cables near hot or moving parts to prevent damage.
Following these steps helps ensure your camera powers reliably and safely.
Secure the Camera and Manage Cables Neatly
Once you’ve connected the power, secure your car camera firmly to prevent it from shifting while driving. Use the included mounting bracket or adhesive pad, pressing it firmly onto a clean, dry windshield spot. Make sure the camera’s positioned for a clear view without obstructing your sight.
Next, manage the cables neatly to avoid distractions or damage. Tuck the wires along the edge of the windshield and down the pillars, using cable clips or adhesive organizers to keep them in place. Avoid letting cables dangle or interfere with airbags.
Finally, guarantee all connections are tight and the setup looks tidy. A secure camera and organized cables not only improve safety but also provide a professional finish to your installation.
Adjust Your Camera Settings to Get the Best Video
How do you guarantee your car camera captures the clearest footage possible? Start by tweaking its settings to suit your driving environment. Adjusting these options ensures you get sharp, detailed videos every time.
Focus on these key settings:
- Resolution: Choose the highest available to capture fine details like license plates.
- Frame Rate: Opt for 30fps or higher for smooth motion in busy traffic.
- Exposure: Set it to auto or manually adjust to avoid overly dark or bright footage.
- Date and Time Stamp: Enable this to keep your recordings properly documented.
Test Your Car Camera and Troubleshoot Common Issues
After adjusting your camera settings to capture clear footage, you’ll want to test the device to make sure everything works correctly. Start by powering on the camera and checking the live feed for proper angle and focus. Drive around briefly to confirm it records smoothly without interruptions.
Power on your camera, verify the live feed angle and focus, then take a short drive to ensure smooth recording.
Review the recorded footage to ensure audio and video quality meet your expectations.
If the camera doesn’t turn on, check your power connections and fuse. For poor video quality, clean the lens and adjust brightness or resolution settings. If recordings stop unexpectedly, verify the memory card’s capacity and format it if necessary.
Following these steps helps you catch and fix common issues early, guaranteeing your car camera reliably captures important moments on the road.
Frequently Asked Questions
Can a Car Camera Drain My Car Battery if Left on Overnight?
Yes, a car camera can drain your battery if left on overnight, especially if it continuously records or uses parking mode.
To avoid this, use a low-power mode or connect it to a separate power source.
Are There Legal Restrictions on Using Car Cameras in My State?
Yes, some states have legal restrictions on car cameras, especially regarding audio recording and placement obstructing your view.
You should check your state’s specific laws to guarantee you’re using your camera legally and avoid potential fines.
How Much Storage Does a Typical Car Camera Require for a Day’s Recording?
You’ll need around 8 to 16GB of storage for a full day’s recording, depending on resolution and frame rate. Higher quality videos use more space, so consider a 32GB card to avoid running out.
Can I Use My Car Camera Footage as Evidence in an Accident?
Yes, you can use your car camera footage as evidence in an accident. Just make sure the video clearly shows what happened, and keep the original files safe to support your case effectively.
What Are the Best Practices for Maintaining and Cleaning a Car Camera?
You should regularly wipe the lens with a microfiber cloth, avoid harsh chemicals, keep the camera dry, check for firmware updates, and securely fasten it.
Doing this guarantees clear footage and prolongs your camera’s life.
Conclusion
Congrats, you’ve just installed your very own car camera—because nothing says “I trust everyone on the road” like silently recording their every move. Now you can finally catch that squirrel who always seems to photobomb your drives or prove to your insurance company that yes, you really *did* stop at the red light.
So sit back, relax, and enjoy your newfound superpower: being the only driver who’s also a part-time detective. Safe (and recorded) travels!
With your car camera installed, you’re now equipped with an essential tool for road safety and accident evidence. This installation not only enhances your driving security but also provides peace of mind on every journey. Keep your dash cam ready for any unexpected moments on the road!

