

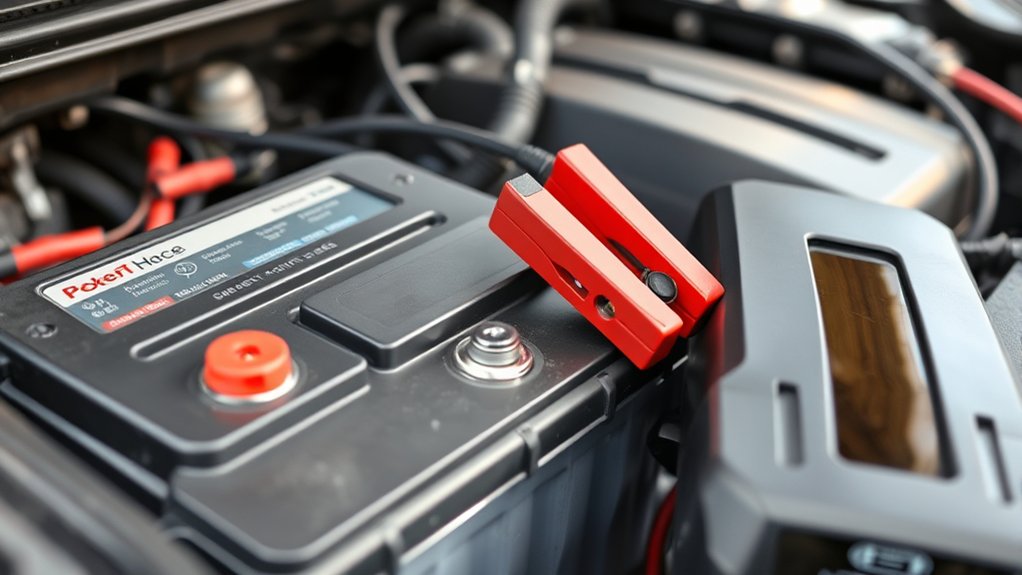
First, gather insulated gloves, goggles, and tools for safety when connecting a car battery charger. Identifying your battery’s positive (red) and negative (black) terminals is crucial before starting. Make certain both your vehicle and charger are off to prevent any accidents.
Connect the charger’s red clamp to the battery’s positive terminal. Then attach the black clamp to a grounded metal part of the vehicle to ensure proper grounding.
Set the charger’s correct voltage and mode according to your battery’s specifications.
Power the charger on and watch the charging process closely. Once the battery is sufficiently charged, turn off the charger.
Finally, disconnect the clamps safely in the reverse order to complete the process.
Keep following for detailed tips to guarantee a smooth charge.
Key Takeaways
- Turn off the vehicle ignition and charger before connecting clamps to ensure safety and prevent electrical surges.
- Identify and clean the battery terminals, connecting the red clamp to the positive (+) terminal and the black clamp to a grounded metal point.
- Verify battery voltage and set the charger to the correct voltage and charging mode based on the battery’s specifications.
- Power on the charger and monitor the charging process closely, watching for unusual smells or excessive heat.
- After charging, turn off the charger, then disconnect the black (negative) clamp first, followed by the red (positive) clamp to avoid sparks.
Gather Tools and Safety Gear for Your Car Battery Charger
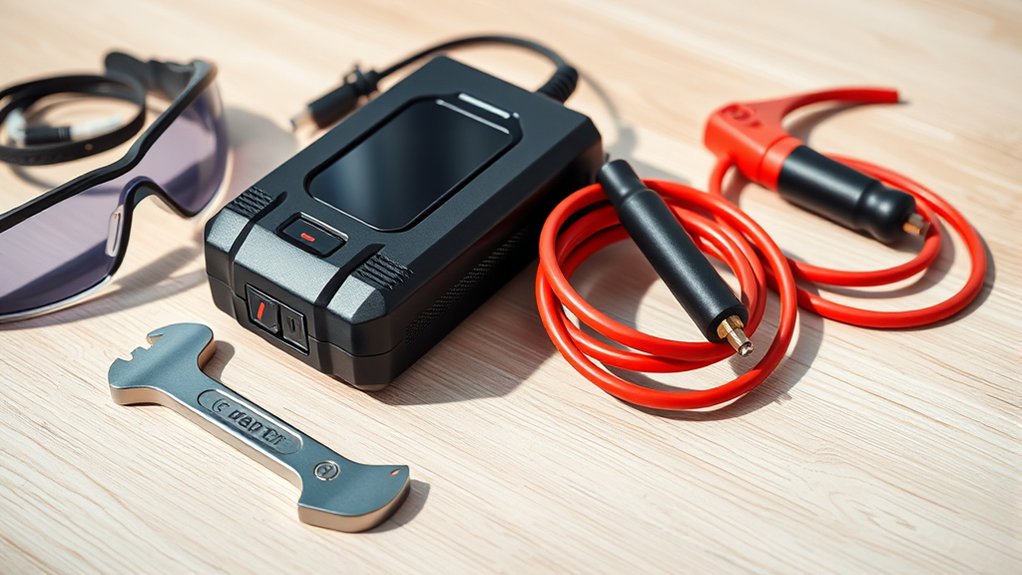
Before you begin connecting your car battery charger, make sure you have all the necessary tools and safety gear on hand. You’ll need insulated gloves to protect your hands from acid and electrical shock. Safety goggles are essential to shield your eyes from sparks or battery acid splashes.
Have a wrench or pliers ready to loosen or tighten battery terminals if needed. Keep a clean cloth nearby to wipe off any corrosion on the battery posts. Verify your charger’s cables are intact and free from damage.
It’s smart to work in a well-ventilated area to avoid inhaling harmful fumes. Preparing these tools and gear beforehand helps you work safely and efficiently, preventing accidents while you connect your car battery charger.
Find Your Battery and Charger Terminals
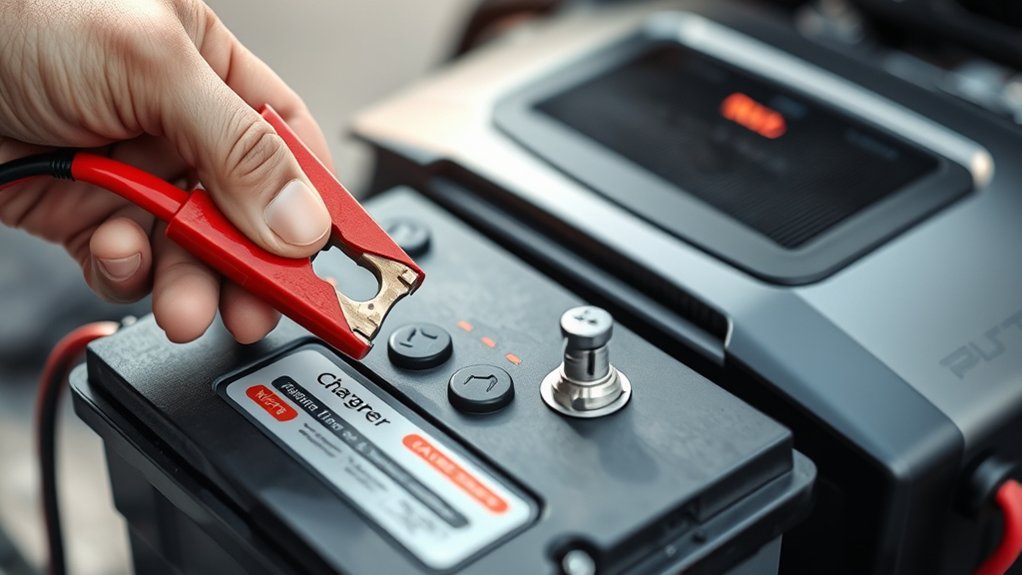
First, you’ll want to identify the types of terminals on your battery to guarantee a proper connection. Next, locate the corresponding charger connection points so you know where to attach the clamps.
Finally, double-check the terminal polarity to avoid any mistakes that could damage your battery or charger.
Identify Battery Terminal Types
Locating and recognizing the battery terminals on both your car battery and charger is essential to guarantee a safe and effective connection. Your car battery typically features two terminals: positive and negative. The positive terminal is usually marked with a plus sign (+) and may have a red cover or cable.
The negative terminal carries a minus sign (−) and often has a black cover or cable. Here’s what to look for:
- Positive terminal: marked with “+” and often red
- Negative terminal: marked with “−” and usually black
- Terminal types: post terminals (cylindrical posts) or side terminals (bolt holes)
- Charger clamps: color-coded red for positive, black for negative
Identifying these correctly prevents connection errors and ensures your charger works properly.
Locate Charger Connection Points
Now that you’ve identified the battery terminals on both your car and charger, it’s time to find the exact connection points. Open your car’s hood and locate the battery; the terminals are usually on top or at the side. Check for protective covers—remove them carefully if needed.
Next, examine your charger’s cables. The clamps at the end are your connection points: one for the positive terminal and one for the negative. Make sure the clamps are clean and free of corrosion to guarantee a solid connection.
Position yourself so you can easily reach both the battery and charger terminals without strain. Having these connection points clearly in sight will make attaching the charger safer and more efficient.
Verify Terminal Polarity
Before connecting the charger, double-check the polarity of both your car battery and charger terminals to prevent damage or safety hazards. Getting this right ensures your charger works properly and your battery stays safe.
Here’s how to verify terminal polarity:
- Identify the positive terminal on the battery, usually marked with a “+” sign or red cover.
- Find the negative terminal, often marked with a “–” sign or black cover.
- Match the charger’s positive clamp to the battery’s positive terminal.
- Connect the charger’s negative clamp to the battery’s negative terminal or a grounded metal part of the car.
Always avoid crossing connections, as reversing polarity can cause sparks, damage, or injury.
Turn Off Vehicle and Charger Before Connecting
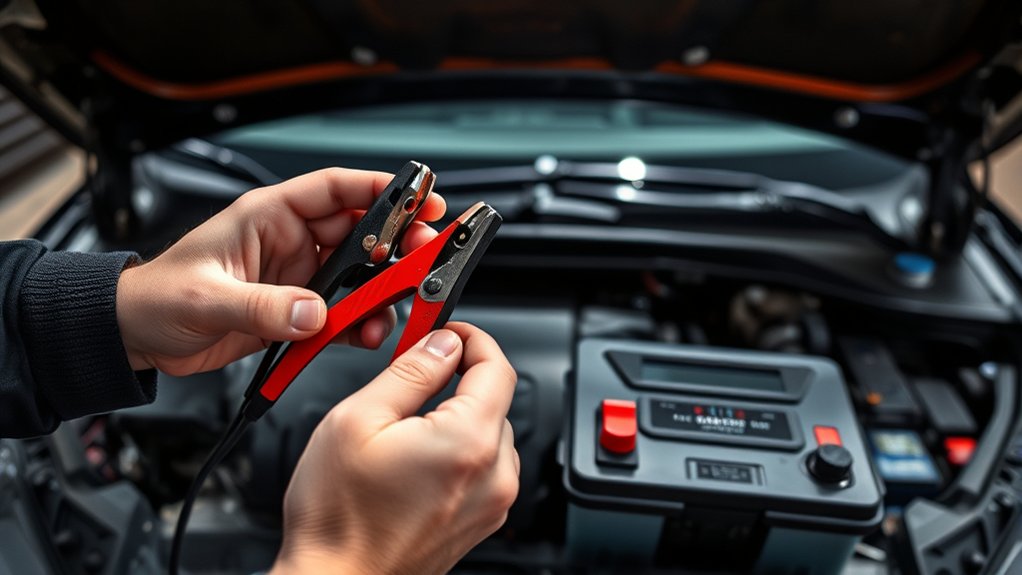
Before you connect the charger, make sure your vehicle is completely turned off. Always power down the charger unit as well to avoid any sparks or electrical hazards.
Taking these steps keeps you safe and protects your vehicle’s electrical system.
Ensure Vehicle Is Off
Although it might seem obvious, you should always make sure your vehicle is completely turned off before connecting the battery charger. Leaving the engine running or accessories on can cause electrical surges, risking damage to your car’s electrical system or the charger itself.
Before connecting:
- Verify ignition is in the off position
- Remove keys from the ignition to prevent accidental starts
- Turn off all electrical components like radios and lights
- Double-check that the dashboard is completely dark
Ensuring the vehicle is off helps protect both your car and the charger during the connection process. It also reduces the chance of sparks or shorts that might happen if the system is live.
Taking this simple step sets you up for a safe, effective battery charging experience.
Power Down Charger Unit
To guarantee safety and prevent electrical damage, make certain both your vehicle and the battery charger are completely powered off before you start connecting the charger cables. This step minimizes the risk of sparks and short circuits. Always double-check that the charger’s power switch is set to the “off” position.
Only after confirming this should you proceed to attach the clamps to the battery terminals.
| Step | Action | Reason |
|---|---|---|
| 1 | Turn off vehicle | Avoid electrical surges |
| 2 | Switch off charger | Prevent sparks and damage |
| 3 | Verify power status | Ensure safe connection setup |
Following this keeps you safe and protects your vehicle’s electrical system.
Prevent Electrical Hazards
When you turn off both your vehicle and the charger before connecting the cables, you reduce the risk of electrical hazards like sparks or short circuits. This simple step protects you and your vehicle’s electrical system.
Always make sure the ignition is off and the charger is unplugged before attaching the clamps. Handling live connections can cause unexpected sparks, leading to injury or damage.
To stay safe, remember to:
- Always switch off the charger before connecting or disconnecting cables
- Ensure the vehicle’s engine and all electrical components are off
- Connect the positive clamp first, then the negative
- Avoid touching clamps together or to other metal parts
Following these precautions helps you charge safely every time.
Connect the Positive (Red) Clamp to the Battery Terminal
Since the positive clamp is crucial for delivering power, you’ll want to attach the red clamp securely to the battery’s positive terminal marked with a plus sign (+). First, confirm the clamp’s jaws are clean and free of corrosion to guarantee a solid connection. Open the clamp fully and firmly grip the positive terminal, making sure the metal inside the clamp touches the terminal directly.
Avoid letting the clamp contact any other metal parts to prevent sparks. Hold the clamp steady until it grips tightly, as a loose connection may disrupt the charging process. Double-check that the clamp is stable and won’t slip off when you move or connect the charger.
This step ensures the charger delivers power safely and efficiently to your battery.
Attach the Negative (Black) Clamp to a Ground Point
Although it might seem straightforward, attaching the negative (black) clamp correctly is just as important as connecting the positive one. Instead of clipping it directly to the battery’s negative terminal, you should attach it to a solid ground point on your vehicle. This helps prevent sparks near the battery, reducing the risk of explosions.
When choosing a ground point, look for:
- A clean, unpainted metal surface
- A bolt or bracket connected directly to the engine block or chassis
- A location away from the battery and fuel lines
- A spot that’s easily accessible and stable to hold the clamp firmly
Set Your Car Battery Charger’s Voltage and Mode
After securing the negative clamp to a proper ground point, you’ll need to adjust your car battery charger’s settings to match your battery’s requirements. First, check the battery’s voltage—most car batteries are 12 volts, but some may be 6 or 24 volts. Set the charger to the correct voltage to avoid damage.
Next, select the charging mode. If your charger has options like “fast charge,” “trickle charge,” or “maintenance,” choose the one that fits your situation. Use trickle or maintenance modes for slow, steady charging, which is safer for older or deeply discharged batteries.
Fast charge is better for a quick boost but shouldn’t be overused. Always refer to your battery and charger manuals to ascertain you select the safest, most effective settings.
Turn On Charger, Monitor Progress, and Disconnect Safely
Once you’ve set the charger correctly, turn it on and keep a close eye on the progress. Monitoring guarantees your battery charges safely and efficiently. Watch for any unusual smells or excessive heat, and never leave the charger unattended for long periods.
Always monitor your battery charger closely to ensure safe, efficient charging without overheating or unusual smells.
When the charger indicates a full charge, follow these steps to disconnect safely:
- Turn off the charger before unplugging it.
- Remove the negative (black) clamp first.
- Then, remove the positive (red) clamp.
- Store the charger cables properly to avoid damage.
Frequently Asked Questions
Can a Car Battery Charger Damage My Battery if Used Incorrectly?
Yes, using a car battery charger incorrectly can damage your battery. You might overcharge it, cause overheating, or create sparks.
Always follow instructions carefully to avoid reducing your battery’s lifespan or causing safety hazards.
How Long Does It Typically Take to Fully Charge a Car Battery?
Charging a car battery usually takes a bit of quality time—around 4 to 24 hours, depending on its size and charger type. You’ll want to be patient, letting the charger work its gentle magic fully.
Can I Charge a Frozen or Damaged Car Battery Safely?
You shouldn’t charge a frozen battery—it can be dangerous and cause damage. For a damaged battery, it’s best to replace it instead of charging.
Always prioritize safety and consult a professional if you’re unsure.
What Are the Signs That My Battery Needs Replacing Instead of Charging?
You’ll know your battery needs replacing if your car struggles to start, the battery light stays on, it’s over three to five years old, or you notice corrosion, swelling, or frequent dead battery issues despite charging.
Are There Any Specific Maintenance Tips for Prolonging Battery Life?
You might think leaving your lights on drains only your battery, but regularly cleaning terminals and avoiding short trips actually prolong its life.
Don’t let neglect and carelessness work against each other—maintain your battery consistently for best results.
Conclusion
Connecting your car battery charger might seem tricky at first, but with these simple steps, it’s actually straightforward and safe. While the process requires caution and patience, the reward is immediate—a fully charged battery ready to power your drive.
Remember, the careful setup contrasts sharply with the powerful energy you’re about to restore. Follow the steps, stay attentive, and you’ll turn a potentially stressful task into a quick, confident fix.
By following this guide on how to connect a car battery charger, you ensure safety and efficiency. Proper connection leads to a fully charged battery, getting your vehicle back on the road smoothly. Stay focused, and charging your car battery will become a hassle-free routine.

