

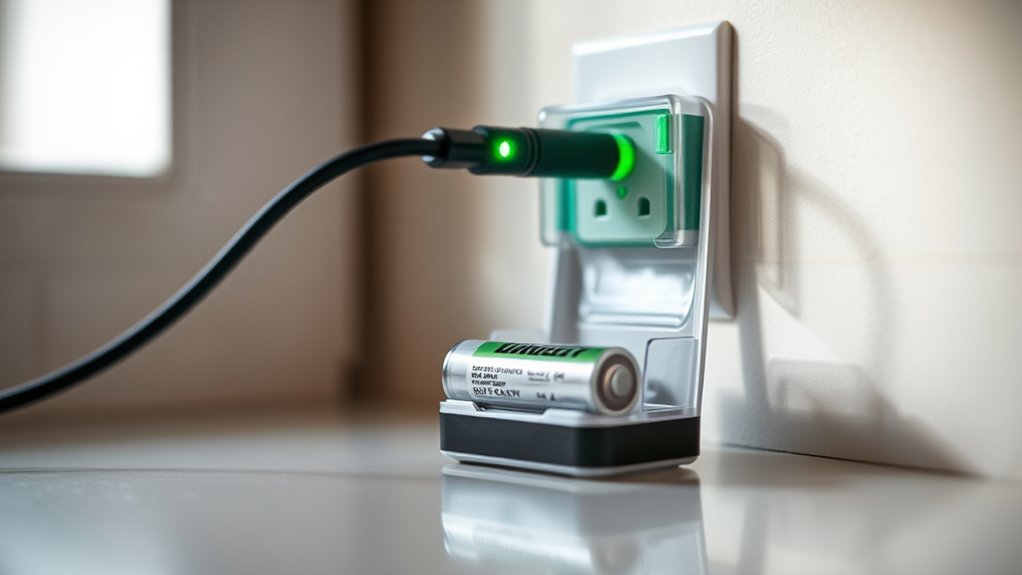
To tell if your battery charger is working, start by checking the indicator lights—green or blue usually means full charge or readiness, while red or blinking shows active charging. These signals are key to understanding the charger’s status quickly.
You can also feel for slight warmth after plugging in, indicating power flow.
Using a multimeter to verify voltage output helps confirm proper function.
If things seem off, inspecting cables and connections is vital. Keep going, and you’ll uncover more ways to guarantee your charger performs well.
Key Takeaways
- Check indicator lights for charging status: red or blinking means charging, green means fully charged, and no light indicates a possible issue.
- Feel for slight warmth on the charger after plugging in, indicating it is actively charging the battery.
- Use a multimeter to verify the charger’s voltage output matches the specified voltage for proper functionality.
- Test the charger with a compatible device or battery to confirm it is providing power and charging correctly.
- Inspect cables and connectors for damage or looseness, and ensure the power source is stable and adequate.
How To Quickly Check If Your Battery Charger Is Working
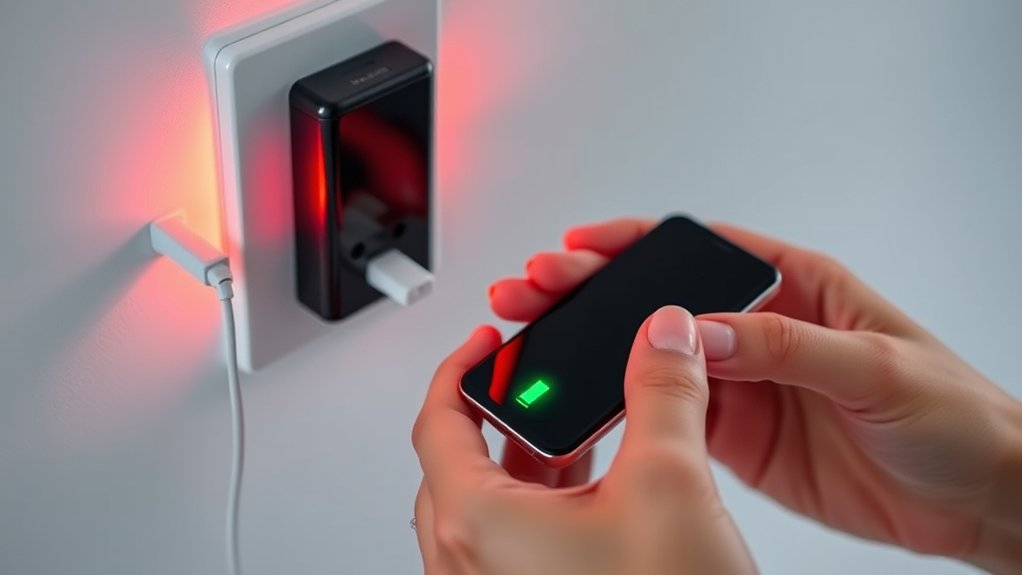
Although battery chargers vary, you can quickly check if yours is working by first inspecting the indicator light or display. Most chargers have an LED that changes color or blinks when charging. If you see a steady green or blue light, it usually means the battery is fully charged or the charger is ready.
A red or flashing light often indicates active charging. Next, plug your charger into a power source and connect it to the battery. You should feel slight warmth from the charger after a few minutes, signaling it’s delivering power.
If your charger has a digital display, check for voltage or current readings. These signs help you confirm that your charger is functioning correctly without needing extra tools or tests.
Signs Your Battery Charger Is Not Charging Properly
If your battery charger isn’t working properly, you’ll notice several clear signs that indicate a problem. Recognizing these signs early helps you avoid wasted time and potential damage to your battery.
Here are three common signs your charger isn’t charging properly:
- Battery Doesn’t Hold Charge – After charging, the battery quickly drains or won’t power your device, showing the charger isn’t replenishing energy effectively.
- Charger Gets Unusually Hot – Excessive heat from the charger during use often means it’s malfunctioning or struggling to regulate power.
- No Charging Sound or Vibration – If your charger normally makes a sound or vibration but suddenly stops, it could signal an internal fault.
Watch for these signs to catch charger issues early and keep your devices powered up.
Why Battery Charger Indicator Lights Matter
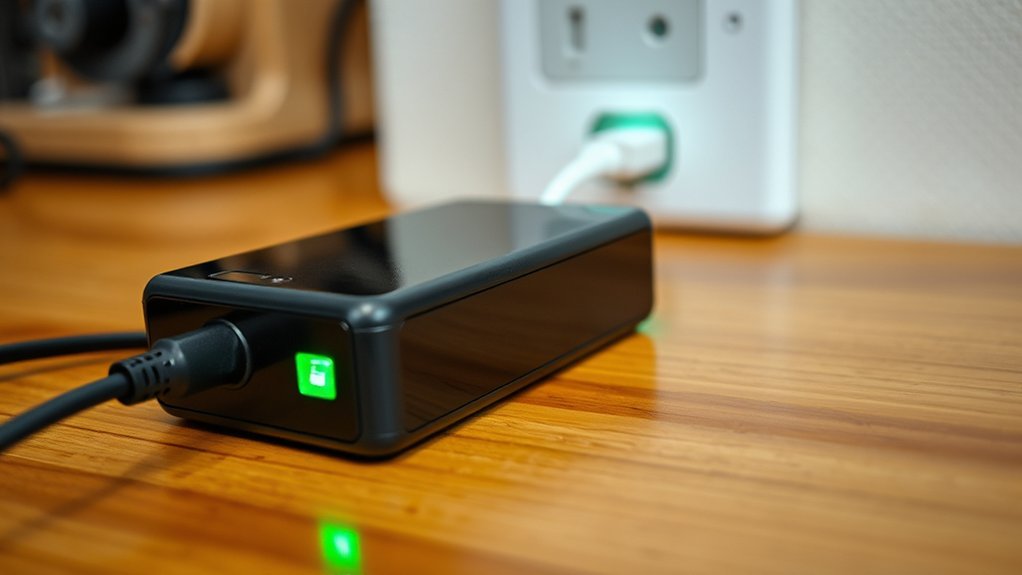
You’ll want to pay close attention to your charger’s indicator lights, as their colors and symbols tell you exactly what’s happening. Understanding what each light means can help you spot problems early.
If the lights aren’t working right, troubleshooting them is key to keeping your charger functional.
Light Color Meanings
Because battery chargers use different light colors to convey their status, understanding these indicators helps you know exactly what’s happening during the charging process. Recognizing the meaning behind each color can prevent guesswork and guarantee your battery charges safely and efficiently.
Here’s what the common light colors usually mean:
- Red Light: Your charger is connected and actively charging the battery.
- Green Light: Charging is complete; the battery is fully charged and ready to use.
- Yellow or Orange Light: Indicates a slow charge or a battery that needs attention before charging can continue properly.
Common Indicator Symbols
While light colors give you a quick status update, common indicator symbols provide detailed information about your battery charger’s operation. These symbols help you understand if your charger is connected properly, charging, or if there’s an issue.
Recognizing these icons lets you act quickly to guarantee your battery charges safely and efficiently.
| Symbol | Meaning |
|---|---|
| Plug icon | Charger connected to power |
| Battery icon | Battery is charging |
| Check mark | Charging complete |
| Exclamation | Error or fault detected |
Troubleshooting Light Issues
Understanding the meanings behind your battery charger’s indicator lights helps you spot problems early. When lights behave unexpectedly, they’re warning you something’s off. Don’t ignore these signs—addressing them quickly can save your battery and charger.
Here’s how to troubleshoot common light issues:
- No Light: Check power source and connections. A dead outlet or loose plug often causes this.
- Flashing Red: Indicates a bad connection or battery issue. Ensure clamps are secure and battery terminals are clean.
- Solid Red or Green Stays On: Could mean the battery is fully charged or the charger is stuck. Try disconnecting and reconnecting to reset.
How To Inspect Charging Cables And Connectors For Damage
Before you test your battery charger, take a close look at the charging cables and connectors for any visible signs of wear or damage. Check for frayed wires, cracks, or exposed copper, which can cause shorts or prevent proper charging. Inspect the connectors for corrosion, bent pins, or dirt buildup that might block a solid connection.
If you spot any damage, avoid using the charger until you replace or repair the cables. Also, gently wiggle the cables near the connectors to see if there’s any looseness or intermittent connection. Damaged cables can lead to inconsistent charging or even pose a safety hazard.
Taking these steps helps guarantee your charger delivers power effectively and keeps you safe during use.
How Power Source Affects Charger Performance
Because your charger relies on a stable power source to function correctly, the quality and type of that source can directly impact its performance. If your power supply fluctuates or is insufficient, your charger may not deliver the right current, leading to slow or incomplete charging.
Here are three ways your power source affects charger performance:
- Voltage Stability: Unstable voltage can cause your charger to shut off or charge inconsistently.
- Power Type: AC power from a wall outlet provides steady energy, while USB ports or car adapters may deliver lower or variable power.
- Power Capacity: Insufficient amperage from the source can prevent your charger from reaching full output, reducing charging speed.
Ensuring a reliable and appropriate power source helps your charger work efficiently and extend battery life.
How To Use A Multimeter To Test Your Battery Charger
To test your battery charger with a multimeter, start by setting the device to the correct voltage range. Next, measure the voltage output from the charger’s terminals carefully.
Finally, compare the readings to your charger’s specifications to see if it’s working properly.
Setting Up The Multimeter
When you want to check if your battery charger is working, setting up your multimeter correctly is essential. A proper setup ensures accurate readings and helps you avoid damaging the device or your battery. Follow these steps to get your multimeter ready:
- Turn on the multimeter and set it to the DC voltage (V) mode, usually indicated by a “V” with a straight line.
- Insert the probes into the correct ports: the black probe goes into the common (COM) port, and the red probe goes into the port labeled for voltage (V).
- Adjust the voltage range if your multimeter requires manual selection. Choose a range slightly higher than your charger’s output voltage to prevent overload.
Now, your multimeter is set and ready for testing.
Measuring Charger Voltage Output
Although it might seem straightforward, accurately measuring your charger’s voltage output requires careful probe placement and steady hands. First, make sure your multimeter is set to the correct DC voltage range. Then, connect the multimeter’s black probe to the charger’s negative terminal and the red probe to the positive terminal.
Hold the probes steadily to avoid fluctuating readings. Keep the charger plugged in and powered on during this process. Avoid touching the metal parts of the probes to prevent inaccurate measurements or shocks.
Once the probes are properly placed, observe the voltage reading on the multimeter display. This measurement shows your charger’s output voltage, letting you verify if it’s delivering power as expected before moving on to interpretation.
Interpreting Multimeter Readings
Now that you’ve measured the voltage output, understanding what those numbers mean helps you determine if your charger is functioning properly. A healthy charger should output a voltage slightly higher than your battery’s rated voltage to ensure proper charging.
Here’s how to interpret your multimeter readings:
- Voltage Matches Charger Specs – If the reading matches the charger’s rated voltage, the charger is likely working fine.
- Voltage Is Too Low – This could indicate a weak charger or internal damage affecting its ability to charge.
- Voltage Is Too High – Excessive voltage risks damaging your battery, signaling a faulty charger or regulator.
How To Test Your Charger Using Another Device Or Battery
To determine if your charger is working properly, try using it with another compatible device or battery. First, find a device or battery that matches the charger’s voltage and connector type. Plug the charger in and connect it to this alternate device or battery.
If the device powers on or the battery begins charging, your charger is likely functioning correctly. However, if the other device also doesn’t respond, the charger might be faulty. This method helps isolate the issue without specialized tools.
Remember to avoid forcing connections or using incompatible devices, as this can damage both your charger and the battery. Testing with another device gives a quick, practical way to check if your charger delivers power as it should.
How To Tell If Your Battery Charger Is Compatible
To make certain your battery charger works properly, you need to check if the voltage matches your device’s requirements. Also, confirm that the connector type fits securely without forcing it.
Finally, verify the charger’s output to ensure it delivers the right power for safe charging.
Check Voltage Compatibility
Although it might seem straightforward, checking voltage compatibility is essential before using your battery charger. Using a charger with the wrong voltage can damage your battery or charger, and it might not charge properly.
To confirm compatibility:
- Locate the Battery Voltage: Check your battery’s label or manual for its voltage rating (e.g., 12V, 24V).
- Check Charger Output Voltage: Look at the charger’s specifications, usually printed on the device or its packaging.
- Match Voltages Exactly: Make sure the charger’s output voltage matches your battery’s voltage. Even a small difference can cause issues.
Match Connector Types
Even if your charger’s voltage matches your battery’s, it won’t work properly unless the connector types are compatible. First, identify the connector on your battery—common types include alligator clips, ring terminals, or proprietary plugs. Then, check your charger’s output connector to guarantee it fits securely without forcing it.
Using mismatched connectors can cause poor contact, slow charging, or even damage. If the connectors differ, you can often find adapters to bridge the gap, but always verify they’re designed for your battery and charger model. Never attempt to modify connectors yourself unless you’re confident in your skills, as incorrect wiring risks short circuits or injury.
Matching connectors ensures a safe, efficient charge every time.
Verify Charger Output
Before you connect your charger to the battery, you need to verify that the charger’s output voltage and current match your battery’s specifications. Using a charger with incompatible output can damage your battery or reduce its lifespan.
Here’s how to check:
- Find the battery specs: Look for the voltage and current ratings on the battery label or user manual.
- Check the charger label: Verify the charger’s output voltage (V) matches the battery voltage exactly.
- Compare current ratings: Ensure the charger’s output current (A) is equal to or slightly less than the battery’s recommended charging current. Higher current can overheat the battery, while lower current simply means slower charging.
Matching these values guarantees safe, effective charging every time.
How Temperature Affects Battery Charger Efficiency
When temperatures rise or fall beyond an ideal range, your battery charger’s efficiency can drop substantially. Extreme cold slows down chemical reactions inside the battery, causing your charger to deliver less current and take longer to charge. Conversely, excessive heat can reduce charging speed as the charger may automatically lower output to protect the battery.
This means you might notice slower charging times or incomplete charges during temperature extremes. To guarantee your charger works properly, try to operate it within the recommended temperature range specified by the manufacturer. Avoid using it in freezing conditions or under direct sunlight for extended periods.
Keeping your charger in a stable, moderate environment helps maintain top performance and prolongs both charger and battery life.
What To Do If Your Battery Charger Feels Hot Or Overheats
If your battery charger feels hot or starts to overheat, you should immediately unplug it to prevent damage or safety hazards. Once it’s disconnected, let it cool down completely before handling further. Overheating can signal an internal fault or improper use.
Here’s what you should do next:
- Inspect the charger and cable for visible damage like frayed wires or burnt smells.
- Ensure you’re using the charger in a well-ventilated area away from direct sunlight or heat sources.
- Check that the charger is compatible with your battery’s voltage and type to avoid overloading.
If overheating persists after these steps, consider replacing the charger to keep your devices and yourself safe.
How Firmware Or Software Can Impact Battery Charging
After ensuring your battery charger isn’t overheating, it’s important to understand that the firmware or software controlling your device can also affect how efficiently your battery charges. Firmware manages charging cycles, voltage regulation, and safety limits. If it’s outdated or buggy, you might notice slower charging or incomplete battery fills.
Sometimes, manufacturers release updates to improve charging speed or extend battery lifespan. You should check for these updates regularly and install them to keep your charger functioning at its best. Additionally, some chargers rely on software calibration that adapts to battery health over time, so ignoring updates can cause inaccurate charging.
When It’s Time To Replace Your Battery Charger
Although battery chargers often last a long time, you’ll eventually need to replace yours if it stops charging properly or shows signs of wear. Ignoring these signs can lead to inefficient charging or even damage your battery.
Here are three clear indicators it’s time to get a new charger:
- No Power Output: Your charger won’t power up or charge any device despite being plugged in.
- Physical Damage: The cables, plugs, or casing are cracked, frayed, or burnt.
- Overheating: The charger becomes excessively hot during use, which is unsafe and signals internal failure.
If you notice any of these issues, it’s best to stop using the charger and replace it to protect your battery and devices.
How To Prevent Charger Problems With Proper Maintenance
Replacing a faulty charger is important, but you can extend the life of your current one by taking proper care of it. First, keep your charger clean and free from dust or debris, as buildup can cause overheating or connection issues. Always unplug the charger by holding the plug, not the cord, to prevent internal wire damage.
Avoid exposing it to extreme temperatures or moisture, which can degrade components. Store the charger in a dry, cool place when not in use. Regularly inspect the cable and connectors for wear or fraying and replace parts if needed.
Frequently Asked Questions
Can a Faulty Battery Charger Damage My Battery?
Yes, a faulty battery charger can damage your battery by overcharging, overheating, or providing inconsistent power. You should always check your charger’s condition to protect your battery’s lifespan and avoid potential damage or safety hazards.
How Long Should a Typical Battery Charging Session Last?
Like watching paint dry, a typical battery charging session lasts 2 to 6 hours, depending on battery size and charger type.
You’ll know it’s done when the indicator light signals full power or the charger stops drawing current.
Are Wireless Battery Chargers Reliable Compared to Wired Ones?
Wireless battery chargers can be reliable, but they usually charge slower and generate more heat than wired ones. You’ll want to weigh convenience versus speed, and guarantee your device supports efficient wireless charging for the best results.
Can Extreme Cold Weather Permanently Affect Battery Charging?
Yes, extreme cold can permanently reduce your battery’s capacity by slowing chemical reactions inside it. You should avoid charging in freezing temperatures to prevent damage and guarantee your battery charges efficiently and lasts longer.
Is It Safe to Leave a Battery Charger Plugged in Overnight?
You might worry about overcharging, but it’s generally safe to leave your charger plugged in overnight if it has an automatic shutoff.
Just double-check your charger’s specs to avoid any risks or battery damage.
Conclusion
Checking if your battery charger is working is as simple as following a few quick steps. By watching for signs like indicator lights and inspecting cables, you can catch problems early.
Remember, a charger that overheats or shows no signs of life might need replacing. Treat your charger with care and regular maintenance to keep it running smoothly—like tuning a well-oiled machine, it’ll charge your batteries reliably every time.
Regularly checking your battery charger ensures it is functioning properly and can extend its lifespan. Proper maintenance and attention to signs of malfunction are key to a reliable battery charger.

