

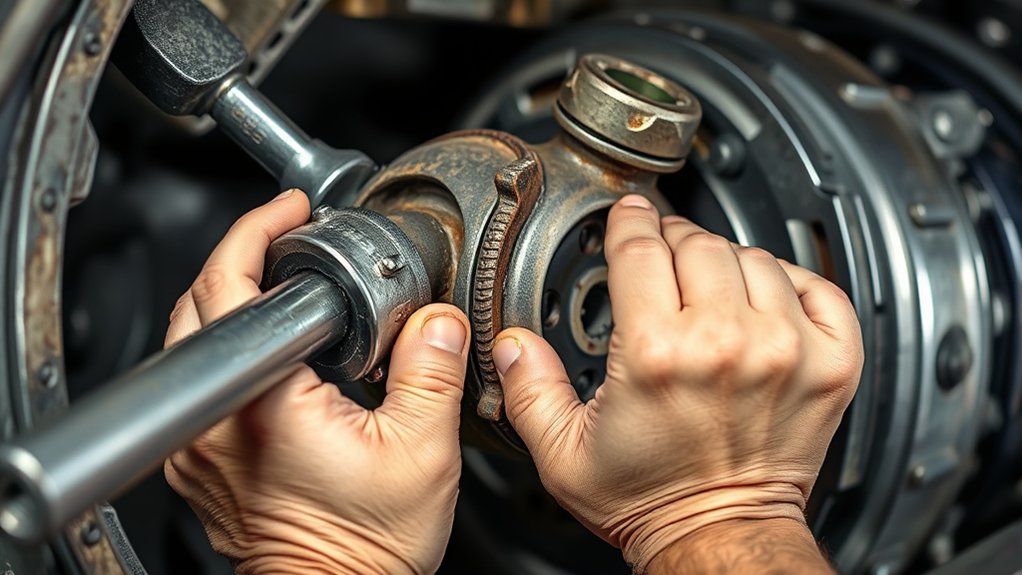
To get a stuck CV axle out of the transmission, it’s essential to have the right tools and know the proper techniques. Stubborn CV axles can be challenging to remove, especially when rust or corrosion is involved.
Following a step-by-step approach ensures you avoid damage to your vehicle and the axle itself.
First, safely lift your vehicle and loosen the axle nut. Remove the wheel and any related parts to gain clear access.
Apply penetrating oil to break down rust and corrosion around the axle.
Next, gently rock the axle back and forth without forcing it to avoid damage.
If the axle remains stuck, use specialized tools like a slide hammer or puller. These tools help free the axle safely and efficiently.
Follow these careful steps, and you’ll learn the best techniques to remove that stubborn axle properly.
Key Takeaways
- Loosen the axle nut and remove wheel, brake caliper, rotor, and hub assembly bolts for clear access.
- Gently rock the axle back and forth while tapping lightly with a rubber mallet to loosen stuck parts.
- Use a pry bar carefully to apply steady leverage between the axle and transmission without damaging components.
- If the axle remains stuck, attach a CV axle puller or slide hammer for controlled, gradual extraction.
- Always prioritize safety by securing the vehicle, wearing protective gear, and avoiding excessive force to prevent damage.
Why Is My CV Axle Stuck? Common Causes Explained
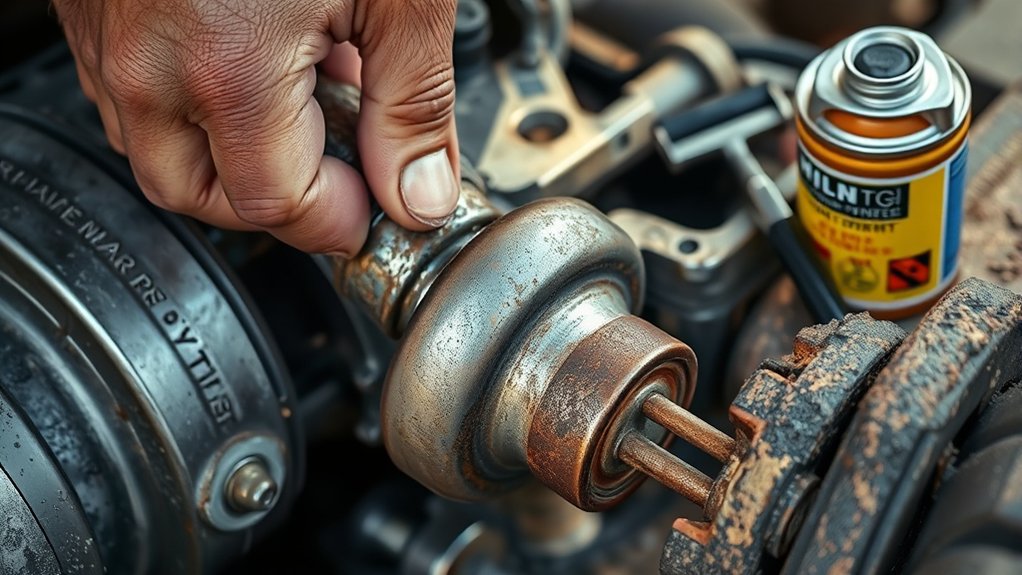
Why won’t your CV axle budge when you try to remove it? Usually, it’s because corrosion or rust has locked it in place. Over time, moisture seeps into the joint or splines, causing metal parts to fuse together.
Dirt and debris can also get trapped, adding to the stubbornness. Another common reason is that the axle splines might be tightly wedged into the transmission or hub, making it hard to pull out without the right technique. Sometimes, the axle’s retaining clip or circlip is still engaged, holding it firmly.
If you don’t address these causes properly, you’ll risk damaging the axle or transmission. Understanding why it’s stuck helps you approach removal carefully and avoid unnecessary repairs.
Gather the Right Tools for CV Axle Removal
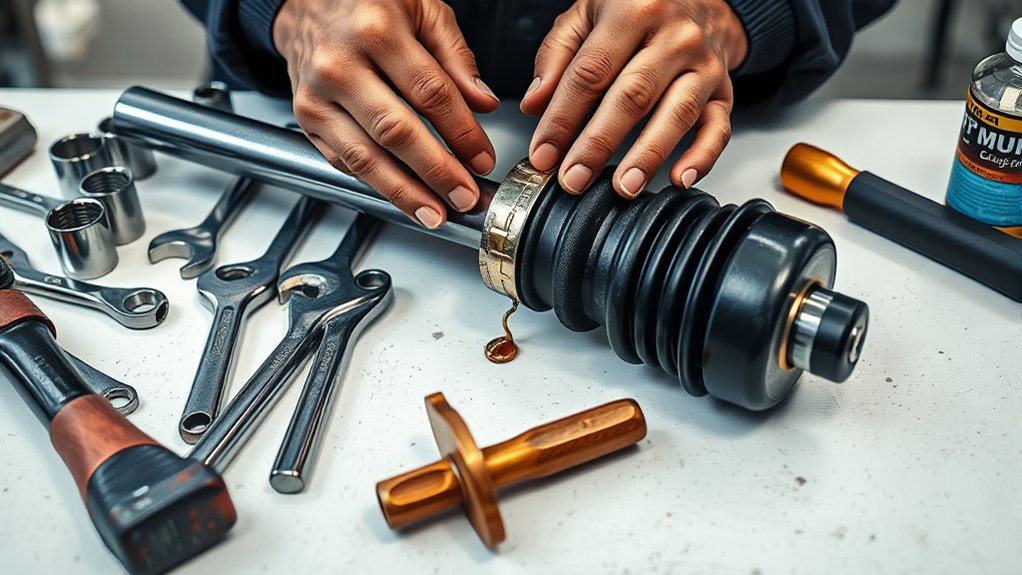
Before you start, make sure you have all the essential tools ready, including wrenches, a pry bar, and a hammer. Don’t forget safety gear like gloves and eye protection to keep yourself safe.
You might also want to contemplate specialty tools designed specifically for CV axle removal to make the job easier.
Essential Tools Checklist
Although removing a stuck CV axle can be challenging, having the right tools on hand makes the process much smoother. Before you start, make sure you have these essentials ready to avoid frustration and delays. Each tool plays an essential role in loosening, pulling, or prying the axle without damaging your vehicle.
| Tool | Purpose |
|---|---|
| Socket Set | Remove axle nuts and bolts |
| Pry Bar | Gently lever the axle from transmission |
| Hammer | Tap the axle loose when stuck |
With this toolkit, you’ll be equipped to tackle the job effectively. Missing even one can hold you back, so double-check your inventory before diving in. This preparation sets you up for success and helps protect your vehicle’s components.
Safety Equipment Needed
Two key pieces of safety equipment you’ll need when removing a stuck CV axle are gloves and safety glasses. Gloves protect your hands from sharp edges, grease, and potential pinches, while safety glasses shield your eyes from debris or accidental fluid sprays.
Besides these, consider wearing long sleeves to protect your arms from cuts and burns, especially if you’re working around hot components. Closed-toe shoes are essential to guard your feet in case tools or parts drop.
Make sure your workspace is well-lit and clean to reduce trip hazards. By gearing up properly, you’ll minimize injury risks and work more confidently.
Specialty Tool Options
When you’re ready to remove a stuck CV axle, having the right specialty tools makes the job much easier and safer. Using tools designed specifically for this task helps prevent damage to the axle, transmission, and surrounding parts.
Here are some essential specialty tools you should consider:
| Tool Name | Purpose | Tip for Use |
|---|---|---|
| CV Axle Puller | Extracts axle without damage | Apply steady, even pressure |
| Slide Hammer | Provides impact force | Use with care to avoid excess force |
| Snap Ring Pliers | Removes retaining clips | Choose the right size for clips |
Make sure you have these tools ready before beginning, so the removal process goes smoothly and safely.
Lift and Secure Your Vehicle Safely for CV Axle Work
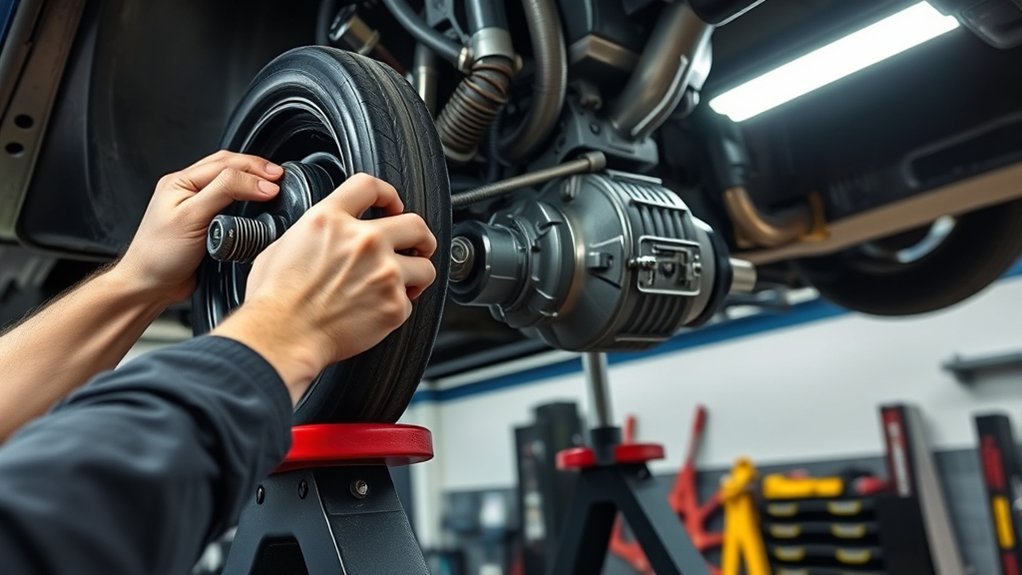
Before you start working on the CV axle, make sure you lift and secure your vehicle properly to prevent accidents. Begin by parking on a flat, stable surface and engaging the parking brake. Use wheel chocks behind the wheels that will remain on the ground to stop any movement.
Next, position a reliable hydraulic jack under the vehicle’s manufacturer-recommended lifting point. Slowly raise the vehicle until the wheel is off the ground. Then, place sturdy jack stands under solid frame points and carefully lower the vehicle onto them for support.
Never rely solely on the jack to hold the car while you work. Double-check the vehicle’s stability by gently shaking it. Taking these safety measures ensures you can work on the CV axle confidently and without risk of injury.
Loosen the Axle Nut and Remove Wheel Parts
You’ll need the right tools to loosen the axle nut without stripping it, so grab a breaker bar or impact wrench.
Next, carefully remove the brake components to avoid damaging the caliper or rotor.
Finally, detach the wheel and hub to access the CV axle for removal.
Tools Needed for Loosening
Although removing a stuck CV axle can be challenging, having the right tools to loosen the axle nut and remove the wheel parts will make the job much easier. You’ll need a heavy-duty socket wrench, preferably with a breaker bar, to tackle the often tight axle nut. An impact wrench can speed things up if you have access to one.
Don’t forget a properly sized axle socket that fits snugly over the nut. To remove the wheel, a lug wrench or tire iron is essential for loosening the lug nuts. A jack and jack stands are critical to safely lift and support the vehicle while you work.
With these tools ready, you’ll be set to move forward confidently.
Removing Brake Components Safely
How do you safely remove brake components without causing damage or injury? First, confirm the car is securely lifted and supported. Then, loosen the axle nut using the proper socket and breaker bar.
Avoid spinning the wheel while doing this. Next, remove the wheel parts carefully, preventing harm to the brake lines and caliper.
| Step | Action | Tip |
|---|---|---|
| 1. Secure Vehicle | Use jack stands | Double-check stability |
| 2. Loosen Axle Nut | Use breaker bar/socket | Apply penetrating oil if stuck |
| 3. Remove Wheel | Take off lug nuts | Keep lug nuts organized |
| 4. Detach Caliper | Unbolt carefully | Support caliper to avoid strain |
| 5. Inspect Parts | Check brake components | Replace worn parts if needed |
Always handle brake parts gently to avoid costly damage.
Detaching Wheel and Hub
Before removing the wheel and hub, make sure the axle nut is fully loosened to prevent any damage or difficulty during disassembly. Use a breaker bar or impact wrench to loosen it while the vehicle is still on the ground, so the wheel won’t spin. After that, safely lift the vehicle and support it with jack stands.
Remove the lug nuts and take off the wheel. Next, detach any remaining components connected to the hub, like the brake rotor or dust shield, if necessary. Then, remove the hub assembly by loosening the bolts securing it to the steering knuckle.
Keep track of all parts you remove to guarantee smooth reassembly. With the wheel and hub detached, you’ll have better access to work on extracting the stuck CV axle.
Apply Penetrating Oil to Loosen Rust on the CV Axle
Since rust often causes the CV axle to stick inside the transmission, applying penetrating oil is an essential step to break down the corrosion. You’ll want to spray a generous amount directly on the exposed part of the axle where it enters the transmission.
Let the oil soak for at least 10-15 minutes to penetrate the rust effectively. Reapply if needed, especially if the axle remains stuck. Using penetrating oil reduces the risk of damaging components during removal.
| Penetrating Oil Type | Soak Time | Application Tips |
|---|---|---|
| WD-40 Specialist | 10-15 min | Spray liberally, repeat |
| PB Blaster | 15-20 min | Use a straw for precision |
| Liquid Wrench | 10-15 min | Apply multiple coats |
How to Gently Free a Stuck CV Axle
After letting the penetrating oil soak and break down rust, you can start working on freeing the stuck CV axle carefully. Begin by gently rocking the axle back and forth; apply steady, moderate force without jerking to avoid damaging the transmission or axle. Use a rubber mallet to tap around the joint lightly if it doesn’t budge—this can help loosen corrosion without causing harm.
Keep an eye on the axle’s movement; if it starts to shift, continue the rocking motion gradually. Be patient—rushing may cause damage. If it still won’t move after some effort, don’t force it further.
At this point, it’s better to stop and consider other methods rather than risk breaking components or causing costly repairs.
Use Specialized Tools to Remove a Stubborn CV Axle
When gentle rocking and tapping don’t free the CV axle, you’ll need to reach for specialized tools designed to handle stubborn connections. A slide hammer with a CV axle puller attachment can provide the force needed to dislodge the axle without damaging components. Attach the puller securely to the axle shaft, then use controlled pulls with the slide hammer to gradually break the bond.
Alternatively, a CV joint separator or axle puller tool can help pry the axle free from the transmission. Be sure to apply even pressure and avoid excessive force that could harm the transmission seal or axle splines. Using these tools correctly saves time and prevents costly damage, making stubborn CV axle removal much more manageable.
Frequently Asked Questions
How Do I Know if My CV Axle Needs Replacement?
You’ll know your CV axle needs replacement if you hear clicking noises when turning, feel vibrations while driving, notice grease leaks near the wheel, or see torn CV boots.
Don’t ignore these signs—they’ll worsen over time.
Can a Stuck CV Axle Cause Transmission Damage?
Yes, a stuck CV axle can cause transmission damage if you force it or keep driving. You’ll risk damaging seals, gears, or bearings, leading to costly repairs.
It’s best to address the issue promptly.
What Are the Signs of a Failing CV Joint?
You’ll hear a noise louder than a rock concert when turning—that’s a classic sign of a failing CV joint. You might also feel vibrations, grease leaks, or difficulty steering.
Don’t ignore these warning signs!
How Long Does It Typically Take to Replace a CV Axle?
It typically takes you about 1 to 2 hours to replace a CV axle. The time depends on your experience, tools, and vehicle model, but with the right setup, you can get it done efficiently.
Are There Preventive Measures to Avoid a Stuck CV Axle?
Yes, you can prevent a stuck CV axle by regularly inspecting and lubricating the axle, avoiding harsh impacts, and replacing worn seals promptly.
Keeping everything clean and maintained helps you avoid stubborn, stuck parts down the road.
Conclusion
Now that you know why your CV axle gets stuck, how to gather tools, safely lift your vehicle, loosen the axle nut, apply penetrating oil, and gently free it, you’re ready to tackle the job confidently.
Remember, patience brings progress, precision brings safety, and persistence brings success. Follow these steps carefully, use the right tools, and don’t rush the process.
By following these 7 steps to get a stuck CV axle out of transmission, you’ll remove that stubborn axle and get back on the road smoothly.

