

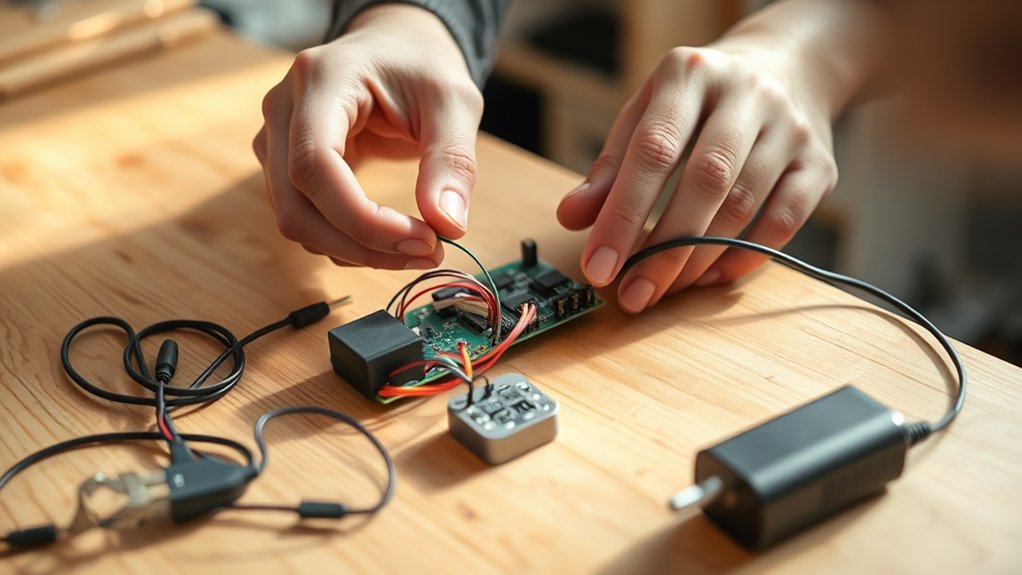
To make a battery charger in seven easy steps, start by gathering all the necessary materials like a power source, rectifier, voltage regulator, and tools. Understanding how to make a battery charger is essential for anyone looking to extend the life of their batteries or create a custom charging solution.
This simple guide will walk you through the process efficiently.
Next, build the charging circuit by connecting the transformer to the rectifier, adding filtering capacitors, and wiring the voltage regulator correctly.
Then, select the right battery type, connect it safely with proper polarity, and test the output voltage.
Finally, troubleshoot if needed and maintain your charger for long-term use.
Keep going to uncover helpful tips and detailed guidance.
Key Takeaways
- Gather essential components like a power source, rectifier, voltage regulator, capacitors, resistors, and safety tools before starting the build.
- Assemble the circuit by connecting the transformer to the rectifier, smoothing capacitor, and voltage regulator, ensuring correct polarity and secure wiring.
- Choose a battery compatible with the charger’s voltage and current ratings, and connect it safely with insulated clamps observing polarity.
- Power on the charger gradually, monitor voltage and current during charging, and adjust settings to prevent overcharging.
- After charging, turn off power, disconnect the battery carefully, measure its voltage, and store the charger safely with regular maintenance checks.
Gather Materials for Your Battery Charger
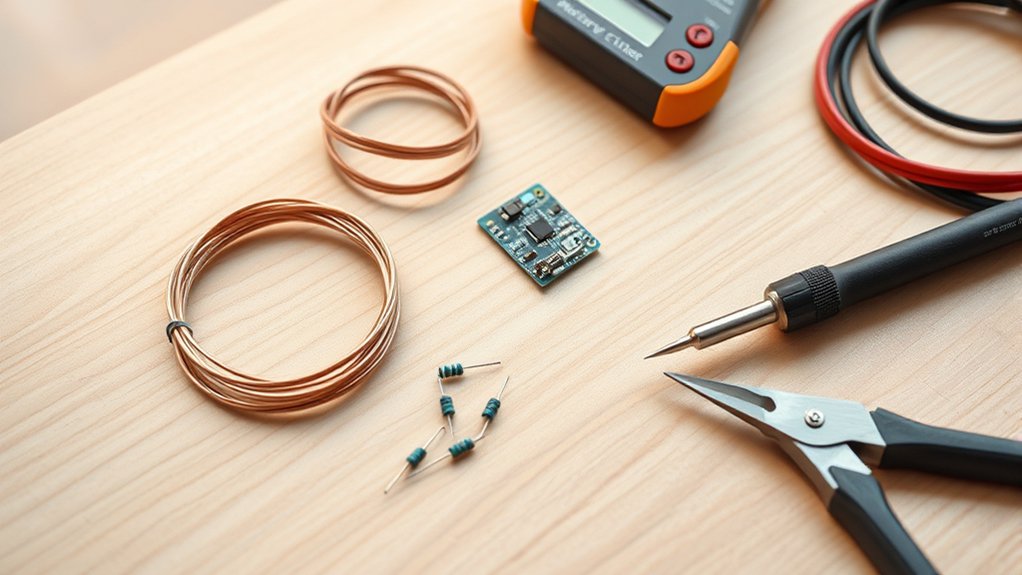
Before you begin building your battery charger, you’ll need to gather all the necessary materials. Start with a power source like a DC adapter or transformer that matches your battery’s voltage. You’ll also need a rectifier to convert AC to DC—usually a bridge rectifier or diodes.
Don’t forget a voltage regulator to guarantee stable charging voltage and prevent overcharging. Get capacitors to smooth out voltage fluctuations and resistors to control current flow. You’ll need a battery holder or clips compatible with your battery type.
Basic tools like a soldering iron, wire cutters, and a multimeter are essential for assembly and testing. Having all these components ready helps you build efficiently and safely, setting a solid foundation before moving on to constructing the circuit.
Build the Battery Charger Circuit
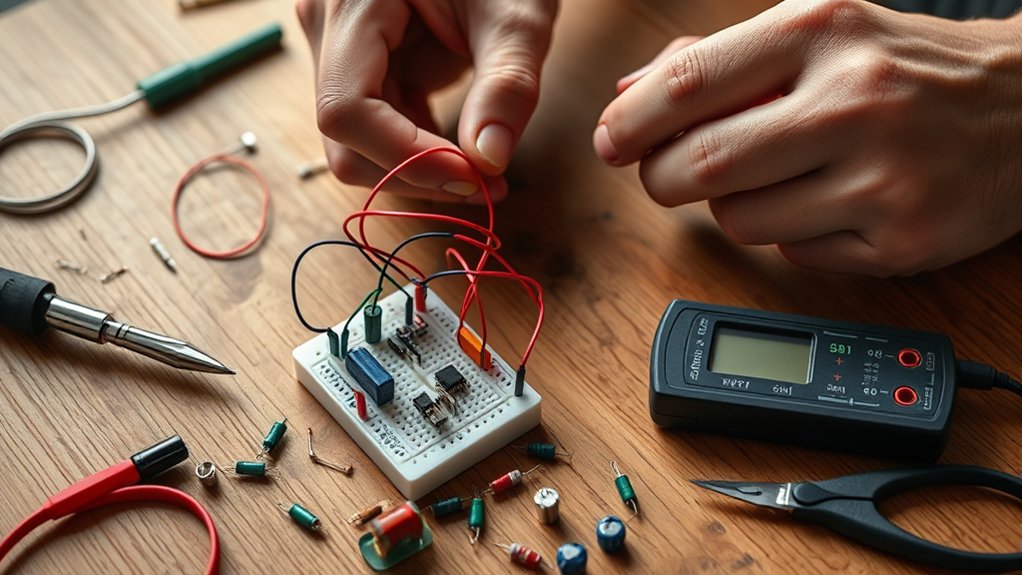
Now that you have your components, it’s time to start wiring the battery charger circuit. Follow the schematic carefully to connect each part in the right order.
Make certain all connections are secure to guarantee your charger works properly.
Components Needed
What parts do you need to build a reliable battery charger circuit? You’ll want to gather essential components that guarantee safety and efficiency.
Here are the three main items you’ll need:
- Transformer and Rectifier – The transformer steps down the voltage from your power source, and the rectifier converts AC to DC, which batteries require for charging.
- Voltage Regulator – This part controls the output voltage, preventing overcharging and protecting your battery.
- Charging Indicator (LED or Meter) – It helps you monitor the charging status, so you know when the battery is fully charged.
Make sure to also have resistors, capacitors, and connection wires on hand to complete the circuit.
With these components, you’re set to build a charger that works smoothly and safely.
Wiring The Circuit
With your components ready, you can start wiring the circuit to bring your battery charger to life. Begin by connecting the transformer’s secondary winding to the bridge rectifier’s AC inputs. Next, link the rectifier’s DC output to the smoothing capacitor to reduce voltage ripple.
Then, wire the voltage regulator IC, confirming the input pin receives the filtered DC voltage. Connect the output pin of the regulator to the battery terminals, observing correct polarity—positive to positive, negative to negative. Don’t forget to add a current-limiting resistor if your design requires one.
Double-check all connections to avoid shorts or wrong polarity. Use a breadboard or solder on a PCB for stability. Once wired, test the circuit with a multimeter before plugging in the battery to ensure proper voltage and current flow.
Choose the Right Battery Type to Charge
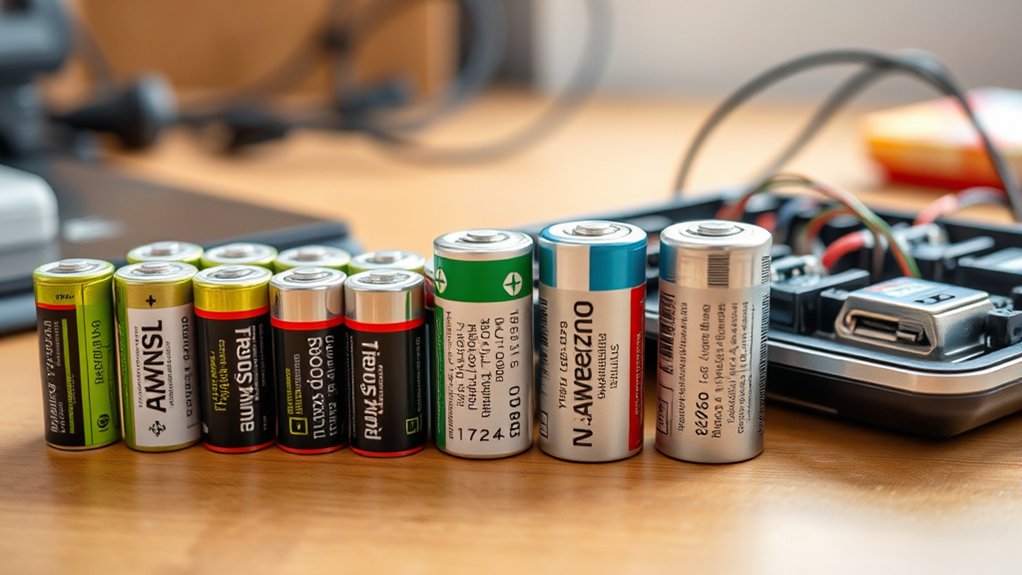
How do you determine which battery type suits your charger? First, identify the battery chemistry you want to charge—common types include lead-acid, NiMH, and lithium-ion. Each requires different charging methods and voltages.
To choose the right battery type for your charger, follow these steps:
- Check battery specifications: Voltage and capacity ratings dictate charger settings.
- Match charger output: Ensure your charger’s voltage and current fit the battery’s requirements.
- Consider safety features: Some batteries need temperature or voltage monitoring to avoid damage.
Selecting the right battery type ensures efficient charging and prolongs battery life. Avoid using a charger incompatible with your battery to prevent risks like overheating or reduced performance.
Connect the Battery Safely to the Charger
Before you start charging, make sure you connect the battery to the charger properly to prevent any accidents or damage. First, identify the positive (+) and negative (-) terminals on both the battery and charger. Connect the positive terminal of the charger to the battery’s positive terminal, and the negative terminal of the charger to the battery’s negative terminal.
Use insulated clamps or connectors to avoid short circuits. Double-check that the connections are secure and there’s no risk of loose wires touching each other. Avoid reversing the polarity, as this can harm the battery and charger.
Always work in a dry, well-ventilated area, and keep metal objects away from the terminals. Following these steps guarantees a safe, effective connection before you begin charging.
Test Your Battery Charger Voltage
Now that your battery is connected, it’s time to check the charger’s output voltage. You’ll want to use a multimeter to get an accurate reading and verify the voltage matches your battery’s requirements.
This step helps confirm your charger is working correctly before you proceed.
Measuring Output Voltage
Where do you start when verifying your battery charger’s performance? Measuring the output voltage is key to ensuring your charger works correctly. You want to confirm that the voltage matches your battery’s requirements to avoid damage or inefficient charging.
Here’s how to measure output voltage effectively:
- Prepare your tools – Have a reliable voltage measuring device ready, such as a voltmeter or a multimeter set to the correct DC voltage range.
- Connect properly – Attach the positive and negative leads of your measuring device to the charger’s output terminals, maintaining correct polarity.
- Read the value – Observe the displayed voltage and compare it to your battery’s rated voltage. If it matches or is slightly higher, your charger is functioning well.
Measuring output voltage helps you avoid costly mistakes and ensures safe charging every time.
Using a Multimeter
How exactly do you use a multimeter to test your battery charger’s voltage? First, set your multimeter to measure DC voltage, usually indicated by a “V” with straight lines. Next, connect the multimeter’s red probe to the charger’s positive terminal and the black probe to the negative terminal.
Make sure your connections are secure. Once connected, turn on the charger. Your multimeter will display the voltage output.
Compare this reading with your charger’s rated voltage to confirm it’s working correctly. If the voltage is markedly different, there might be an issue with the charger. Always handle probes carefully to avoid short circuits, and never touch the metal tips while testing.
Using a multimeter this way ensures your battery charger is delivering the right voltage safely and effectively.
Fix Common Battery Charger Problems
Why isn’t your battery charger working as expected? Don’t worry—you can fix common issues quickly. First, check the power source; a loose connection or faulty outlet often causes problems.
Second, inspect the wiring for breaks or frayed insulation that can interrupt current flow. Third, test the charger’s components like resistors and diodes using your multimeter to verify they’re functioning properly.
If you find any damaged parts, replace them immediately to restore charging efficiency. Also, double-check the polarity of your connections since reversing them can prevent charging or even damage your battery.
Maintain Your Homemade Battery Charger
Although building your own battery charger is rewarding, keeping it in good shape guarantees it performs reliably over time. Regularly inspect connections, clean dust, and ensure ventilation to prevent overheating.
Check wiring for wear and tighten any loose parts. Store the charger in a dry, cool place when not in use. Follow these simple maintenance tips to extend your charger’s lifespan and efficiency.
| Task | Frequency |
|---|---|
| Inspect connections | Weekly |
| Clean dust | Monthly |
| Check wiring | Monthly |
| Tighten parts | Monthly |
| Store properly | After use |
Frequently Asked Questions
Can I Use This Charger for Lithium-Ion Batteries?
You shouldn’t use this charger for lithium-ion batteries unless it’s specifically designed for them.
Lithium-ion batteries need precise voltage and current control to charge safely and avoid damage or fire hazards.
How Long Does It Take to Fully Charge a Battery?
Charging a battery fully takes about 1 to 8 hours, like watching a candle slowly burn down. It depends on the battery size and charger power, so you’ll need to check specifications for precise timing.
Is This Charger Safe for Charging Car Batteries?
No, this charger isn’t safe for car batteries since it lacks necessary safety features like voltage regulation and automatic shutoff.
You should use a charger specifically designed for car batteries to avoid damage or hazards.
Can I Leave the Battery Connected Overnight?
You shouldn’t leave the battery connected overnight unless your charger has an automatic shutoff or trickle charge mode.
Otherwise, overcharging can damage the battery or cause safety risks.
Always monitor charging times carefully.
What Are the Environmental Impacts of Homemade Chargers?
Think of your homemade charger as a small garden—if you use it carelessly, it might leak harmful chemicals like weeds choking the soil. You’ll want to handle materials safely to protect the environment and keep everything thriving.
Conclusion
Now that you’ve built your battery charger, remember: while homemade chargers work well, they might not match commercial models’ precision. It’s true that DIY chargers can safely recharge batteries if you follow steps carefully, but they might lack advanced features like automatic shutoff or temperature control.
Always test your charger thoroughly and never leave it unattended. By understanding both its capabilities and limits, you’ll keep your batteries charged safely and effectively. Proper battery charger use and maintenance are essential for long-lasting battery performance and safety.

