

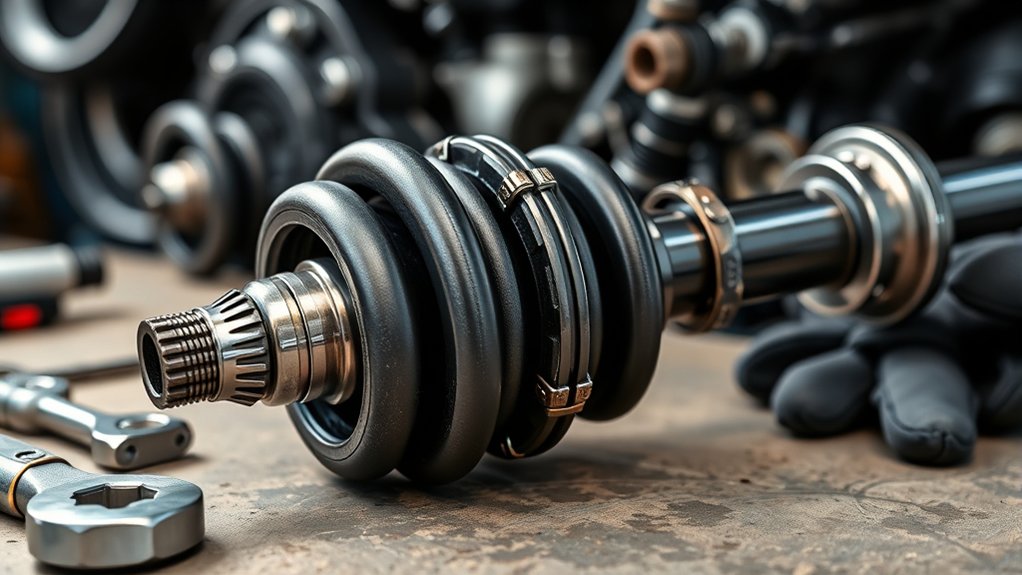
A CV joint axle is a crucial component that connects your car’s transmission to the wheels, transferring power smoothly while allowing for flexible movement during turns and suspension travel. Understanding how to inspect a CV joint axle is essential for maintaining vehicle performance and safety.
Regular inspection helps detect early signs of wear or damage, preventing costly repairs and breakdowns.
To inspect it, check for cracks, tears, or grease leaks on the CV boot. Look for rust or wear on metal parts, and wiggle the joint to detect excessive play or noise. Catching issues early helps prevent breakdowns.
Keep going to find out how to spot signs of failure and maintain your CV joint axle properly.
Key Takeaways
- A CV joint axle connects the transmission to the wheels, allowing power transfer and flexible wheel movement during turns and suspension travel. CV joints enable smooth rotation despite steering angles, supporting vehicle control and preventing drivetrain stress.
- Inspect CV joints by checking the boots for cracks, tears, or grease leaks, which indicate potential damage. Use tools like a jack, flashlight, and gloves to clean and examine the axle for rust, excessive play, or binding.
- Detect wear by listening for clicking sounds during turns, vibrations during acceleration, and difficulty steering or resistance.
What a CV Joint Axle Is and Why It Matters
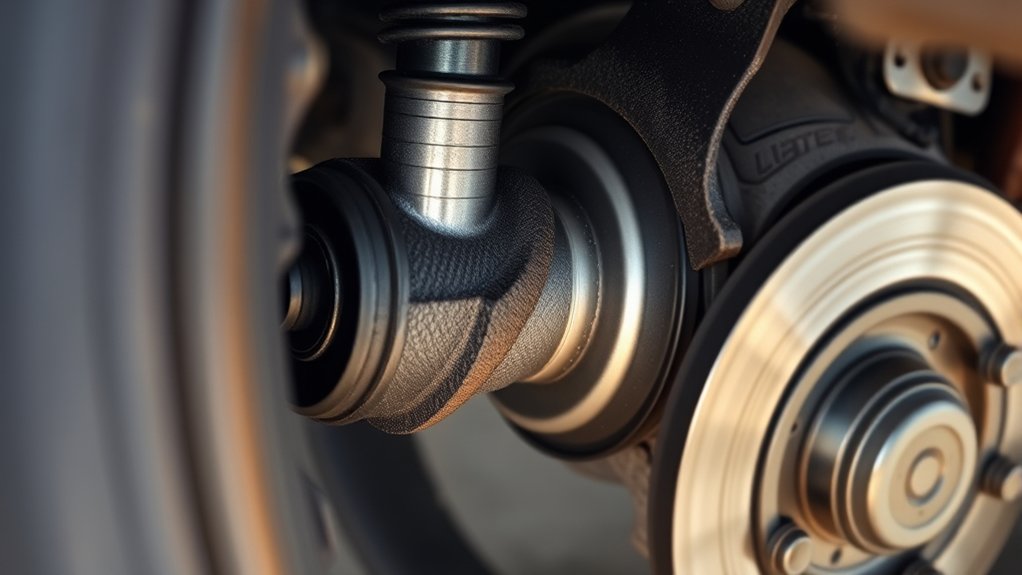
A CV joint axle connects your car’s transmission to the wheels, allowing power to transfer smoothly while the wheels turn and move up and down. You rely on this component for steady, consistent motion, especially when maneuvering turns or uneven terrain. Without a properly functioning CV joint axle, your vehicle wouldn’t handle well, and you’d feel vibrations or hear clicking noises during turns.
It’s designed to flex, accommodating the suspension’s movement and steering angles, which keeps your ride stable and safe. Knowing what a CV joint axle does helps you appreciate its role in driving comfort and control. When you keep an eye on its condition, you prevent unexpected breakdowns that could leave you stranded or cause costly repairs down the road.
How Your CV Joint Axle Keeps Your Car Moving
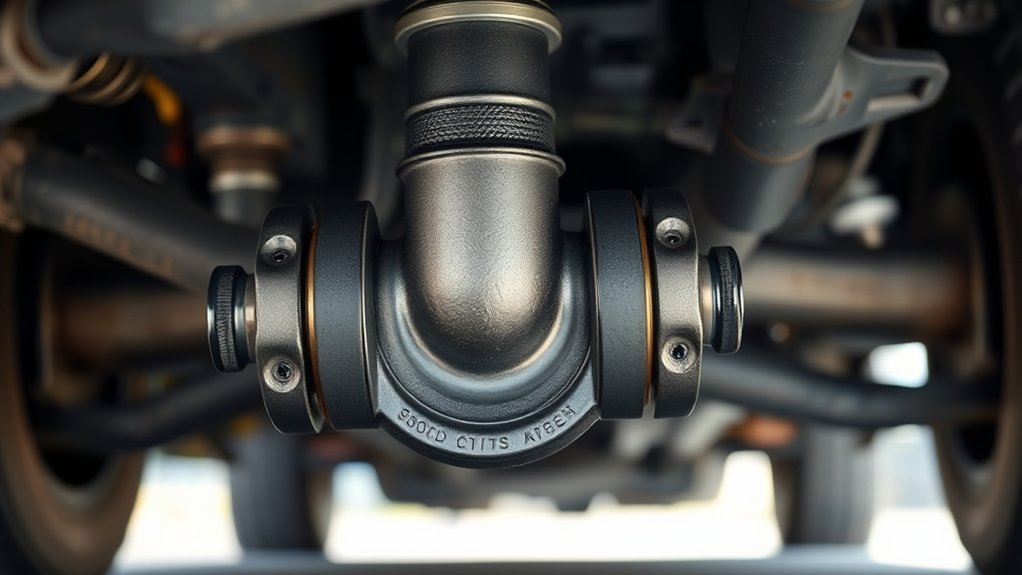
Your CV joint axle plays a vital role in transferring power from the engine to your wheels, even when they’re turning or moving up and down. It allows your car to maintain smooth motion by accommodating suspension and steering movements.
Understanding how this joint works helps you see why keeping it in good shape is important.
CV Joint Functionality
While turning corners and driving over uneven terrain, the CV joint axle transfers power smoothly from the transmission to the wheels. It allows your wheels to move up and down with suspension travel while still receiving torque. The CV joint’s flexible design lets it maintain constant rotational speed despite changes in angle.
This means you get steady power delivery without vibrations or interruptions, even when your wheels are angled sharply. Inside the joint, ball bearings move within grooves, enabling smooth articulation. This precise movement prevents stress on other drivetrain components and assures your car handles well.
If the CV joint wasn’t functioning properly, you’d notice clicking noises or difficulty steering. Keeping the joint in good shape is essential for safe, reliable driving.
Power Transmission Role
How does the CV joint axle keep your car moving smoothly across different driving conditions? It transmits power from your engine and transmission to your wheels while allowing for flexibility. As you steer or encounter bumps, the CV joints inside the axle adjust angles without losing power delivery.
This means your wheels keep turning efficiently, even when the suspension moves up and down or you turn corners. Without a properly functioning CV joint axle, power transfer would be uneven or interrupted, causing vibrations, noise, or loss of control.
Signs Your CV Joint Axle Is Failing
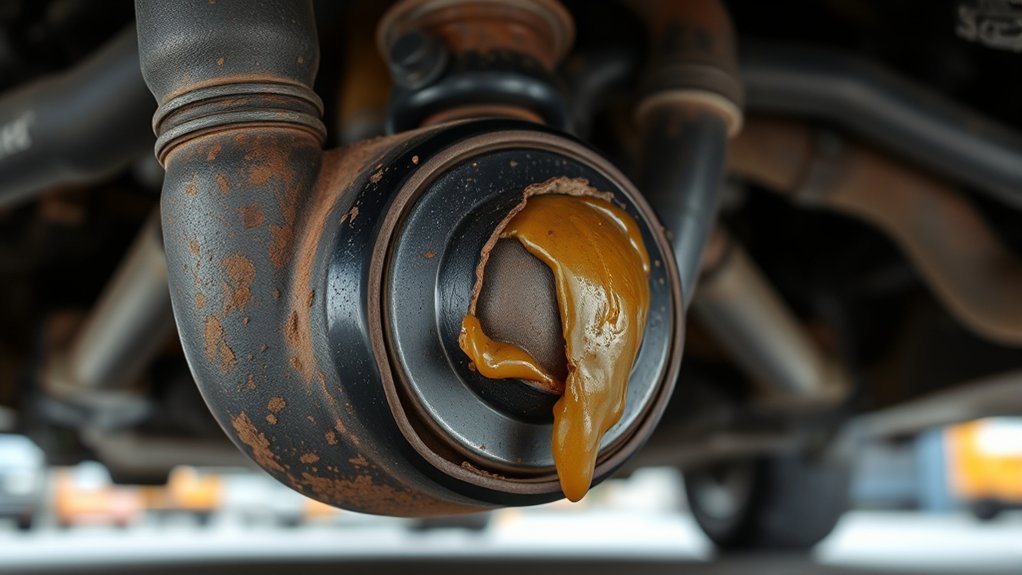
If you notice unusual noises or vibrations when turning or accelerating, your CV joint axle might be failing. Ignoring these signs can lead to further damage and costly repairs.
Pay close attention to how your vehicle behaves, especially during sharp turns or when accelerating.
Here are common signs to watch for:
- Clicking or popping sounds when turning, indicating worn joints
- Vibrations during acceleration, caused by imbalanced or damaged axles
- Grease leaking near the wheel, often from a torn CV boot
- Difficulty steering or feeling resistance, which can point to joint wear
Recognizing these symptoms early helps you address the problem before it worsens, ensuring your vehicle stays safe and reliable.
What You Need to Inspect Your CV Joint Axle
Before you begin inspecting your CV joint axle, gather the right tools and safety equipment to make the process efficient and safe. You’ll need a jack and jack stands to lift and secure your vehicle safely. Have a lug wrench handy to remove the wheel easily.
A flashlight will help you see cracks or grease leaks on the CV boot clearly. Gloves protect your hands from dirt and grease, while safety glasses shield your eyes from debris. It’s also useful to have a clean rag or paper towels to wipe off grease and dirt during inspection.
Finally, keep a mirror nearby to check hard-to-see areas. Having these tools ready guarantees you can inspect your CV joint axle thoroughly and without hassle.
How to Inspect Your CV Joint Axle Step-by-Step
Now that you have the right tools, start by visually inspecting your CV joint axle for any cracks, tears, or grease leaks. Pay close attention to the rubber boots, as damage here often signals bigger problems.
Next, check for any signs of wear or damage that could affect performance.
Visual Inspection Tips
Although CV joints are built to last, you’ll want to perform regular visual inspections to catch any early signs of wear or damage. Start by cleaning the area around the CV joint axle to get a clear view. Then, carefully examine the rubber boots, as these protect the joint from dirt and moisture.
Look for cracks, tears, or grease leakage, which can indicate potential problems. Additionally, check for any unusual corrosion or build-up on metal parts.
Here are some visual inspection tips to keep in mind:
- Verify the CV boot is intact with no holes or splits
- Look for grease splattered around the wheel or suspension
- Check for any dirt or debris stuck to the boot’s surface
- Inspect metal components for rust or abnormal wear
Regular checks help you spot issues before they worsen.
Checking for Damage
When you inspect your CV joint axle for damage, start by lifting the vehicle securely and removing the wheel to get better access. Carefully examine the CV boot for any tears, cracks, or grease leaks—damaged boots let dirt in and grease out, leading to joint failure.
Next, check the axle shaft for bends or dents that could affect performance. Wiggle the joint to detect excessive play or unusual noises, which often indicate worn bearings. Rotate the axle to feel for roughness or binding.
Also, look for rust or corrosion that might weaken the axle. If you spot any damage, replace the boot or axle promptly to avoid costly repairs. Regular damage checks help maintain smooth, safe driving.
Spotting CV Joint Boot Tears and Grease Leaks
If you want to keep your CV joint functioning smoothly, you need to regularly check for tears in the boot and signs of grease leaks. The boot protects the joint from dirt and moisture, so any damage can quickly lead to joint failure. Look closely at the rubber boot for cracks, splits, or holes.
Also, watch for grease splattered around the joint area, which indicates a leak.
Here’s what to look for:
- Visible cracks or tears on the CV boot
- Grease buildup on the inside of the wheel or suspension parts
- Dirt or debris stuck to leaking grease
- Loose or missing clamps securing the boot
Spotting these early helps you avoid costly repairs down the road.
When to Repair or Replace a CV Joint Axle
How do you know it’s time to repair or replace a CV joint axle? If you hear clicking or popping noises when turning, especially at low speeds, that’s a strong sign the joint is worn out. Vibrations during acceleration or a noticeable clunk when shifting gears also indicate problems.
If the CV boot is torn and grease has leaked out, dirt and debris can damage the joint, often requiring replacement. Sometimes, minor boot tears can be repaired, but once the joint itself is damaged, replacement is usually necessary. Ignoring these signs can lead to complete axle failure, leaving you stranded.
Tips to Extend the Life of Your CV Joint Axle
To keep your CV joint axle performing well and avoid premature wear, you should regularly check and maintain the CV boots. These boots protect the joint from dirt, moisture, and debris, which can cause damage if they crack or tear. Here are some practical tips to extend the life of your CV joint axle:
- Inspect the CV boots every oil change and replace them immediately if you spot any cracks or leaks.
- Avoid aggressive driving, especially sharp turns, which put extra stress on the CV joints.
- Keep your suspension and wheel alignment in good condition to prevent uneven wear.
- Clean the undercarriage regularly to remove dirt and salt that can accelerate boot deterioration.
Following these steps helps you avoid costly repairs and keeps your vehicle running smoothly.
Frequently Asked Questions
Can I Drive Safely With a Damaged CV Joint Axle?
You shouldn’t drive safely with a damaged CV joint axle because it can fail suddenly, causing loss of control.
Get it inspected and repaired promptly to avoid costly damage and guarantee your safety on the road.
How Much Does It Cost to Replace a CV Joint Axle?
You’ll usually pay between $300 and $800 to replace a CV joint axle, depending on your car’s make and labor costs.
It’s best not to delay, as damaged joints can cause bigger, expensive problems.
Are CV Joint Axles the Same for All Car Models?
No, CV joint axles aren’t the same for all car models. You’ll need to get the specific type designed for your vehicle’s make, model, and year to guarantee proper fit and performance.
Using the wrong axle can lead to poor performance and potential damage. Always check the specifications before making a purchase. This ensures safety and reliability on the road.
Can I Replace a CV Joint Axle Myself Without Professional Help?
You can replace a CV joint axle yourself, but nearly 60% of DIYers underestimate the difficulty. If you have basic tools and mechanical skills, you’ll manage, but be ready for some heavy lifting and precise work.
What Tools Are Needed to Remove a CV Joint Axle?
You’ll need a socket set, breaker bar, torque wrench, hammer, pry bar, and possibly a ball joint separator. Don’t forget safety gear like gloves and eye protection to keep yourself safe during the removal process.
Make sure all tools are in good condition to avoid any mishaps. Having everything ready before you start will make the job smoother. Prepare a clean workspace for the removal.
Conclusion
Just like the gears in a clock keep time ticking smoothly, your CV joint axle keeps your car moving without a hitch. By knowing how to spot signs of wear and inspecting it regularly, you’re not just preventing breakdowns—you’re tuning up your ride’s rhythm.
Keep an eye on those boots and grease, and you’ll extend your axle’s life, ensuring every journey stays as steady as a well-oiled machine. Regular CV joint axle inspection helps maintain smooth driving and prevents costly repairs.
Remember, a well-maintained CV joint axle is essential for your vehicle’s performance and safety.

