

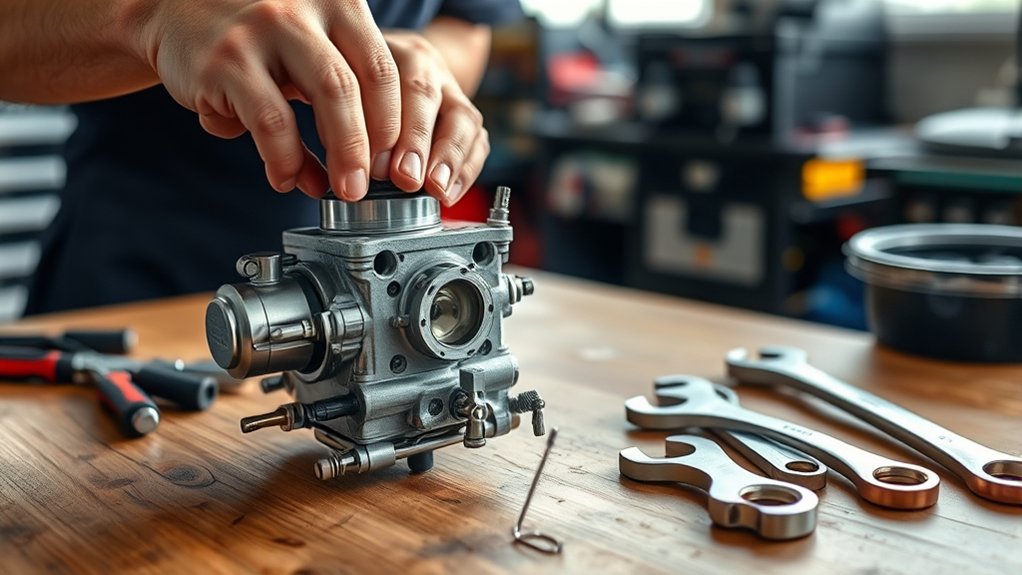
To fix a carburetor in 7 easy steps, start by identifying common problems such as rough idling, fuel leaks, or poor engine performance. These issues often indicate that your carburetor needs cleaning or repair.
Gathering the right tools, including screwdrivers, wrenches, and a cleaner spray, is essential to ensure a smooth process.
Safely remove the carburetor by disconnecting the battery and draining the fuel to prevent accidents.
Inspect all parts thoroughly for wear or damage, paying close attention to jets, floats, and gaskets.
Clean every component using the cleaner spray to remove dirt and debris.
Replace any worn or damaged components with quality parts to restore optimal function.
Carefully reassemble and reinstall the carburetor, making sure all connections are secure.
Finally, adjust the settings for smooth running and improved engine performance.
Following these steps will help keep your engine running well and efficient.
Key Takeaways
- Disconnect the battery and drain fuel before removing the carburetor to ensure safety and prevent spills.
- Remove the carburetor carefully, noting linkage and fuel line positions for proper reassembly.
- Clean all carburetor parts thoroughly with carb cleaner, focusing on jets, float, and needle valve.
- Replace damaged gaskets, seals, and components with quality parts before reassembling the carburetor.
- Adjust the carburetor screws gradually, fine-tuning for smooth engine idle and optimal performance.
How to Identify Common Carburetor Problems
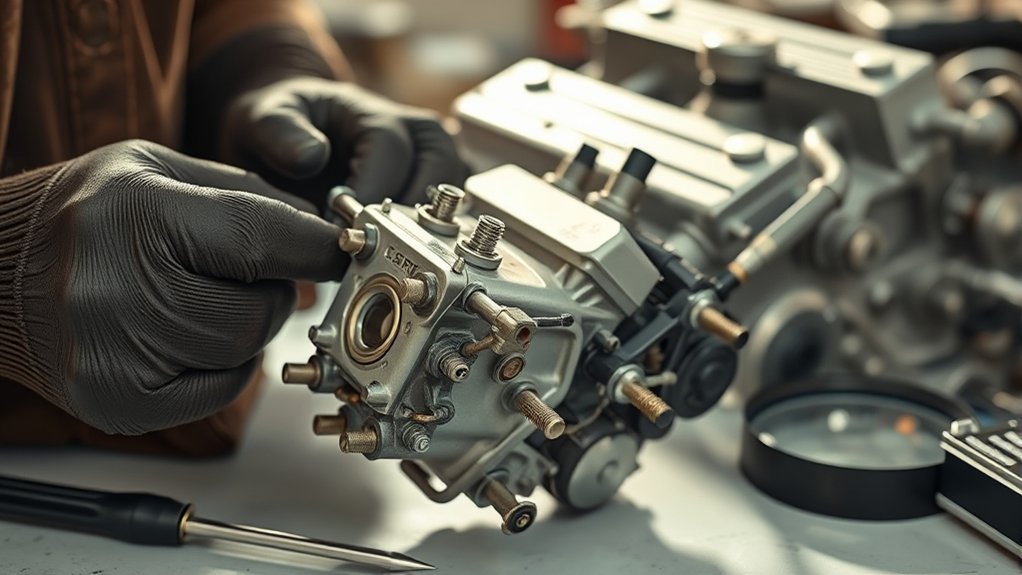
Before you plunge into fixing your carburetor, you need to recognize the signs that indicate it’s not working properly. You’ll notice rough idling, where your engine stumbles or stalls at low speeds. Hesitation or sluggish acceleration is another clue, meaning the carburetor isn’t delivering the right fuel-air mix.
Black smoke from the exhaust signals a rich mixture, while backfiring or popping noises suggest lean fuel conditions. If your engine floods easily or struggles to start, the carburetor might be leaking or clogged. Pay attention to fuel leaks around the carburetor body, which can cause poor performance and safety hazards.
Spotting these issues early helps you address the problem before it worsens, saving you time and money on repairs.
Tools and Materials Needed for Carburetor Repair
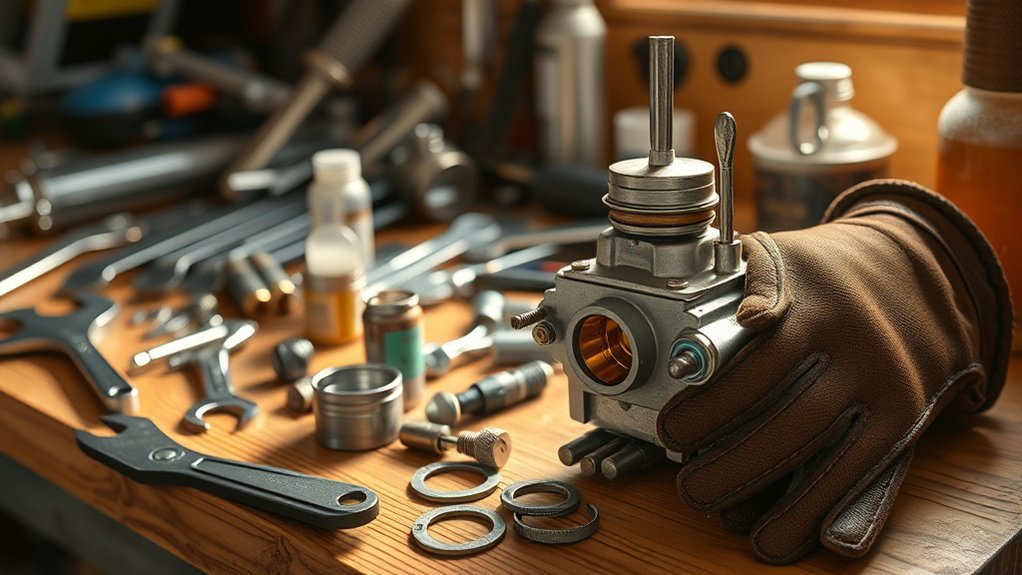
Noticing signs like rough idling or fuel leaks means it’s time to gather the right tools and materials to fix your carburetor. Having everything on hand makes the repair process smoother and prevents unnecessary trips to the store.
Spotting rough idling or fuel leaks signals it’s time to prep your tools and materials for carburetor repair.
Here are the essentials you’ll need:
- Basic Hand Tools – Screwdrivers (flathead and Phillips), wrenches, and pliers for loosening and tightening components.
- Carburetor Cleaner – A specialized spray to remove varnish, gum, and dirt buildup inside the carburetor.
- Replacement Parts – Gaskets, seals, and possibly jets to replace worn or damaged pieces.
Make sure you also have a clean workspace and safety gloves to protect your hands during the repair. With these tools and materials, you’re set to tackle your carburetor issues confidently.
How to Remove Your Carburetor Safely
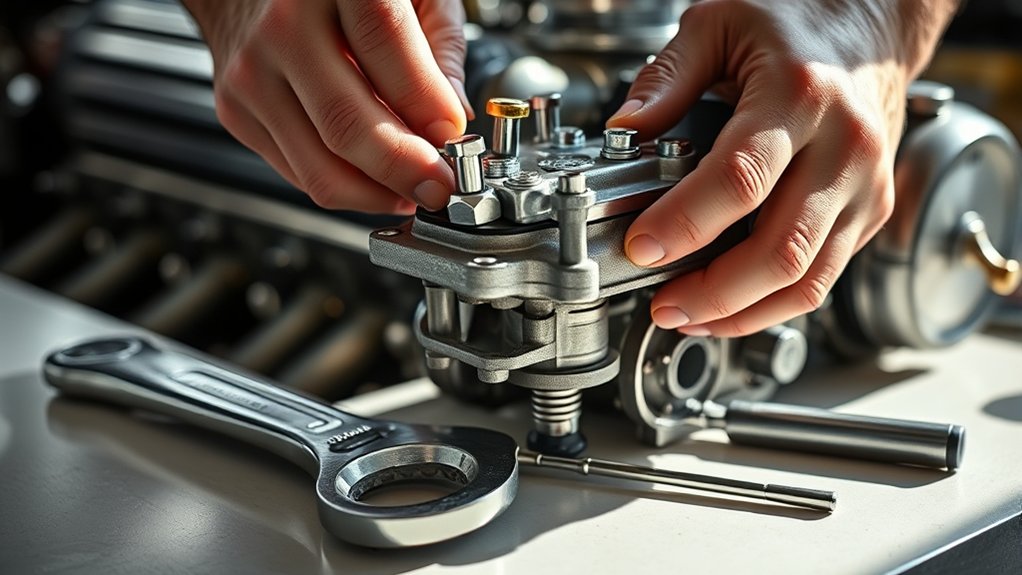
When you’re ready to remove your carburetor, start by disconnecting the battery to prevent any electrical hazards. Next, drain any fuel remaining in the carburetor to avoid spills. Carefully detach the fuel line and throttle linkage, keeping track of where each connects.
Then, loosen and remove the mounting bolts holding the carburetor in place. Finally, lift the carburetor straight up to remove it safely, avoiding damage to the gasket or surrounding parts.
| Step | Tip |
|---|---|
| Disconnect battery | Avoid shocks and short circuits |
| Drain fuel | Use a container to catch leftover fuel |
| Remove fuel line | Use pliers if clamps are tight |
| Detach linkages | Note positions for easier reassembly |
| Unscrew bolts | Keep bolts organized and in a safe spot |
Inspect and Clean Carburetor Parts Thoroughly
Although removing the carburetor is a crucial step, you need to inspect and clean each part thoroughly to guarantee peak performance. Start by examining the float, needle valve, and jets for any dirt, debris, or buildup that can cause blockages. Use a carburetor cleaner spray and a soft brush to remove grime without damaging delicate parts.
Focus on these three critical areas:
- Jets: Clear any clogged passages to maintain proper fuel flow.
- Float and Needle Valve: Ensure smooth movement to regulate fuel level.
- Throttle Linkage: Remove buildup that can restrict movement.
Taking the time to clean these components properly helps prevent poor engine performance and extends the carburetor’s lifespan.
Replace Worn or Broken Carburetor Components
Now that you’ve cleaned the carburetor, check each part carefully for signs of wear or damage. You’ll want to replace any components that look cracked, warped, or corroded to guarantee proper function.
Make sure to select exact replacement parts that match your carburetor model for the best results.
Identifying Damaged Parts
Before you can repair a carburetor, you need to pinpoint which parts are worn or broken. Start by carefully inspecting each component for visible damage or signs of wear. Focus on these key areas:
- Gaskets and Seals – Look for cracks, brittleness, or leaks that can cause air or fuel leaks.
- Float and Needle Valve – Check if the float is punctured or the needle valve is sticking, which affects fuel flow.
- Throttle Linkage and Springs – Ensure these move freely without rust or deformation, as they control airflow.
Use a magnifying glass and clean the parts to spot subtle damage. Identifying these damaged components early prevents unnecessary replacements and helps you fix the carburetor efficiently.
Selecting Replacement Components
When you’ve identified the worn or broken parts, you’ll need to choose suitable replacements that match your carburetor’s specifications. Start by consulting your carburetor’s manual or manufacturer’s website to find exact part numbers. Using OEM (original equipment manufacturer) components guarantees compatibility and reliability.
If OEM parts aren’t available, high-quality aftermarket parts can work but verify they meet the same standards. Pay close attention to gaskets, jets, floats, and needles, as these critical components affect performance. Avoid mixing parts from different carburetor models, which can cause improper fit or malfunction.
Once you’ve gathered replacements, inspect each for defects before installation. Selecting the right components helps restore your carburetor’s function and prevents future issues, so take your time to get this step right.
Reassemble and Reinstall Your Carburetor
Although reassembling your carburetor may seem complex, taking it step-by-step guarantees a smooth process. Start by carefully putting all cleaned parts back together in the reverse order of disassembly. Make sure gaskets and seals fit snugly to avoid leaks.
Reassemble your carburetor step-by-step, ensuring gaskets fit snugly to prevent leaks.
Next, reinstall the carburetor onto the engine manifold. Tighten bolts evenly to ensure a proper seal without warping the base.
Finally, reconnect the fuel lines, throttle linkages, and choke cables. Double-check that everything moves freely and is securely attached.
Follow these steps:
- Assemble parts precisely, paying attention to alignment.
- Mount the carburetor firmly, avoiding over-tightening.
- Reconnect all linkages and fuel lines for proper function.
Taking your time here sets the foundation for a well-running engine.
Adjust Your Carburetor for Smooth Engine Running
Now that your carburetor is back in place, you’ll need to adjust the idle speed to keep the engine running smoothly.
Next, fine-tune the fuel mixture to guarantee peak performance and efficiency.
These steps are essential for preventing stalling and rough idling.
Idle Speed Adjustment
Since a properly adjusted idle speed guarantees your engine runs smoothly without stalling or racing, you’ll want to fine-tune this setting carefully. First, locate the idle speed screw on your carburetor—usually near the throttle linkage.
Then, follow these steps:
- Warm up the engine to operating temperature to get accurate adjustments.
- Slowly turn the idle speed screw clockwise to increase RPM or counterclockwise to decrease it until the engine idles steadily at the manufacturer’s recommended speed.
- Listen for a steady, smooth engine sound without sputtering or surging, indicating the correct idle speed.
Fuel Mixture Tuning
Once you’ve set the idle speed correctly, the next step is to adjust the fuel mixture for ideal engine performance. Locate the fuel mixture screw, usually near the base of the carburetor. Turn it slowly clockwise to lean the mixture (less fuel) or counterclockwise to richen it (more fuel).
Listen carefully to the engine’s response. Aim for the highest, smoothest idle speed without hesitation or stalling. If the engine sputters or runs rough, adjust the screw slightly and wait a few seconds for the change to take effect.
Don’t rush; fine-tuning takes patience. Once you find the most suitable setting, tighten the screw gently to keep it in place. Proper fuel mixture tuning ensures better throttle response, improved fuel economy, and smoother engine running overall.
Frequently Asked Questions
What Causes a Carburetor to Flood Repeatedly?
You’re dealing with repeated flooding because the float valve is stuck, the needle or seat is worn, or the float level’s set too high.
Dirt or debris can also cause fuel to flow uncontrollably into the carburetor.
Can Ethanol Fuel Damage My Carburetor?
Yes, ethanol fuel can damage your carburetor by attracting moisture and causing corrosion. It can also deteriorate rubber and plastic parts.
To protect your carburetor, use ethanol-free fuel or add stabilizers regularly.
How Often Should I Service My Carburetor?
You should service your carburetor at least once a year, or every 12 months, to keep it running smoothly; otherwise, it might get gunked up faster than a tornado in a junkyard, causing serious issues.
Are Carburetor Rebuild Kits Universal for All Engines?
No, carburetor rebuild kits aren’t universal for all engines. You’ll need to get a kit that matches your specific carburetor model to guarantee proper fit and function.
Always check compatibility before buying.
What Are the Signs of a Vacuum Leak in Carburetors?
You’ll notice rough idling, poor acceleration, and a hissing sound—signs of a vacuum leak that causes up to 30% fuel inefficiency.
You’ll also feel engine hesitation and may see black smoke from your exhaust.
Conclusion
Fixing your carburetor might seem tricky, but with these 7 easy steps, you’ll have your engine running smoothly again in no time. Did you know that nearly 60% of small engine problems stem from carburetor issues? That means tackling this repair yourself can save you both time and money.
Just follow the steps carefully, and you’ll keep your machine humming like new—no mechanic needed! By learning how to fix a carburetor, you not only improve your engine’s performance but also extend its lifespan. These simple carburetor repair tips will empower you to handle common problems quickly and efficiently.

