

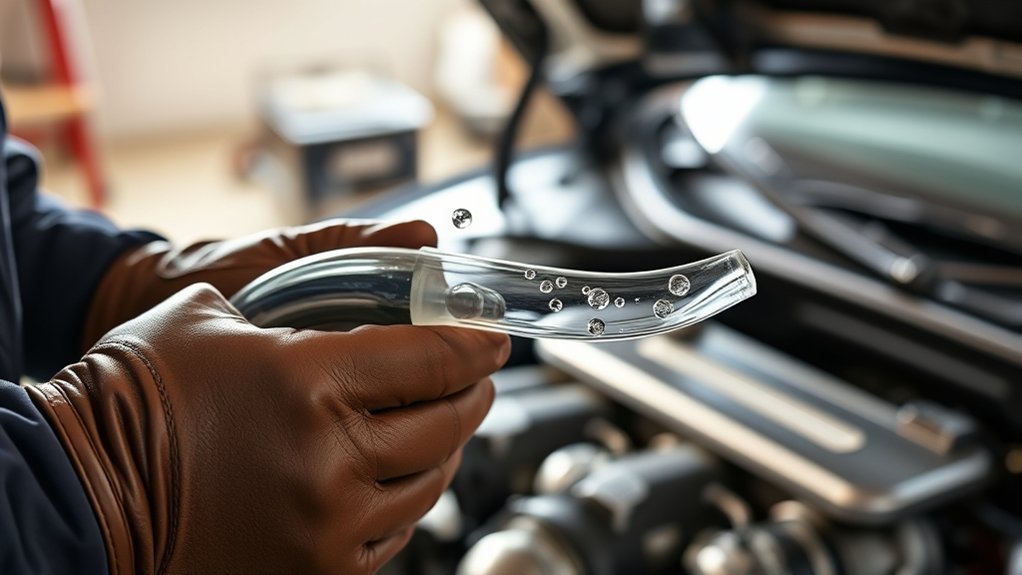
To bleed your clutch in 10 easy steps, you need the right tools and materials, such as a wrench, clear hose, and hydraulic fluid. This simple clutch bleeding process helps remove air from the hydraulic system, ensuring smooth clutch operation and preventing pedal sponginess. Properly bleeding the clutch is essential for maintaining your vehicle’s performance and safety.
First, locate and top off the clutch fluid reservoir near the master cylinder. Attach the clear hose to the slave cylinder bleeder valve and place the other end in a catch container. Pump the clutch pedal several times to build pressure in the system.
Next, open the bleeder valve to release trapped air and fluid. Close the valve before releasing the clutch pedal to avoid drawing air back into the system. Repeat this cycle until the fluid flowing through the hose is clear and free of bubbles.
Throughout the process, keep an eye on the fluid level in the reservoir to prevent it from running dry. Continue bleeding the clutch until you achieve a firm pedal feel and consistent fluid flow.
Mastering these steps guarantees smooth clutch performance and improved vehicle control.
Key Takeaways
- Locate the clutch master and slave cylinders, and check the clutch fluid reservoir level before starting.
- Attach a clear hose to the slave cylinder bleeder valve, placing the other end in a catch container with brake fluid.
- Pump the clutch pedal several times to build pressure, then slowly open the bleeder valve to release air and fluid.
- Close the bleeder valve before releasing the pedal, repeat pumping and bleeding until fluid runs clear and bubble-free.
- Keep the reservoir topped off, ensure all valves are tight, and test the clutch pedal for firm, smooth operation after bleeding.
Gather Tools and Materials to Bleed a Clutch
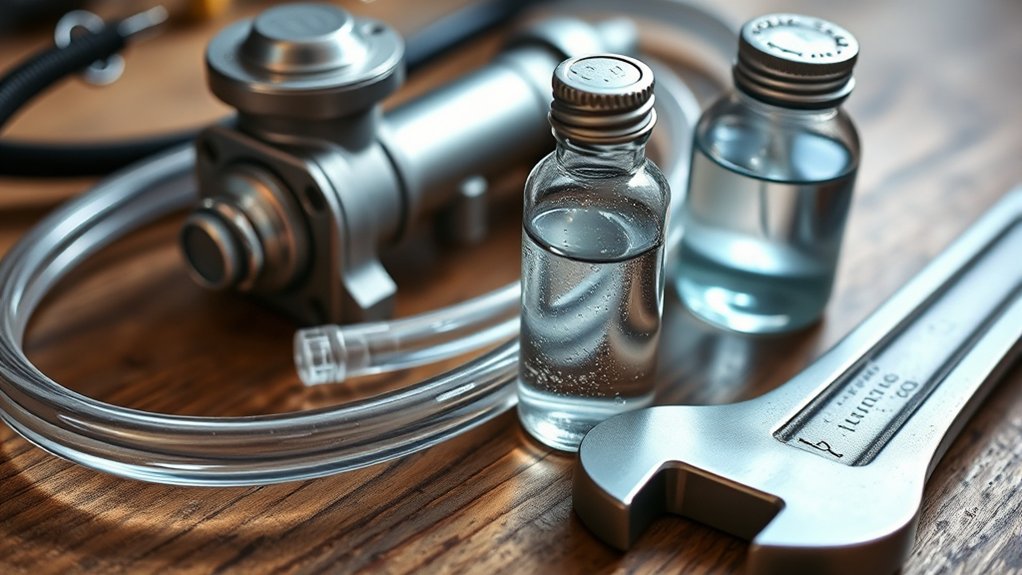
Before you begin bleeding your clutch, make sure you have all the necessary tools and materials on hand. You’ll need a clear plastic hose, a container to catch old fluid, fresh hydraulic fluid that matches your vehicle’s specifications, and a wrench that fits the bleeder valve. Don’t forget gloves and safety glasses to protect yourself from fluid spills.
Having a helper can make the process smoother, but you can manage alone with a one-way valve or a vacuum pump. Gather rags or paper towels to clean up any spills immediately. Being organized before you start saves time and prevents mistakes.
Once you have everything ready, you’ll be set to move on confidently without interruptions or delays during the bleeding process.
Locate the Clutch Master and Slave Cylinders
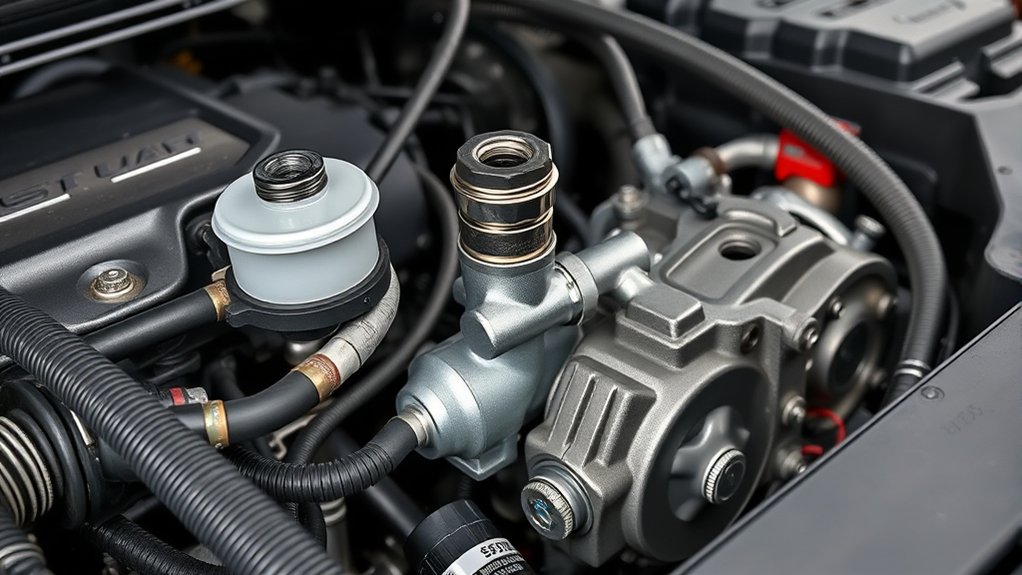
First, locate the clutch master cylinder near the brake master cylinder on the driver’s side firewall. Then, find the slave cylinder attached to the transmission or clutch housing.
Finally, make sure you can easily access the fluid reservoir to check and refill it if needed.
Identify Master Cylinder Location
When you’re ready to bleed the clutch, you’ll need to locate both the clutch master cylinder and the slave cylinder, as these components are vital for the process. Start by opening the hood and focusing on the driver’s side near the firewall. The clutch master cylinder is usually mounted on the brake master cylinder or close to it, connected to the clutch pedal inside the vehicle.
It looks like a small reservoir filled with hydraulic fluid, often marked with a cap labeled “clutch” or “fluid.” Check for a cylindrical body attached to a pushrod that links to the clutch pedal mechanism. Identifying this part correctly is essential because it holds the fluid you’ll be bleeding.
Keep your eyes peeled for any signs of leaks or damage while you’re there.
Find Slave Cylinder Position
Where exactly is the slave cylinder located? It’s mounted on the transmission housing, near the clutch fork. Unlike the master cylinder, which sits in the engine bay, the slave cylinder is tucked away, making it a bit trickier to spot.
Knowing its position helps you efficiently bleed the clutch system.
Here’s a quick reference table:
| Component | Location | Description |
|---|---|---|
| Master Cylinder | Engine bay | Connected to clutch pedal |
| Slave Cylinder | Transmission side | Controls clutch fork movement |
| Clutch Fork | Transmission side | Engages/disengages clutch |
| Hydraulic Lines | Between cylinders | Carry hydraulic fluid |
With this, you can confidently locate the slave cylinder before starting the bleeding process.
Check Fluid Reservoir Access
Although you’ve identified the slave cylinder’s location, you’ll need to access the clutch fluid reservoir to properly bleed the system. The reservoir is usually found near the master cylinder, often attached to or close to the brake fluid reservoir under the hood. Open your vehicle’s hood and look for a small plastic container labeled “clutch” or “fluid.”
It typically has a screw-on cap with a rubber diaphragm inside. Before you start bleeding, check the fluid level and top it off with the recommended clutch or brake fluid if it’s low. Ensuring easy access to this reservoir is essential because you’ll need to monitor and refill fluid during bleeding to prevent air from entering the system.
Keep the cap loosely on to avoid contaminants while you work.
Check and Top Off the Clutch Fluid Level
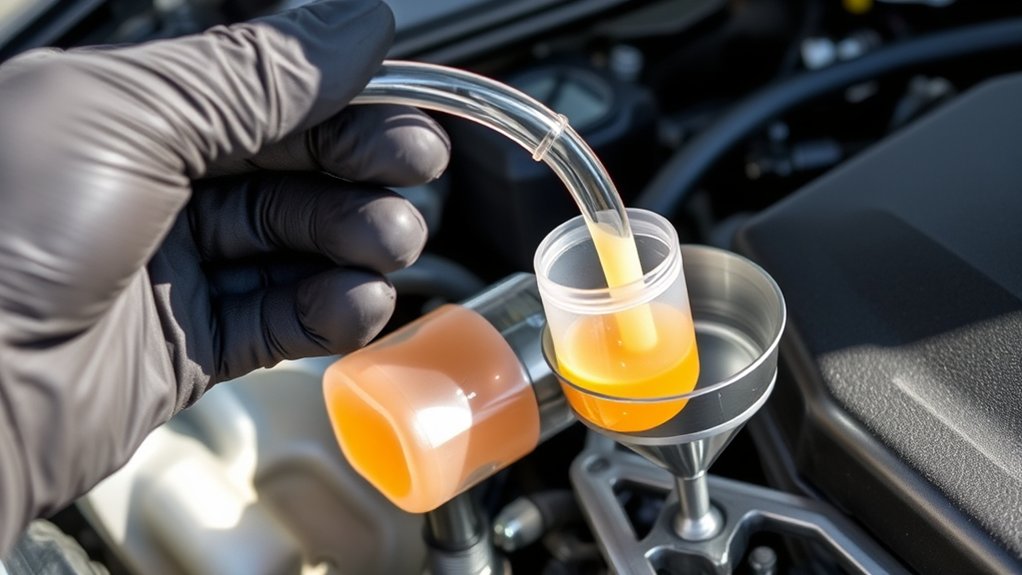
Before you start bleeding the clutch, you need to check the clutch fluid level to confirm it’s within the recommended range. Low fluid can introduce air into the system, making bleeding ineffective. Here’s how to do it:
- Locate the clutch fluid reservoir, usually near the brake master cylinder.
- Clean the reservoir cap to prevent contamination before opening it.
- Check the fluid level against the “MIN” and “MAX” marks on the reservoir.
- If the fluid is low, top it off with the manufacturer-recommended clutch fluid (typically DOT 3 or DOT 4 brake fluid).
Make sure not to overfill, as this can cause spillage during bleeding. Sealing the reservoir properly afterward keeps the system airtight.
Now, your clutch fluid is ready for the bleeding process.
Attach a Clear Hose to the Slave Cylinder Bleeder
Choose a clear hose that fits snugly over the slave cylinder bleeder to guarantee a tight seal. Attach it firmly to prevent any fluid leaks during bleeding.
This setup helps you monitor the fluid flow and keeps your workspace clean.
Hose Selection Tips
How do you guarantee a smooth clutch bleeding process? Choosing the right hose is key. Here are four tips to help you pick the best one:
- Use a clear hose so you can see air bubbles escaping during bleeding.
- Make sure the hose fits snugly on the bleeder valve to prevent leaks.
- Opt for a hose length that’s long enough to reach your catch container comfortably but not so long it kinks.
- Select a hose made of flexible, durable material resistant to brake fluid corrosion.
Following these tips ensures a secure connection and makes spotting trapped air easier, speeding up the bleeding process.
A good hose is your first step to getting that clutch working perfectly.
Proper Attachment Method
When you attach the clear hose to the slave cylinder bleeder, make certain it fits tightly to prevent fluid leaks and air from entering the system. Begin by sliding one end of the hose firmly over the bleeder valve nipple until it’s snug and secure. You want a seal that won’t slip off when you open the valve or press the clutch pedal.
Use a hose that’s transparent so you can easily monitor the fluid flow and spot any bubbles. Avoid forcing the hose on; if it’s too tight, choose a slightly larger diameter hose to avoid damaging the bleeder. Once attached, position the hose’s other end into a container to catch the expelled fluid safely.
This setup ensures a smooth, efficient bleeding process without interruptions.
Preventing Fluid Leaks
Why does preventing fluid leaks matter during clutch bleeding? Leaks can cause air to enter the system, reducing hydraulic pressure and making your clutch feel spongy or unresponsive.
To avoid this, attach a clear hose to the slave cylinder bleeder. Here’s how to do it right:
- Slide one end of the clear hose firmly over the bleeder valve.
- Place the other end into a container partially filled with brake fluid to catch expelled fluid and avoid air intake.
- Tighten the hose connection to prevent drips or disconnections while pumping the clutch.
- Check the hose periodically during bleeding to ensure no leaks or bubbles form, maintaining a sealed system.
Following these steps keeps your clutch hydraulic system airtight and efficient.
Pump the Clutch Pedal to Build Hydraulic Pressure
Before you start the bleeding process, pump the clutch pedal several times to build up hydraulic pressure in the system. This step helps push fluid through the lines, making it easier to identify and remove trapped air. Press the pedal all the way down and then let it rise slowly.
You’ll notice the pedal becomes firmer as pressure builds. If it feels spongy or soft, it’s a sign that air is still in the system. Keep pumping until you feel consistent resistance.
Be careful not to pump too quickly or forcefully, as this can introduce more air or damage components. Building proper hydraulic pressure sets the stage for effective bleeding and guarantees your clutch will engage smoothly once the air is removed.
Open the Bleeder Valve to Release Air and Fluid
First, make sure you properly locate the bleeder valve on the clutch slave cylinder. When you open it, control the fluid flow carefully to avoid spills and air intake.
Keep a close eye on the fluid as it releases to guarantee the air is escaping.
Locate Bleeder Valve Properly
Although locating the bleeder valve might seem straightforward, identifying it correctly is essential to effectively releasing air and fluid from your clutch system. Here’s how you can find it with confidence:
- Consult your vehicle’s manual to pinpoint the exact location of the bleeder valve on the clutch slave cylinder.
- Look near the clutch slave cylinder on the transmission housing; the bleeder valve is usually a small, nipple-shaped fitting.
- Clean the area around the valve to prevent dirt from entering the system when you open it.
- Check for a rubber cap covering the valve—removing this reveals the valve you need to open.
Following these steps ensures you locate the right valve, making the bleeding process smooth and efficient.
Control Fluid Flow Carefully
Once you’ve located the bleeder valve, you’ll want to open it carefully to let trapped air and old fluid escape without causing spills or introducing new air into the system. Use a wrench to turn the valve slowly, watching the fluid flow. When the flow is steady and free of bubbles, you’re on the right track.
Close the valve before the fluid stops to maintain system pressure. Keep a clear container to catch fluid and avoid messes.
| Step | Action | Tip |
|---|---|---|
| 1 | Open valve slowly | Avoid opening too wide |
| 2 | Observe fluid flow | Look for air bubbles |
| 3 | Close valve when steady | Prevent air from reentering |
| 4 | Repeat as needed | Keep fluid reservoir topped |
Close the Bleeder Valve Before Releasing the Clutch Pedal
Before you release the clutch pedal, make sure to close the bleeder valve tightly. This step prevents air from being sucked back into the system, which can cause spongy clutch feel or failure. Follow these steps:
Always close the bleeder valve tightly before releasing the clutch to avoid air entering the system.
- Use a wrench to turn the bleeder valve clockwise until it’s snug.
- Avoid over-tightening to prevent damage to the valve or threads.
- Double-check the valve’s tightness before lifting your foot off the clutch pedal.
- Keep an eye on the fluid reservoir to ensure no air bubbles enter while the valve is closed.
Repeat Pumping and Bleeding Until Fluid Runs Clear
To guarantee your clutch system is free of air, you’ll need to repeatedly pump the clutch pedal and open the bleeder valve until the fluid coming out runs clear. Start by pressing the clutch pedal several times to build pressure. Then, with the bleeder valve open, allow fluid and air bubbles to escape.
Close the valve before releasing the pedal to prevent air from re-entering the system. Keep repeating this cycle—pump, open valve, close valve, release pedal—while observing the fluid. Initially, it may appear cloudy or contain bubbles, but as you continue, the fluid will become clear and consistent.
Once you see clear fluid without bubbles, you can be confident the air has been purged, ensuring your clutch operates smoothly and responsively.
Monitor and Maintain Clutch Fluid Level During Bleeding
While you’re bleeding the clutch, you need to keep a close eye on the fluid level in the reservoir. If it drops too low, air can enter the system, ruining your progress.
Keep the clutch fluid topped up during bleeding to prevent air from entering and undoing your work.
Here’s how to monitor and maintain it properly:
- Check the reservoir frequently throughout the bleeding process.
- Top off with the manufacturer-recommended clutch fluid as needed.
- Avoid overfilling to prevent spillage and contamination.
- Use a clean funnel or syringe to add fluid carefully.
Test the Clutch Pedal for Firmness and Proper Engagement
Keeping the clutch fluid at the right level guarantees the system stays free of air, but the real test comes when you press the clutch pedal. Step on the pedal slowly and feel for firmness. It should resist smoothly without sponginess or excessive softness.
If the pedal feels mushy or sinks to the floor, air may still be trapped in the system. Next, check for proper engagement by shifting through the gears. The clutch should engage and disengage cleanly, allowing smooth gear changes without grinding or slipping.
If you notice any issues, you’ll need to repeat the bleeding process. Testing the pedal thoroughly ensures your clutch operates reliably and prevents premature wear or damage. Don’t rush this step—it confirms your bleeding was successful.
Frequently Asked Questions
How Often Should I Bleed My Clutch System?
You should bleed your clutch system whenever you notice spongy or inconsistent pedal feel, or after replacing clutch components.
Generally, it’s good to check and bleed it every 1-2 years to keep it responsive and smooth.
Can I Use Brake Fluid Instead of Clutch Fluid?
Yes, you can usually use brake fluid for your clutch since most clutch systems use the same DOT fluid.
Just make sure to check your vehicle’s manual to confirm the correct type before you proceed.
What Symptoms Indicate a Clutch Needs Bleeding?
You’ll notice your clutch pedal feels spongy or sinks to the floor—signs something’s wrong. If gears grind or shifting gets tough, it’s a clear signal your clutch needs bleeding to restore proper function.
Is It Safe to Bleed the Clutch Without a Helper?
Yes, you can bleed the clutch without a helper by using a one-person bleeding kit or a clear hose method.
Just make sure to work carefully to avoid air bubbles and keep the fluid reservoir topped up.
Can Air in the Clutch Line Cause Transmission Problems?
Oh, sure, air in the clutch line won’t cause transmission problems—if you enjoy grinding gears and clutch slippage.
You’ll actually face shifting issues and potential damage, so you’d better bleed that line properly to avoid costly repairs.
Conclusion
Now that you’ve mastered bleeding your clutch, you’re steering closer to smooth, responsive shifts. Just like tuning a fine instrument, keeping your clutch fluid fresh and air-free guarantees your ride sings in harmony.
Remember, patience and precision make all the difference—don’t rush the process. With these steps under your belt, you’ve got the power to keep your clutch working flawlessly.
Regular clutch bleeding helps maintain optimal hydraulic pressure and prevents air bubbles from causing spongy pedal feel. This ensures smooth engagement and enhances the overall driving experience.
By following the proper clutch bleeding procedure, you can extend the lifespan of your clutch system and avoid costly repairs. Keep your clutch fluid fresh, bleed your clutch regularly, and enjoy a smooth, effortless glide every time you drive.

