

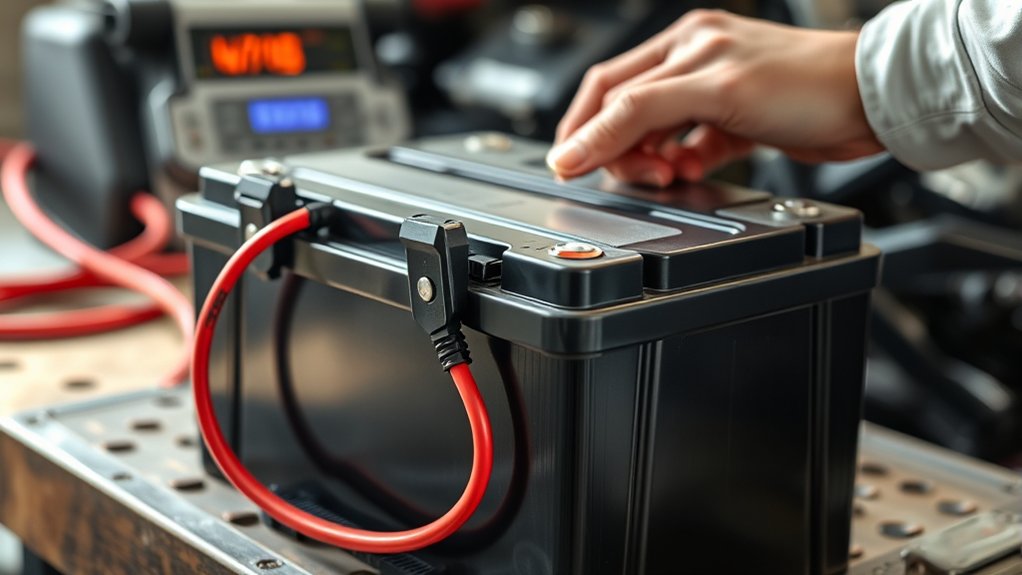
To charge your motorcycle battery safely and effectively, start by recognizing common signs such as slow engine starts or low voltage readings. Wearing proper safety gear is essential to protect yourself during the process. Use a charger specifically designed for motorcycle batteries to ensure compatibility and optimal performance.
First, turn off your bike completely. Disconnect the negative terminal before the positive one to avoid any electrical shorts. Then, connect the charger to the battery, making sure to match the correct voltage and current settings.
Allow the battery to charge for 4 to 8 hours depending on its condition. Once charged, disconnect the charger and reinstall the battery, connecting the positive terminal first.
Finally, test your bike to confirm that everything is working smoothly. Following these steps guarantees safe, effective charging—and there’s more to help you master the process.
Key Takeaways
- Disconnect the battery, removing the negative (-) terminal first to prevent short circuits.
- Select a motorcycle-specific charger and set it to match the battery’s voltage and amp-hour rating.
- Connect the charger clips securely to the battery terminals, positive (+) first, then negative (-).
- Charge the battery in a well-ventilated area for 4 to 8 hours, using a charger with automatic shutoff if possible.
- After charging, disconnect the charger, reinstall the battery (positive first), and test the motorcycle’s electrical systems.
How to Identify When Your Motorcycle Battery Needs Charging
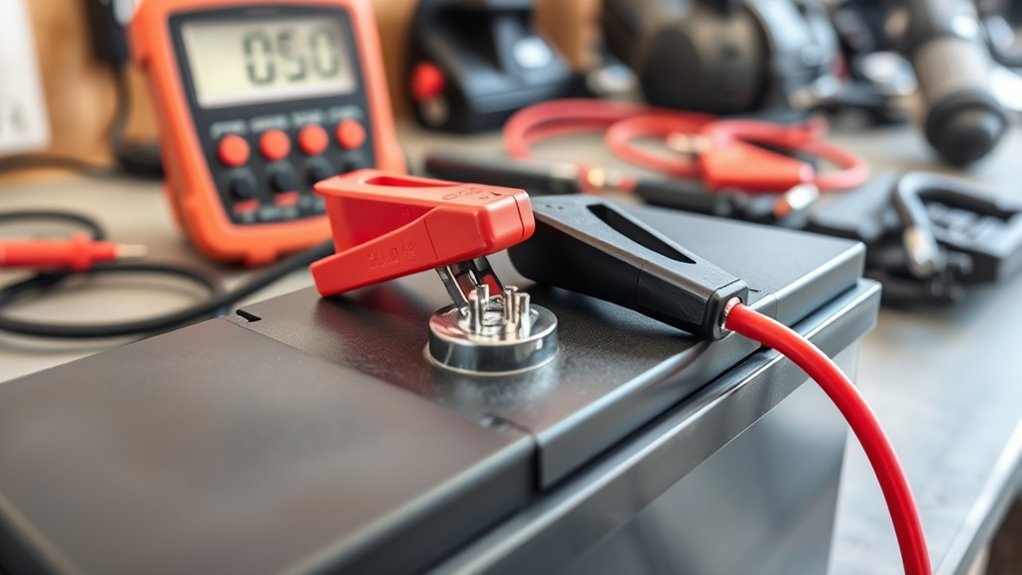
How do you know when your motorcycle battery needs charging? First, if your bike struggles to start or the engine cranks slowly, it’s a clear sign the battery’s power is low. You might also notice dim headlights or electrical components acting erratically.
Another clue is if your battery is over a few years old, as its ability to hold a charge diminishes over time. Sometimes, a simple voltmeter reading can help—you’ll want to see about 12.6 volts or higher when fully charged. If it’s significantly lower, it’s time to recharge.
Don’t ignore visible corrosion around the battery terminals or swelling of the battery case; these symptoms suggest your battery may need attention, possibly charging or replacement. Stay alert to these signs to avoid unexpected breakdowns.
How to Choose the Right Tools and Charger for Your Motorcycle Battery
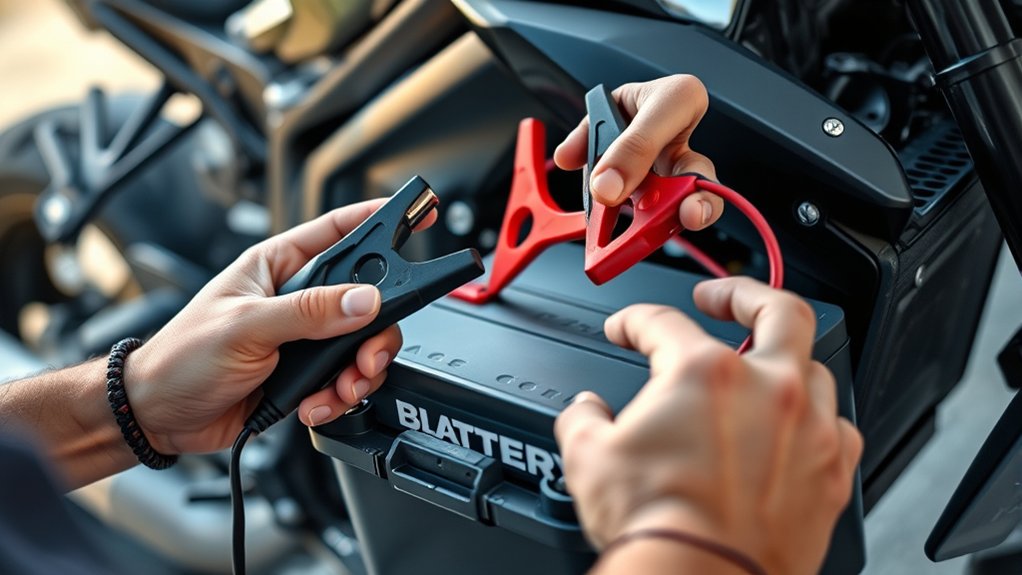
Before you start charging your motorcycle battery, you’ll need the right tools and charger to guarantee a safe and effective process. First, choose a charger designed specifically for motorcycle batteries, typically rated between 2 to 10 amps. Avoid using car battery chargers, as they might deliver too much current and damage your battery.
Look for chargers with automatic shut-off or smart charging features to prevent overcharging. You’ll also need basic tools like insulated gloves and safety goggles to protect yourself. Additionally, assure your charger’s connectors match your battery terminals—usually alligator clips or ring terminals.
Having a multimeter on hand can help you check voltage before and after charging. Picking the right charger and tools sets you up for a smooth, safe battery charging experience.
How to Safely Disconnect Your Motorcycle Battery
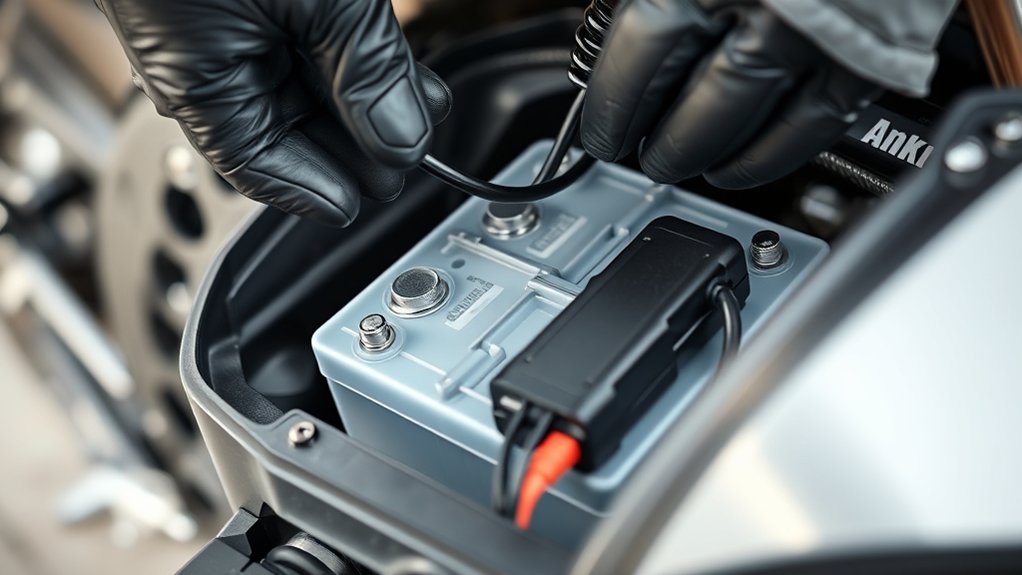
Once you’ve gathered the right tools and charger, the next step is to safely disconnect your motorcycle battery. First, make sure your bike is turned off and parked on a flat surface. Locate the battery, usually under the seat or side panel.
Always disconnect the negative terminal (marked with a “-” or black cable) first to prevent short circuits. Use a wrench or socket to loosen the terminal clamp, then carefully remove the cable. Next, do the same with the positive terminal (marked with a “+” or red cable).
Avoid letting the terminals touch any metal parts. If your battery is secured with a bracket or strap, remove it gently. Now your battery is safely disconnected and ready for charging.
How to Connect the Charger to Your Motorcycle Battery Correctly
Where should you start when connecting the charger to your motorcycle battery? First, make sure your charger is unplugged and turned off.
Begin by ensuring your charger is unplugged and turned off before connecting to your motorcycle battery.
Then, follow these steps carefully to avoid damage or sparks:
- Identify the positive (+) and negative (–) terminals on your motorcycle battery.
- Attach the red (positive) clamp of the charger to the positive terminal of the battery.
- Connect the black (negative) clamp of the charger to the negative terminal of the battery.
- Double-check that both clamps are secure and not touching each other or any metal parts.
Setting Your Motorcycle Battery Charger Correctly
Now that your charger is connected, you’ll need to set it properly for your battery. Start by selecting the correct voltage, then choose the charging mode that fits your battery type.
Finally, adjust the charge current to guarantee a safe and effective charge.
Selecting Charger Voltage
How do you choose the right voltage setting for your motorcycle battery charger? It’s essential to match the charger voltage with your battery’s specifications to avoid damage and guarantee efficient charging. Most motorcycle batteries are either 6V or 12V, so you need to identify which one you have before setting your charger.
Here’s how to select the correct voltage:
- Check your motorcycle’s owner manual or the battery label to confirm voltage.
- Inspect the battery itself; it usually displays voltage on the casing.
- Set your charger to the exact voltage rating of the battery (6V or 12V).
- Never use a higher voltage setting than your battery’s rating—it can cause permanent damage.
Selecting the right voltage keeps your battery healthy and charging safe.
Choosing Charging Mode
After setting the correct voltage on your charger, the next step is to choose the appropriate charging mode. Most modern motorcycle battery chargers offer modes like trickle, fast, or maintenance charging. Trickle mode delivers a low, steady current, perfect for maintaining a fully charged battery or charging slowly without overheating.
Fast mode charges your battery more quickly but requires careful monitoring to avoid damaging the battery. Maintenance mode is ideal for long-term storage, providing just enough power to keep the battery topped off without overcharging. Select the mode that matches your battery’s condition and your charging timeline.
If you’re unsure, trickle or maintenance modes are typically safer choices that prevent overcharging and extend your battery’s lifespan. Always refer to your charger’s manual for specific mode functions.
Setting Charge Current
Before you connect your charger to the battery, you need to set the correct charge current to guarantee safe and effective charging. Setting the right current prevents damage to the battery and ensures it charges efficiently.
Here’s how to do it:
- Check your motorcycle battery’s amp-hour (Ah) rating, usually found on the label.
- Choose a charging current at about 10% of the battery’s Ah rating (e.g., 1A for a 10Ah battery).
- Use your charger’s controls or settings dial to select this current.
- Double-check the setting before connecting to avoid overcharging or undercharging.
How Long to Charge Your Motorcycle Battery for Best Results
Although charging times can vary depending on your battery’s size and condition, you’ll generally want to charge your motorcycle battery for about 4 to 8 hours to achieve the best results. Smaller batteries or those in good condition might take less time, while larger or deeply discharged batteries require longer charging. Avoid rushing the process; undercharging can leave your battery weak, while overcharging risks damage.
Use a charger with an automatic shutoff or monitoring feature to prevent overcharging. Check the manufacturer’s specifications for recommended charging durations if available. Remember, charging overnight is often safe with smart chargers, but don’t exceed 12 hours without supervision.
How to Reinstall the Battery and Test Your Motorcycle After Charging
Now that your battery is fully charged, it’s time to reinstall it carefully, following key safety steps to avoid any mishaps. Make sure you connect the terminals in the right order and secure the battery firmly.
Once installed, test your motorcycle to confirm everything’s working smoothly before you hit the road.
Battery Reinstallation Steps
Once you’ve fully charged your motorcycle battery, you’ll want to reinstall it carefully to guarantee everything works properly. Start by placing the battery back into its compartment, ensuring it fits snugly. Then, reconnect the terminals in the correct order to avoid electrical issues.
Follow these steps:
- Secure the battery in place with any clamps or brackets.
- Connect the positive (+) terminal first, then the negative (–) terminal.
- Tighten the terminal bolts firmly but avoid over-tightening.
- Turn on the ignition and check that the lights and dashboard indicators function correctly.
Safety Precautions Checklist
Before you reinstall the battery and test your motorcycle, make sure you follow essential safety precautions to protect yourself and your bike. First, wear protective gloves and eyewear to guard against acid spills or sparks. Verify the charger is unplugged and disconnected from the battery to prevent electric shock.
Check the battery terminals for corrosion or damage—clean them if needed with a wire brush. Reinstall the battery securely, tightening the terminals firmly but not overly tight to avoid damage. Keep metal tools away from the battery terminals to prevent short circuits.
Work in a well-ventilated area to avoid inhaling harmful fumes. Finally, avoid smoking or open flames nearby, as batteries emit flammable gases that can ignite. Following these steps keeps you safe as you finish up your charging process.
Post-Charge Motorcycle Testing
After taking the necessary safety precautions, you can reinstall your motorcycle battery with confidence. First, place the battery back into its compartment securely, ensuring it’s snug and properly aligned. Connect the positive terminal first, then the negative, tightening the clamps to avoid loose connections.
Once installed, it’s time to test your motorcycle to confirm everything’s working smoothly.
Follow these steps for post-charge testing:
- Turn the ignition key and check if the dashboard lights up normally.
- Start the engine and listen for any unusual sounds.
- Observe the headlight and indicators for proper function.
- Take a short ride to ensure consistent power delivery and performance.
If all checks out, your battery is good to go.
Frequently Asked Questions
Can I Charge a Motorcycle Battery Without Removing It?
Yes, you can charge a motorcycle battery without removing it. Just make sure your charger’s clamps connect securely to the battery terminals, and keep the bike off.
Always follow safety precautions to avoid sparks or damage.
What Should I Do if My Battery Won’T Hold a Charge?
If your battery won’t hold a charge, you should first check for corrosion or loose connections. If those are fine, it’s likely the battery is dead and you’ll need to replace it to keep your motorcycle running.
Are There Specific Chargers for Different Battery Types?
Imagine you bought a lithium-ion charger for your lead-acid battery—it won’t work right.
Yes, you need specific chargers for different battery types to avoid damage and guarantee efficient charging, like using a smart charger for AGM batteries.
How Often Should I Charge My Motorcycle Battery?
You should charge your motorcycle battery every 1-3 months, especially if you’re not riding regularly.
Keeping it charged prevents damage and extends its life, so don’t wait until it’s completely dead to recharge it.
Can a Fully Charged Battery Still Cause Starting Problems?
Even a full battery can be a locked door if other parts fail. If your motorcycle won’t start, check the starter, wiring, or spark plugs—they might be the real culprits keeping you grounded despite full charge.
Conclusion
Charging your motorcycle battery doesn’t have to be a headache. By following these simple steps, you’ll keep your battery in tip-top shape and ready to hit the road whenever you need. Remember, a stitch in time saves nine—catching battery issues early can save you from bigger problems down the line.
So, take the time to charge it right, and your bike will thank you with smooth, reliable starts every time. Proper maintenance, including how to charge a motorcycle battery with a charger, is key to extending your battery’s life. Keep these tips in mind to ensure your motorcycle battery stays healthy and efficient.

