

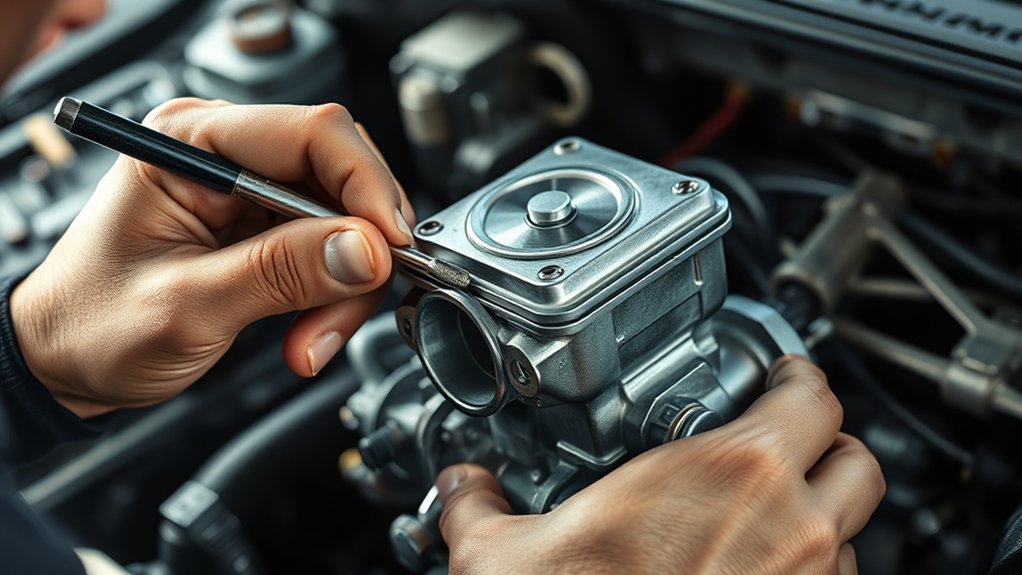
To adjust the float on your carburetor for optimal performance, you’ll need a flathead screwdriver, needle-nose pliers, and a feeler gauge. Proper float adjustment ensures the correct fuel level, which is essential for smooth engine operation and overall carburetor efficiency.
First, turn off the fuel supply and remove the carburetor bowl to access the float.
Measure its height carefully using the feeler gauge.
Next, gently bend the float tab to set the correct fuel level according to specifications.
Reassemble the carburetor and secure all screws tightly.
Finally, check for any fuel leaks before starting the engine.
Follow these steps closely, and you’ll guarantee smooth performance with reliable results.
There’s more to master ahead for perfect tuning.
Key Takeaways
- Remove the carburetor bowl carefully to access the float inside the carburetor.
- Measure the float height from the gasket surface using a feeler gauge or ruler.
- Adjust the float level by gently bending the float tab up or down to the correct specification.
- Reassemble the carburetor, ensuring all screws and bolts are tightened evenly and securely.
- Turn on fuel supply and check for leaks before starting the engine and monitor while running.
Why Adjusting the Carburetor Float Matters
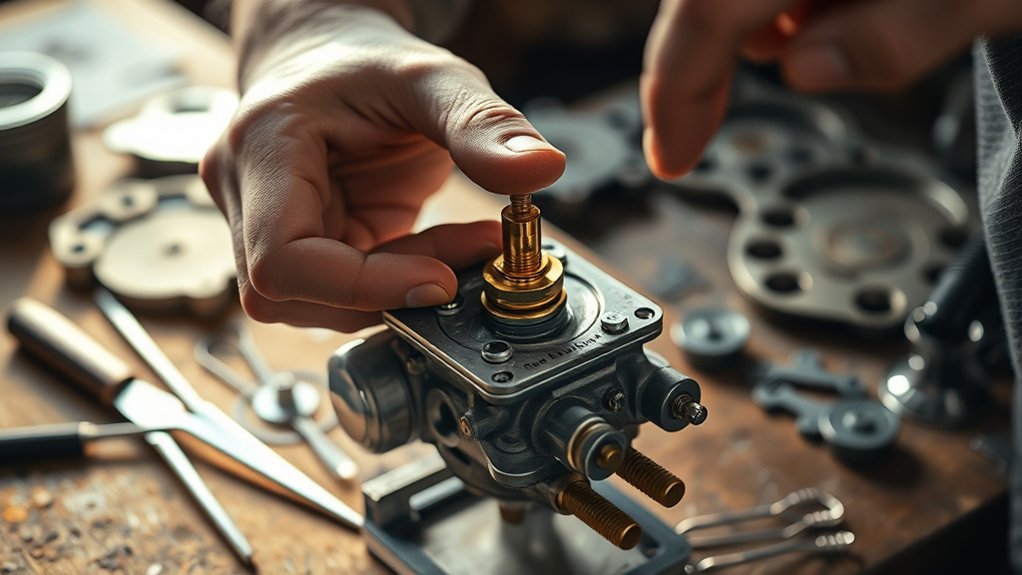
Why does adjusting the carburetor float matter? Because it directly controls the fuel level inside the carburetor bowl, which affects engine performance. If the float level is too high, you risk flooding the engine with fuel, causing poor combustion and wasted gas.
If it’s too low, the engine starves for fuel, leading to rough idling, hesitation, or stalling. By adjusting the float correctly, you guarantee the right fuel-to-air mixture, improving efficiency and power. You’ll also prevent fuel leaks and reduce emissions.
Ignoring this adjustment can cause your engine to run inefficiently or even damage it over time. So, paying attention to the carburetor float helps your engine run smoothly and keeps your equipment reliable.
Gather Tools for Carburetor Float Adjustment
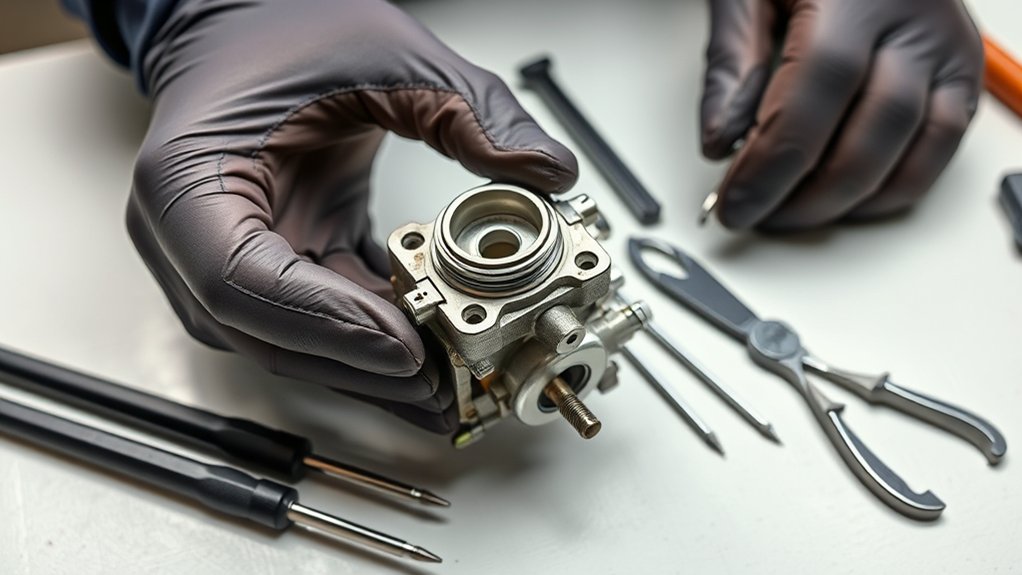
Before you start adjusting the float, make sure you have the right tools on hand, like screwdrivers and a float gauge. Don’t forget to grab safety gear such as gloves and eye protection to keep yourself safe.
Having everything ready will make the process smoother and safer.
Essential Tools Needed
Although adjusting the float on your carburetor might seem straightforward, having the right tools ready can make the process much smoother and more accurate. You’ll need a small flathead screwdriver to loosen and tighten screws without damaging them. A pair of needle-nose pliers helps you handle tiny parts and springs with precision.
A feeler gauge is essential for measuring the float height accurately, ensuring your adjustments are spot on. Don’t forget a clean rag to wipe away fuel residue and keep your workspace tidy. Finally, a small container is handy for holding screws and small components so they don’t get lost.
Gathering these essential tools upfront saves time and prevents frustration during your carburetor float adjustment.
Safety Equipment Checklist
Having the right tools is important, but you also need to prioritize your safety when adjusting the float on your carburetor. Start by wearing safety glasses to protect your eyes from fuel splashes or debris. Use gloves, preferably nitrile or mechanic’s gloves, to keep your hands safe from fuel and sharp edges.
Work in a well-ventilated area to avoid inhaling harmful fumes. Keep a fire extinguisher nearby in case of fuel ignition. Avoid loose clothing or jewelry that could get caught in moving parts.
Make sure your workspace is clean and dry to prevent slips or falls. Taking these precautions helps you stay safe and focused while you adjust your carburetor float efficiently and confidently.
Identify and Locate the Float
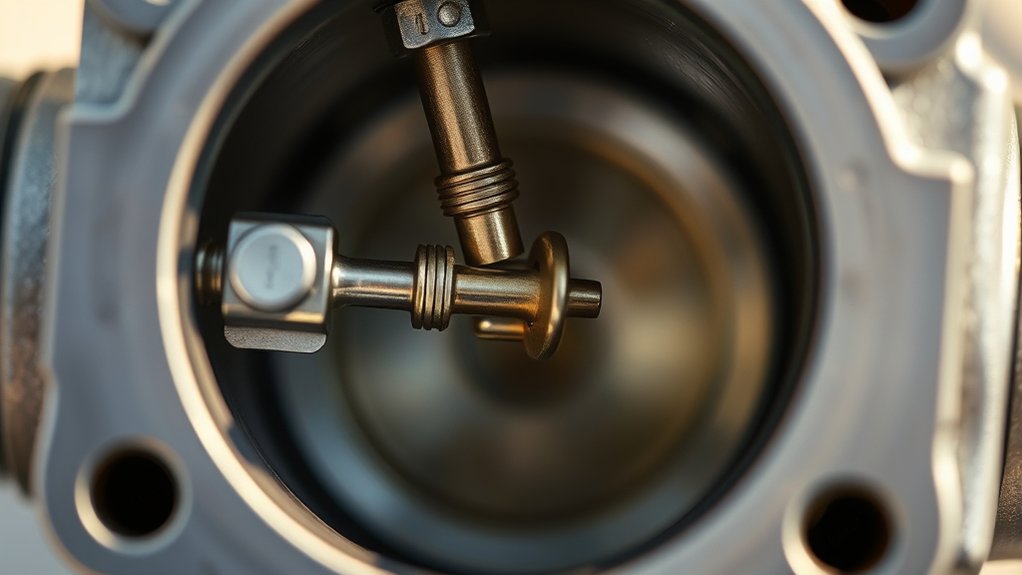
Before you adjust the float, you need to understand its role in regulating fuel flow inside the carburetor. You’ll find the float housed in the carburetor bowl, usually accessible once you remove the cover.
Make sure you have the right tools on hand to carefully access and inspect this essential component.
Float Function Overview
Where exactly is the float located on your carburetor, and what role does it play? The float sits inside the carburetor’s fuel bowl, acting as a fuel level sensor. Its main job is to regulate the amount of fuel entering the carburetor by rising and falling with the fuel level.
When the fuel reaches a certain height, the float pushes a needle valve to close the fuel inlet, preventing overflow. Conversely, when the fuel level drops, the float lowers, opening the needle valve to allow more fuel in. This constant adjustment ensures the engine gets the right fuel-air mixture for smooth operation.
Understanding this function is key before you adjust the float to maintain proper engine performance.
Float Location Tips
How can you quickly spot the float inside your carburetor? First, remove the carburetor bowl carefully. The float usually sits right beneath it, resembling a small, buoyant chamber or plastic piece.
It controls fuel flow by rising and falling with fuel levels. Knowing its location helps you adjust it correctly.
Here’s a quick guide to identify the float:
| Feature | Description |
|---|---|
| Appearance | Small, hollow, usually plastic |
| Position | Inside carburetor bowl |
| Function | Regulates fuel intake by buoyancy |
Keep in mind, the float is delicate. Handle it gently to avoid damage or misalignment when you locate it.
Tools Needed Identification
Once you’ve located the float inside your carburetor bowl, the next step is gathering the right tools to adjust it properly. You’ll need a small flathead screwdriver to loosen or tighten screws without damaging them. A pair of needle-nose pliers comes in handy for gently bending the float tab to set the correct height.
Have a clean cloth or paper towel nearby to wipe off any fuel spills. A ruler or caliper can help measure the float height precisely according to your carburetor’s specifications. Finally, a flashlight or good lighting assures you clearly see inside the bowl during adjustments.
Using these tools will help you make accurate, safe float adjustments and keep your carburetor running smoothly.
Remove the Carburetor Bowl to Access the Float
Before you can adjust the float, you’ll need to remove the carburetor bowl to get clear access. Start by ensuring the engine is off and cool to avoid burns or fuel spills. Place a clean rag under the carburetor to catch any dripping fuel.
Use the appropriate screwdriver or socket wrench to carefully loosen and remove the screws or bolts securing the bowl. Gently pull the bowl downward; it may require a slight wiggle if it’s stuck due to gaskets or residue. Be cautious not to damage the gasket, as it seals the bowl to the carburetor body.
Once removed, set the bowl aside on a clean surface. Now, you’ll have unobstructed access to the float for your next steps.
Measure the Float Height Precisely
Although it may seem straightforward, measuring the float height precisely is essential for your carburetor’s ideal performance. Incorrect float height can cause fuel overflow or starvation, affecting engine efficiency.
Here’s how to measure it accurately:
- Place the carburetor on a flat surface with the float resting naturally.
- Use a caliper or a precise ruler to measure from the carburetor’s gasket surface to the top of the float.
- Compare this measurement to the manufacturer’s specifications found in your service manual.
- Repeat the measurement a couple of times to guarantee consistency.
Adjust the Float Tab to Set the Correct Fuel Level
When you need to set the correct fuel level, adjusting the float tab is the key step. First, identify the small metal tab extending from the float. This tab controls how far the needle valve closes, directly affecting fuel flow.
Gently bend the tab up or down to raise or lower the fuel level inside the bowl. If the fuel level is too high, carefully bend the tab down to close the needle valve sooner, preventing overflow. If it’s too low, bend it up to allow more fuel in.
Make small adjustments and recheck the float height each time to avoid overcorrecting. Precision here ensures your engine runs smoothly without flooding or starving for fuel. Take your time and handle the tab carefully to avoid damage.
Reassemble the Carburetor and Check for Fuel Leaks
Once you’ve adjusted the float, carefully reassemble the carburetor by securing the bowl and all components in their proper places. Make sure each part fits snugly to prevent any fuel leaks. After reassembly, it’s essential to check for leaks before running the engine.
After adjusting the float, reassemble carefully and ensure a snug fit to prevent fuel leaks before starting the engine.
Follow these steps to guarantee a proper seal and no fuel leaks:
- Tighten all screws and bolts evenly to avoid warping the carburetor bowl.
- Inspect the gasket for damage or misalignment and replace it if necessary.
- Turn on the fuel supply and look for any signs of fuel dripping or wet spots.
- Run the engine briefly and observe the carburetor area; stop immediately if you detect leaks.
This careful process keeps your carburetor functioning safely and efficiently.
Frequently Asked Questions
What Causes a Carburetor Float to Become Damaged?
You damage a carburetor float by exposing it to fuel contamination, corrosion, or physical impact. Over time, wear, dirt, or improper handling can cause it to leak, stick, or lose buoyancy, affecting fuel flow.
How Often Should I Check My Carburetor Float?
You should check your carburetor float at least once a year or whenever you notice engine performance issues. Regular inspection helps you catch damage early, preventing fuel leaks and ensuring your engine runs smoothly and efficiently.
Can a Faulty Float Affect Engine Performance?
Yes, a faulty float can cause your engine to run poorly. It affects fuel flow, leading to flooding or fuel starvation.
You’ll notice rough idling, stalling, or difficulty starting if the float isn’t working right.
What Materials Are Carburetor Floats Typically Made From?
Carburetor floats commonly consist of cork, plastic, or brass. You’ll find cork’s classic charm, plastic’s practical plasticity, and brass’s bright, buoyant brilliance balancing fuel flow flawlessly in your engine’s carburetor chamber.
Is It Necessary to Replace the Float During Adjustment?
You don’t always have to replace the float during adjustment. Just check for damage or wear—if it’s cracked, soaked, or bent, replace it.
Otherwise, adjusting alone usually fixes the float’s performance without needing a new one.
Conclusion
Adjusting your carburetor float might seem like a small tweak, but it’s the difference between smooth rides and sputtering stops. Like a tightrope walker balancing on a thin wire, the float controls fuel flow with delicate precision.
By following these simple steps, you’ll keep your engine humming effortlessly, turning what once felt like a complicated chore into a quick, confident fix.
Now, enjoy the effortless power you’ve just fine-tuned. Properly adjusting the float on your carburetor ensures optimal performance and fuel efficiency, making your engine run smoother and longer.

