

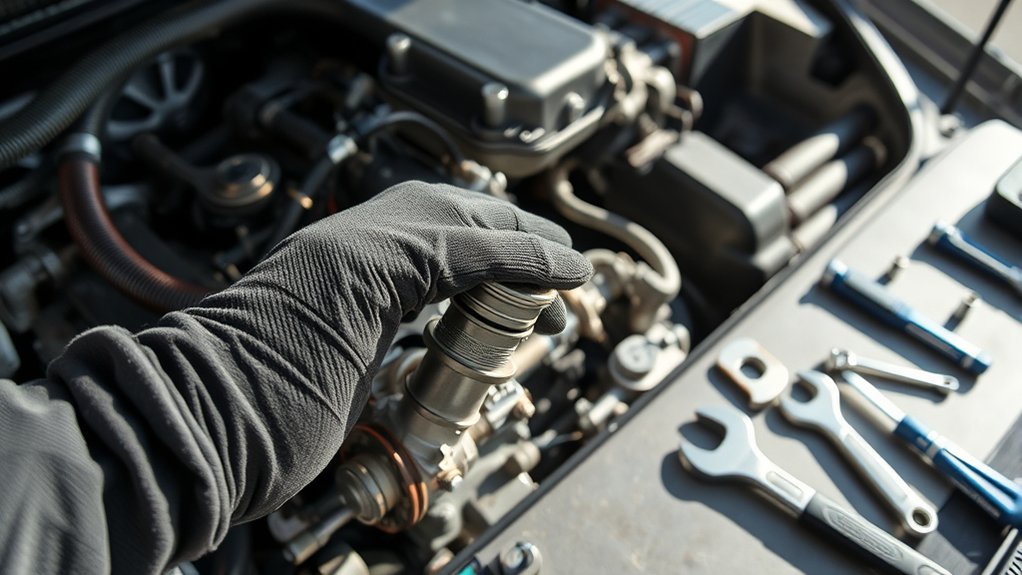
To manually engage your AC compressor clutch, start by parking your vehicle safely and turning off the engine. Locating the AC compressor clutch near the engine is essential for this process.
Before proceeding, gather necessary tools such as insulated gloves, a multimeter, and jumper wires to ensure safety and accuracy.
Next, disconnect the clutch’s electrical connector carefully to avoid any damage. Using a 12V jumper wire, connect from the positive clutch terminal to a good ground.
Turn on the ignition and observe if the clutch snaps into place with a clicking sound.
If the clutch does not engage properly, check the wiring connections and measure the voltage with your multimeter.
Troubleshooting common issues and following safety tips will help you complete this task effectively.
Key Takeaways
- Locate the AC compressor clutch near the engine and identify the electrical connector with two wires.
- Disconnect the battery negative terminal and wear insulated gloves for safety before handling electrical components.
- Use a jumper wire to connect the clutch coil’s positive terminal to a ground or negative terminal securely.
- Turn on the vehicle ignition and observe the clutch plate snapping into place with a clicking sound.
- After testing, disconnect power, inspect for mechanical or electrical issues, and ensure all connections are secure before reassembly.
Why and When to Manually Engage Your AC Compressor Clutch
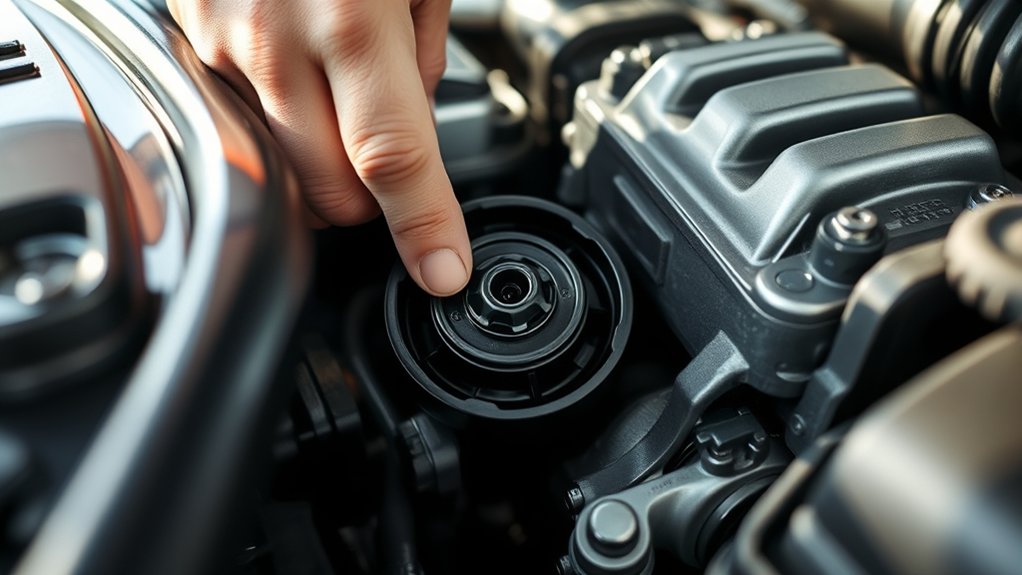
Although your AC system usually engages the compressor clutch automatically, you might need to manually activate it when troubleshooting issues or performing maintenance. Doing this helps you verify if the clutch and compressor are functioning properly without relying on the vehicle’s electrical system. For example, if your AC isn’t cooling, manually engaging the clutch lets you determine whether the compressor is the problem or if the issue lies elsewhere.
It’s also useful when checking for mechanical resistance or unusual noises in the compressor. Additionally, manual engagement is necessary during system repairs or when replacing components to ensure everything operates smoothly. By knowing when and why to manually engage the clutch, you’ll save time and avoid unnecessary part replacements.
Gather the Tools You’ll Need
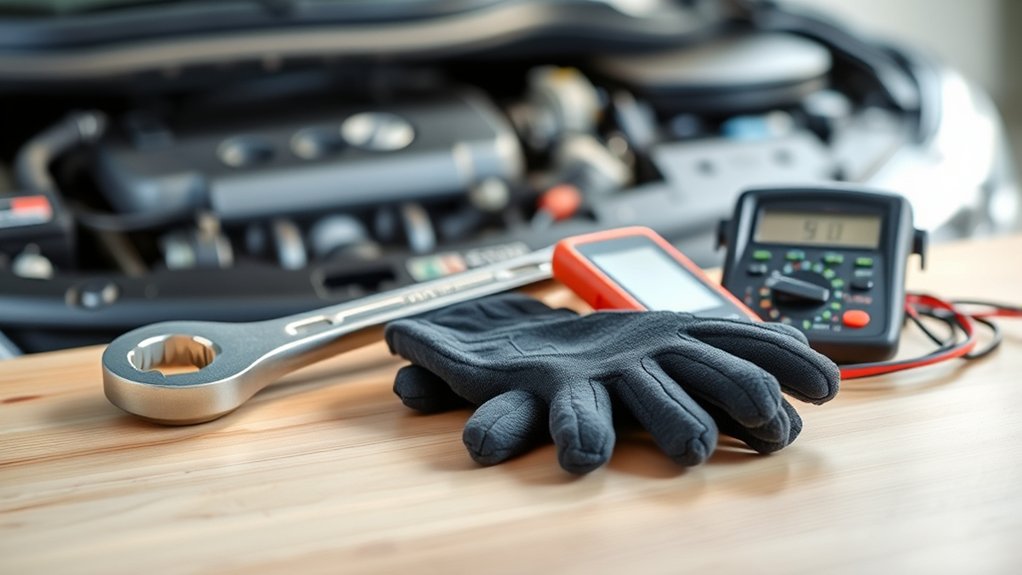
Before you start manually engaging your AC compressor clutch, you’ll need to gather a few essential tools to make the process safe and effective. Having the right tools handy will help you work efficiently and avoid damage to your vehicle’s components.
Here’s a list of what you’ll need:
| Tool | Purpose |
|---|---|
| Insulated Gloves | Protects hands from electric shock |
| Multimeter | Checks electrical connections |
| Flathead Screwdriver | Engages the clutch manually |
| Flashlight | Illuminates hard-to-see areas |
Make sure your tools are in good condition and easily accessible before you begin. This preparation will save you time and guarantee you can safely complete the task without interruptions.
Park Safely and Turn Off Your Engine
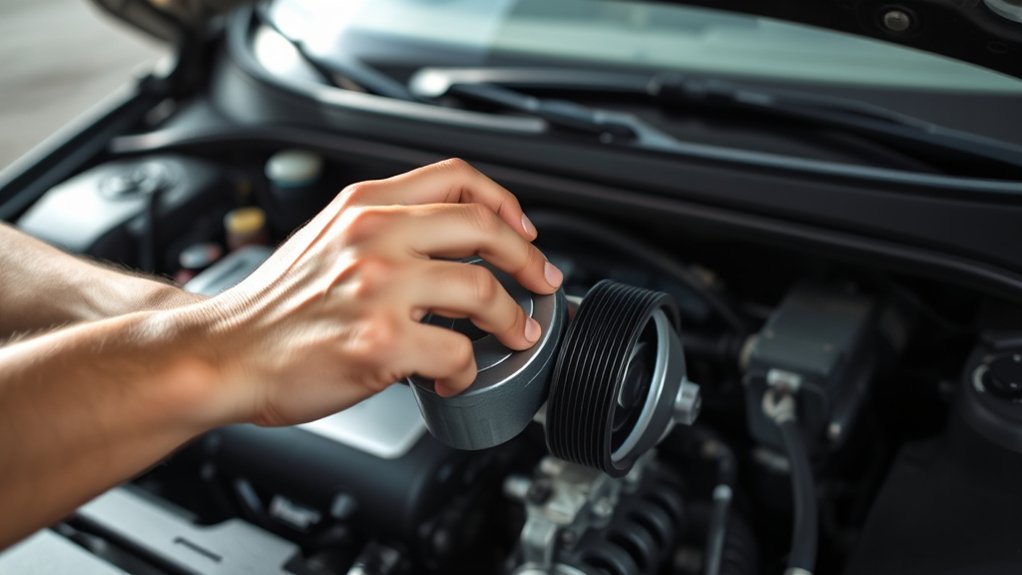
Once your tools are ready, find a safe spot to park your vehicle and make sure the engine is completely turned off. This step is crucial for your safety and to prevent any electrical hazards while working on the AC compressor clutch. Follow these simple steps:
Ensure your vehicle is parked safely and the engine fully off before working on the AC compressor clutch.
- Pull over to a flat, stable area away from traffic to avoid accidents.
- Shift the transmission into park (or neutral for manuals) and engage the parking brake.
- Turn off the ignition completely and remove the key to ensure the engine and electrical systems are fully powered down.
Taking these precautions will protect you from moving parts and electrical shocks as you proceed with manual engagement of the AC compressor clutch. Always prioritize safety before starting any mechanical work.
Locate the AC Compressor Clutch in Your Vehicle
To find the AC compressor clutch, start by locating the compressor itself, which is usually near the front of the engine. Most vehicles have the compressor mounted on the passenger side or near the serpentine belt.
Use visual references like the pulley system and electrical connectors to spot the clutch assembly easily.
Identifying Compressor Location
Where exactly is the AC compressor clutch located in your vehicle? Finding it is key before you manually engage it.
Here’s how to identify the compressor’s location quickly:
- Pop the hood and look near the engine block. The AC compressor clutch is typically attached to the front of the compressor unit, which is belt-driven.
- Spot the pulley with a shiny metal plate. This plate is the clutch, and it engages or disengages the compressor when activated.
- Trace the serpentine belt. The compressor will be connected to one of these belts, often near the alternator or power steering pump.
Knowing where the clutch is helps you safely proceed with manual engagement without confusion or risk.
Common Vehicle Compressor Spots
After you’ve pinpointed the general location of your AC compressor clutch, the next step is to understand where it commonly sits in different vehicles. Most compressors are mounted on the engine block and driven by a belt connected to the crankshaft pulley.
However, their exact position can vary depending on the make and model.
Here’s a quick reference of common spots:
| Vehicle Type | Compressor Location |
|---|---|
| Compact Cars | Lower front of the engine |
| SUVs & Trucks | Upper front, near the serpentine belt |
| European Vehicles | Side-mounted, often on the passenger side |
Knowing these common spots helps you quickly locate the clutch and move forward with manual engagement without wasting time searching.
Using Visual References
Although AC compressor clutches can look similar, subtle visual cues help you identify them quickly in your vehicle’s engine bay. Start by focusing on the belt-driven pulley attached to a circular, metal clutch plate at the front of the AC compressor.
Here’s how to spot it:
- Locate the serpentine belt — trace it to find the pulley connected to the AC system.
- Look for a circular, flat metal disc — this clutch plate engages and disengages the compressor.
- Check for electrical wiring — a small wire harness usually connects to the clutch coil.
Find and Identify the AC Compressor Clutch Electrical Connector
Before you can manually engage the AC compressor clutch, you need to locate its electrical connector, which powers the clutch coil. Start by tracing the wires attached to the compressor pulley area. The connector is usually a small, two-wire plug clipped near the compressor body.
It might have a plastic housing with locking tabs to keep it secure. Look for wires that match the ones going directly into the clutch coil—these are often black and yellow or black and blue, but colors vary by vehicle. Make sure the connector is accessible and not buried under other components or wiring.
Identifying the right connector is key to safely applying power for engagement without causing damage or confusion with other electrical parts in the engine bay.
Test the AC Compressor Clutch Coil With a Multimeter
Once you’ve located the AC compressor clutch electrical connector, you’ll want to verify the clutch coil’s condition by testing its resistance with a multimeter. This ensures the coil isn’t damaged or open-circuited.
Follow these steps:
- Set your multimeter to the ohms (Ω) setting.
- Disconnect the clutch coil connector and place the multimeter probes on the coil terminals.
- Check the reading: a typical clutch coil should measure between 3 to 5 ohms.
A reading outside this range indicates a faulty coil.
If the resistance is too high or shows infinite, the coil is likely burned out. If it reads near zero, there might be a short.
Testing this helps you decide if the clutch coil needs replacement before proceeding.
Safely Engage the Clutch Using a 12V Jumper Wire
To safely engage the AC compressor clutch, start by preparing a 12V jumper wire with proper insulation. Connect the wire carefully to the clutch terminals while making sure the vehicle’s ignition is off.
Always follow safety precautions to avoid shorts or injury during this process.
Preparing The Jumper Wire
Although it might seem straightforward, preparing the jumper wire carefully is vital for safely engaging the AC compressor clutch. You want to avoid any short circuits or damage to your vehicle’s electrical system. Follow these steps to get your jumper wire ready:
- Choose the Right Wire: Use a 16-18 gauge insulated wire, about 12 inches long. This size handles the current without overheating.
- Strip the Ends: Remove about half an inch of insulation from both wire ends to ensure a solid connection.
- Add Protective Covers: Wrap electrical tape around exposed metal parts to prevent accidental shorts during use.
With these steps, your jumper wire will be ready and safe for the next stage—connecting to the clutch.
Connecting To The Clutch
With your jumper wire prepared, you’re ready to connect it to the AC compressor clutch. First, locate the clutch’s electrical connector, usually a small plug attached near the pulley. Gently unplug the connector to expose the terminals.
Identify the positive terminal on the clutch coil; this is where you’ll attach the jumper wire’s positive end. Connect the jumper wire’s positive lead to this terminal, ensuring a secure contact.
Next, attach the jumper wire’s negative lead to a good ground point on the vehicle’s chassis or directly on the clutch coil’s negative terminal if visible. Once both connections are firm, you can apply power to engage the clutch manually.
Ensuring Safety Precautions
Before you engage the AC compressor clutch using a 12V jumper wire, make sure you take proper safety precautions to prevent injury or damage. This step is vital to protect yourself and your vehicle’s electrical system.
Follow these key safety tips:
- Disconnect the battery negative terminal to avoid accidental shorts while connecting the jumper wire.
- Wear insulated gloves to protect against electric shocks and avoid metal jewelry that could cause a short circuit.
- Ensure the jumper wire connections are secure and avoid touching any metal parts during operation to prevent sparks or damage.
Check for Visual and Audible Signs of Clutch Engagement
When you manually engage the AC compressor clutch, you’ll want to pay close attention to both what you see and hear. Visually, look for the clutch plate to snap into place against the pulley, indicating it’s engaging properly. The alignment should be firm without any wobbling or slipping.
Audibly, listen for a distinct “click” or “snap” sound as the clutch activates. This noise confirms the electromagnetic coil is working and pulling the clutch in. If you don’t hear this sound or see the clutch move, it might not be engaging.
Keep your eyes on the pulley’s rotation to ensure it spins smoothly once engaged. These visual and audible signs help confirm the clutch is functioning before you proceed further.
Troubleshoot Common AC Compressor Clutch Issues
If your AC compressor clutch isn’t engaging properly, start by checking for common issues like worn components or a weak magnetic coil.
Next, inspect all electrical connections to make certain they’re secure and free of corrosion.
These steps will help you pinpoint the problem before moving on to more detailed repairs.
Clutch Engagement Problems
Though your AC compressor clutch should engage smoothly, various issues can prevent it from activating properly. If you notice the clutch isn’t engaging, check these common problems first:
- Worn Clutch Plate – Over time, the clutch plate can wear out, causing slipping or failure to engage.
- Seized Pulley Bearing – A stuck or noisy pulley bearing can stop the clutch from spinning freely.
- Low Refrigerant Pressure – Some compressors won’t engage if the system’s refrigerant pressure is too low, as a safety measure.
Identifying these issues early helps you avoid bigger repairs. If the clutch doesn’t engage after addressing these points, further inspection is needed before moving on to electrical connection checks.
Electrical Connection Checks
After ruling out mechanical issues like worn clutch plates or low refrigerant pressure, the next step is to inspect the electrical connections that control the AC compressor clutch. Start by checking the wiring harness for any signs of damage, corrosion, or loose connections. Use a multimeter to test for continuity and proper voltage at the clutch connector while the AC is turned on.
If you don’t get voltage, trace the circuit back to the fuse box and relay, ensuring both are functioning correctly. Also, examine the ground connection, as a poor ground can prevent clutch engagement. Fix any damaged wires, clean corroded terminals, and secure loose plugs.
Thorough electrical checks help you pinpoint issues that stop the clutch from engaging, making manual engagement safer and more effective.
Disconnect Power and Confirm Clutch Disengagement
Before working on the AC compressor clutch, you’ll need to disconnect the power supply to prevent accidental engagement. This step is vital for your safety and guarantees you can work without the clutch activating unexpectedly.
Follow these steps:
- Locate the battery and disconnect the negative terminal to cut off electrical power.
- Find the AC compressor clutch relay or fuse in the fuse box and remove it to isolate the clutch circuit.
- Turn the ignition key to the ON position without starting the engine and visually confirm the clutch is not spinning or engaged.
Frequently Asked Questions
What Causes an AC Compressor Clutch to Fail Permanently?
You’ll find an AC compressor clutch fails permanently due to electrical issues, worn bearings, or excessive heat. Overuse, lack of lubrication, or a faulty relay can also cause it to seize, preventing proper engagement.
Can Engaging the Clutch Manually Damage the AC System?
Yes, manually engaging the AC compressor clutch can damage your AC system if done improperly. It risks overheating, electrical issues, or mechanical wear, so you should only attempt it with proper knowledge and caution to avoid costly repairs.
How Often Should the AC Compressor Clutch Be Inspected?
You should inspect the AC compressor clutch at least once a year. Studies show 30% of AC failures stem from clutch issues, so regular checks help you avoid costly repairs and keep your system running smoothly.
Are There Differences in Clutch Engagement for Various Vehicle Models?
Yes, you’ll find differences in clutch engagement across vehicle models due to design variations, electrical systems, and compressor types.
Always check your specific vehicle’s manual to understand exact engagement procedures and avoid damage.
What Are the Signs of a Worn-Out AC Compressor Clutch?
You’ll notice squealing noises, the AC not cooling properly, or the clutch not engaging when you turn it on.
If the clutch slips or the compressor overheats, it’s a clear sign the clutch is worn out.
Conclusion
Now that you’ve mastered the steps to manually engage your AC compressor clutch, you hold the power to keep cool when it counts. Remember, safety first—tools ready, engine off, and eyes sharp.
With a simple 12V jumper wire, you can bring life back to your AC system, turning frustration into revitalization. So go ahead, take control, and let your car’s comfort spring to life like a gust of fresh air.
By following this guide on how to manually engage the AC compressor clutch, you can ensure your vehicle’s air conditioning works efficiently when you need it most. Stay cool and enjoy the benefits of a properly functioning AC system.

