


To assemble a 10-inch in-line fuel filter correctly, start by gathering the necessary tools and parts for the installation. Knowing how to assemble a 10-inch in-line fuel filter is essential for maintaining your vehicle’s fuel system efficiency and preventing contamination.
Begin by identifying and confirming the inlet, outlet, and flow direction to ensure proper setup.
Next, cut the fuel lines to the appropriate size and securely attach clamps onto the filter. Tighten all connections carefully to avoid any leaks.
Slowly turn on the fuel and check for any signs of leakage.
Finally, reinstall the filter into the system and perform a thorough system check. This ensures everything runs smoothly and efficiently.
Follow these steps closely, and you’ll soon master how to complete the installation perfectly.
Key Takeaways
- Verify fuel filter compatibility and gather necessary tools like clamps, cutters, and safety gear before starting assembly.
- Identify inlet and outlet sides by checking filter markings and ensure correct fuel flow direction toward the engine.
- Cut fuel lines to proper length with a sharp cutter, deburr edges, and slide clamps onto hoses before attachment.
- Securely attach fuel lines to filter fittings, position clamps behind barbs, and tighten clamps evenly to prevent leaks.
- Mount the filter with correct orientation, test the system gradually for leaks, and confirm smooth fuel flow before finalizing installation.
Gather Tools and Parts for Your Fuel Filter
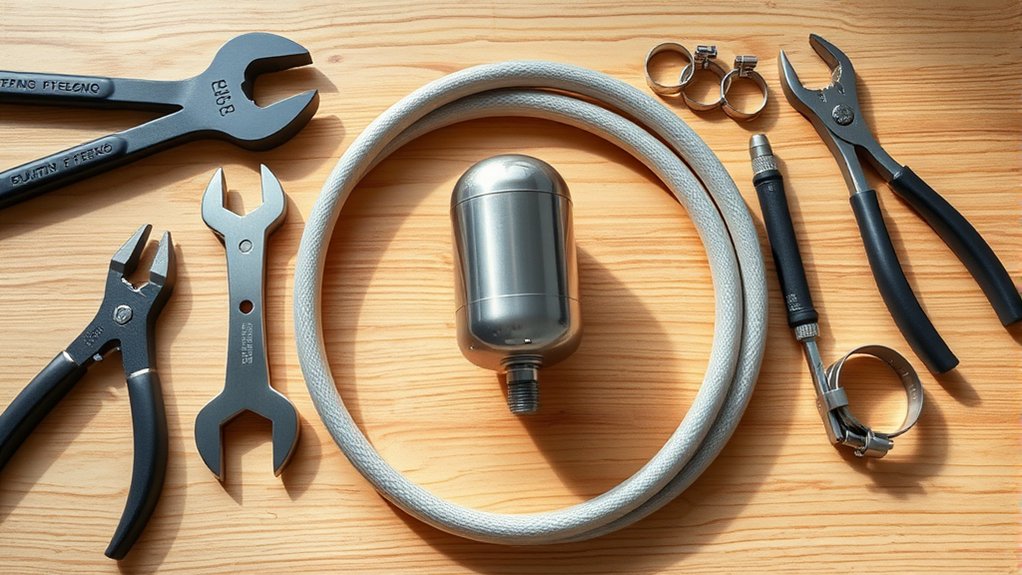
Before you begin assembling your 10-inch in-line fuel filter, make sure you have all the necessary tools and parts on hand. You’ll need the 10-inch fuel filter itself, compatible fuel line connectors, and clamps to secure the connections. Grab a pair of hose cutters or a sharp utility knife to trim the fuel lines cleanly.
A screwdriver or wrench will help tighten clamps or fittings, depending on your hardware. Don’t forget a clean rag to wipe any spills and safety gloves to protect your hands. Having everything ready will save you time and prevent interruptions during assembly.
Double-check that the parts match your vehicle’s specifications to avoid compatibility issues. Once you’ve gathered these essentials, you’re set to move smoothly into the next step.
Identify Fuel Filter Inlet and Outlet Connections
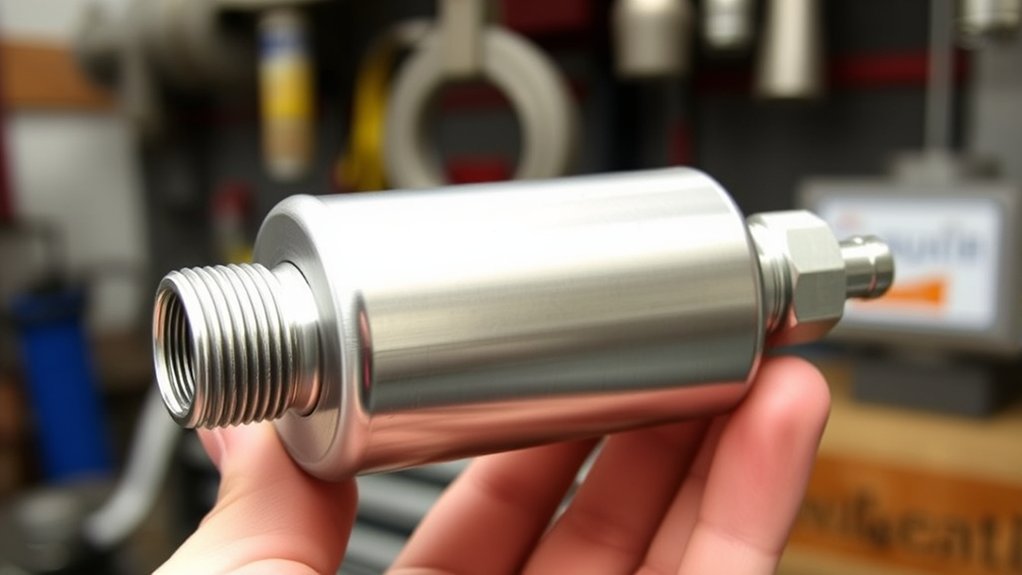
Although the 10-inch in-line fuel filter looks simple, it’s essential to correctly identify the inlet and outlet connections before installation. Look closely at the filter body; manufacturers usually mark these connections with arrows or labels like “IN” and “OUT.” The inlet is where fuel enters the filter, typically connected to the fuel line coming from the tank.
The outlet sends filtered fuel to the engine. If you’re unsure, consult the product manual or check for any molded indicators on the filter housing. Avoid mixing them up, as incorrect connections can disrupt fuel flow and damage your engine.
Take your time to verify these points carefully to ensure a smooth and efficient fuel system assembly.
Confirm Fuel Filter Flow Direction and Line Alignment
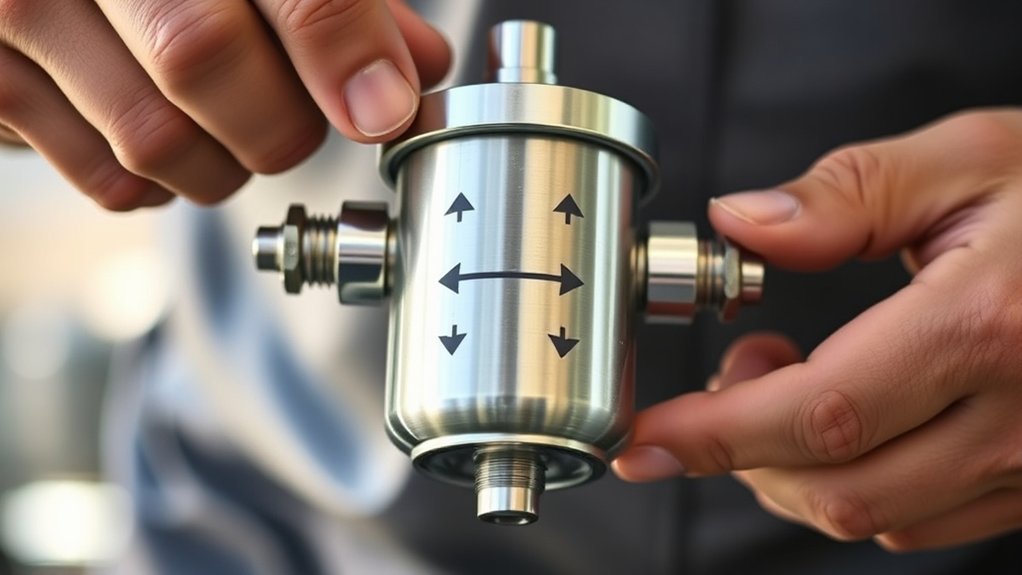
Now that you’ve identified the inlet and outlet, confirm the fuel filter’s flow direction by checking the arrow marked on the housing. Make certain the fuel lines align properly with the filter connections to prevent leaks or restrictions.
Taking these steps ensures your filter functions correctly and keeps fuel flowing smoothly.
Identifying Flow Direction
How can you guarantee your fuel filter is installed correctly? Start by identifying the flow direction marked on the filter. Most 10-inch in-line fuel filters have an arrow indicating fuel flow.
This arrow must point toward the engine, ensuring fuel moves through the filter properly. If you install it backward, fuel won’t be filtered effectively, risking engine damage. Examine the filter body carefully for this marking before installation.
Also, confirm the inlet and outlet ports align with the fuel lines. Installing the filter with the correct flow direction maintains ideal fuel pressure and filtration efficiency. Taking this simple step prevents costly issues and keeps your engine running smoothly.
Always double-check the arrow before finalizing your assembly.
Checking Line Alignment
After confirming the flow direction on your fuel filter, the next step is to check the alignment of the fuel lines. Make sure the inlet and outlet hoses line up smoothly with the corresponding filter ports without stretching or bending. Misalignment can cause leaks or restrict fuel flow.
Adjust the lines by repositioning clamps or slightly shifting the filter to achieve a straight, tension-free connection. Double-check that the fuel lines aren’t twisted or kinked, as this could damage them or reduce performance. Proper alignment also ensures the filter sits securely in place.
Taking a moment here prevents future issues and keeps your fuel system running efficiently. Once everything aligns perfectly, you’re ready for the final assembly steps.
Cut Fuel Lines to Size for the Fuel Filter
Before you start cutting, measure the fuel lines carefully to make sure they fit the 10-inch in-line fuel filter perfectly. Use a tape measure or ruler to determine the exact length needed on each side of the filter. Mark the cutting points clearly with a permanent marker to avoid mistakes.
Next, use a sharp utility knife or tubing cutter designed for fuel lines to make clean, straight cuts. Avoid jagged edges or crushing the tubing, as this could cause leaks or damage. Cut slowly and steadily, ensuring the ends are smooth.
If needed, lightly deburr the inside of each cut end to prevent any obstruction. Taking your time here guarantees a snug fit and helps maintain the fuel system’s integrity.
Attach Clamps and Secure Fuel Lines to the Filter
Now that your fuel lines are cut to size, it’s time to attach clamps that fit securely around the filter and hoses. You’ll want to choose clamps that provide a tight seal without damaging the fuel lines.
Make certain each connection is snug to prevent leaks and guarantee reliable fuel flow.
Choosing Proper Clamp Types
When securing fuel lines to your 10-inch in-line fuel filter, choosing the right clamp type guarantees a tight, leak-free connection that withstands pressure and vibration. You’ll want clamps that match your fuel line size and material for best performance.
Here are three common clamp types to consider:
- Worm Gear Clamps – These offer adjustable tightness and are great for rubber or flexible hoses, providing a secure grip.
- Spring Clamps – Ideal for quick installation, they maintain constant pressure but may not suit high-pressure systems.
- Ear Clamps – Provide a permanent, tamper-proof seal by crimping the clamp ears tightly around the fuel line.
Select clamps based on your system’s pressure requirements and hose compatibility to make sure your fuel filter assembly stays secure.
Ensuring Tight Fuel Connections
Choosing the right clamps sets the stage for securing your fuel lines to the 10-inch in-line fuel filter effectively. Start by sliding the clamps onto the fuel lines before attaching them to the filter’s inlet and outlet. Push each fuel line firmly over the filter’s barbed fittings to ensure a snug fit.
Once the lines are in place, position the clamps just behind the raised barb edges to prevent any fuel leaks. Tighten the clamps evenly using a screwdriver or a socket wrench, making sure they’re secure but not overly tight to avoid damaging the fuel lines. Finally, give each connection a gentle tug to confirm they won’t slip off during operation.
This simple process guarantees a safe, leak-free fuel system.
Tighten Connections and Test Fuel Filter for Leaks
Before you finish the assembly, make sure you tighten all connections securely to prevent any fuel leaks. Use a wrench to snug the fittings but avoid over-tightening, which could damage the filter or fittings. Once tightened, it’s critical to test for leaks before moving forward.
Ensure all connections are snug but not over-tightened, then test carefully for any fuel leaks before proceeding.
Follow these steps to check for leaks effectively:
- Turn on the fuel supply slowly and observe all connection points carefully.
- Look for any signs of dripping or wetness around the filter and fittings.
- If you spot leaks, tighten the connections a bit more and retest until no leaks appear.
This careful tightening and testing ensures your fuel filter assembly is safe and reliable before reinstalling it.
Reinstall Fuel Filter and Perform Final System Check
Once you’ve confirmed there are no leaks, you can reinstall the fuel filter back into its mounting bracket. Secure it firmly using the original clips or clamps to prevent any movement during operation. Make sure the filter is oriented correctly, following the fuel flow direction indicated on the housing.
After mounting, reconnect any fuel lines or electrical connections detached earlier. Next, turn the ignition on without starting the engine to allow the fuel pump to prime the system. Check for any signs of leaks or unusual noises.
Finally, start the engine and observe its performance for a few minutes to ensure smooth operation. If everything runs properly with no leaks, you’ve successfully completed the installation and final system check.
Frequently Asked Questions
How Often Should I Replace My 10-Inch Fuel Filter?
You should replace your 10-inch fuel filter every 20,000 to 30,000 miles or once a year.
If you notice engine performance issues or contamination, change it sooner to keep fuel flow clean and efficient.
Can I Use This Fuel Filter for Diesel Engines?
You can use this fuel filter for diesel engines if it’s rated for diesel fuel and matches your engine’s specifications.
Always check the manufacturer’s guidelines to guarantee compatibility and avoid potential damage or performance issues.
What Are Signs of a Clogged Fuel Filter?
When your engine coughs and sputters, it’s a sign your fuel filter’s clogged. You’ll notice poor acceleration, rough idling, or even stalling.
Don’t ignore these warning bells—they mean fuel isn’t flowing freely.
Is It Safe to Reuse Old Fuel Filter Clamps?
You shouldn’t reuse old fuel filter clamps because they can weaken or corrode over time, risking leaks.
It’s safer to replace them with new clamps to guarantee a secure, reliable seal and prevent fuel system issues.
Can a Fuel Filter Improve Engine Performance?
Yes, a fuel filter can improve your engine’s performance by trapping contaminants, ensuring cleaner fuel reaches the engine. This helps maintain efficient combustion, prevents clogs, and prolongs your engine’s life, keeping it running smoothly.
Conclusion
Now that you’ve assembled your 10-inch in-line fuel filter, you might worry it’s too tricky or time-consuming. But following these simple steps makes the process quick and manageable—even if you’re not a pro.
Taking the time to do it right guarantees your engine runs smoothly and avoids costly repairs. So don’t hesitate—grab your tools, and get that fuel filter installed with confidence!
By mastering how to assemble a 10-inch in-line fuel filter, you ensure optimal fuel flow and engine performance. This easy installation process saves you money and keeps your vehicle running efficiently. Start your assembly today and enjoy the benefits of a properly installed fuel filter!

