

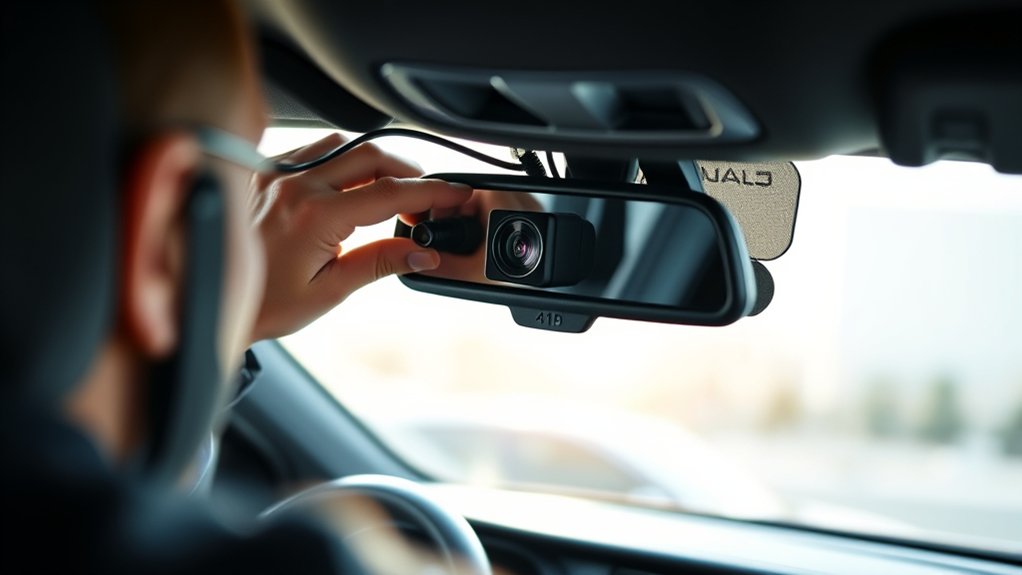
To add a backup camera inside your car, start by choosing a reliable backup camera system that fits your vehicle and provides clear, night-vision images. Selecting the right backup camera is essential for safety and convenience when reversing.
Gather essential tools like screwdrivers and wire strippers before beginning the installation process.
Next, plan the camera’s position for the best rearview angle and minimal glare.
Carefully connect power from your reverse light and secure all wiring safely to avoid any electrical issues.
Once installed, test the camera in reverse, adjusting the angle to ensure a full view of the area behind your car.
Keep the camera lens clean and troubleshoot any issues as they arise.
You’ll find helpful tips to perfect the setup ahead.
Key Takeaways
- Choose a backup camera compatible with your vehicle and decide between wired or wireless systems for installation ease and reliability.
- Plan camera placement to cover blind spots and position the display where it’s visible without obstructing controls or views.
- Connect the camera power wire to the reverse light circuit and ground it securely, routing wires safely along the vehicle frame.
- Test the camera in reverse gear, adjust angles for a clear, wide view, and ensure on-screen guidelines assist with distance judgment.
- Regularly clean the lens, inspect wiring for damage, and troubleshoot power or image issues by checking connections and fuses.
How to Choose the Right Backup Camera for Your Car
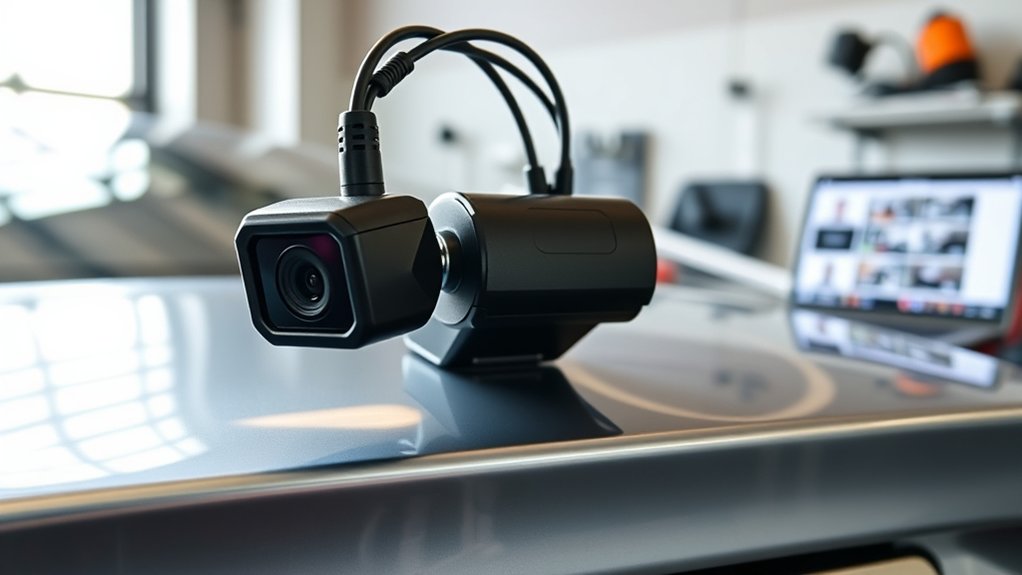
Before you install a backup camera, you need to pick one that fits your car and your needs. Start by considering the size and type of your vehicle—compact cars, trucks, and SUVs may require different camera angles and mounting options. Decide whether you want a wired or wireless system; wired cameras offer a more stable connection, while wireless ones are easier to install.
Look for cameras with good resolution and night vision to guarantee clear images in all conditions. Check compatibility with your car’s display or if the camera comes with its own screen. Also, think about additional features like wide-angle lenses or parking guidelines.
Prioritize durability and waterproof ratings since the camera will face weather exposure. Choosing wisely saves time and hassle later.
How to Plan Optimal Backup Camera Placement Inside Your Vehicle
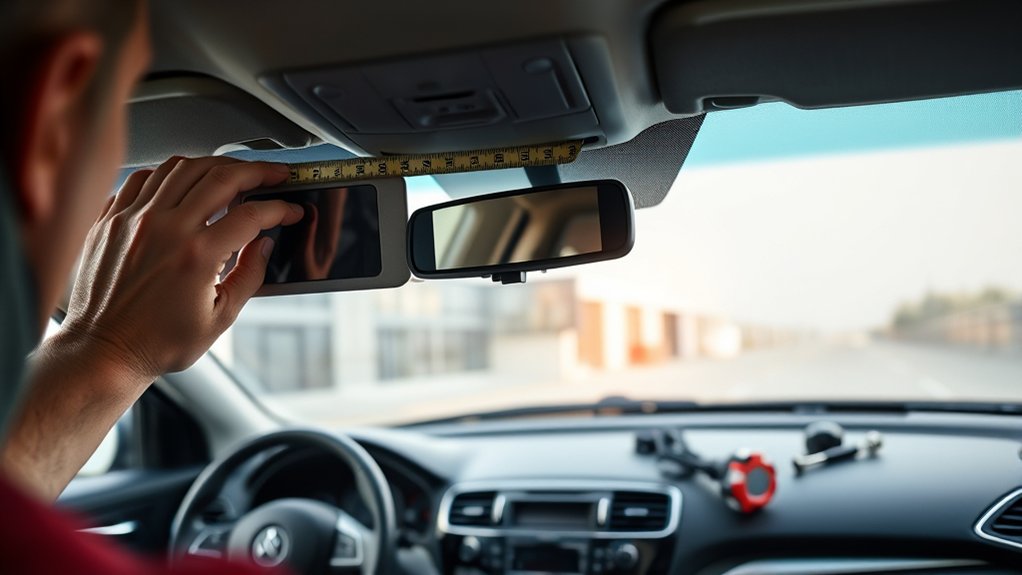
You’ll want to assess the best viewing angles to guarantee a clear backup view. Take your car’s interior layout into account so the camera and screen fit seamlessly.
Also, plan to minimize screen glare for safe and comfortable use.
Assess Viewing Angles
Although installing a backup camera inside your car might seem straightforward, carefully evaluating the viewing angles guarantees you capture the most useful perspective. Start by identifying blind spots and key areas you want the camera to cover, such as the rear bumper or adjacent lanes. Position the camera where it offers a wide field of view without distortion or obstruction.
Tilt and adjust the angle to minimize glare from sunlight or interior lights, guaranteeing a clear image in various lighting conditions. Test the camera’s feed from your usual driving position to confirm visibility and make subtle adjustments as needed. Proper angle assessment ensures you get reliable, real-time visuals that enhance safety and make reversing easier every time.
Consider Interior Layout
Once you’ve nailed the best angle for your backup camera, the next step is to factor in your car’s interior layout. You need to find a spot where the camera’s display is easily visible without obstructing your view or controls. Think about your dashboard design, the position of the rearview mirror, and where you naturally glance while reversing.
Make certain the wiring route won’t interfere with airbags or essential components. Also, consider if your placement allows quick access for adjustments or maintenance. Avoid locations that clutter your space or distract you while driving.
Minimize Screen Glare
Since glare can make your backup camera screen hard to see, you need to select a placement that reduces reflections from sunlight or interior lights. Position the screen where it won’t face direct sunlight through the windshield or side windows. Consider areas shaded by the dashboard or behind the rearview mirror, which often block harsh light.
Using a matte screen protector can also help cut down on glare. Avoid placing the display near glossy surfaces that reflect interior lights at night. Test your chosen spot at different times of day to ensure visibility under various lighting conditions.
Minimizing glare not only improves safety but also guarantees you can quickly and clearly check your backup camera when reversing, making your driving experience smoother and more secure.
What Tools and Materials You’ll Need for Installation
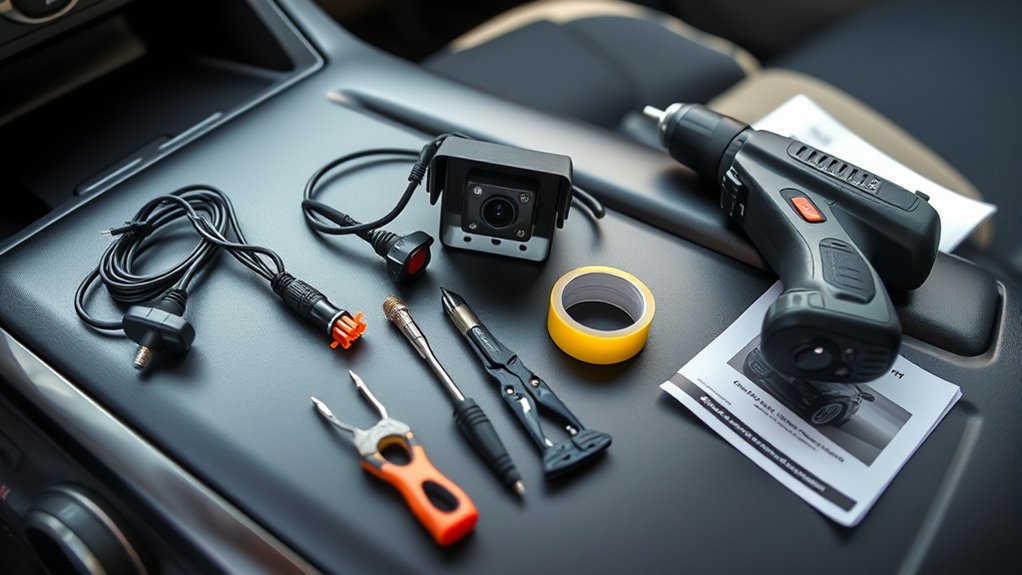
You’ll need a few essential tools to make the installation smooth, like screwdrivers, wire strippers, and electrical tape. Along with these, gather the backup camera kit and any mounting hardware included.
Being prepared with the right materials will save you time and frustration during the process.
Essential Installation Tools
What tools do you really need to install a backup camera inside your car? Having the right tools will make the process smoother and prevent frustration.
Here are the essential tools you should have on hand:
- Screwdrivers – Both Phillips and flathead types help remove panels and secure mounts.
- Wire Strippers and Crimpers – These are vital for connecting wires safely and securely.
- Multimeter – Use this to check voltage and guarantee correct wiring connections.
- Trim Removal Tools – These plastic tools prevent damage when prying off interior panels.
With these four tools, you’ll be well-equipped to handle the installation without unnecessary hassle. Make sure each tool is in good condition before starting to avoid delays.
Required Camera Materials
Before diving into the installation, gather all the necessary camera materials to guarantee a smooth process. You’ll need a backup camera kit, which usually includes the camera, a monitor or display, and connecting cables. Make sure your kit comes with a power adapter or wiring harness to connect to your car’s reverse light circuit.
You’ll also want electrical tape, zip ties, and possibly a fuse tap for secure wiring. If your kit doesn’t include a drill bit or mounting hardware, grab those too. Having a multimeter on hand helps verify power connections.
Finally, check your vehicle’s manual for any specific requirements or recommendations related to wiring or mounting spots. With all these materials ready, you’ll be set for a seamless installation.
How to Run Backup Camera Wiring Safely and Neatly
While running the backup camera wiring, take care to secure the cables along existing vehicle pathways to prevent damage and maintain a tidy appearance. Avoid routing wires near hot engine parts or sharp edges to minimize wear and risk of shorts. Use zip ties or adhesive clips to fasten the cables neatly.
Follow these steps for safe, neat wiring:
- Locate factory wire channels or trim gaps for routing cables.
- Gently remove necessary panels, avoiding damage to clips or trim.
- Run the wiring along the vehicle’s frame, keeping it clear of moving parts.
- Secure cables with zip ties spaced evenly to prevent sagging or pinching.
This approach keeps your installation professional and protects your wiring from premature failure.
How to Connect Your Backup Camera to Power
After securing your backup camera wiring neatly along the vehicle’s frame, the next step is to connect the camera to a reliable power source. Most backup cameras draw power from the reverse light circuit, so locate the reverse light wires in your car’s tail light assembly. Use a multimeter to identify the positive and negative wires.
Strip a small section of the insulation on the positive wire and connect the camera’s power wire using a wire tap or solder it securely. Attach the camera’s ground wire to a clean, bare metal surface on the vehicle chassis or the negative reverse light wire. Double-check all connections for a solid fit to prevent power loss or short circuits before moving on to connecting the camera to your car’s display.
How to Connect Your Backup Camera to Your Car’s Screen
Once you’ve connected the backup camera to power, you’ll need to link its video output to your car’s display screen. Here’s how to do it efficiently:
- Locate the video output cable from the backup camera, usually an RCA connector.
- Find the corresponding video input on your car’s head unit or aftermarket screen.
- Plug the camera’s video output cable into the screen’s video input port.
- Secure all cables to avoid loose connections and use cable ties if needed.
If your car’s screen doesn’t have a video input, you might need an adapter or a compatible aftermarket display. Keep connections tight and protected from moisture to maintain a clear video feed.
This step guarantees your backup camera’s live feed appears on your screen.
How to Test and Adjust Your Backup Camera for the Best View
To guarantee your backup camera provides the clearest and most useful view, you need to test its image and make necessary adjustments. Start by placing your car in reverse in a safe, open area. Check the screen for clarity, brightness, and color accuracy.
If the image is blurry or dark, adjust the camera’s angle or clean the lens. Make sure the camera captures the entire rear area, including any obstacles or parking lines. Use the camera’s on-screen guidelines to judge distance and alignment.
If needed, tweak the camera’s tilt or side-to-side position to eliminate blind spots. After adjustments, test again by backing up slowly to confirm that your view is clear and all-encompassing. Repeat until you’re confident in the camera’s performance.
How to Avoid Common Backup Camera Installation Mistakes
Testing and adjusting your backup camera helps guarantee a clear view, but even the best setup can be compromised by common installation mistakes. To avoid these pitfalls, follow these tips:
- Don’t ignore wiring quality. Use proper gauge wires and secure connections to prevent shorts or signal loss.
- Avoid poor camera placement. Mount the camera where it won’t be blocked by dirt or vehicle parts, usually near the license plate.
- Don’t skip waterproofing. Protect your connections and camera housing from moisture to prevent damage.
- Avoid improper power sourcing. Connect to a reliable power source that turns on with your vehicle to ensure consistent operation.
How to Maintain and Troubleshoot Your Backup Camera
How often do you check your backup camera to guarantee it’s working properly? Regular maintenance helps avoid surprises when you need it most. Clean the lens with a soft cloth and mild cleaner to prevent dirt and moisture buildup that can blur the image.
Inspect the wiring and connections for any signs of wear, corrosion, or looseness. If the camera isn’t displaying an image, first verify the power supply is connected and the screen is on. Restart your car’s system to reset the camera.
If problems persist, check the fuse related to the camera circuit. For blurry or flickering images, clean the lens and confirm the camera is securely mounted. Taking these simple steps will keep your backup camera reliable and functional.
Frequently Asked Questions
Can I Use a Wireless Backup Camera Instead of a Wired One?
Yes, you can use a wireless backup camera instead of a wired one. Wireless cameras are easier to install, but you might face occasional signal interference or latency compared to wired systems, which usually offer more reliable video quality.
Will Installing a Backup Camera Void My Car’s Warranty?
Installing a backup camera usually won’t void your car’s warranty if done properly. Just make sure you use quality parts and avoid damaging existing wiring or systems, so you don’t risk any warranty issues down the road.
How Much Does Professional Backup Camera Installation Typically Cost?
You’ll typically pay between $150 and $400 for professional backup camera installation, depending on your car model and camera type. Labor rates and wiring complexity can also influence the final cost, so get a detailed quote first.
Are Backup Cameras Compatible With All Car Models?
Backup cameras are compatible with most car models, but you might need specific adapters or mounts depending on your vehicle. You’ll want to check compatibility carefully to guarantee smooth installation and proper functionality.
Can I Add Multiple Backup Cameras to One Vehicle?
Yes, you can add multiple backup cameras to one vehicle. You’ll need a compatible monitor or head unit that supports multiple inputs, and you might require a video switcher or splitter to manage and display each camera feed effectively.
This setup allows you to switch between different camera views for better visibility. Make sure to check the specifications of your monitor or head unit before installation. Proper wiring and configuration are essential for optimal performance.
Conclusion
Installing a backup camera inside your car can boost safety considerably—did you know that vehicles with backup cameras reduce backing accidents by 17%? By choosing the right camera, planning placement carefully, and connecting everything properly, you’ll enjoy clearer views and safer reversing.
Just follow the steps to avoid common mistakes, and maintain your system regularly. With a little effort, you’ll drive with confidence and protect your vehicle and loved ones every time you back up.
Adding a backup camera inside your car enhances safety and convenience. Proper installation and regular maintenance ensure your system works effectively, making every reverse safer and easier.

